Setting Project Properties
Access the DataStage Administrator - Projects tab.
Image: DataStage Administrator - Projects Tab
This example illustrates the DataStage Administrator - Projects Tab.
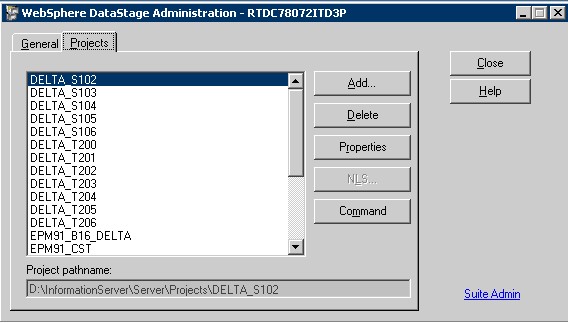
Using the DataStage Administrator - Projects tab, administrators can navigate to projects and:
Add and delete projects.
Set job administration options.
Assign user access.
Enable tracing on the server.
Set up users for running scheduled jobs (Microsoft Windows only).
Configure cache settings for hash file stages.
Select compilation options when job sequences are created.
Project Properties - General Page
Use the Project Properties - General page to set general properties.
Image: Project Properties - General
This example illustrates the Project Properties - General Tab.
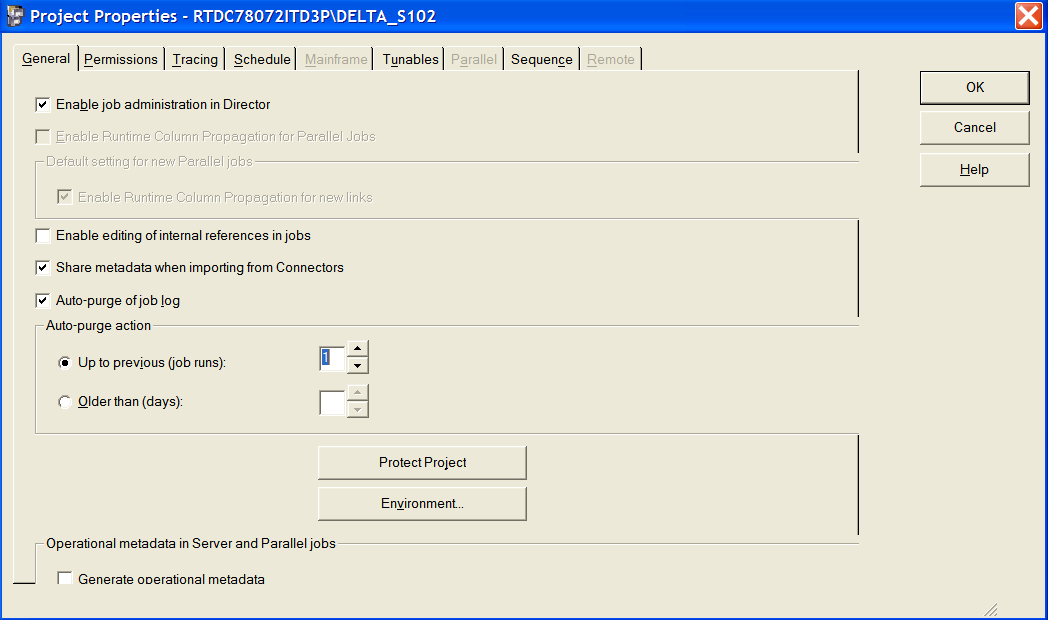
The Project Properties - General tab includes the following options:
Setting Environment Variables
Click the Environment button on the Project Properties - General tab to set project-wide environmental variables.
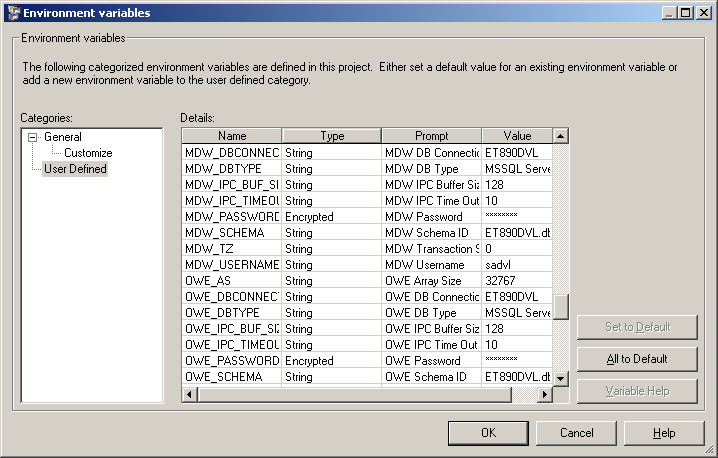
Image: Environment Variables Window
This example illustrates the Environment Variables Window.

DataStage Administrator enables you to create user-defined environment variables and assign default values for existing variables used throughout a project.
Changing an environment variable affects all of the jobs in the project. To change an environment variable for each job, leave the Value column empty and specify the variable value in a job parameter instead. You can also override the value when the job runs.
To set a default value for an environment variable, select the variable type from the Environment Variable Tree in the left pane, and then enter a value in the right pane.
To create a new variable, select User Defined in the Environment Variable Tree, and then enter a new variable name, prompt, and value in the right pane.
Click Set to Default to set the selected variable to its installed default value.
Click All to Default to set all currently visible variables to their installed default values.
Click Variable Help to get information about the selected variable.
Setting Environment Variables - Example
To configure the delivered environment parameters:
Open DataStage Administrator and select your project.
Note the project path name of the selected project and close DataStage Administrator.
Use the project path to navigate to the DSPARAM file.
The DSPARAM file should be located in that folder.
Open the DSPARAM file in Notepad.
Search for [EnvVarDefns].
Open the ENV_PARAM.txt file, and then select and copy the contents of the ENV_PARAM.txt file.
You can copy specific entries based on the product.
Image: ENV_PARAM.txt File
This example illustrates the ENV_PARAM.txt File.
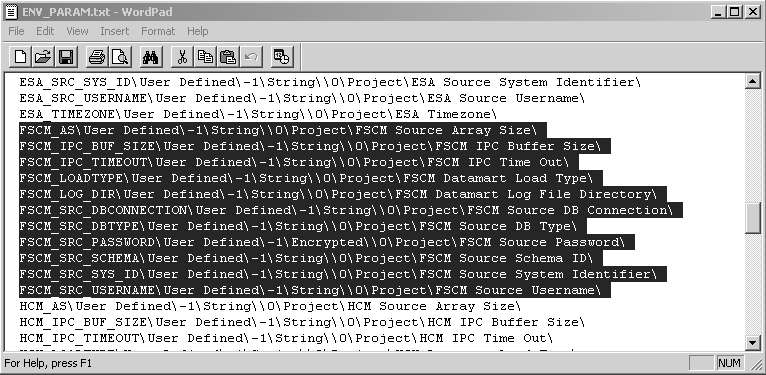
Paste the copied contents to the DSPARAM file.
The contents should be pasted below the line that contains the [EnvVarDefns] text.
Save the DSPARAM file.
Open DataStage Administrator, navigate to the Environmental Variables window, and select the User-Defined category.
You should add values to the environment parameters to successfully run an ETL job.
Image: Environment Variables Window - Add Values
This example illustrates the Environment Variables Window - Add Values.
Project Properties - Permissions Tab
Access the Project Properties - Permissions tab:
Image: Project Properties - Permissions Tab
This example illustrates the Project Properties - Permissions Tab.
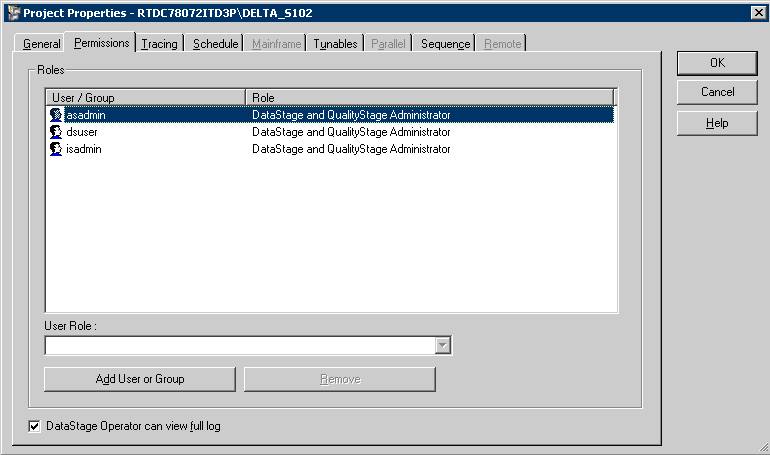
Before any user can access WebSphere DataStage they must be defined in the Suite Administrator tool as a DataStage Administrator or a DataStage User. As a DataStage administrator you can define whether a DataStage user can access a project, and if so, what category of access they have.
Use the Permissions tab to add groups and assign users to groups. These groups are in turn allocated the role of DataStage Administrator or DataStage User. Any users belong to an administrator group will be able to administer WebSphere DataStage. You can also grant user group access to a project and assign a role to the group.
When setting up users and groups, these still have to have the correct permissions at the operating system level to access the folders in which the projects reside.
The Permissions page contains the following controls:
Roles: this window lists all the users and groups who currently have access to this project and lists their roles. Note that this window will always include users who have been defined as DataStage Administrators in the Suite Administrator tool, and you cannot remove such users from the list or alter their user role.
User Role: this list contains the four categories of WebSphere DataStage user you can assign. Choose one from the list to assign it to the user currently selected in the roles window.
Add User or Group: click this to open the Add Users/Groups dialog box in order to add a new user or group to the ones listed in the roles window.
Remove: click this to remove the selected user or group from those listed in the roles window.
DataStage Operator can view full log: by default this check box is selected, letting a WebSphere DataStage operator view both the error message and the data associated with an entry in a job log file. To hide the data part of the log file entry from operators, deselect this check box. Access to the data is then restricted to users with a developer role or better.
Project Properties - Tracing Tab
Access the Project Properties - Tracing tab:
Image: Project Properties - Tracing Tab
This example illustrates the Project Properties - Tracing Tab.
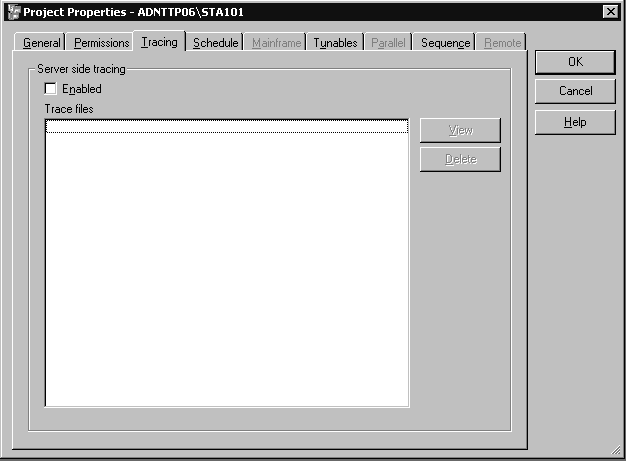
Use the Project Properties - Tracing tab to enable or disable tracing, and view or delete trace files.
Enabling tracing activity on the server helps diagnose project problems. By default, server tracing is disabled.
When you enable tracing, server activity attached to a specific project is written to trace files. Users can use the information saved in trace files to identify the cause of a project problem.
Project Properties - Schedule Tab
Access the Project Properties - Schedule tab:
Image: Project Properties - Schedule Tab
This example illustrates the Project Properties - Schedule Tab.
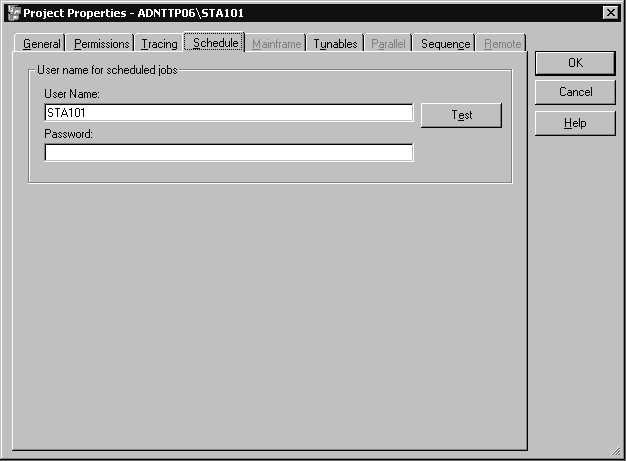
Use the Project Properties - Schedule tab to modify system authority user name for scheduling jobs. DataStage uses the Microsoft Windows Schedule service to schedule jobs. By default, jobs run under the Microsoft Windows system authority user name. However, this user name may not have sufficient rights, so you may need to change the assigned user name.
To verify that the user name exists, click the Test button. The system schedules and runs a job using the name that you entered.
Note: The Schedule tab is only available on Microsoft Windows.
Project Properties - Tunables Tab
Access the Project Properties - Tunables tab:
Image: Project Properties - Tunables Tab
This example illustrates the Project Properties - Tunables Tab.

Use the Project Properties - Tunables tab to set up caching details for hashed file stages and row buffering to improve the performance of server jobs.
When data is referenced repeatedly, for instance in a lookup, storing the data in memory rather than on disk can improve performance. To support this performance improvement, when a hash file stage writes records to a hash file, the data can be cached rather than written to the hash file immediately. Similarly, when a hash file stage is reading a hash file, you can preload the file to memory, which makes subsequent access to the data faster. The hash file stage area of the Tunables tab enables you to adjust the sizes of both the read and write cache sizes.
Another way to improve performance is with the use of row buffering. Row buffering enables connected active stages to pass data by using buffers (memory) rather than passing data row by row.
Project Properties - Sequence Tab
Access the Project Properties - Sequence tab:
Image: Project Properties - Sequence Tab
This example illustrates the Project Properties - Sequence Tab.
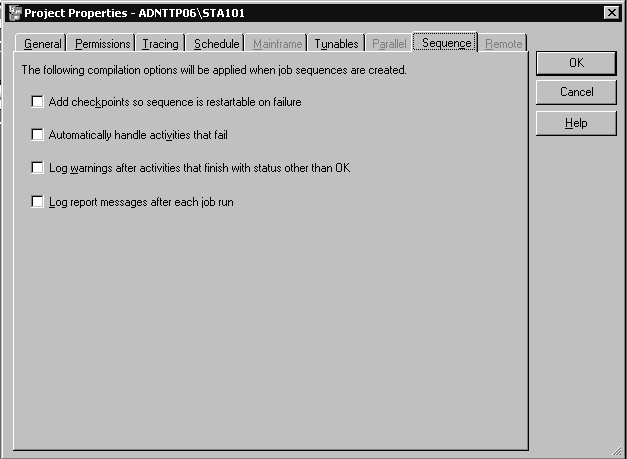
Use the Project Properties - Sequence tab to add checkpoints to a job sequence and enable automatic handling of failures during sequence runs.
You can insert checkpoints in job sequences to enable the sequence to be restarted if one of the jobs in the sequence fails. Checkpoints enable you to see where the problem is, fix it, and then rerun the sequence from the point at which it left off.