3 Getting Started - Oracle Database Mobile Server
This chapter provides information for downloading and installing the Database Mobile Server (DMS) and its dependencies. DMS uses a middle-tier Application Server to communicate between the mobile clients and the backend Oracle database. Different Application Servers are supported for DMS, including Oracle WebLogic Suite, Oracle Glassfish, Apache TomEE. See the sections below:
The following sections provide information on the transport demo and a review of the key installation steps:
3.1 Installation of Java Development Kit (JDK)
There are two types of JDK for Windows:
-
Windows x86 for 32bit
-
Windows x64 for 64bit
DMS supports both of them. To download JDK, go to:
http://www.oracle.com/technetwork/java/javase/downloads/index.html
Double click on the Installation Executable and go through the required installation steps. By default, after the installation, you can find the JDK in C:\Program Files\Java or C:\Program Files (x86)\Java.
3.2 Installation Packages (for Windows)
Install and run the following products:
-
Oracle Database Express Edition (Oracle Database XE):
-
Oracle Glassfish:
http://www.glassfish.java.net/downloads/3.1-final.html(glassfish-3.1-windows.exe)
-
DMS:
Note:
To install and run all the above products, first, you need to install the latest JDK 6 or JDK 7.3.3 Installation of Oracle Database Express Edition (Oracle Database XE)
To install Oracle Database XE, follow the steps below:
-
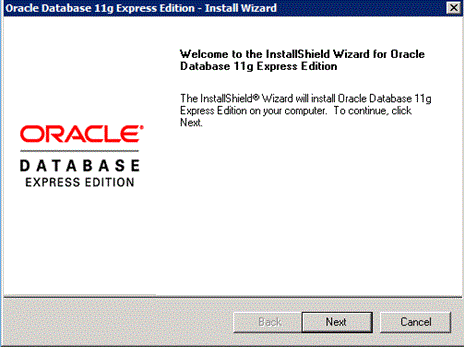
Extract Oracle Database XE ZIP package in the current directory.You will get directory DISK1. Double click DISK1\setup.exe to install Oracle XE (see, Figure 3-1).
-
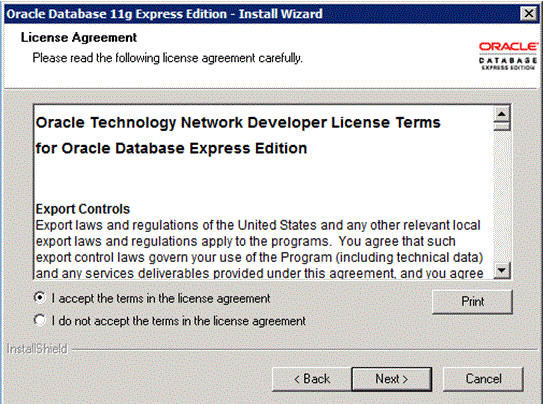
On the "License Agreement" screen, choose "I accept the terms in the license agreement", then click "Next", as seen in Figure 3-2.
-
On the "Choose Destination Location" screen, click "Browse…" to select the path to install Oracle Database XE, as shown in Figure 3-3.
-
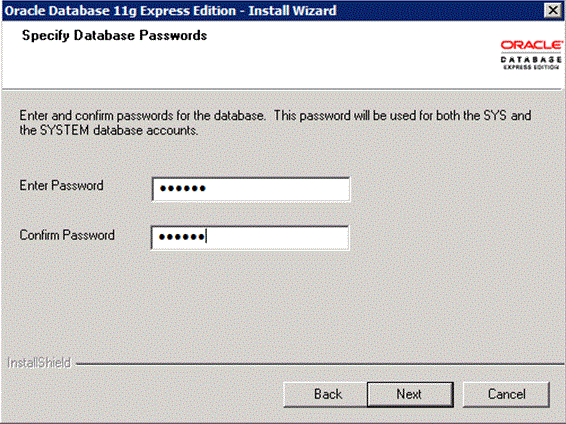
On the "Specify Database Password" screen, enter password for both the SYS and the SYSTEM database accounts, as shown in Figure 3-4. Keep note of these as they will be required throughout the rest of the DMS setup process.
-
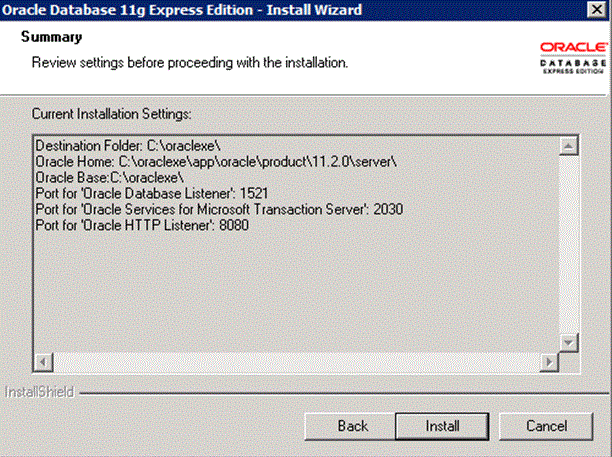
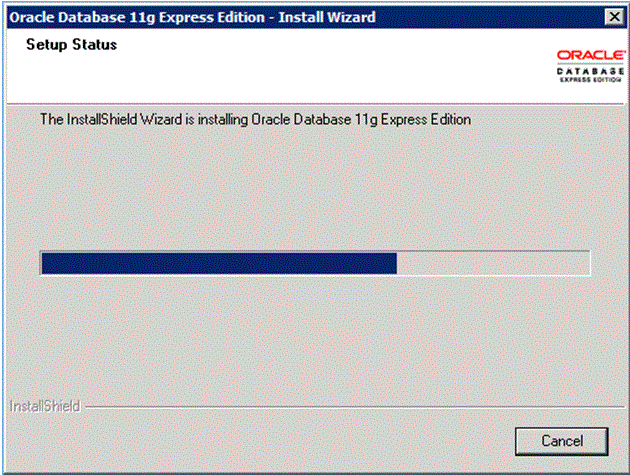
The "Summary" page shows current installation setting (before proceeding with the installation), as shown in Figure 3-5. If all the settings are as expected, click "Install" to start the installation, as shown in Figure 3-6.
-
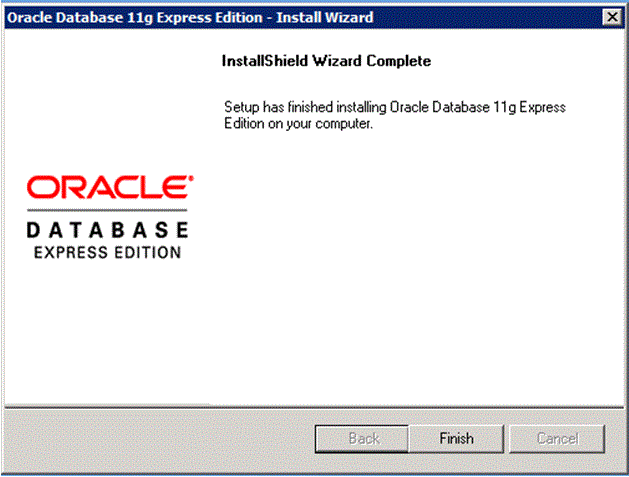
End of installation, click "Finish", as shown in Figure 3-7.
-
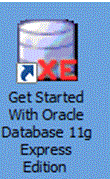
After installation, the Install Wizard will create a shortcut on the desktop, as shown in Figure 3-8.
-
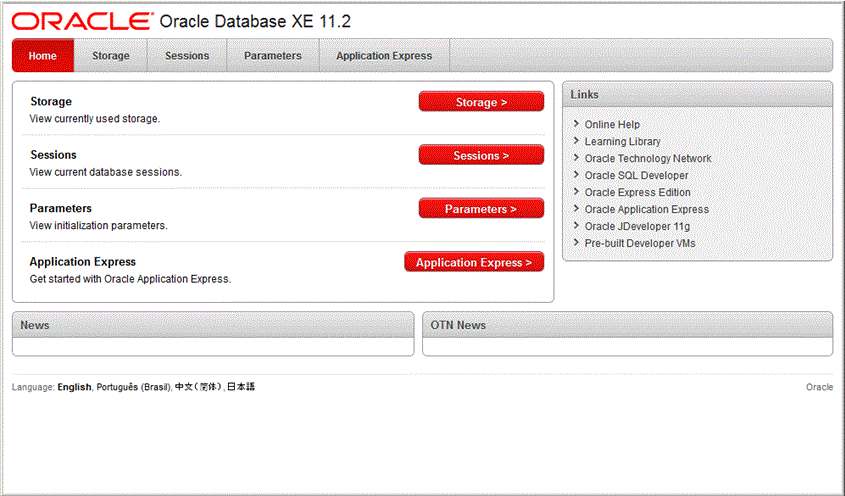
Double click this shortcut and it will run the default internet browser and show the home page of Oracle Database XE, as shown in Figure 3-9. Click the link on the home page to check the status of database.

3.4 Installation of Glassfish
To install glassfish, follow the steps below:
-
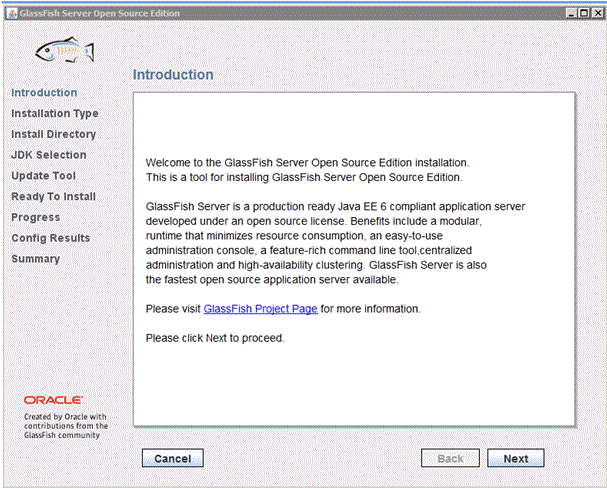
Double click glassfish-3.1-windows.exe to start installation. On the "Introduction" page, click "Next" to proceed (see, Figure 3-10).
-
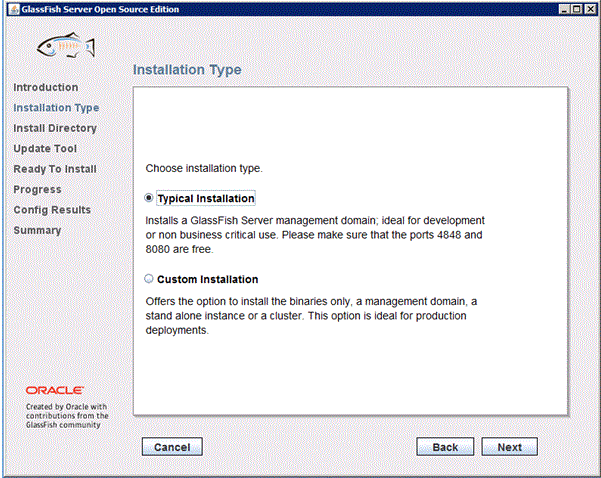
Choose "Installation Type". Here, we choose the default type "Typical Installation", as seen in Figure 3-11.
-
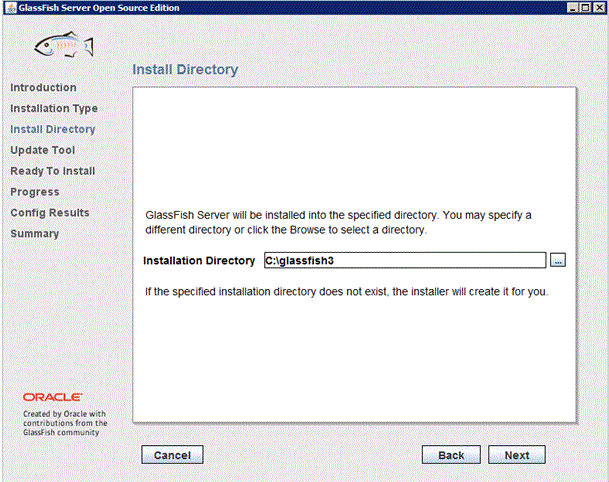
On the "Install Directory" screen, click "…" to select the path to install Oracle Glassfish. Click "Next" as shown in Figure 3-12.
-
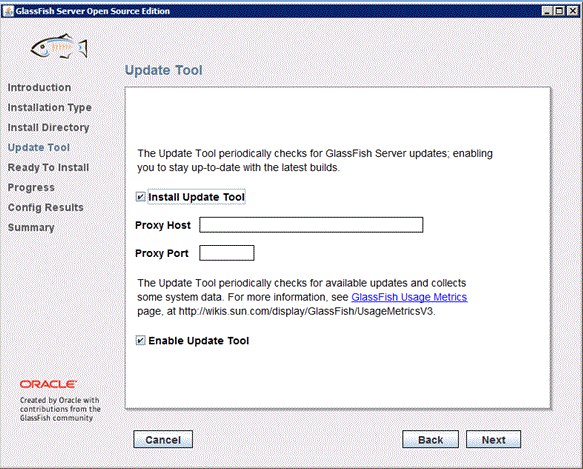
On the "Update Tool" screen, you can check for glassfish updates periodically or you can disable it, as shown in Figure 3-13.
-
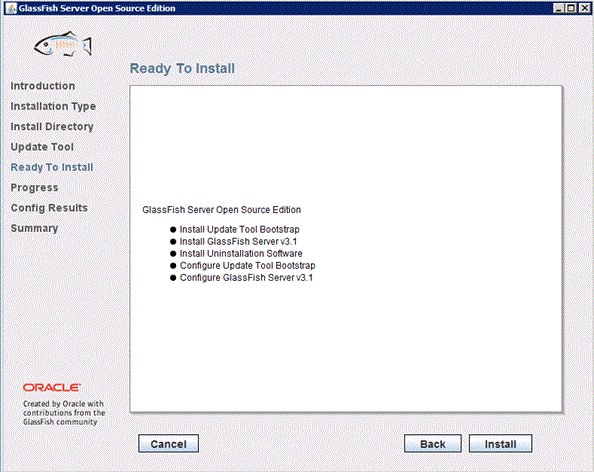
The "Ready To Install" screen shows the current installation setting before proceeding with the installation, as shown in Figure 3-14.
-
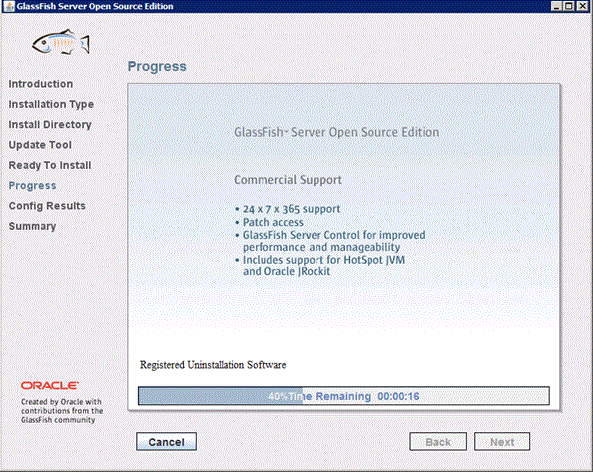
The installation process begins, as shown in Figure 3-15.
-
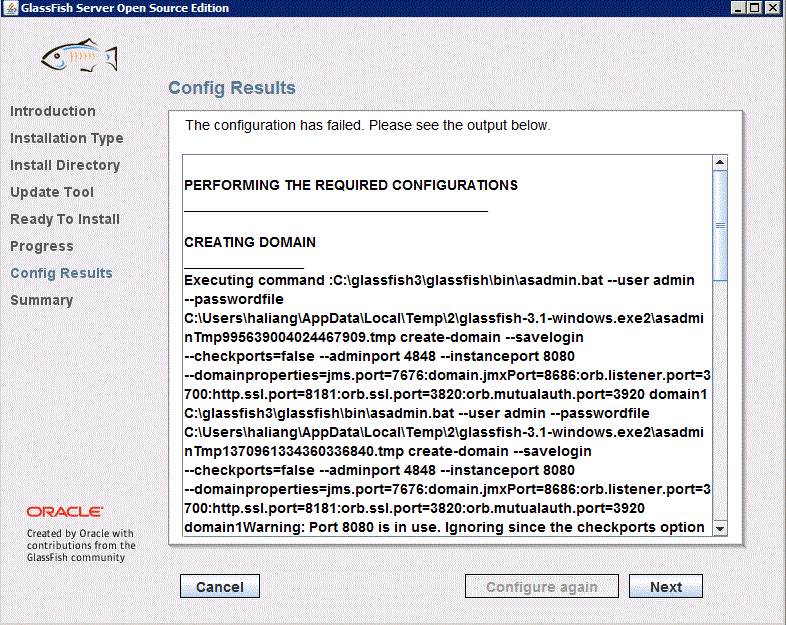
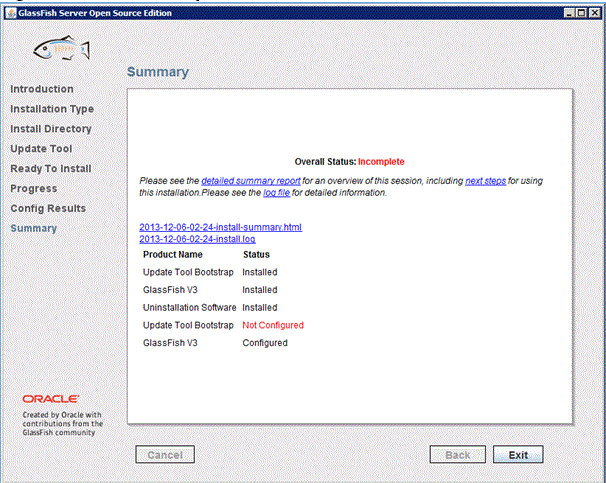
For the configuration results and summary, see Figure 3-16 and Figure 3-17.
3.5 Installation of Database Mobile Server (DMS)
To install DMS, follow the steps below:
-
Extract Oracle DMS ZIP package in the current directory. Double click <DMS_home>/ \Disk1\install\win32\setup.exe to start installation. If your CPU is 64bit, run <DMS_home>/ \Disk1\install\win64\setup.exe instead, where DMS_home is the directory extracted from the ZIP package (see, Figure 3-18).
-
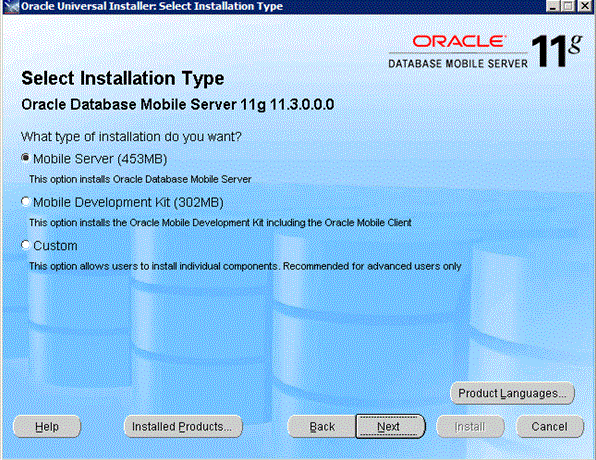
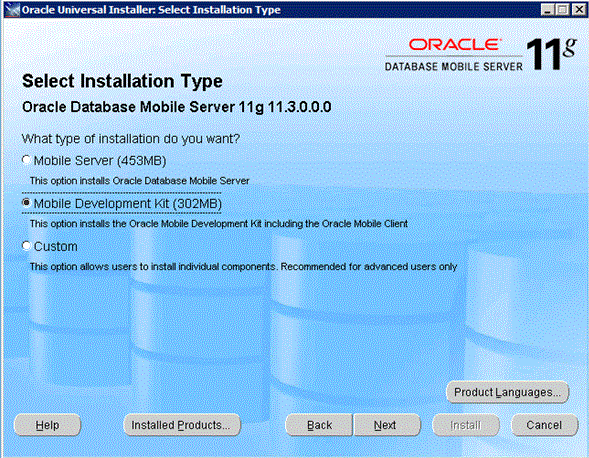
Choose "Mobile Server" and click "Next", as seen in Figure 3-19.
-
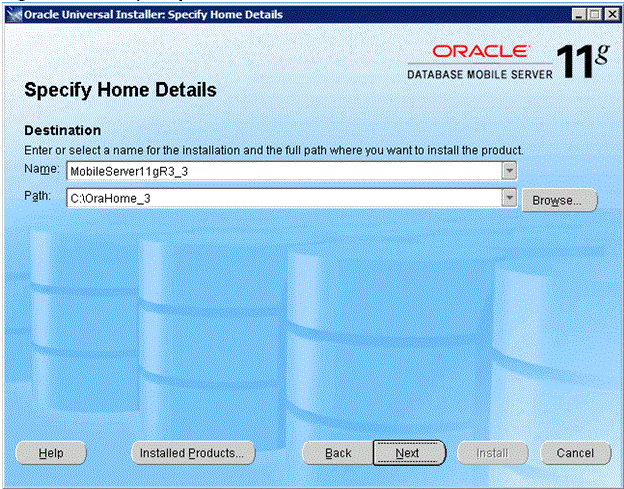
On the "Specify Home" screen, as seen in Figure 3-20, enter the name for your Mobile Server installation, and path where you want to install Oracle Database Mobile Server.
Note:
You must choose an empty directory to install Mobile Server. If the installation location you specified is not empty, you will get a warning. -
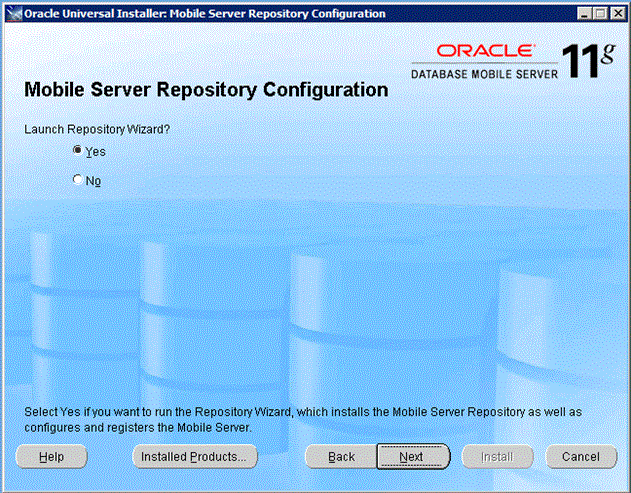
Click "Yes" to "Launch Repository Wizard" to install the Mobile Server repository. Click "Next". See Figure 3-21.
-
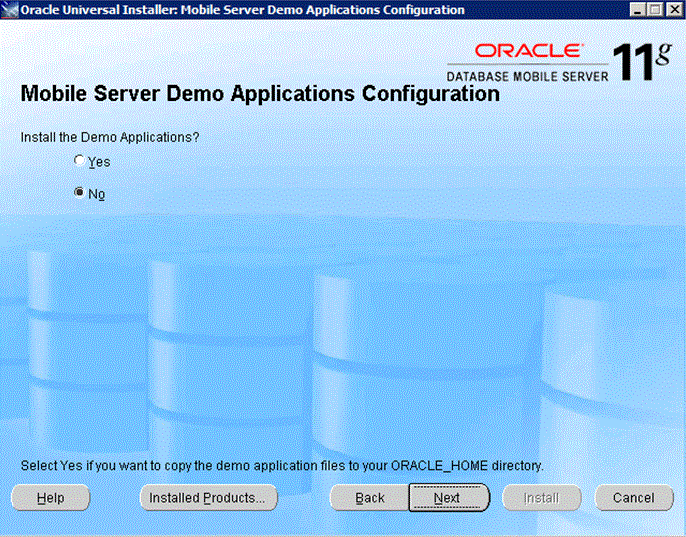
Click "Yes" or "No" to indicate if you want the demo applications to be installed on the server. Click "Next", as shown in Figure 3-22.
-
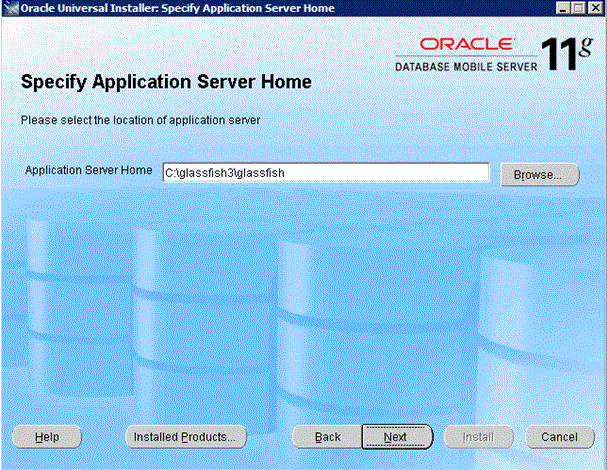
On the "Specify Application Server Home" screen, select the installation directory of your application server. Set the Application Server Home to C:\glassfish3\glassfish, where C:\glassfish3 is the base installation directory for Glassfish Server, as shown in Figure 3-23.
-
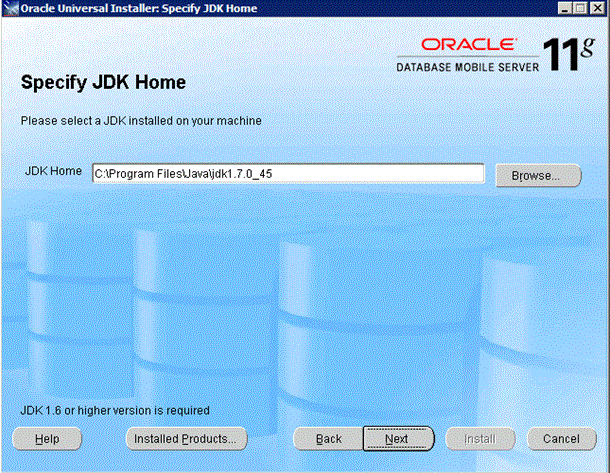
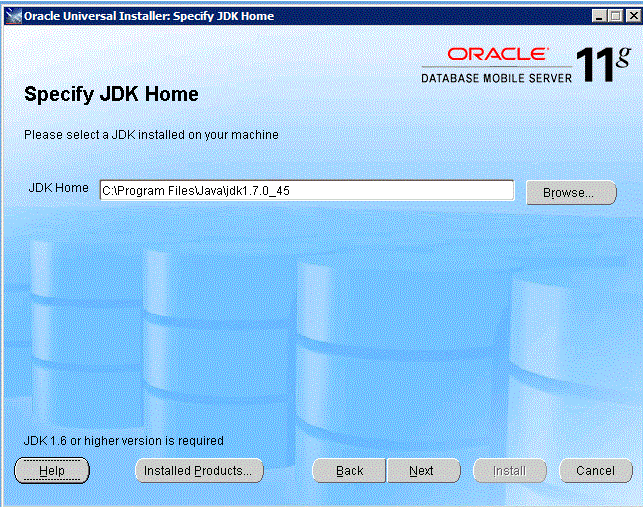
On the "Specify JDK Home" screen, select a JDK installed on your machine, as shown in Figure 3-24.
-
On the "Summary" page, click "Install" to start the installation of Mobile Server, as shown in Figure 3-25.
-
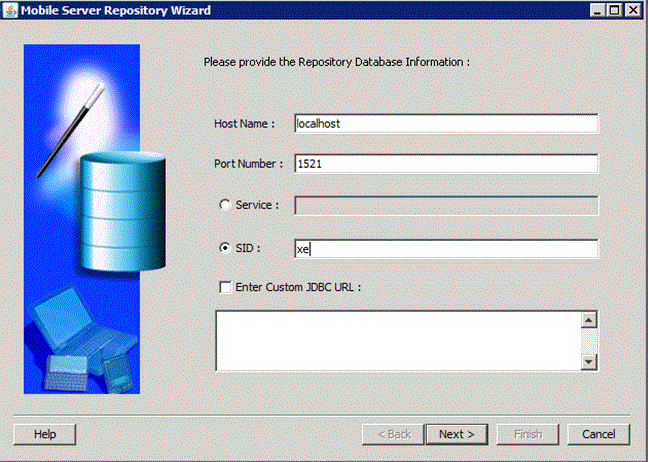
Provide the URL for the backend Oracle database for the Mobile Server repository, as shown in Figure 3-26.
Host Name: localhost (the hostname/IP of machine where Oracle Database XE is installed)
Port Number: 1521
SID: xe
-
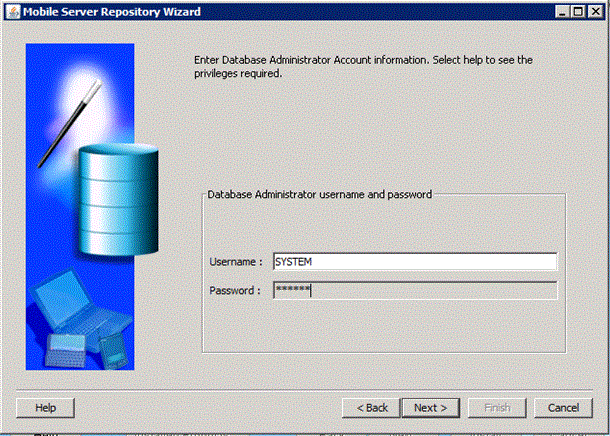
The Repository Wizard asks for a database user name and password. Use these details to connect to the backend database. Create the schema and assign database privileges for the Mobile Server schema.
Here we use user SYSTEM created during the installation of Oracle Database XE since it has database administrative privileges, as shown in Figure 3-27.
-
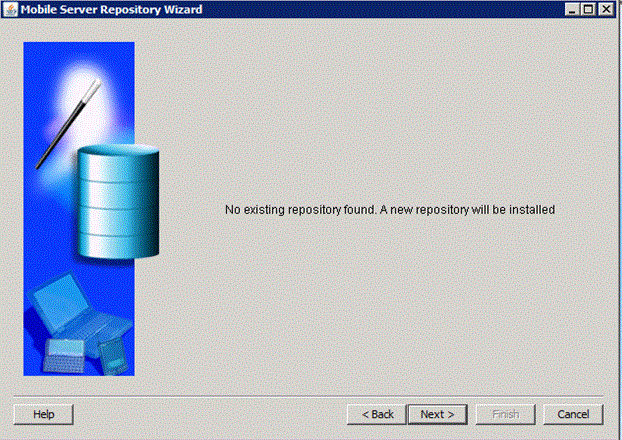
Since there is no existing DMS repository in our Oracle Database XE, click "Next "to install a new one, as shown in Figure 3-28.
-
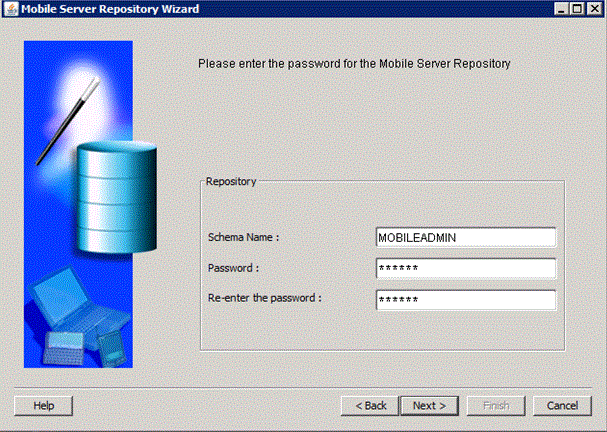
Enter the schema name and password for the Mobile Server repository. The default name is MOBILEADMIN. This schema contains database objects used by the Mobile Server. Click "Next". See Figure 3-29.
-
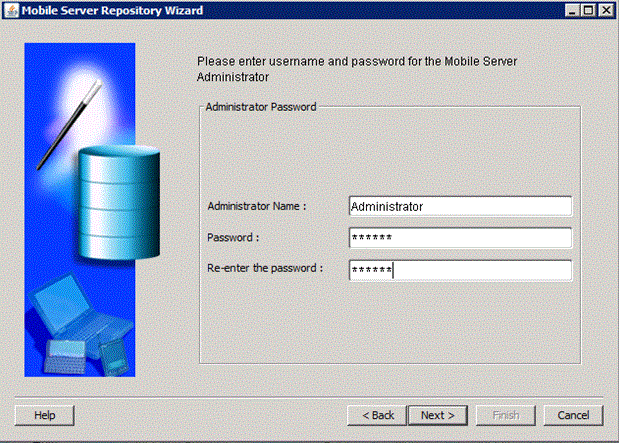
Enter the Mobile Server Administrator name and password that you will use to log into the Mobile Manager - a web GUI tool which allows administration of the Mobile Server. See Figure 3-30.
-
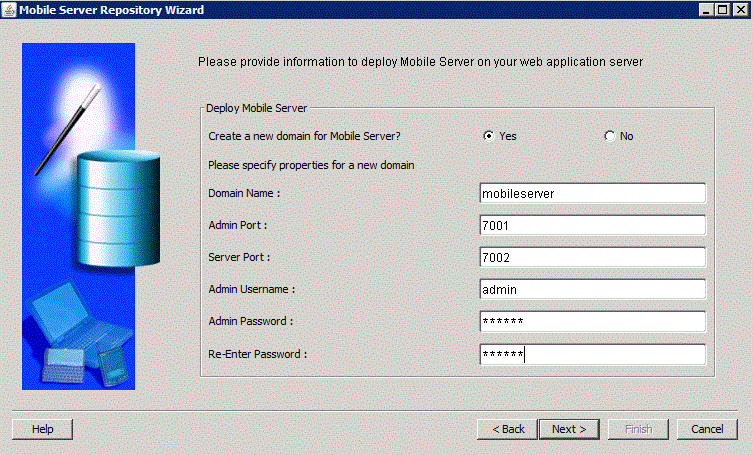
When using the Repository Wizard, users can deploy the Mobile Server either on a new domain or on an existing domain under GlassFish. See Figure 3-31. To deploy the Mobile Server on a new domain under GlassFish, follow the instructions below:
-
Choose "Yes" for "Create a New Domain" for the Mobile Server option.
-
Specify a "Domain Name".
-
Specify an "Admin Username" for the Glassfish domain.
-
Specify an "Admin Port" for the Glassfish domain. Ensure the ports you specified are free at the time of deployment.
-
Specify a "Server Port" for the Glassfish domain. Ensure the ports you specified are free at the time of deployment.
-
Specify an "Admin Password" for the admin user.
-
Keep note of the values you entered, as they will be used in the consequent steps of the installation.
Note:
A domain is comprised of a set of instances. Each domain behaves like a separate server. It is a separated space within its own boundary and you can create as many domains as you like.For example, if you specify 'mobileserver' as the domain name and Glassfish is installed at C:\glassfish3\glassfish, then C:\glassfish3\glassfish\domains\mobileserver will be created and the domain configuration files will be stored in that directory. -
-
The next page is summary page and 'End of Installation' page. Click "Exit" to finish installation. You have now installed the Database Mobile Server.
-
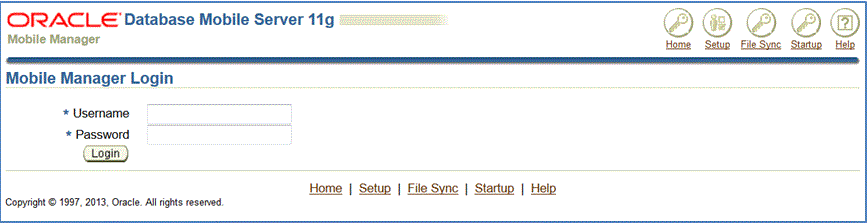
Run C:\OraHome_3\Mobile\Server\bin\ runmobileserver.bat to start the server, where C:\OraHome_3 is the Oracle Home. To verify your installation, open your browser, input http://localhost:7002/mobile. Check that the Mobile Manager login page is displayed, as shown in Figure 3-32.
If DMS is not running, you will see an error page: "The webpage cannot be displayed or Unable to connect". Start the DMS and refresh the page.

3.6 Installation of Mobile Development Kit (MDK)
To install MDK, follow the steps below:
-
Double click <DMS_home>/ \Disk1\install\win32\setup.exe to start installation. If your CPU is 64bit, run <DMS_home>/ \Disk1\install\win64\setup.exe instead, where DMS_home is the directory extracted from the ZIP package.
-
Choose the Mobile Development Kit and click "Next.", as seen in Figure 3-33.
-
On the "Specify Home Details" screen, enter the name and path where you want to install Mobile Development Kit, as shown in Figure 3-34.
Note:
The path should not include any spaces. -
On the 'Specify JDK Home' page, click 'Browse…' to select a JDK installed on your machine, as shown in Figure 3-35.
-
On the "Summary" screen, click "Install". Click "Exit" to return to the installation screen. MDK is now installed.

3.7 Transport Demo
Once DMS and MDK are installed, you are ready to move on to the next step - the Mobile Server synchronization and the application development and deployment models.For more information, see your mobile client platform-specific version of the Transport demo tutorial included in the MDK:
Win32/WinCE: <ORACLE_HOME>\Mobile\Sdk\samples\dotnet\bdb\transport\doc\Transport Tutorial.doc
Note:
Android and iOS tutorials are only included in the DMS version 11.3.0.1 and above.-
For Android: <ORACLE_HOME>\Mobile\Sdk\samples\android\ transport\Transport Tutorial.pdf
-
For iOS: <ORACLE_HOME>\Mobile\Sdk\samples\ios\ transport\Transport Tutorial.pdf
3.8 Summary
After going through all the installation instructions in this chapter, here are the key steps:
-
Download and install the required software (JDK, Oracle Database XE, Oracle Glassfish, and DMS).
-
Create the Application Schema and data in Oracle Database XE.
-
Create a Mobile Server publication for the application data using the MDW - a GUI publication tool included in the MDK.
-
Create the Transport Application for your device platform.
-
Publish the application using the Packaging Wizard.
-
Create mobile users using the Mobile Manager.
-
Grant user access to the application using the Mobile Manager - DMS online administrative console.
-
Setup and run the Transport Application on your mobile device.