| Oracle Virtual Operator Panel User's Guide Release 2.1 E48640-01 |
|


 Previous |
 Next |
This chapter describes how to install and uninstall VOP applications.
|
Note: The VOP server (SDP2) is installed separately. It is not installed as part of the MD-VOP installer. See "Installation" for more information. |
The following sections list the default installation and user file directories used by VOP, based upon the version installed.
|
Note: You can specify a different installation directory during the installation process. You can also modify MD-VOP launch scripts to change the default user file directory. See Appendix A, "Changing the Default MD-VOP User File Directory" for more information. |
User is the user name currently logged in.
The VOP installer automatically installs MD-VOP, along with the following single-drive VOP applications:
T10000 9840D VOP
LTO-VOP
9XXX VOP
During installation, you may choose whether to create desktop shortcuts for each VOP application.
To install VOP:
Navigate to the folder that contains the VOP installer files you downloaded in Chapter 2, "Obtaining VOP".
Run the appropriate installer for your operating system.
For Windows, double-click the executable (.exe) Windows file.
For UNIX, enter ./filename from a terminal screen, where filename is the MD-VOP install file you wish to run.
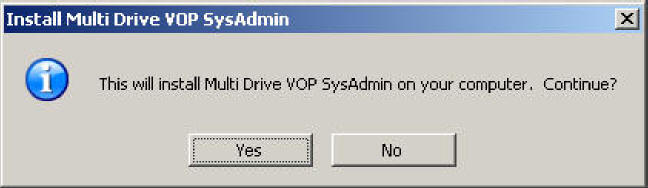
When the initial dialog box appears, click Yes to continue.
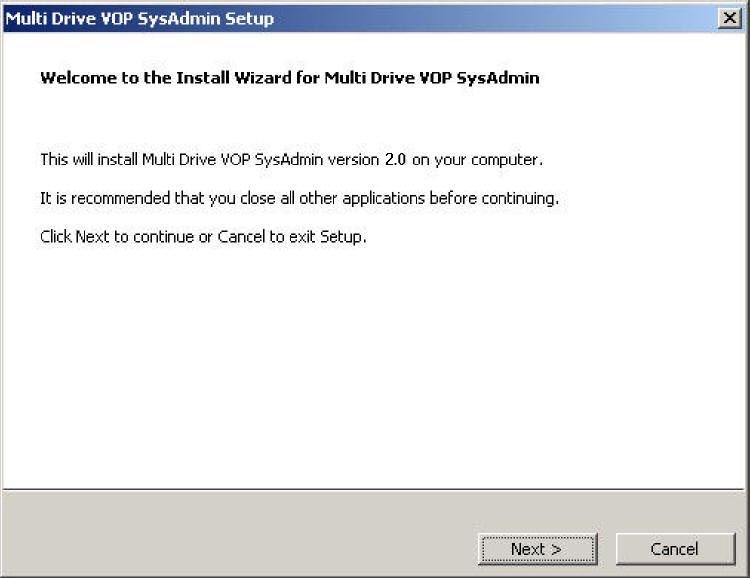
When the Welcome screen appears, click Next to continue.
Read the license agreement and click the check box to accept it. Then click Next to continue.
|
Note: If a previous version of MD-VOP is detected on your system, the program prompts you to remove the previous version. This is recommended, as running multiple versions of MD-VOP at one time may cause unpredictable results. |
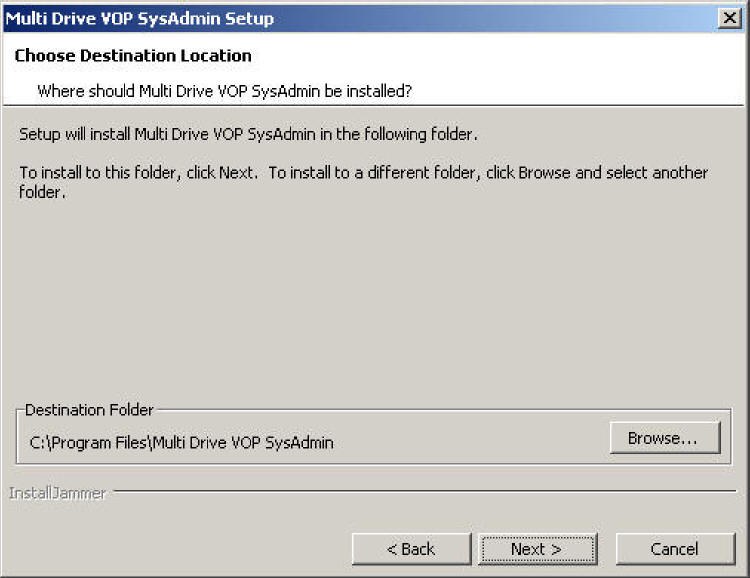
Specify the desired destination folder for installation. Then click Next to continue.
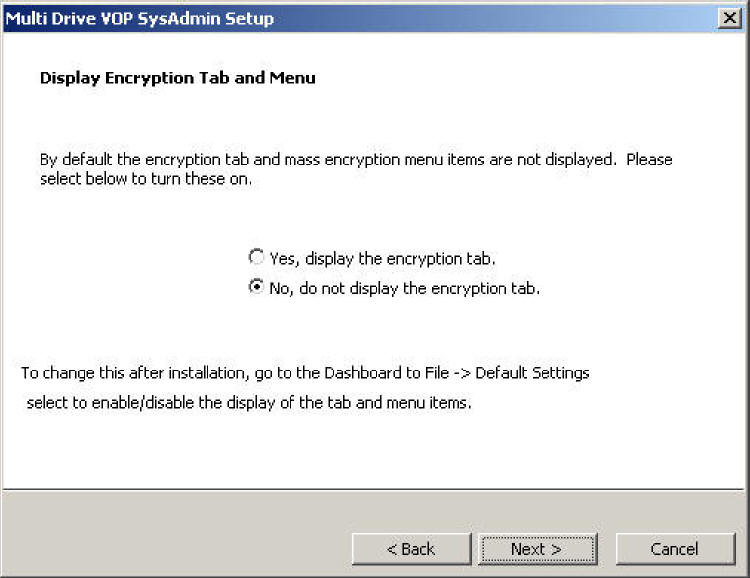
Select whether to display the encryption tab in this installation of MD-VOP. Then click Next to continue.
Confirm your setup options and click Next to begin installation.

|
Note: Please wait as VOP installs. A status bar appears to indicate installation progress. |
Select your environment options and then click Finish.
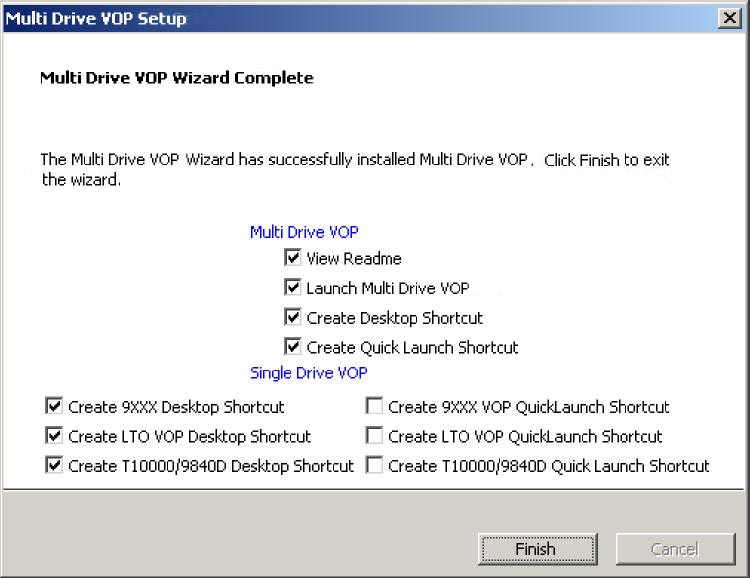
Environment options include the following:Multi-Drive VOP:
View ReadMe - Displays the MD-VOP ReadMe file.
Launch Multi-Drive VOP - Starts MD-VOP after installation is complete.
Create Desktop Shortcut - Creates an MD-VOP desktop shortcut.
Create Quick Launch Shortcut - Creates an MD-VOP icon in the Quick Launch toolbar.
Single Drive VOP:
Create 9XXX VOP Desktop Shortcut
Create 9XXX VOP Quick Launch Shortcut (Windows only)
Create LTO VOP Desktop Shortcut
Create LTO VOP Quick Launch Shortcut (Windows only)
Create T10000 9840D Desktop Shortcut
Create T10000 9840D VOP Quick Launch Shortcut (Windows only)
Installation is complete.
If you selected Launch Multi-Drive VOP in the previous step, the MD-VOP application launches. See "Launching MD-VOP for the First Time".
If you did not select Launch Multi-Drive VOP in the previous step, the installer closes. See Chapter 6, "Starting VOP".
All configurations and logs are retained after VOP is removed.
Do the following:
Exit all running instances of VOP.
Perform one of the following steps:
From the Windows Start Menu, select All Programs, then Multi-Drive Virtual Operator Panel, and finally, Uninstall Multi-Drive Virtual Operator Panel.
From the VOP installation directory, run uninstall.exe.
An Uninstall Confirmation dialog appears. Click Yes to uninstall VOP.
When uninstall is complete, a confirmation screen appears.
Do the following:
Exit all running instances of VOP.
Enter the following command:
# cd <parent directory above the VOP installation directory>
|
Note: You must be one level above the installation directory. Otherwise, the terminal will lose the path. |
Enter the following command:
# ./mdvop_sys/uninstall
When uninstall is complete, a confirmation screen appears.
|
 Copyright © 2014, Oracle and/or its affiliates. All rights reserved. Legal Notices |
|