13 Oracle Utilities Data Model Users and Application Roles
This chapter provides the creation steps for Oracle Utilities Data Model Users and Application Roles.
This chapter includes the following sections:
Steps to Create Oracle Utilities Data Model Application Roles
To create the Oracle Utilities Data Model Application Roles, perform the following steps:
-
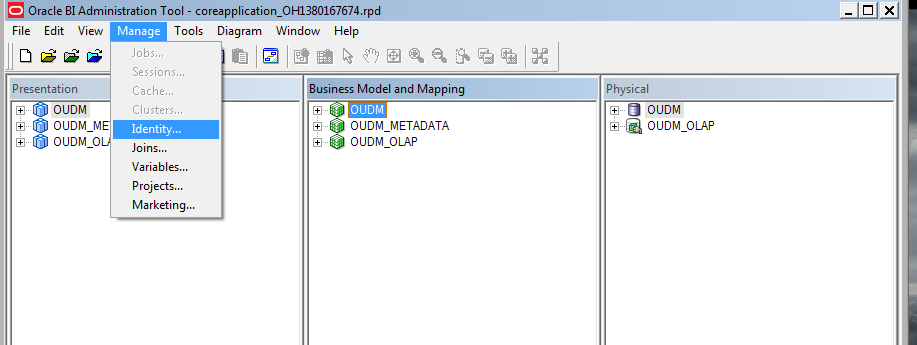
Start the Oracle BI Administration Tool. Start RPD in the offline mode. Select the Manage menu and click Identity.
Figure 13-1 Oracle BI Administration Tool Manage Menu
Description of "Figure 13-1 Oracle BI Administration Tool Manage Menu "
-
In the Identity Manager screen, select Action, then select New, and click Application Role.
Figure 13-2 Oracle BI Administration Tool Identity Manager Page

Description of "Figure 13-2 Oracle BI Administration Tool Identity Manager Page "
-
Enter Oudm_Role in the Name field and click Permissions.
Figure 13-3 Oracle BI Administration Tool Application Role - Oudm_Role Page

Description of "Figure 13-3 Oracle BI Administration Tool Application Role - Oudm_Role Page "
-
In the Object Permissions option, provide the appropriate permissions for the Application Role.
Figure 13-4 User/Application Role Permissions - Application Role Page
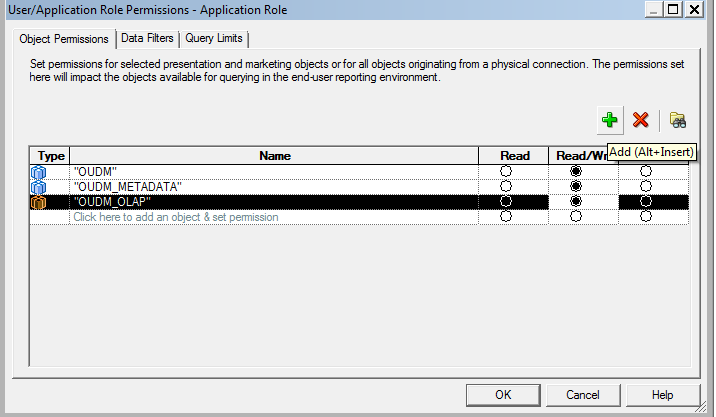
Description of "Figure 13-4 User/Application Role Permissions - Application Role Page"
-
Click Add and select the appropriate users. Click OK, and then click Close.
Figure 13-5 Oracle BI Administration Tool Users and Application Roles List
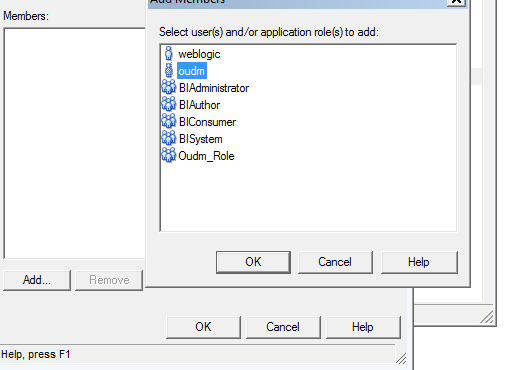
Description of "Figure 13-5 Oracle BI Administration Tool Users and Application Roles List"
Steps to Create Oracle Utilities Data Model Users
To create the Oracle Utilities Data Model Users, perform the following steps:
-
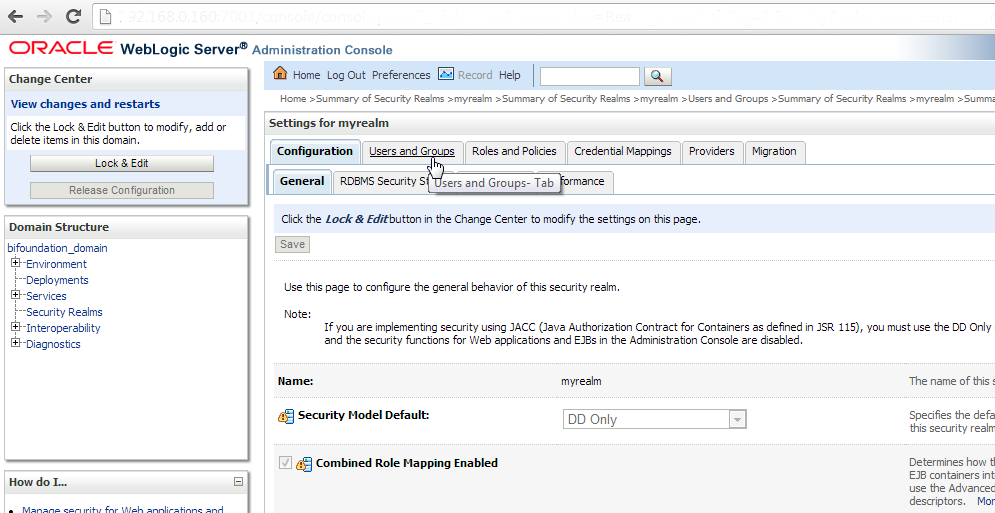
Login to Oracle Weblogic Server Administration Console. Select Security Realms option in the Domain Structure and click my realm.
Figure 13-6 Weblogic Server Administration Console for Data Model Users
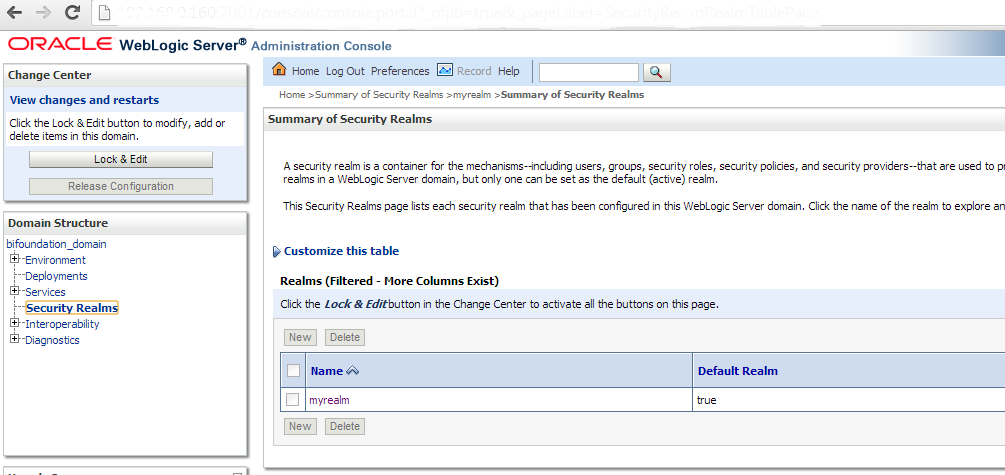
Description of "Figure 13-6 Weblogic Server Administration Console for Data Model Users"
-
Click Users and Groups.
Figure 13-7 Weblogic Server Administration Console for Data Model Users
Description of "Figure 13-7 Weblogic Server Administration Console for Data Model Users"
Click New.
Figure 13-8 Weblogic Server Administration Console for Data Model Users
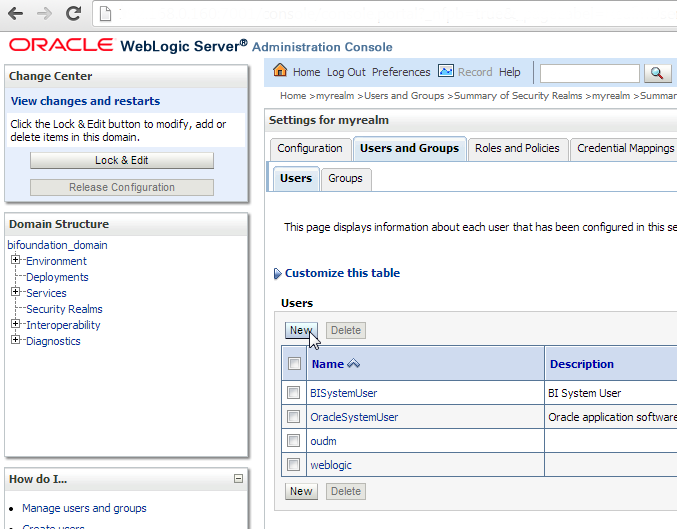
Description of "Figure 13-8 Weblogic Server Administration Console for Data Model Users"
-
Enter the appropriate details in the User Properties section, as described in Table 13-1.
Figure 13-9 Weblogic Server Administration Console for Data Model Users
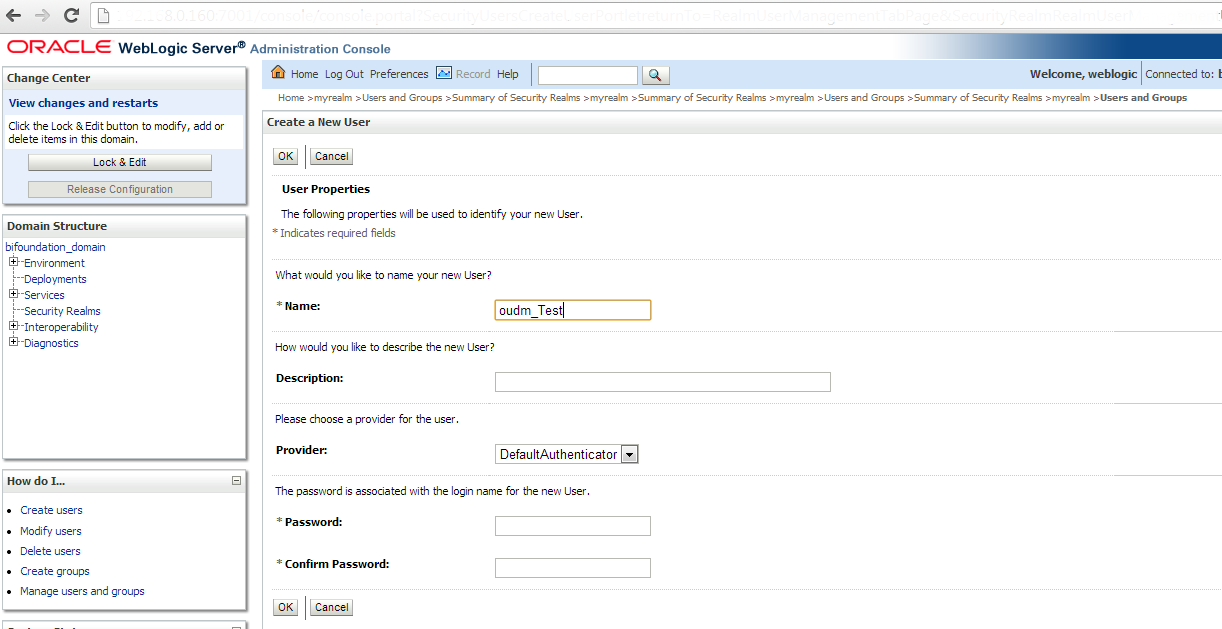
Description of "Figure 13-9 Weblogic Server Administration Console for Data Model Users"
Table 13-1 Fields in Console Page to Create Data Model Users
Field Description Name
Enter the User Name. For example, oudm_Test
Description
Retain the blank field
Provider
Retain the default option
Password
Specify a password
Confirm Password
Specify the same password
Click OK.
-
Double-click oudm in the Users tab.
Figure 13-10 Weblogic Server Administration Console Users Tab
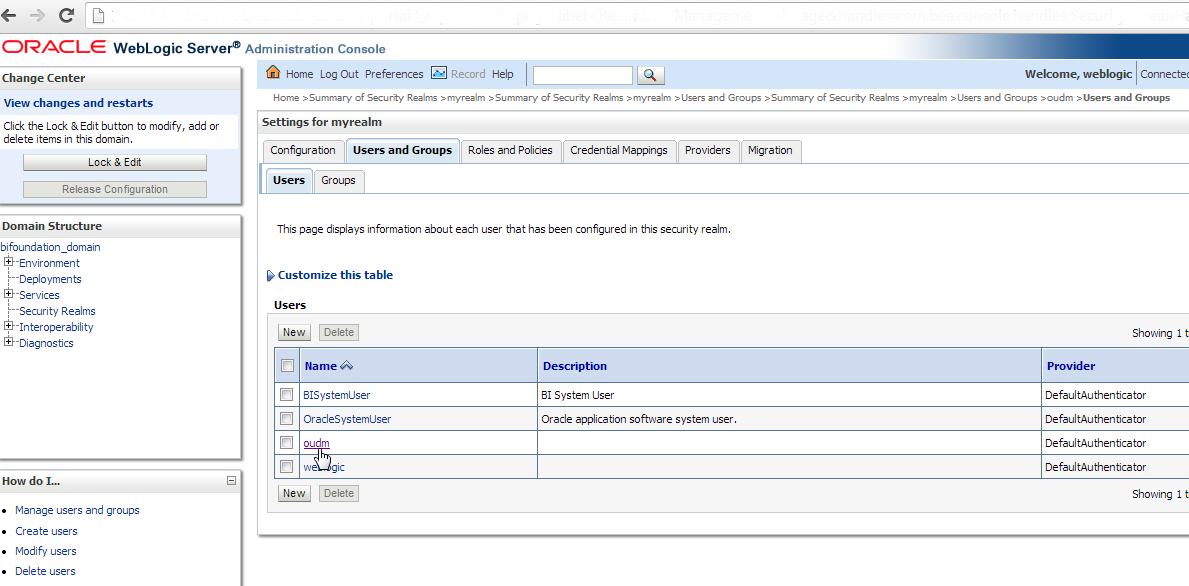
Description of "Figure 13-10 Weblogic Server Administration Console Users Tab"
Click Groups and then click Save.
Figure 13-11 Weblogic Server Administration Console Groups Tab
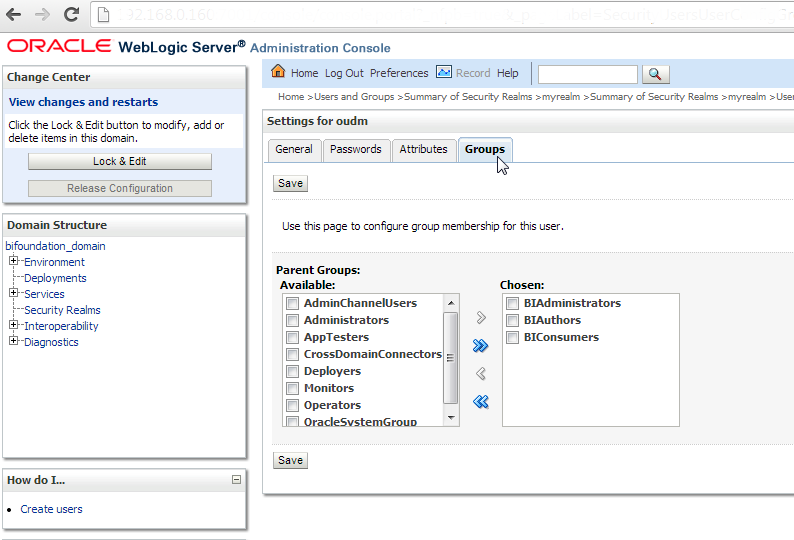
Description of "Figure 13-11 Weblogic Server Administration Console Groups Tab"
-
Login to Enterprise Manager 11g and perform the following steps:
-
Expand the Business Intelligence tab and click coreapplication.
-
Select the Security tab and click Configure and Manage Application Roles.
Figure 13-12 Enterprise Manager 11g Configure and Manage Application Roles Link
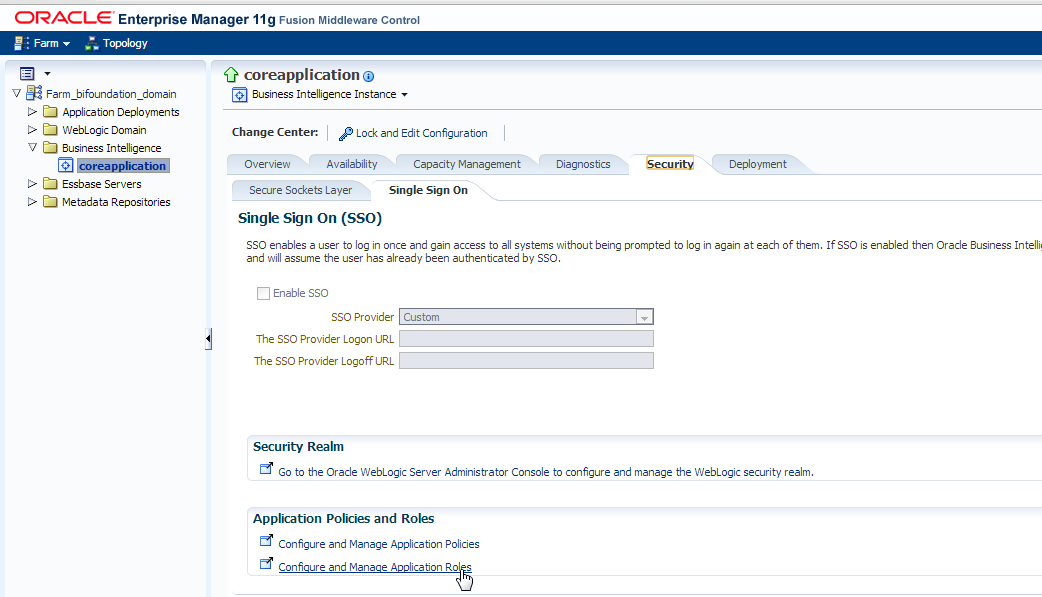
Description of "Figure 13-12 Enterprise Manager 11g Configure and Manage Application Roles Link"
-
Click Create... to create application role.
Figure 13-13 Enterprise Manager 11g Create Application Role
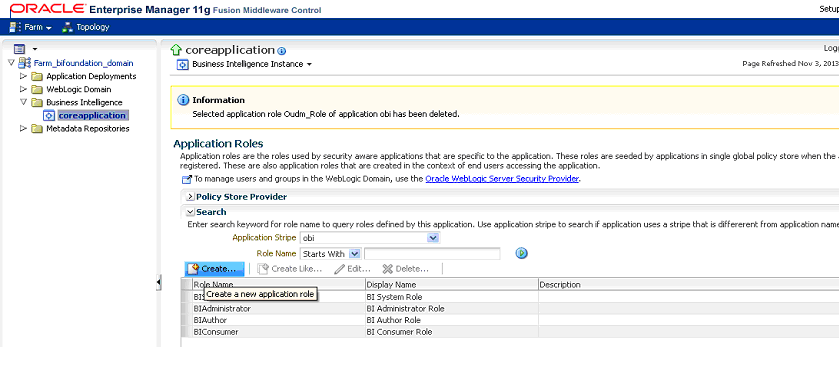
Description of "Figure 13-13 Enterprise Manager 11g Create Application Role"
-
Enter "Oudm_Role" for application role name and display name fields.
Figure 13-14 Enterprise Manager 11g Coreapplication Create Oudm_Role
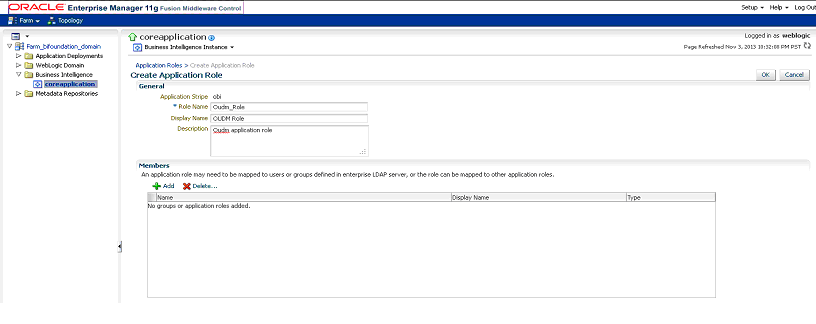
Description of "Figure 13-14 Enterprise Manager 11g Coreapplication Create Oudm_Role"
-
Click Add in the Members section to add new users to the application role.
Figure 13-15 Enterprise Manager 11g Coreapplication Section
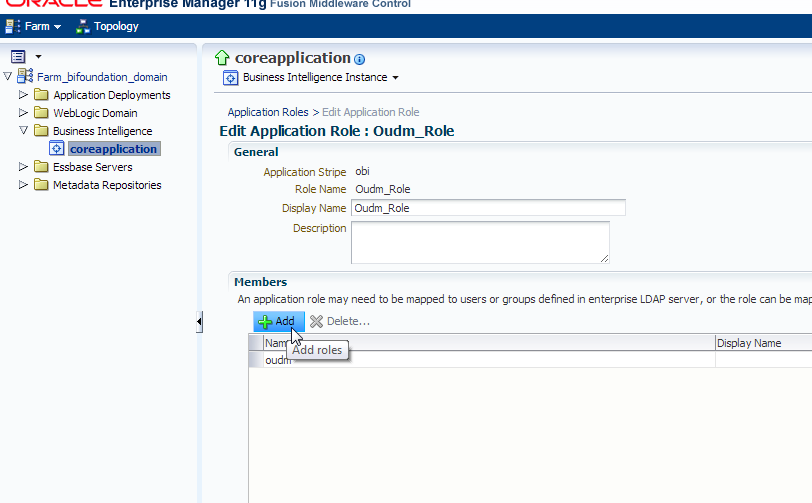
Description of "Figure 13-15 Enterprise Manager 11g Coreapplication Section"
-
Click OK.
-
-
Refresh the User Globally Unique Identifiers (GUIDs) and restart the services.
Refresh the GUID
If you change the directory server used as the identity store for the authentication provider, then you must refresh the user GUIDs. If you do not refresh the GUIDs, and the same user name exists in both the original and new directory servers, then the original user GUID shows a conflict with the user GUID contained in new directory server, resulting in authentication errors.
For more information on these steps, see Oracle Fusion Middleware Security Guide for Oracle Business Intelligence Enterprise Edition.
To refresh the User GUIDs, perform the following steps:
Note:
You must manually edit the configuration files in Oracle BI Server and Oracle BI Presentation Server and refresh the GUIDs after the restart. Edit these files to remove the changes after the refresh is complete.-
Update the
FMW_UPDATE_ROLE_AND_USER_REF_GUIDSparameter inNQSConfig.INI: at the following path:\MiddlewareHome\instances\instance2\config\OracleBIServerComponent\coreapplication_obis1 \NQSConfig.INIOpen and locate the
FMW_UPDATE_ROLE_AND_USER_REF_GUIDSparameter and set it toYES, as shown:FMW_UPDATE_ROLE_AND_USER_REF_GUIDS = YES;Save the file.
-
Update the
ps:Catalog element in instanceconfig.xml:at the following path:\MiddlewareHome\instances\instance2\config\OracleBIPresentationServicesComponent\coreapplication_obips1\Instanceconfig.xmlLocate the
ps:Catalogelement and update it, as shown:<ps:UpgradeAndExit>false</ps:UpgradeAndExit>Paste the command, as shown:
< UpdateAccountGUIDs>UpdateAndExit</ UpdateAccountGUIDs>Save the file.
-
In Enterprise Manager 11g, restart BI server.
-
Update the
FMW_UPDATE_ROLE_AND_USER_REF_GUIDSparameter inNQSConfig.INI:at the following path:\MiddlewareHome\instances\instance2\config\OracleBIServerComponent\coreapplication_obis1 \NQSConfig.INIOpen and locate the
FMW_UPDATE_ROLE_AND_USER_REF_GUIDSparameter and set it toNO, as shown:FMW_UPDATE_ROLE_AND_USER_REF_GUIDS = NO;Save the file.
-
Update the
ps:Catalogelement ininstanceconfig.xml:at the following path:\MiddlewareHome\instances\instance2\config\OracleBIPresentationServicesComponent\coreapplication_obips1\Instanceconfig.xmlLocate the
ps:Catalogelement and update, as shown:<ps:UpgradeAndExit>false</ps:UpgradeAndExit>Remove the following command:
<ps: UpdateAccountGUIDs>UpdateAndExit<ps: UpdateAccountGUIDs>Save the file.
-
In Enterprise Manager 11g, restart BI server.
Figure 13-16 Enterprise Manager 11g Coreapplication Overview Tab
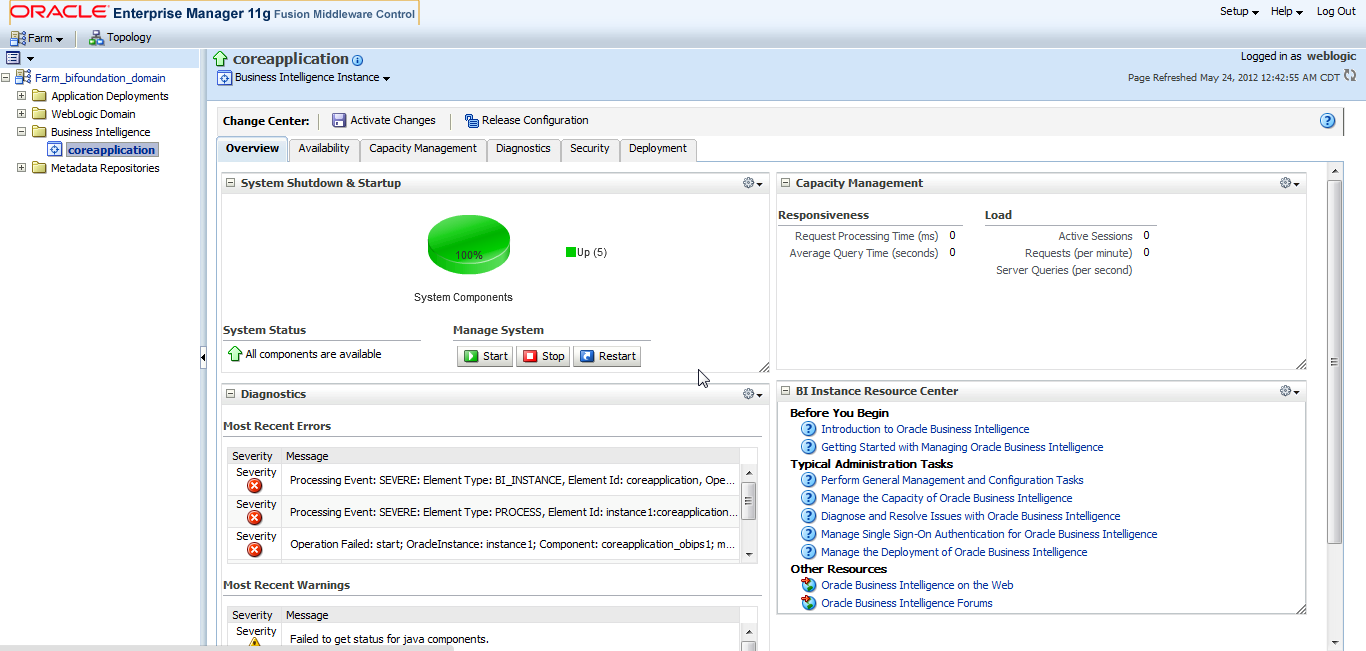
Description of "Figure 13-16 Enterprise Manager 11g Coreapplication Overview Tab"
Note:
Ensure that Oracle Web Logic Server and the system components are running. If they are not running, restart the server and the components.