2. Cross Border Processing
The Cross-border (SWIFT) Payments module (product processor) of Oracle FLEXCUBE Payments is a standalone product processor. Payments module provides out of the box support for processing incoming and outgoing SWIFT Payments. This module helps you process funds transfer transactions between financial institutions based anywhere across the globe. Following fund transfers are supported:
- Incoming Cross Border Payment
- Outgoing Cross Border Payment
The Cross-border product processor processes a SWIFT payment transaction initiated by an Operations user from the in-built user interface or by customers in the bank’s Customer Channels like Internet banking or Mobile banking. The payment instructions initiated from the bank Channels are received by Oracle Payments through ReST or SOAP based interfaces.
An outgoing SWIFT payment is processed through number of processing steps as detailed in one of the sections of this user manual. After successful processing, an outward SWIFT message, say MT103, is generated and sent to the SWIFT network through a SWIFT gateway like SAG. Likewise, Incoming SWIFT payment messages from the SWIFT network can be received and processed resulting in credit of a beneficiary bank account or an outward SWIFT payment to the next bank in the chain.
Key Features of Cross Border Product Processor
- Supports incoming, outgoing and pass-through outgoing Cross border SWIFT payments.
- Straight through processing of incoming and outgoing messages is supported.
- Outward Cross border payments can be initiated in one of the following
ways:
- UI
- ReST services
- SOAP services
- Bulk File upload
- Provision for manual initiation based on image uploaded image of payment instructions received.
- Support for exceptions processing Any exception encountered during processing will move the transaction to the relevant dedicated exception queue.
- Cross-border transaction life-cycle processing will be supported
This chapter contains details of the following maintenances specific to Cross-border payments:
- Currency Correspondent
- Global Correspondent
- BIC Cutoff
- PSD Preferences
- Sender Receiver Agreement
- Spread Rule
- Special Instructions
- Cover Suppression Maintenance
- Message Enrichment Rules
- D to A Converter
- Cover Queue Rule Maintenance
- Rate Refreshment
- Prime Bank
2.1 Currency Correspondent
Usage of this screen
You can specify currency correspondent account details in this screen.Currency correspondent Maintenance function is Host specific.
2.1.1 Maintaining Currency Correspondent
You can invoke the ‘Currency Correspondent Maintenance’ screen by typing ‘PMDCYCOR’ in the field at the top right corner of the application toolbar and clicking the adjoining arrow button.Click new button on the Application toolbar.

You can specify the following fields:
Host Code
The system displays the Host Code of the selected branch of the logged in user.
Currency
Specify the currency. Alternatively, you can select the currency from the option list. The list displays all valid currencies maintained in the system.
Account Type
Select the account type. The list displays the following values:
- Our- Account maintained with the correspondent input in the Bank Code field.
- Their- Account maintained by the correspondent input in the Bank Code field with the Processing bank (Vostro account)
Account Number
Specify the account number associated with the correspondent input in the Bank Code field in the specified currency
Alternatively, you can select the parent account number from the option list. The list displays all Nostro accounts for Account type OUR and valid normal accounts for account type THEIR. The account currency displayed in the list should be same as the currency specified.
Account Name
The system displays the account name of the account number.
Primary Correspondent
Check this box if this correspondent is the primary currency correspondent. This option is applicable only for Account type ‘OUR’. There can be only one primary currency correspondent for the combination of Account type, Currency. This option will be defaulted as yes for the first currency correspondent maintained.
Max Claim Amount
Specifies the maximum amount that can be claimed by the correspondent in MT191 message.
Charge Claim GL
Specifies the GL code that is used to debit the charges as part of processing of the outgoing Bank transfer Transaction for the charge claim.
2.1.2 Viewing Currency Correspondent Summary
You can invoke “Currency Correspondent Summary” screen by typing ‘PMSCYCOR’ in the field at the top right corner of the Application tool bar and clicking on the adjoining arrow button.

You can search using one or more of the following parameters:
- Authorization Status
- Record Status
- Account Type
- Bank Code
- Account Number
- Primary Correspondent
- Currency
- Max Claim Amount
- Charge Claim GL
- Host Code
Once you have specified the search parameters, click ‘Search’ button. The system displays the records that match the search criteria for the following
- Authorization Status
- Record Status
- Branch
- Account Type
- Bank Code
- Account Number
- Primary correspondent
- Branch
- Primary Account
- Currency
- Max Claim Amount
2.2 Global Correspondent
Usage of this screen
You can maintain the correspondent relationship between any two banks in a specific currency in the Global correspondent screen.
2.2.1 Maintaining Global Correspondent
You can invoke the ‘Global correspondent Maintenance’ screen by typing ‘PMDGLCOR’ in the field at the top right corner of the application toolbar and clicking the adjoining arrow button.Click new button on the Application toolbar.

You can specify the following fields:
Host Code
The system displays the Host Code of the selected branch of the logged in user.
Bank Code
Specify the BIC code of the bank for which you need to maintain a Correspondent. Alternatively, you can select the BIC code from the option list. The list displays all valid BIC codes maintained in the system.
Bank Code Description
The system displays the Bank name of the specified BIC code.
Currency
Specify the currency. Alternatively, you can select the currency from the option list. The list displays all valid currencies maintained in the system.
Correspondent Bank Code
Specify the BIC code of the correspondent bank for the specified currency.
Correspondent Bank Code Description
The system displays the name of the correspondent Bank based on the specified BIC code.
2.2.2 Viewing Global Correspondent Summary
You can invoke “Global Correspondent Summary” screen by typing ‘PMSGLCOR’ in the field at the top right corner of the Application tool bar and clicking on the adjoining arrow button.

You can search using one or more of the following parameters:
- Authorization Status
- Record Status
- Host Code
- Currency
- Bank Code
Once you have specified the search parameters, click ‘Search’ button. The system displays the records that match the search criteria.
- Authorization Status
- Record Status
- Host Code
- Bank Code
- Currency
2.3 BIC Cutoff
Usage of this screen
- You can capture Currency cutoff days and time for each currency in this screen, and additionally a BIC of sender/receiver bank.
- For a currency specific or All BICs, Cut-off time is maintained.
- Cut off time maintained in BIC Cutoff Maintenance (PXDCYCOF) is used for Network cut-off check for cross-border payments.
2.3.1 Maintaining BIC Cutoff
You can invoke “BIC Cutoff” screen by typing ‘PXDCYCOF’ in the field at the top right corner of the Application tool bar and clicking on the adjoining arrow button
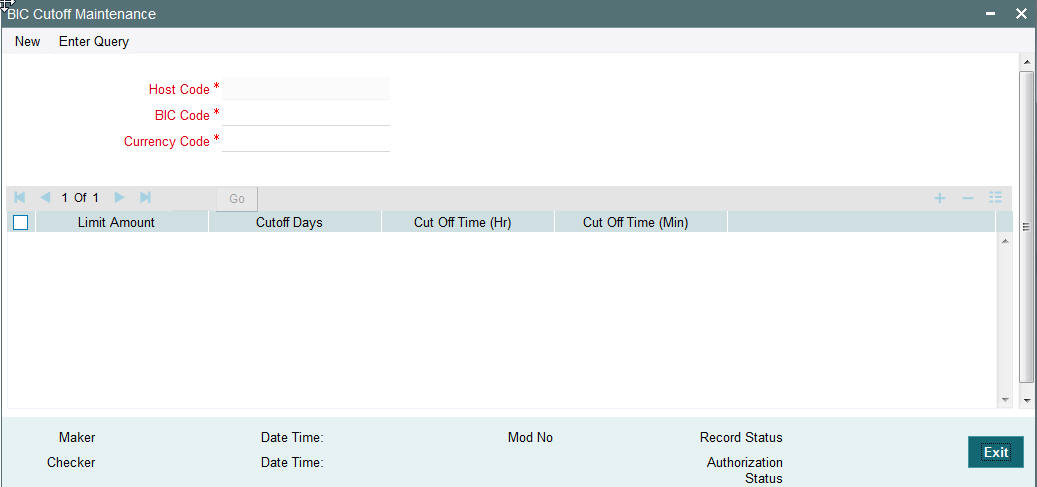
You can specify the following details:
Host Code
Displays the Host Code of the selected branch of the logged in user.
BIC Code
Specify the BIC Code. Alternatively, you can select the BIC Code from the option list. The list displays all valid BIC Codes maintained in the system.
Currency Code
Specify the currency code. Alternatively, you can select the currency code from the option list.
The list displays all valid currency codes maintained in the system for the selected country.
Limit Amount
Specify the limit amount for the transaction amount.
Cutoff Hour
Specify the hours for the transaction cut-off time.
Cutoff Minute
Specify the minutes for the transaction cut-off time.
Cutoff Days
Specify the number of days in advance of the current day on which the Cut-off time is applicable that the payment request needs to be received or the transaction booked from screen.
2.3.2 Viewing BIC Cutoff Summary
You can invoke “BIC Cutoff Summary” screen by typing 'PXSCYCOF' in the field at the top right corner of the Application tool bar and clicking on the adjoining arrow button.
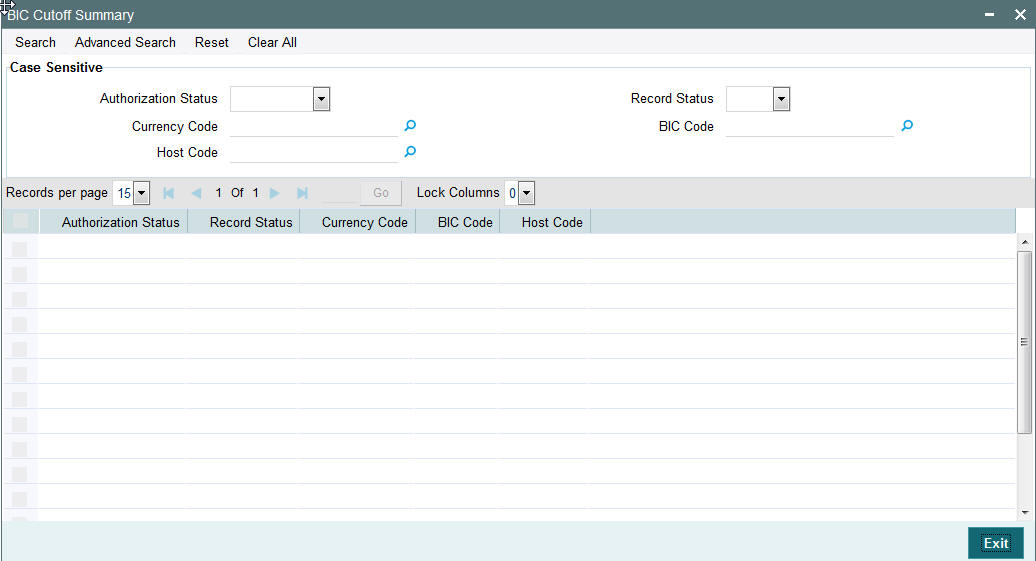
You can search using one or more of the following parameters:
- Authorization Status
- Record Status
- Host Code
- Currency Code
- BIC Code
Once you have specified the search parameters, click ‘Search’ button. The system displays the records that match the search criteria.
- Authorization Status
- Record Status
- Currency Code
- BIC Code
- Host Code
2.4 PSD Preferences
Usage of this screen
- You can define the preferences related to Payment Services Directive (PSD) for outgoing payments in this screen.
- On processing an outgoing cross-border transaction for a combination of sender and receiver and currencies involved, the system verifies whether a record is available in PSD preferences.
- If PSD preference is maintained, Charge type is updated as SHA in place of BEN or OUR for an outgoing transaction.
2.4.1 Maintaining PSD Preferences
You can invoke “PSD Preferences maintenance” screen by typing ‘PXDPSDPF’ in the field at the top right corner of the Application tool bar and clicking on the adjoining arrow button.
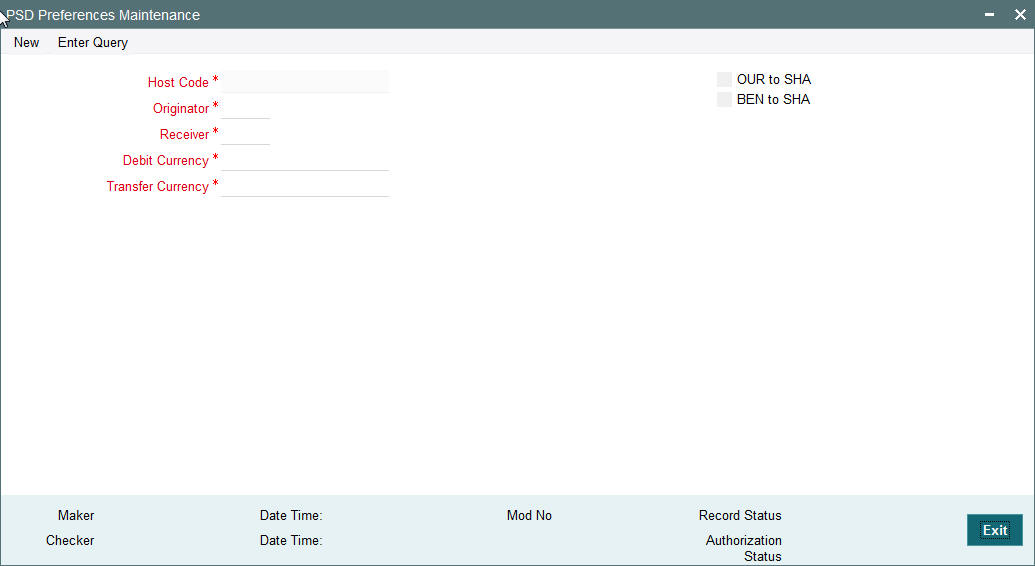
Specify the following details
Host Code
Displays the Host code for which PSD preferences are to be maintained.
Originator
Specify the originator country code. Alternatively, you can select the originator country code from the option list. The list displays all valid country codes maintained in the system.
Receiver
Specify the receiver country code. Alternatively, you can select the receiver country code from the option list. The list displays all valid country codes maintained in the system.
Debit Currency
Specify the debit currency of the transaction. Alternatively, you can select the debit currency from the option list. The list displays all valid currencies maintained in the system.
Transfer Currency
Specify the transfer currency of the transaction. Alternatively, you can select the transfer currency from the option list. The list displays all valid currencies maintained in the system.
OUR to SHA
Check this Charge Whom option to indicate that the charges pertaining to the payment are shared between the originator and receiver, instead of being borne by the ordering customer.
BEN to SHA
Check this Charge Whom option box to indicate that the charges for the payment are shared between the originator and the receiver, instead of being borne by the beneficiary.
2.4.2 Viewing PSD Preferences Summary
You can invoke “PSD Preferences Summary” screen by typing ‘PXSPSDPF’ in the field at the top right corner of the Application tool bar and clicking on the adjoining arrow button.

You can search using one or more of the following parameters:
- Authorization Status
- Record Status
- Host Code
- Originator
- Receiver
- Transfer Currency
- Debit Currency
Once you have specified the search parameters, click ‘Search’ button. The system displays the records that match the search criteria for the following
- Authorization Status
- Record Status
- Host Code
- Originator
- Receiver
- Transfer Currency
- Debit Currency
- OUR to SHA
- BEN to SHA
2.5 Sender Receiver Agreement
2.5.1 Maintaining Sender Receiver Agreement
You can maintain Sender Receiver Agreement in this screen.This is used for capturing Bi-lateral agreement for exchanging MT102/MT102+messages with a particular bank.
You can invoke “Sender Receiver Agreement” screen by typing ‘PXDSRAGM’ in the field at the top right corner of the Application tool bar and clicking on the adjoining arrow button.

Specify the following details.
Host Code
Displays the Host code of the selected branch.
Counterparty Bank
Specify the Bank Code as the 1st 6 characters of a BIC code comprising 4 characters identifying the bank and the next 2 characters identifying the Country code.
Bank Name
Specify the name of the bank.
SWIFT Message Type
Displays the default value i.e MT 102. This is non-editable.
Transactions per message
Specifies the maximum number of transactions in one Multi-credit Customer Transfer MT102 message.
Transaction Currency Limits and Cut-off time
Specify the list of allowed Transaction Currencies, Max. Transaction Amount in each currency and the cut-off time per currency expressed in hours and minutes in the time zone of the branch which processes the outward/inward MT 102.
Charge Whom
If the Sender and Receiver want the charging option in MT 102 messages exchanged between them to be restricted to only one of the 3 options then, the same can be selected in this field.
- The values for selection are OUR, BEN and SHA
- If the two banks do not wish to restrict to any particular charging option, then no value should be selected. You can select the required charging option in each individual transaction of the multi-credit customer transfer batch.
Receiver Charge Option
In case of OUR charge Type, the charges due to Receiver can either be pe-paid by including them in the settlement amount of the message (Field 32A in Sequence C) or through settlement of incoming MT191 for charge claim from the Receiving bank.
Select one of the following options:
- Included in Settlement Amount
- Settled through Charge Claim
Receiver Charge Currency
If you select the option for settlement of the Receiver Charges as “Included in Settlement amount, then you must specify the currency of the charges.
Receiver Charge Amount
If you select the option for settlement of the Receiver Charges as “Included in Settlement amount, then you must specify the charge amount.
Debit Accounting Code
Specify the Debit Accounting Code.
Credit Accounting Code
Specify the Credit Accounting Code.
Restriction sub screen
Click this link. The Restriction screen appears.
2.5.2 Specifying Restrictions
Click the Restrictions button in the Sender Receiver Agreement Maintenance screen.
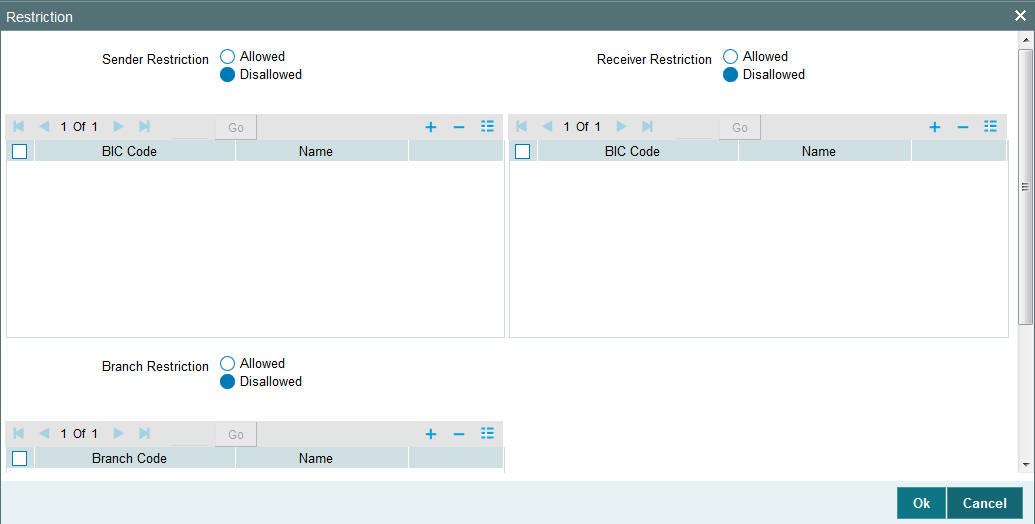
Specify the following details.
Counterparty Bank - Sender Restrictions
- Allowed - Select this option for specifying all of the allowed BIC codes of the counter-party bank that can send MT102/MT102+.
- Disallowed- Select this option for specifying the specific BIC codes of the counter-party bank that are not allowed to send MT102/MT102.
BIC Code
Specify the BIC Code or search and select it using LOV.
Name
Displays the name of the bank for the specified BIC code.
Counterparty Bank - Receiver Restrictions
- Allowed - Select this option for specifying all of the allowed BIC codes of the counter-party bank that can receive MT102/MT102+.
- Disallowed- Select this option for specifying the specific BIC codes of the counter-party bank that are not allowed to receive MT102/MT102.
BIC Code
Specify the BIC Code or search and select it using LOV.
Name
Displays the name of the bank for the specified BIC code.
Branch Restrictions
- Allowed - Select this option for specifying all of the allowed BIC codes of the counter-party bank that can send and receive MT102/MT102+.
- Disallowed- Select this option for specifying the specific BIC codes of the counter-party bank that are not allowed to send or receive MT102/MT102.
Branch Code
Specify the Branch Code search and select it using LOV.
Name
Displays the name of the branch for the specified branch code.
2.5.3 Viewing Sender-Receiver Agreement Summary
You can invoke “Sender-Receiver Agreement Summary” screen by typing ‘PXSSRAGM’ in the field at the top right corner of the Application tool bar and clicking on the adjoining arrow button.
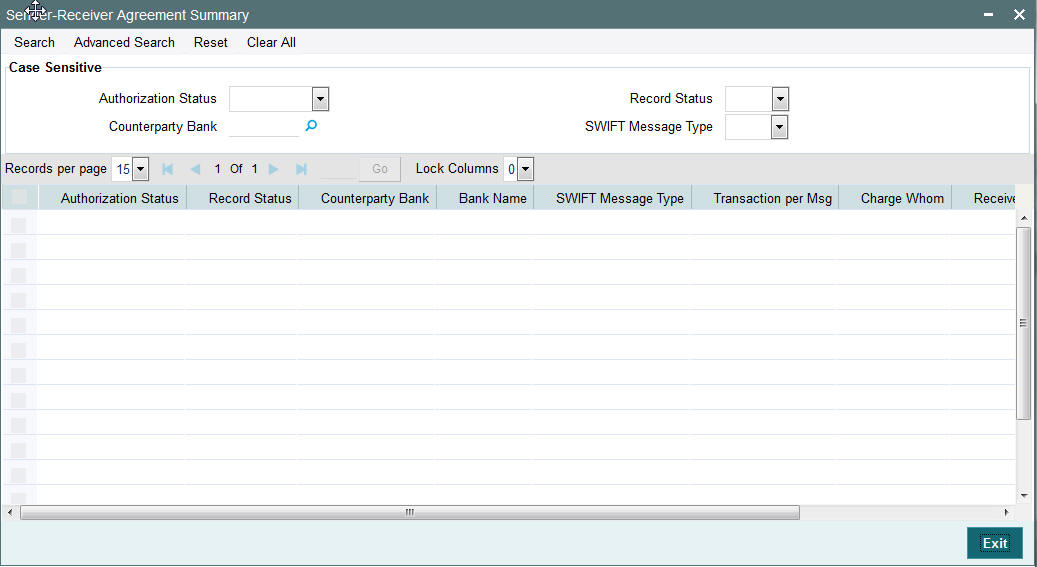
You can search using one or more of the following parameters:
- Authorization Status
- Record Status
- Counterparty Bank
- SWIFT Message Type
Once you have specified the search parameters, click ‘Search’ button. The system displays the records that match the search criteria for the following
- Authorization Status
- Record Status
- Counterparty Bank
- Bank Name
- SWIFT Message Type
- Transaction per Msg
- Charge Whom
- Receiver Charge Option
2.6 Spread Rule
Usage of this screen
- Using elements, you can maintain the specific Exchange rate buy/sell spreads for customers which will be used for cross currency transaction.
- You can capture the rules and the spread value for a customer in this screen.
2.6.1 Maintaining Spread Rule
You can invoke “Spread Rule Maintenance” screen by typing ‘PXDSPDRL’ in the field at the top right corner of the Application tool bar and clicking on the adjoining arrow button.
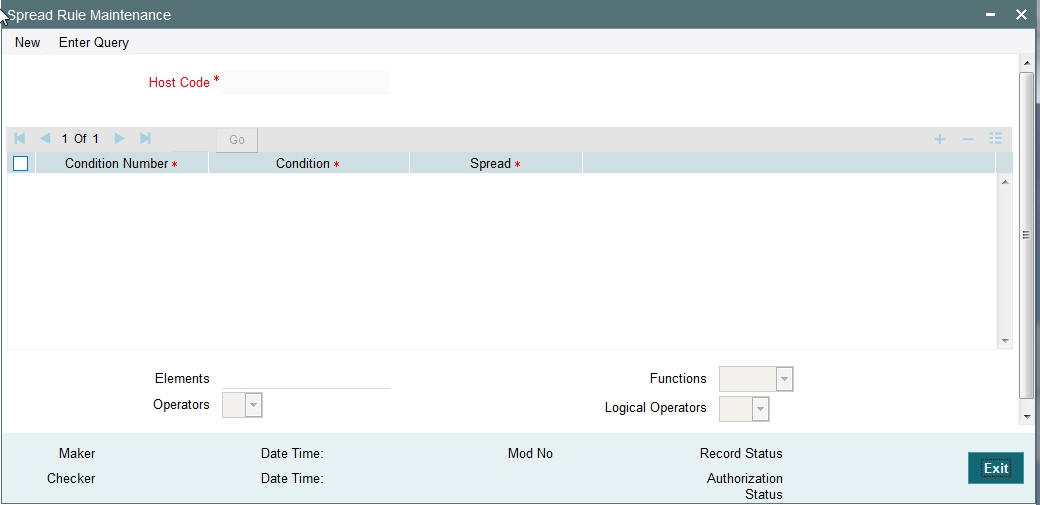
Specify the following details
Host Code
The system displays the host code.
Condition Number
Specify the condition number.
Condition
Specify the condition using a combination of Elements, Operators, Functions and Logical Operators.
Element
Specify the attributes that can be used for condition builder. Alternatively, you can select the attributes from the option list. The list displays all valid attributes maintained in the system.
Operators
Select the standard operators to define conditions from the drop-down list. Following are the options available in the drop-down list:
- =
- <>
- >
- >=
- <
- <=
- +
- -
- /
- *
Functions
Select standard functions to define conditions from the drop-down list. Following are the options available in the drop-down list:
- ABS
- Round
- Floor
- Cell
- Greatest
- Least
- Power
- Mod
- Truncate
Logical Operators
Select the standard logical operators to define conditions from the drop-down list. Following are the options available in the drop-down list:
- AND
- OR
- NOT
Spread
Specify the spread value.
2.6.2 Viewing Spread Rule Maintenance Summary
You can invoke “Spread Rule Maintenance Summary” screen by typing ‘PXSSPDRL’ in the field at the top right corner of the Application tool bar and clicking on the adjoining arrow button.
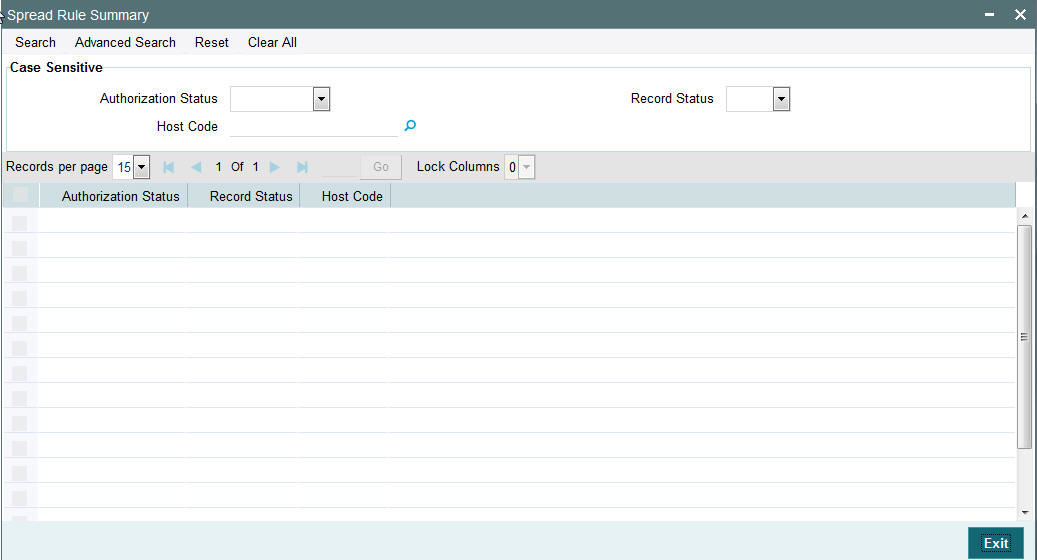
You can search using one or more of the following parameters:
- Authorization Status
- Record Status
- Host Code
Once you have specified the search parameters, click ‘Search’ button. The system displays the records that match the search criteria for the following
- Authorization Status
- Record Status
- Host Code
2.7 Special Instructions
Usage of this screen
- You can specify the special instructions for any given account - Customer or Nostro account in the Special Instructions screen. If any special instructions are maintained for the account, the transactions are moved to the business override queue. The instruction can be free format text.
- The authorized special instruction of an account is considered during transaction processing. The record is re-opened to maintain any new special instructions.
- Once the special instruction for the account has been processed, the same can be closed in the maintenance. The same record can be re–opened to maintain any new special instructions.
2.7.1 Maintaining Special Instructions
You can invoke the ‘Special Instructions Maintenance’ screen by typing ‘PXDSIMNT’ in the field at the top right corner of the application toolbar and clicking the adjoining arrow button.Click new button on the Application toolbar.

You can specify the following fields:
Host Code
The system displays the Host Code by default when you select New or Enter Query.
Branch
The system displays the selected branch of the logged in user.
Account Number
Specify the account number for which the special instruction needs to be maintained. Alternatively, you can select the account number from the option list. The list displays all valid account numbers maintained in the system.
Currency
The system displays the currency of the selected account number.
Special Instructions
Specify the special instruction in free format text.
2.7.2 Viewing Special Instructions Summary
You can invoke “Special Instructions Summary” screen by typing ‘PXSSIMNT’ in the field at the top right corner of the Application tool bar and clicking on the adjoining arrow button.
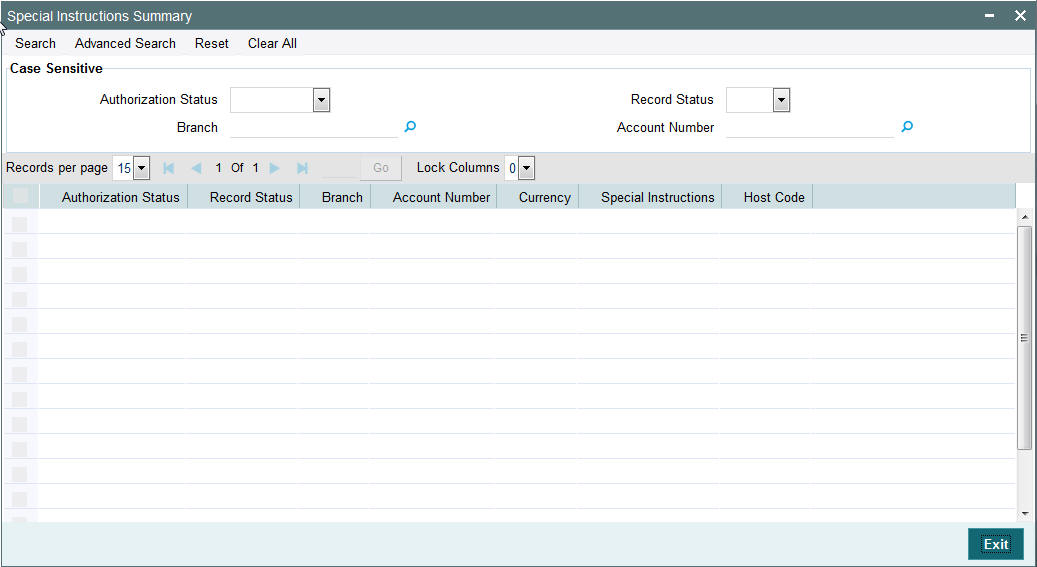
You can search using one or more of the following parameters:
- Authorization Status
- Record Status
- Branch
- Account number
Once you have specified the search parameters, click ‘Search’ button. The system displays the records that match the search criteria.
- Authorization Status
- Record Status
- Branch
- Account Number
- Currency
- Special Instructions
- Host Code
2.8 Cover Suppression Maintenance
Usage of this screen
- You can define rules in this screen for the system to derive if the cover message needs to be suppressed for an outgoing customer payment message. This is branch specific function.
- All the transaction fields would be available as elements and rules can be defined to suppress the cover message for the transaction.
2.8.1 Invoking Cover Suppression Maintenance Screen
You can invoke the ‘Cover Suppression Maintenance’ screen by typing ‘PXDCSPRL’ in the field at the top right corner of the application toolbar and clicking the adjoining arrow button.Click new button on the Application toolbar.
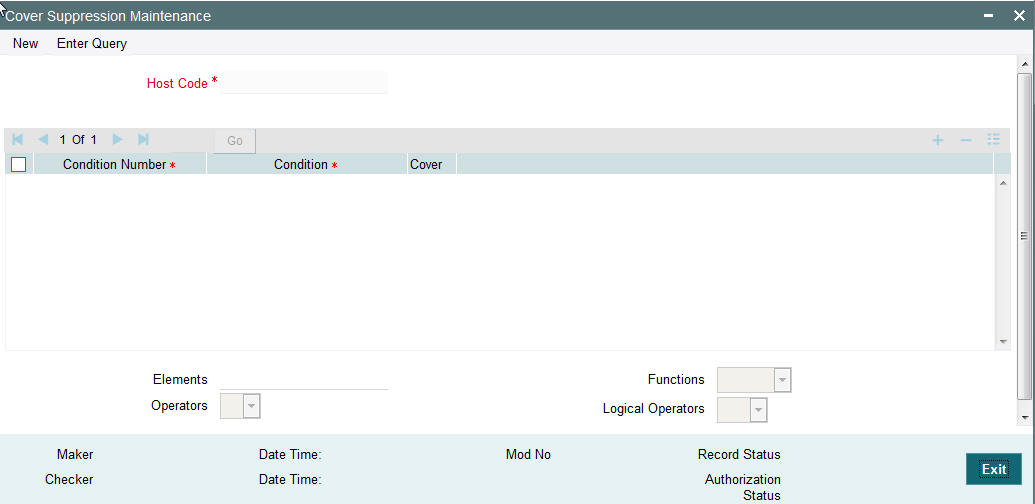
You can specify the following fields:
Host Code
The system displays the host code of the selected branch of logged in user.
Condition Number
Specify the condition number.
Condition
Specify the rule condition using a combination of Elements, Operators, Functions and Logical Operators.
Element
Specify the attributes that can be used for condition builder. Alternatively, you can select the attributes from the option list. The list displays all valid attributes maintained in the system.
Operators
Select the standard operators to define conditions from the drop-down list. Following are the options available in the drop-down list:
- =
- <>
- >
- >=
- <
- <=
- +
- -
- /
- *
Functions
Select standard functions to define conditions from the drop-down list. Following are the options available in the drop-down list:
- ABS
- Round
- Floor
- Cell
- Greatest
- Least
- Power
- Mod
- Truncate
Logical Operators
Select the standard logical operators to define conditions from the drop-down list. Following are the options available in the drop-down list:
- AND
- OR
- NOT
Cover
Check this box to indicate whether cover message is suppressed or not.
2.8.2 Viewing Cover Suppression Summary
You can invoke “Cover Suppression Summary” screen by typing ‘PXSCSPRL’ in the field at the top right corner of the Application tool bar and clicking on the adjoining arrow button.
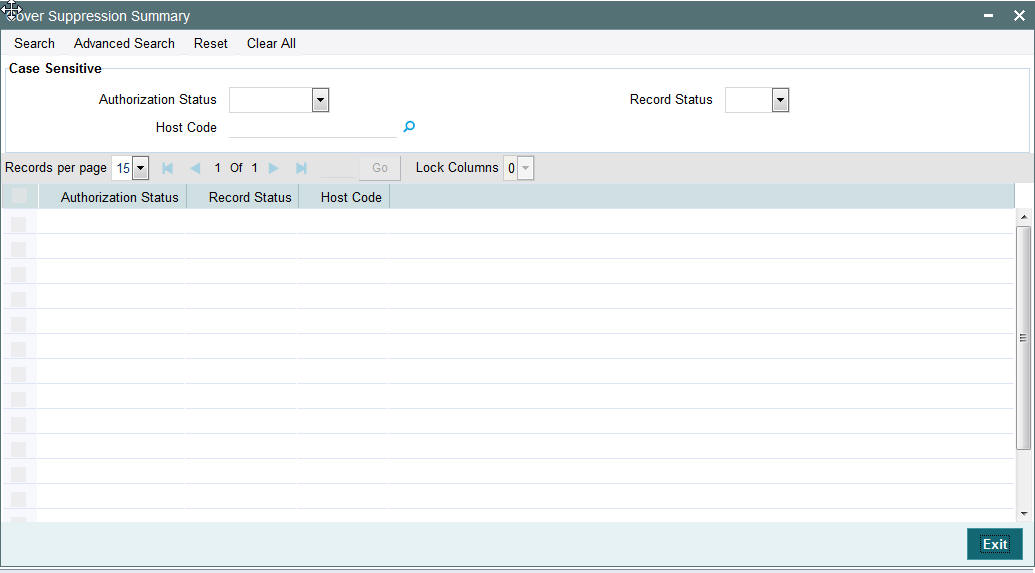
You can search using one or more of the following parameters:
- Authorization Status
- Record Status
- Host Code
Once you have specified the search parameters, click ‘Search’ button. The system displays the records that match the search criteria.
- Authorization Status
- Record Status
- Host Code
2.9 Message Enrich Rules
You can enrich an incoming SWIFT message according to the rules specified for a message type in this screen before the processing of incoming message is initiated.
2.9.1 Maintaining Message Enrich Rules
You can invoke “Message Enrich Rules Maintenance” screen by typing ‘PXDRLECH’ in the field at the top right corner of the Application tool bar and clicking on the adjoining arrow button.
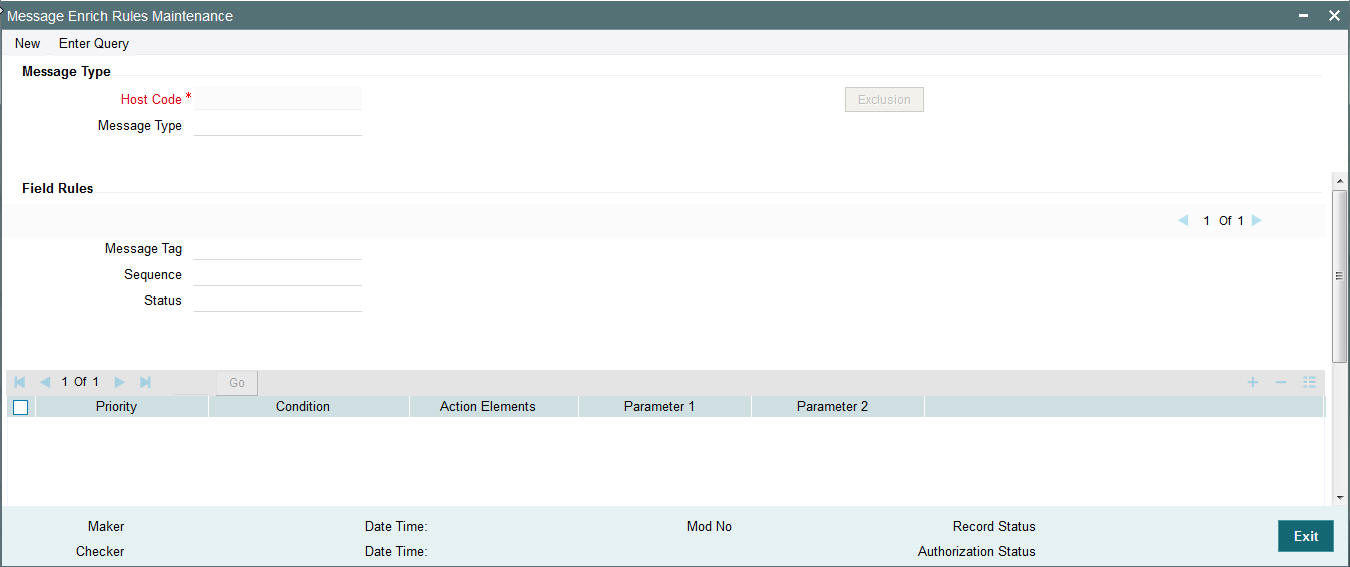
Specify the following details
Message Type
Message Type
Specify the type of the message, say, MT103. Alternatively, you can select the message type from the option list. The list displays all valid message types maintained in the system.
Field Rules
Message Tag
Specify the tag or field of the selected message type.
Sequence
Displays the sequence of this tag in the message.
Status
Displays the condition of the tag.
Priority
Specify the priority of the enrichment condition.
Condition
Specify the enrichment condition for the message by using a combination of String function, Logical Operator and Operator.
String Functions
Select the string function for constructing condition from the drop down list.
Logical Operators
Select the standard logical operators to define conditions from the drop-down list. Following are the options available in the drop-down list:
- AND
- OR
- NOT
Operators
Select the standard operators to define conditions from the drop-down list. Following are the options available in the drop-down list:
- =
- <>
- >
- >=
- <
- <=
- +
- -
- /
- *
Action Elements
Select one of the available enrichment functions for enriching the value in the selected message tag of the message type.
Parameter 1
Specify the parameter 1 value if expected by the selected enrichment function.
Parameter 2
Specify the parameter 2 value if expected by the selected enrichment function.
Exclusion Button
Click on the ‘Exclusion’ button to invoke the following screen.
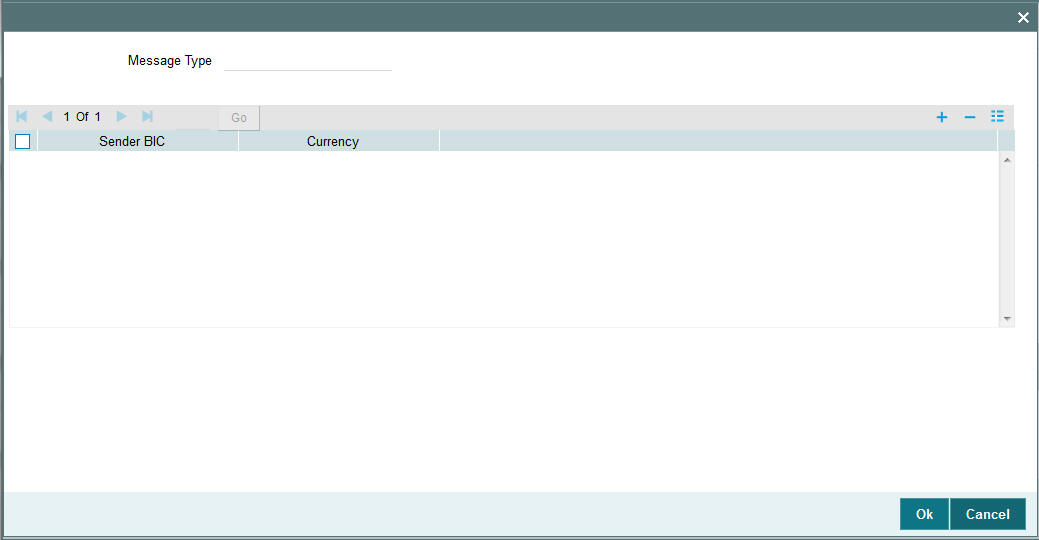
Specify the following details
Message Type
Displays the message type.
Sender BIC
Specify the sender BIC. Alternatively you can select the sender BIC from the option list. The list displays all valid BICs maintained in the system.
Currency
Specify the currency. Alternatively you can select the currency from the option list. The list displays all valid currencies maintained in the system.
2.9.2 Viewing Message Enrich Rules Summary
You can invoke “Message Enrich Rules Summary” screen by typing ‘PXSRLECH’ in the field at the top right corner of the Application tool bar and clicking on the adjoining arrow button.
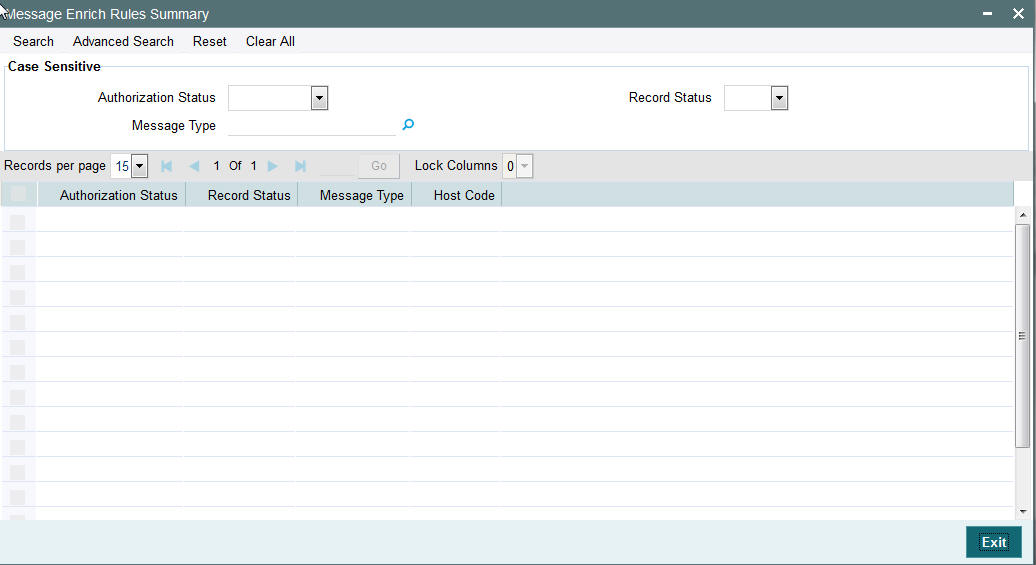
You can search using one or more of the following parameters:
- Authorization Status
- Record Status
- Message Type
- Host Code
2.9.3 Invoking D to A Converter
You can enable translation of information of the parties involved in the payment from ‘D’ option (names and addresses) to appropriate ‘A’ option (BIC codes).
This information is used during the STP of an incoming message to convert the names and address information to the appropriate BIC code of the parties mentioned in the message.
You can invoke the ‘D to A Maintenance’ screen by typing ‘PMDDAMNT’ in the field at the top right corner of the application toolbar and clicking the adjoining arrow button.Click new button on the Application toolbar.

You can specify the following fields:
Host Code
The system displays the host code of the selected branch of logged in user.
BIC Code
Specify the BIC codes. Alternatively, you can select the BIC code from the option list. The list displays all valid BIC codes maintained in the system.
BIC Code Description
The system displays the description (name of the entity) of the BIC codes.
Address Line1 through to Address Line4
Specify the address line 1 to 4 maintained for the BIC code Address Details mentioned in all of the input lines is compared with name and address received in the message to resolve the BIC Code. The details in these lines should match for successful conversion.
2.9.4 Viewing D to A Converter Summary
You can invoke “D to A Converter Summary” screen by typing ‘PXSDAMNT’ in the field at the top right corner of the Application tool bar and clicking on the adjoining arrow button.

You can search using one or more of the following parameters:
- Authorization Status
- Record Status
- BIC Code
- Address Line1
Once you have specified the search parameters, click ‘Search’ button. The system displays the records that match the search criteria for the following
- Authorization Status
- Record Status
- BIC Code
- Address Line1
- Address Line2
- Address Line3
- Address Line4
2.10 Cover Queue Rule Maintenance
Usage of this screen
- This rule maintenance screen is used for is available for segregating the incoming message to a designated Queue.
- This maintenance screen is also used to set up rules for moving ‘Cover matching required’ messages to a separate queue so that auto straight through processing does not happen for such messages before cover matching.
- The message type of the rule, in the rule maintenance must be specified as ‘PWC’. This is a host level maintenance.
- In the rule maintenance, after specifying the conditions, the message is mapped to a valid queue name. The queue specified here is maintained with auto STP required as ‘No’ in the relevant Queue maintenance.
- If a message is identified as cover required and auto STP is maintained as’ No’, then further upload of message into cross border payment tables does not happen. The message will be put on hold till the cover matching is done for the message. Messages without cover required, are processed as usual.
2.10.1 Invoking Cover Suppression Maintenance Screen
You can invoke the ‘Cover Suppression Maintenance’ screen by typing ‘PXDRLSTP’ in the in the field at the top right corner of the Application tool bar and clicking on the adjoining arrow button.
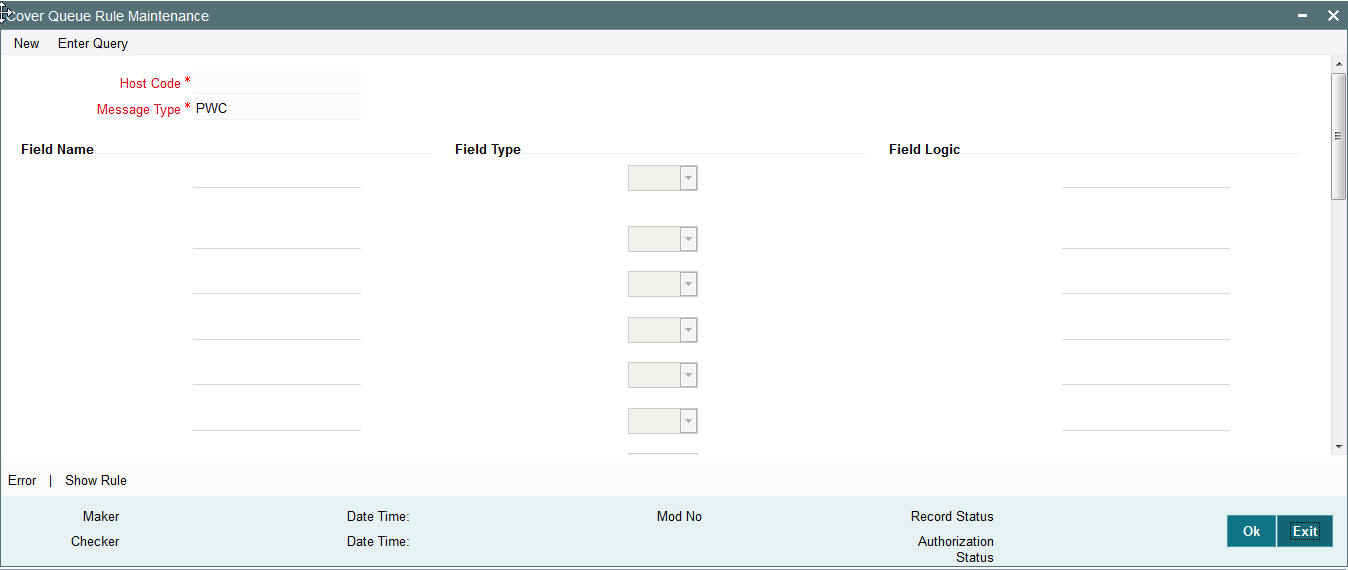
You can specify the following fields:
Host Code
The system displays the host code when you click New or Enter Query.
Message Type
The system displays the message type “PWC” by default.
Field Name
Specify the name of the field.
Field Type
Select the required field type. Choose between the following:
- Text
- Number
- Date
Field Logic
Specify the field logic.
Error
Click the Error link to specify any error messages.
Show Rule
Click the Show Rule link to specify or modify the Rule Maintenance parameters.
2.10.2 Invoking Error Screen
From the Cover Queue Rule Maintenance screen, click the Error link.
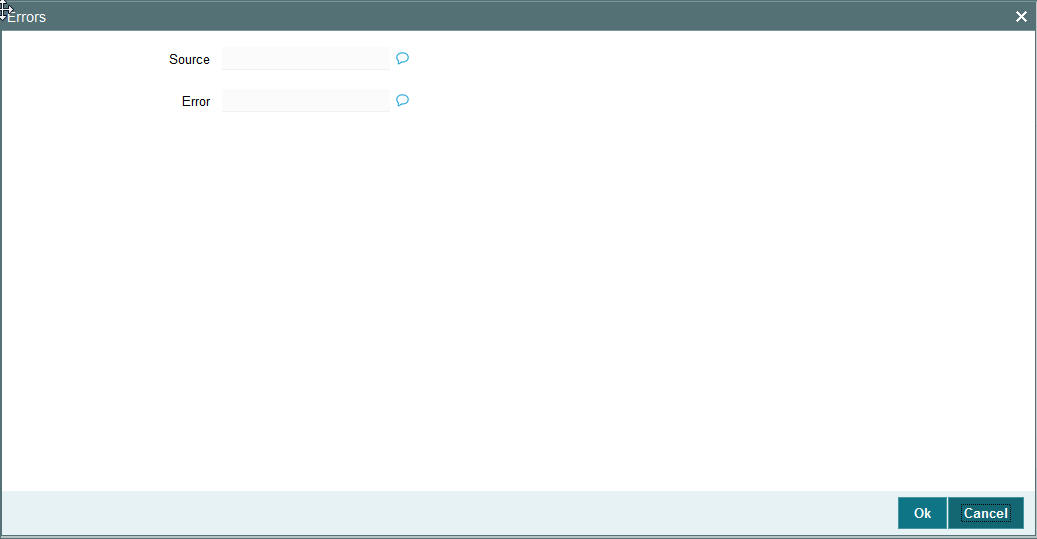
You can specify the following fields:
Source
Specify the source of error.
Error
Specify the error details.
2.10.3 Invoking Rule Maintenance
From the Cover Queue Rule Maintenance screen, click the Show Rule link.
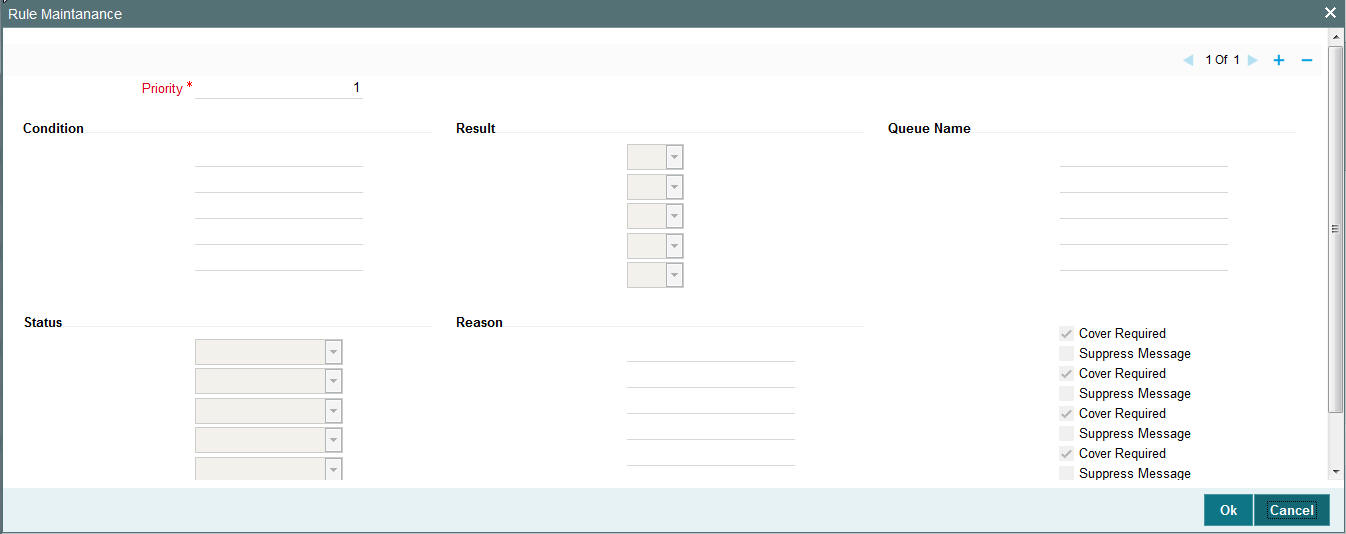
You can specify the following fields:
Priority
The system specifies the priority by default.
Condition
Specify the Rule Condition.
Result
Select the required result. Choose among the following:
- True
- False
Queue Name
Specify the required Queue Name from the list of values.
Status
Specify the status of the message that should be set for the rule condition. Choose among the following:
- Repair
- Pending Cover Match
- Suppressed
- Unprocessed
Reason
Specify the reason code from the list of values for each rule condition, if applicable.
Cover Required
Check this box if cover is required for a particular rule condition.
Suppress Message
Check this box if message must be suppressed for a particular rule condition.
2.10.4 Viewing Cover Queue Rule Summary
You can invoke “Cover Queue Rule Summary” screen by typing ‘PXSRLSTP’ in the field at the top right corner of the Application tool bar and clicking on the adjoining arrow button.

You can search using one or more of the following parameters:
- Authorization Status
- Record Status
- Message Type
- Host Code
Once you have specified the search parameters, click ‘Search’ button. The system displays the records that match the search criteria for the following
- Authorization Status
- Record Status
- Message Type
- Host Code
2.11 Rate Refreshment
Usage of this screen
- You can capture the current Rate refreshment status of exchange rates in this screen.
- A separate check box is provided; one for small FX rate refresh status and another one for Standard Rate refresh status.
- The two operations that are allowed in this screen are:
- Unlock
- Save
- Whenever user changes the exchange rates in Spot rate maintenance, the rate refresh statuses will be set to “No” [Unchecked]. This happens automatically when a record is newly created or an existing record is amended.
2.11.1 Invoking Rate Refreshment Screen
You can invoke “Rate Refreshment” screen by typing ‘PXDRMTMT’ in the field at the top right corner of the Application tool bar and clicking on the adjoining arrow button.
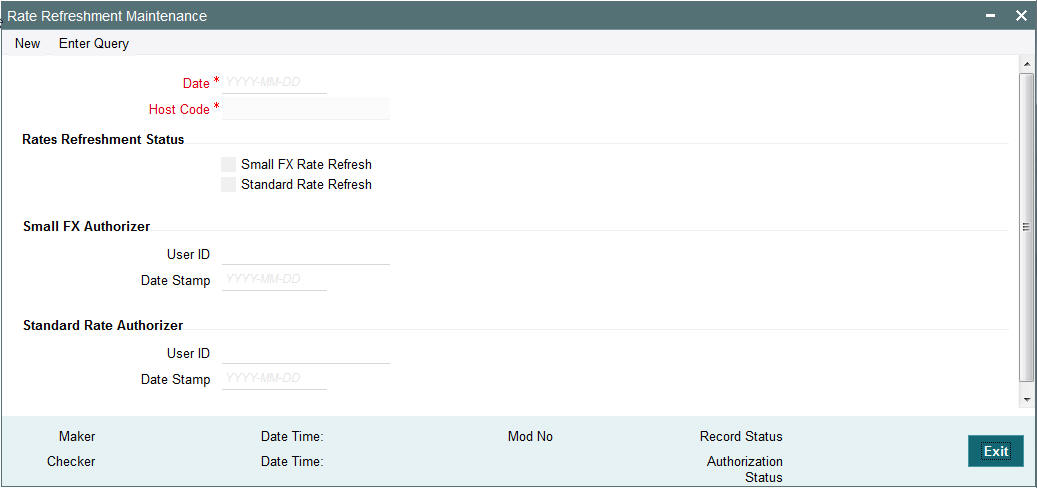
Specify the following details
Date
Select the date for which rates have to be refreshed from the adjoining date pickup.
Host Code
The system displays the host code for which rate refresh will be performed.
Rate Refreshment Status
Small FX Rate Refresh
Check this box to refresh the Small FX Rate.
Standard Rate Refresh
Check this box to refresh the Standard Rate.
Small FX Authorizer
User ID
Displays the user id of small FX authorizer.
Date Stamp
Displays the authorization date stamp.
Standard Rate Authorizer
User ID
Specify the user id of standard rate authorizer.
Date Stamp
Displays the authorization date stamp.
2.11.2 Viewing Rate Refreshment Summary
You can invoke “Rate Refreshment Summary” screen by typing ‘PXSRMTMT’ in the field at the top right corner of the Application tool bar and clicking on the adjoining arrow button.
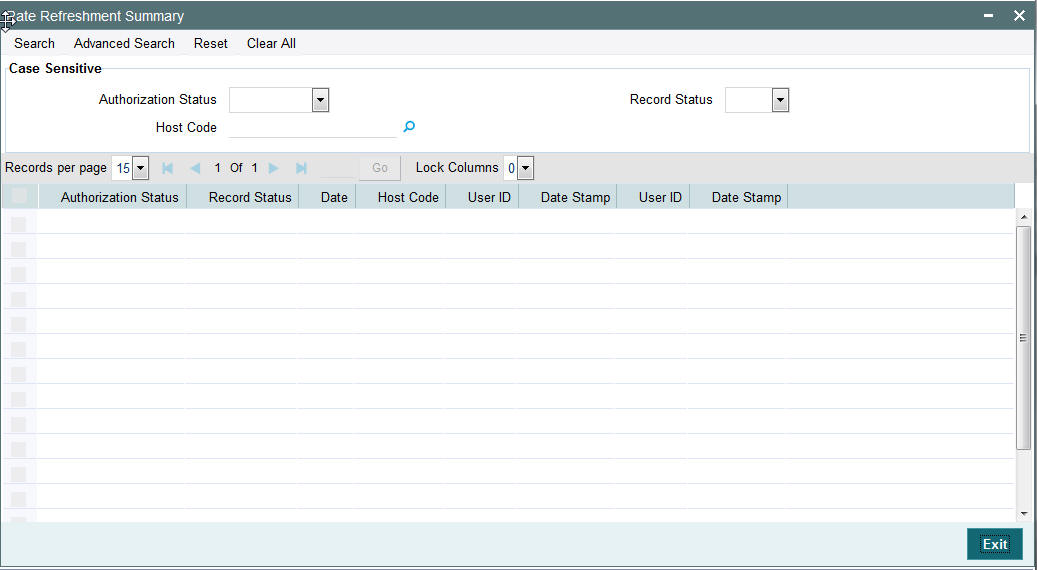
You can search using one or more of the following parameters:
- Authorization Status
- Record Status
- Date
- Host Code
- User ID
- Date Stamp
- User ID
- Date Stamp
Once you have specified the search parameters, click ‘Search’ button. The system displays the records that match the search criteria.
- Authorization Status
- Record Status
- Host Code
- Record Status
2.12 Prime Bank
Usage of this screen
- A Prime Bank is a Bank that is not the standard currency correspondent. This maintenance is Host specific.
- You can specify the Prime Bank overdraft limit for a Prime bank in this screen. The Prime Bank overdraft limit cannot be changed once authorized. The utilization is tracked for all the incoming payments from the Prime Bank.
- An upload function is provided to upload the Prime Banks. This function refreshes the details that are already available in the system after maintaining the history data. This process is a full refresh for the day. Utilizations are reset as part of the End–of–day process for cross-border payments.
2.12.1 Maintaining Prime Bank Maintenance
You can invoke the ‘Prime Bank Maintenance’ screen by typing ‘PXDPRIBK’ in the field at the top right corner of the application toolbar and clicking the adjoining arrow button.Click new button on the Application toolbar.
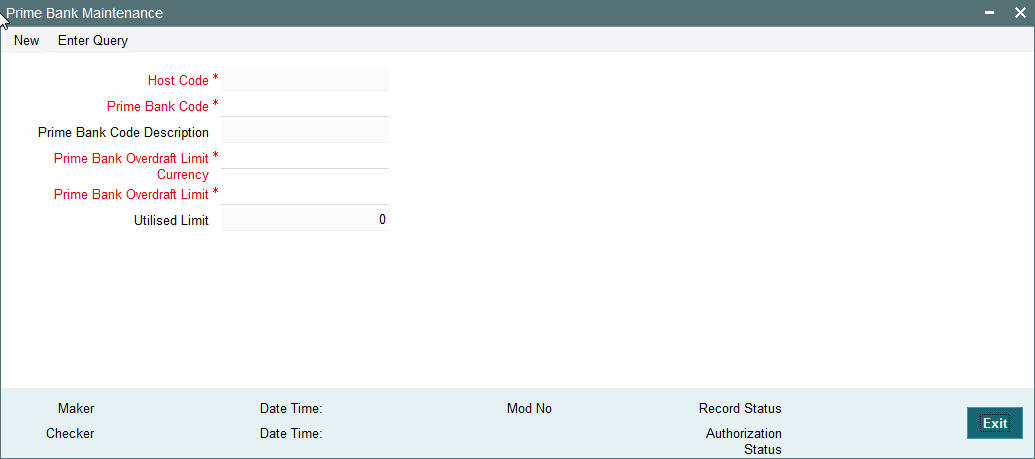
You can specify the following fields:
Host Code
The system displays the Host Code by default when you select New or Enter Query.
Prime Bank Code
Specify the SWIFT BIC code of the prime bank. Alternatively, you can select a BIC code from the option list. The list displays all valid BIC codes maintained in the system.
Prime Bank Code Description
The system displays the prime bank code description based on the prime bank code field value.
Prime Code Overdraft Limit
Specify the overdraft limit assigned to a Prime Bank. The transaction received from the Prime Bank is moved to the Prime Bank queue if the transaction amount exceeds the POL
Prime Bank Overdraft limit Currency
Specify the currency of Prime Bank Overdraft limit.
Utilised Limit
The system displays the current utilization of the POL by the Prime Bank.
2.12.2 Viewing Prime Bank Summary
You can invoke “Prime Bank Summary” screen by typing ‘PXSPRIBK’ in the field at the top right corner of the Application tool bar and clicking on the adjoining arrow button.

You can search using one or more of the following parameters:
- Authorization Status
- Record Status
- Host Code
- Prime Bank Code
Once you have specified the search parameters, click ‘Search’ button. The system displays the records that match the search criteria.
- Authorization Status
- Record Status
- Prime Bank Code
- Prime Bank Overdraft Limit
- Prime Bank Overdraft Limit Currency
- Utilised Limit
- Host Code
In addition to the maintenances specific to Cross-border payments, the common maintenances given below are also used for processing –
- BIC Codes (ISSBICDE)
- Customer Summary (STSCIFCR)
- ECA - CIF Account Mapping (PMDCCEMT)
- Customer Service Model (PMDSRMDL)
- Customer Service Model Linkage (PMDCSMLK)
- Host Parameters (PMDHSTPR)
- Network Maintenance (PMDNWMNT)
- Network Preferences (PMDNWPRF)
- Network Currency Preferences (PMDNCPRF)
- Network Holidays (PMDNWHOL)
- Source Maintenance (PMDSORCE)
- Source Network (PMDSORNW)
- Pricing Code (PPDCMNT)
- Pricing Value (PPDVLMNT)
- Payment Processing Cut off Time (PMDCTOFF)
- External Credit Approval System (PMDECAMT)
- Exchange Rate System (PMDERTMT)
- Sanction Check System (PMDSNCKM)
- Bank Redirection (PMDBKRED)
- Account Redirection (PMDACRED)
- Role (PMDROLDF)
- System Parameters (PMDSYSPM)
- User Maintenance (PMDUSRDF)
- Time Zone (PMDTMZON)