If you're not installing Studio or the Provisioning Service on the same server as Endeca Server, then you need to install WebLogic Server.
Before performing this procedure, be sure that you installed the Java 7 or 8 JDK.
To install WebLogic Server:
-
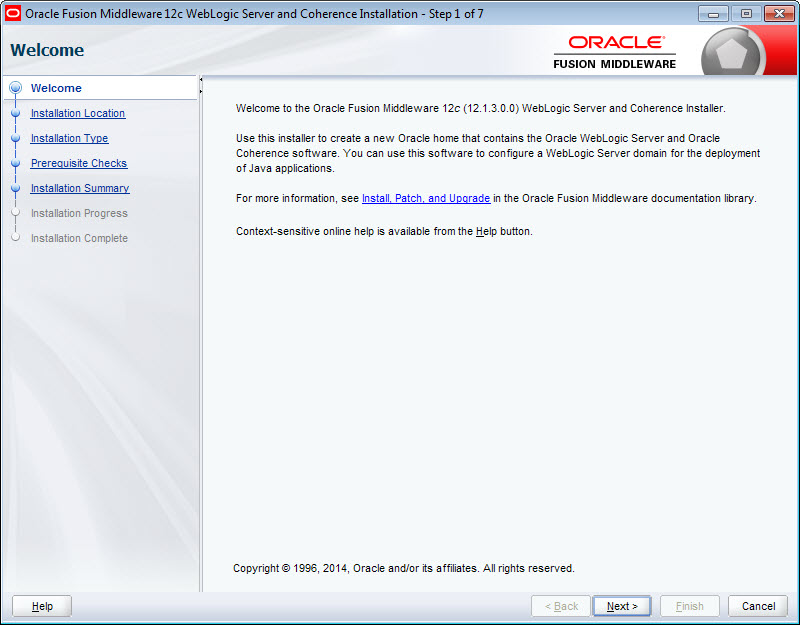
At the
Welcome screen, click
Next.
-
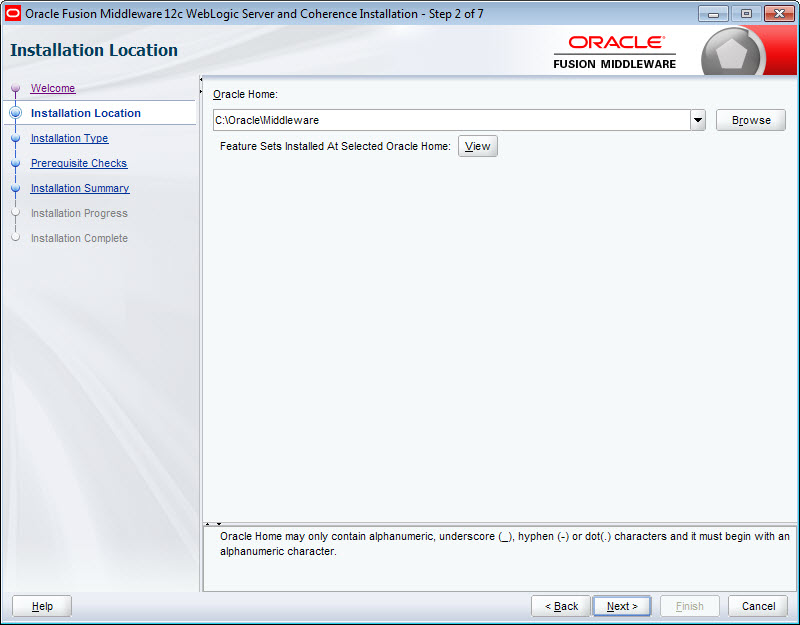
At the
Installation Location screen, enter the name
of the Middleware home directory in the
Oracle Home field.
This will be the $MW_HOME directory of your installation. You can either accept the default location or enter a new one. The directory name may only contain alphanumeric, hyphen (-) , dot (.), and underscore (_) characters, and must begin with an alphanumeric character.If the specified directory exists, it must be empty. If it doesn't exist, the installer will create it.Click Next when you're done.
-
At the
Installation Type screen, leave
WebLogic Server selected and click
Next.

-
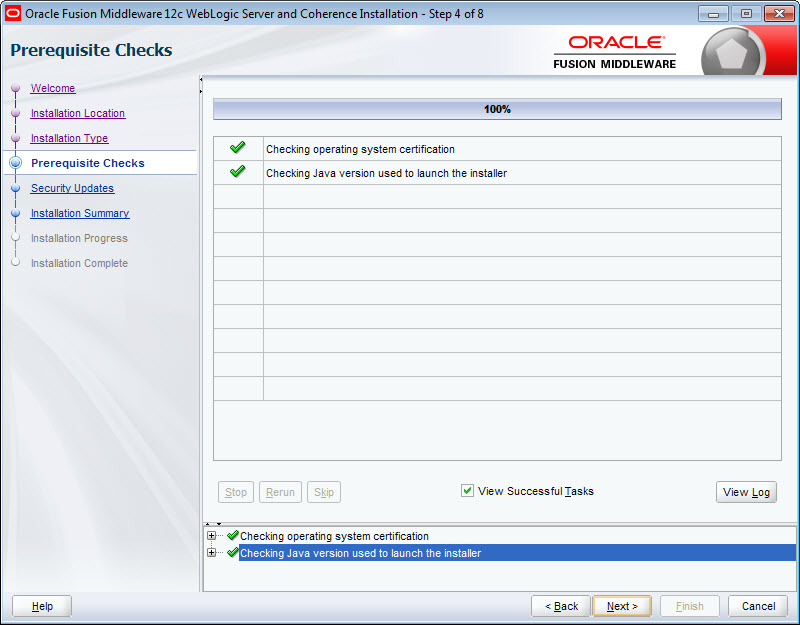
At the
Prerequisite Checks screen, wait for the
installer to verify your operating system and Java version, then click
Next.
-
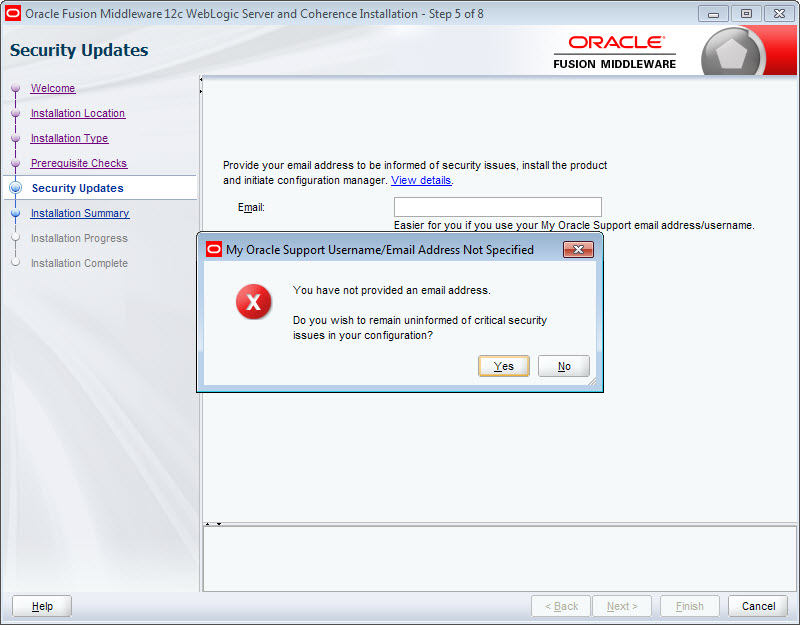
At the
Security Updates screen, if you want to
receive security updates, enter your support details and click
Next.
If you don't want to receive updates, uncheck I wish to receive security updates via My Oracle Support, click Next, then click Yes in the pop-up.
-
At the
Installation Summary screen, verify that
you're installing the correct products, then click
Install.

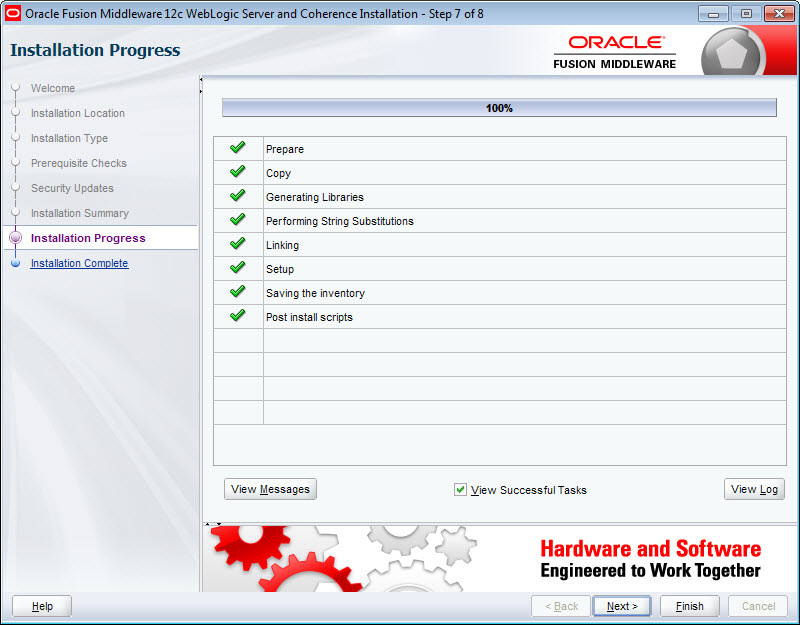
-
At the
Installation Progress screen, wait for the
installation to complete, then click
Next.
-
At the
Installation Complete screen, uncheck
Automatically Launch the Configuration Wizard,
then click
Finish to exit the installer.
You'll configure WebLogic Server later in the installation process.

Next, you must create a WebLogic domain for Studio.
