The file upload option for creating an application data set allows you to upload data from an Excel or JSON file.
Before uploading data from a file, make sure to
clean up the data to remove:
- Tabs
- Line breaks
- Carriage returns
If these are present in an attribute value, then users may not be able to use that value for refinement.
You should also remove any unnecessary spaces.
For a data set created from an uploaded file, Studio always generates an attribute called dataSetName_eid-reserved-spec, which acts as the unique identifier for each record.
After selecting the file upload option, to create a data set from an uploaded file:
-
Click the radio button to indicate whether you want to upload an
Excel spreadsheet or a JSON file.

-
For an Excel file:
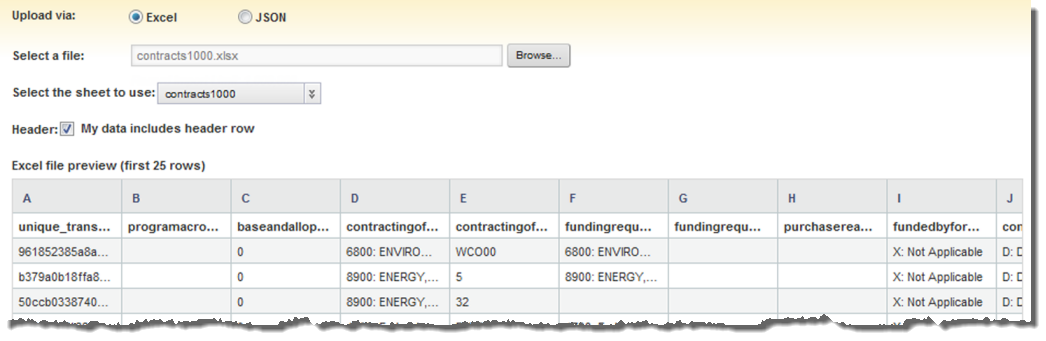
-
For a JSON file:

-
On the next page, under
Define Data Set:

