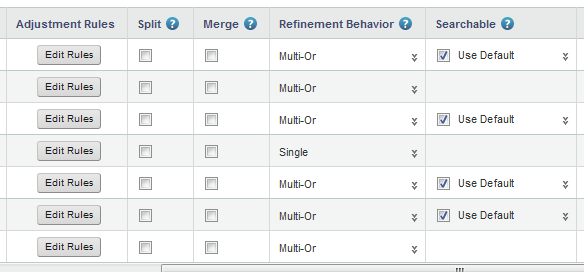
When creating a new data set, you can create multi-value attributes, either by splitting an attribute value based on a delimiter, or by merging values from multiple attributes.
For example, for an attribute with the value "blue;white;red", you can indicate that these are actually 3 individual values delimited by a semicolon. Studio also trims any white space between the values.
Or for data with the attributes Color1, Color2, and Color3, you can merge the Color2 and Color3 values with the Color1 value to create a single multi-value attribute. When you merge attribute values, the default separator for the current locale is used.
To create multi-value attributes:
-
On the
Add Data Set page, click
Advanced Options.
-
To split the value of an attribute:
-
On the split value dialog, under
Values are delimited by, specify the
delimiter used to separate the values.
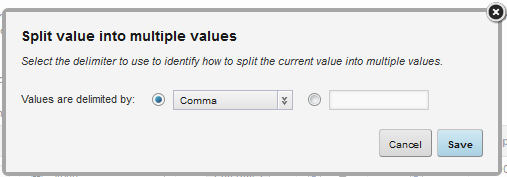
Select the delimiter from the drop-down list.
If the delimiter used is not in the drop-down list, click the other radio button, then type the delimiter in the field.
-
On the split value dialog, under
Values are delimited by, specify the
delimiter used to separate the values.
-
To merge other attribute values to an attribute:
-
On the merge dialog, from the
Attribute drop-down list, select the first
attribute to merge with the original attribute.
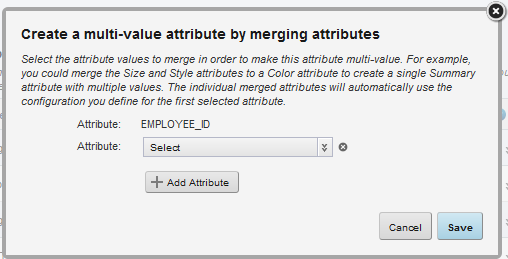
You can only merge attributes that have the same data type.
-
On the merge dialog, from the
Attribute drop-down list, select the first
attribute to merge with the original attribute.
