8 Appendix E: Creating the Required User Groups on AD LDS (ADAM)
This appendix describes how to create the required user groups in Active Directory for use with Logon Manager deployed on an AD LDS (ADAM) instance.
The groups are:
-
SSOAdmins. This group contains at least two users who hold administrative privileges over the target AD LDS (ADAM) instance. This group should also contain users who need to create and push application templates.
Caution:
When creating the instance, specify this group as the administrative user group. If you specify a single user, you risk locking yourself out of your Logon Manager deployment if the single account becomes inaccessible. -
SSOUsers. This group contains all other Logon Manager users.
To create the SSOAdmins and SSOUsers groups and place the desired users in these groups:
Note:
This procedure assumes you have decided which users will belong in which groups and that the target user accounts already exist.-
Log on to your domain controller as the administrator.
-
Open the Active Directory Users and Computers console snap-in.
-
In the console, expand the target domain and right-click the Users node.
-
In the context menu, select New> Group.
-
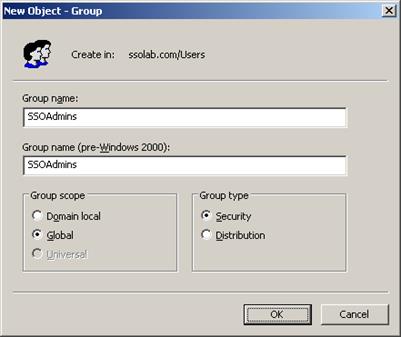
In the "New Object - Group" dialog, do the following:
-
Enter the group name shown above.
-
Select the Global group scope.
-
Select the Security group type.
-
Click OK.
-
The new group appears in the list of objects in the right-hand pane of the console.
-
-
In the list of objects, double-click the group you just created. The group properties dialog box appears.

-
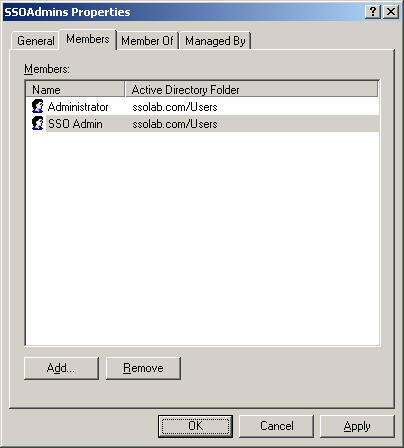
In the group properties dialog, do the following:
-
Select the Members tab.
-
Click Add.
-
In the dialog box that appears, enter the target user name and click Check Names to verify the user name. If you receive an error, correct any spelling mistakes and click Check Names again; when the user name is validated, click OK.
-
Repeat steps 7b and 7c for each additional user you want to include in the group.
-
When you have added the desired users to the group, click OK to close the group properties dialog box.
-
-
Repeat steps 4-7 to create and configure the SSOUsers group.