Installing the WAT on Windows

The installation process consists of extracting a ZIP file to put the WAT installer and licensing file on disk, and then running the WAT installer.

Before installing, ensure that you have administrator privileges on the local machine.

To install the WAT on Windows:

  1. In your local environment, locate the WAT software that you downloaded from the Oracle Software Delivery Cloud.
  2. Extract the ZIP file to a local directory.
    On Windows, the ZIP file contains:
    • EID_<version>WebAcquisitionToolkit.msi
    • EID_<version>WebAcquisitionToolkit_License.txt
  3. Double-click EID_<version>WebAcquisitionToolkit.msi to start the installer.
  4. If an Open File - Security Warning displays, select Run.
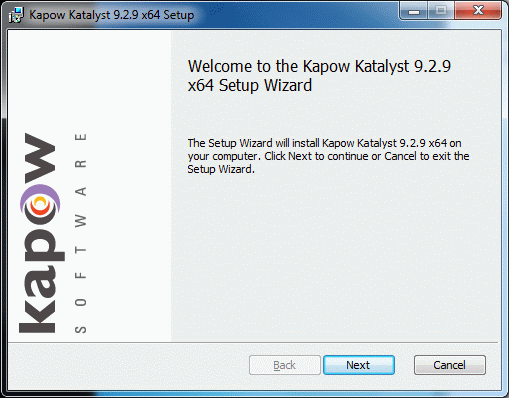
  5. In the Welcome ... dialog, click Next.

    For example:


    Screenshot of the Welcome screen with the Next button enabled
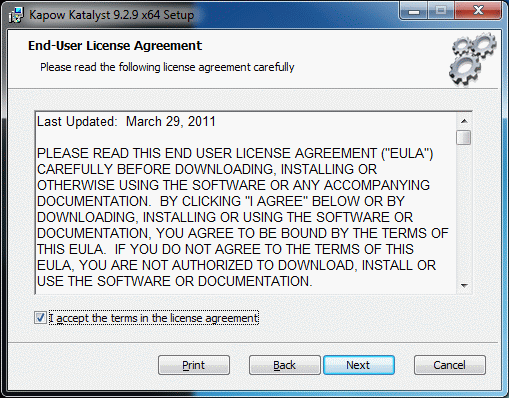
  6. In the End-User License Agreement dialog, accept the license agreement and click Next.

    For example:


    Screenshot of the License Agreement accepted
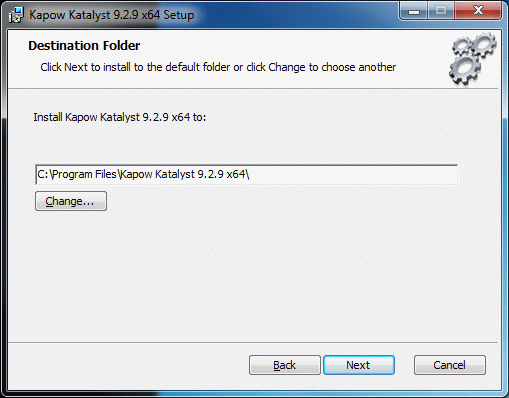
  7. In the Destination Folder dialog, accept the default installation path or change it if necessary and click Next.

    For example:


    Screenshot of the destination folder with the default installation path
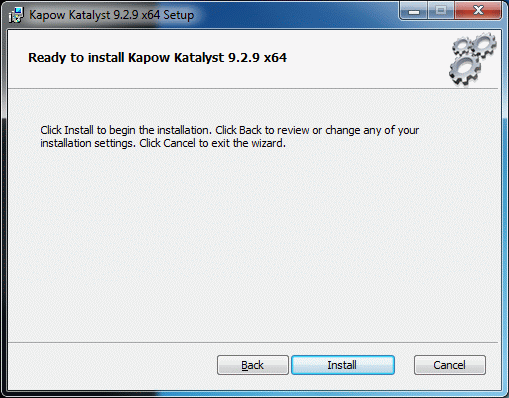
  8. In the Ready to install ... dialog, click Install.

    For example:


    Screenshot of the ready to install screen with Install button enabled
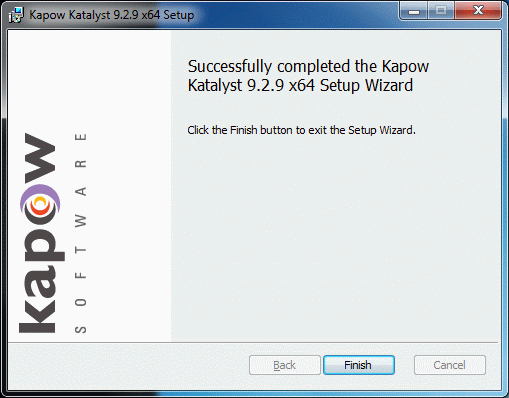
  9. When the Setup Wizard completes, click Finish.

    For example:


    Screenshot of completed installation with Finish button enabled

By default, the WAT installs into C:\Program Files\Kapow Katalyst 9.2.9 x64.

After installation, go on to Licensing the WAT.