Configuring Smart View and Integrating it with OPERA BI
Follow the steps below to configure and use the new Smart View feature in Oracle Business Intelligence Version 11.1.1.7. This will consist of three parts:
- Part I: Installing Smart View to your local machine
- Part II: Configuring Smart View
- Part III: Integrating Smart View and OBIEE
Part I: Installing Smart View to your local machine
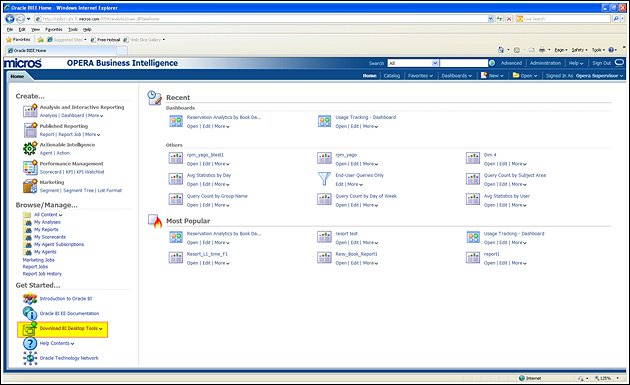
- From Home, select “Download Bi Desktop Tools.”
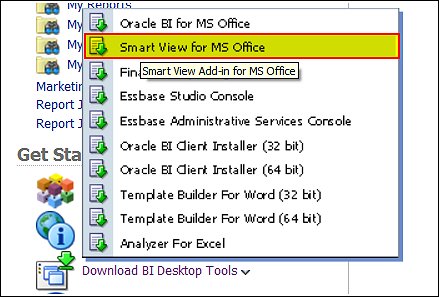
- Select “Smart View for MS Office.”
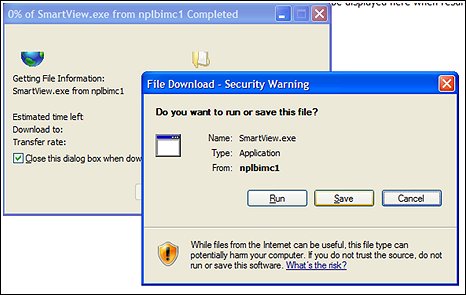
- Run the install file.
- Close all the MS Office applications, including Outlook.
- Follow the prompts in the wizard to complete the installation.
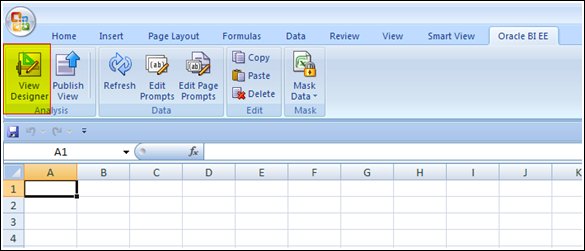
- After the Finish button is selected, open Excel to see the Smart View tab as shown below.
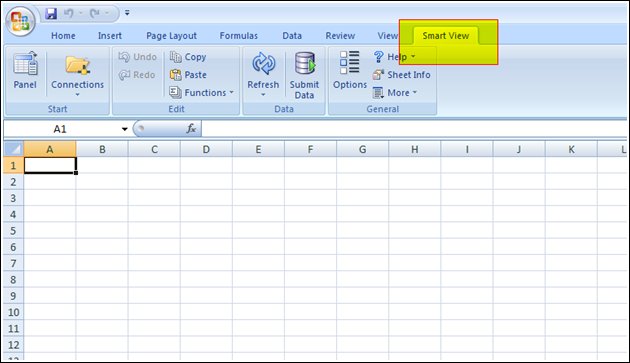
Now the installation is successful.
Part II: Configuring Smart View
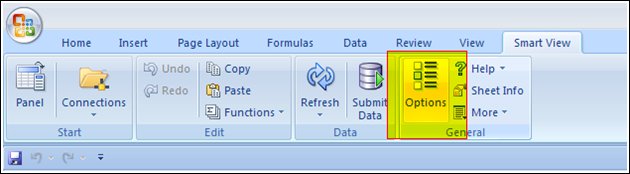
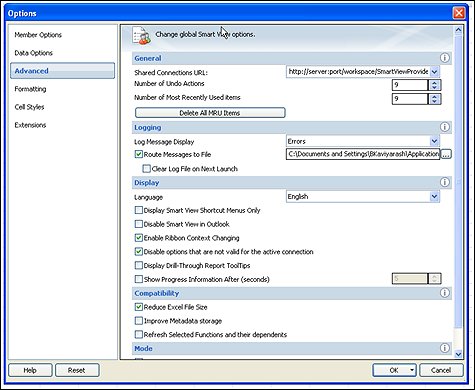
- Now select Options > Advanced.
- Check the box “Route Messages to File” and select OK.
Note: A connection to OBIEE presentation services need to be established.
- Go to Panel > Private Connections (on the right side of screen)>create new connection (see highlights on screen shot).

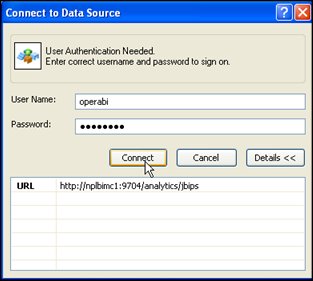
- Select “Oracle BI EE.”

- Enter the following Url: http://servername:portnumber/analytics/jbips
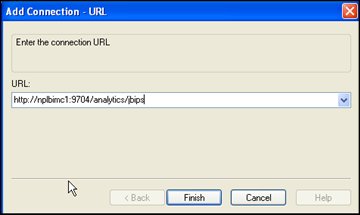
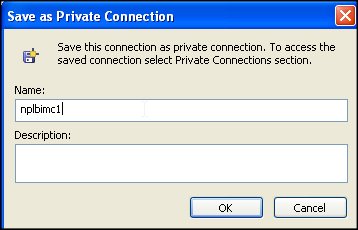
- Enter the username/password to connect and then save the connection.
- The configuration is complete. Now you can connect to OBIEE and browse the Analysis in OBIEE.
Part III: Integrating Smart View and OBIEE
- In Excel, you can browse the BI reports.
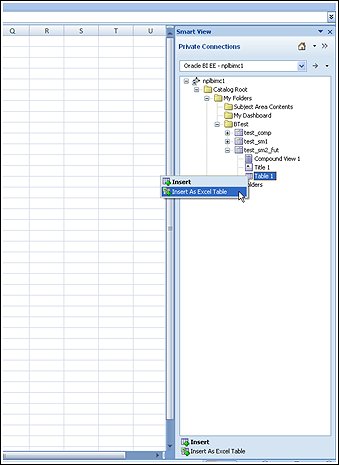
- Select any existing analysis and do an Insert/Insert as Excel table. This will populate the report in the Excel sheet.
- Using the View Designer, a new report can be created and published as Analysis in OBIEE.
- Select View Designer.
- Browse through the Subject Area and create a simple Excel Pivot Table with Row, Column and Measures.
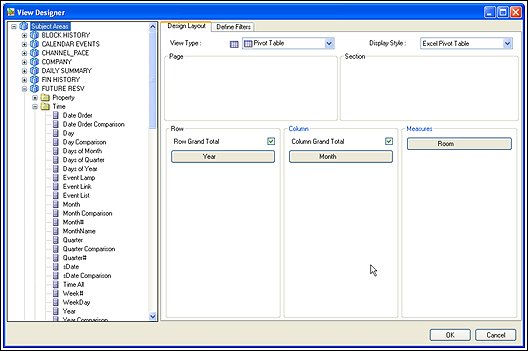
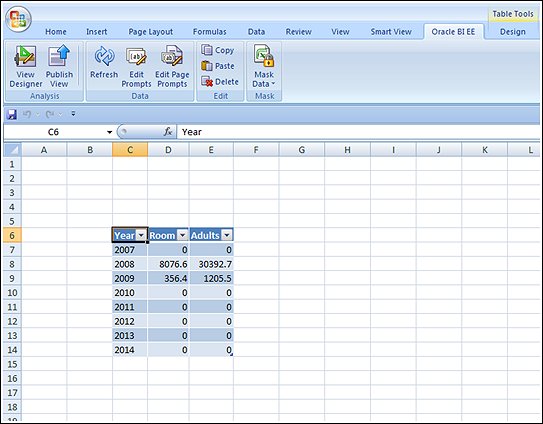
The report will get generated.
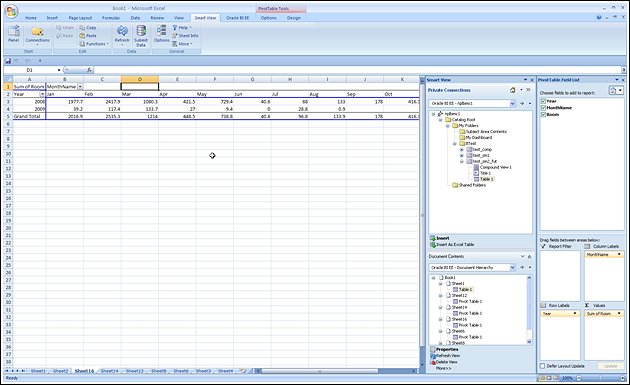
- This is the report output in the Excel spread sheet. Save this report to the local machine.

Tip: This report can be published as Analysis in OBIEE.
- Select Oracle BI EE tab and then select the Publish View tab.
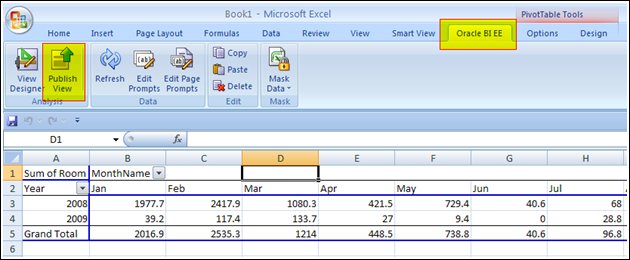
- Select the desired folder and enter the Analysis name and select Save.
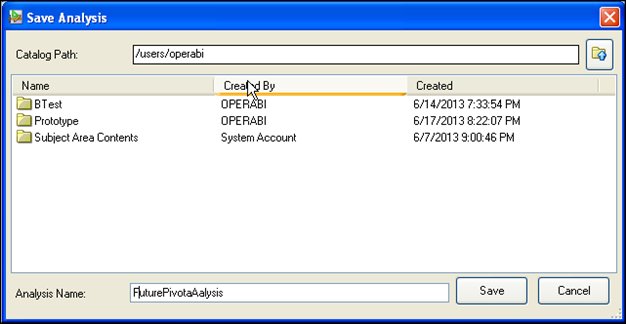
- The Analysis will get saved in the OBIEE.
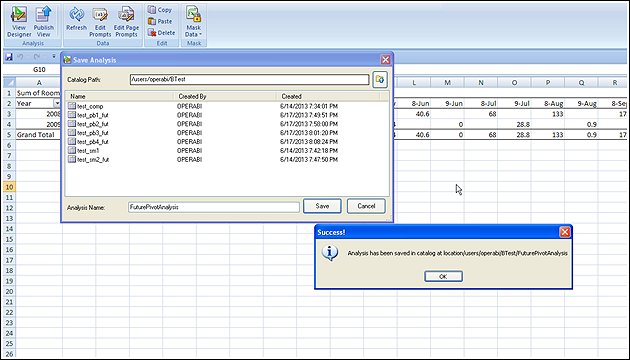
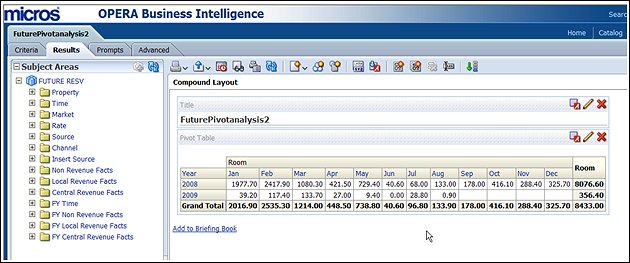
- Now connect to OBIEE and browse through the catalog to find the saved analysis and check the report.
Note: Charts can be developed in Excel and can be published in OBIEE.
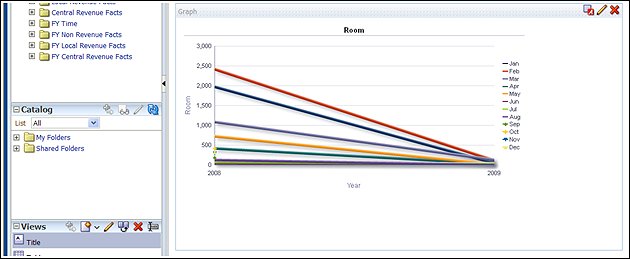
- Change the View Type to be Line Graph and create a simple report from the Future Resv subject area having year, month and name from the Time and Room from Non-revenue facts.
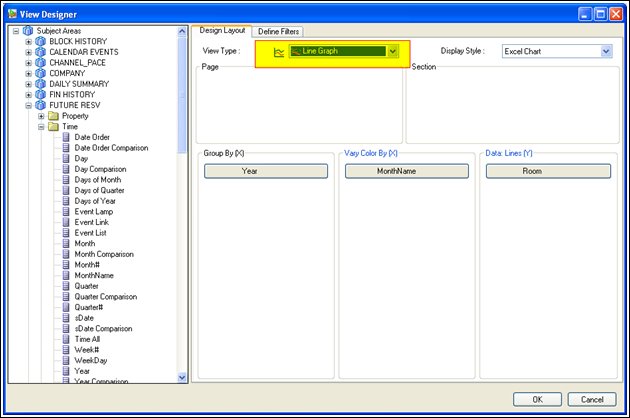
The following report will be generated in Excel:
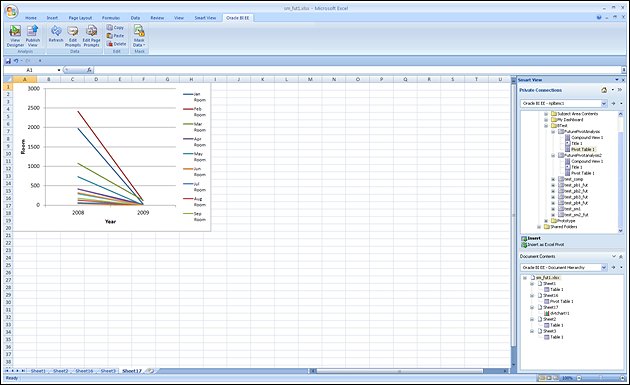
- Publish the report to OBIEE and browse through the catalog to see the Analysis.