How to Install a Credit Card Vault Certificate for OEDS
Note. For this example Windows XP is referenced.
- On Windows XP Select Start then Run and type mmc.exe.
- Select File then "Add/Remove Snap-in..."
- Select Add.
- Select Certificates and Add.
- Select Computer Account and Next
- Leave the defaults Local Computer selected and then select Finish.
- Select Close on the window and Ok on the next window.
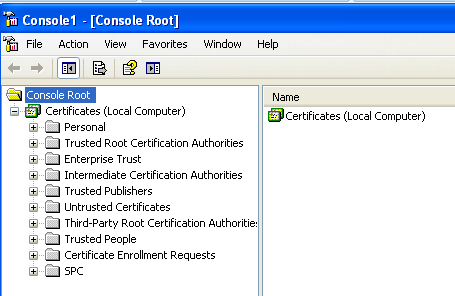
- Expand Certificates on the tree on the left panel.
- Right Click on the Personal > All Tasks > Import
- Select Next
- Select Browse then select .CRT file provided by the credit card vault vendor and select Next.
In this example Merchant Link is used.
- Select Automatically select the certificate store based on the type of certificate and select Next.
- Select Finish and you will see "The Import was successful" dialog box and select Ok.
- Next right select Personal > All tasks > Import..."
- Select Next
- Select Browse button and select .P12 file provided by the CC Vault vendor (Merchant Link) and select Next.
- Enter the password provided by the CC Vault vendor (Merchant Link) and click Next.
- Select Automatically select the certificate store based on the type of certificate and click Next.
- Select Finish and then you will see The Import was successful dialog box and click Ok.
- You then will be back on following window:
- Now Exit out of this window you are done with the certificate install of Credit Card Vault Certificate for OXI or OEDS.
