Part 1 Set Up External System for Exports
In part 1, you will configure the external system for the OBI export and upload the exports to the Cloud. To accomplish this, the OXI-HUB Servlet and Datamart interface will need to be updated. These items must be set up for the exports to be successfully uploaded. In addition, the OXI Datamart processor must be installed.
Part 1 of implementing OBI Cloud functionality involves 3 steps:
- Updating the OXI-HUB Servlet (Cloud side)
- Installing the OXI Datamart Processor
- Setting Up the Datamart Interface
Updating the OXI-HUB Servlet
On the Cloud side, the OXI-HUB servlet must be configured to accept the OBI exports. Based on the OPERA Application Server configuration in the Central OBI System, the OXI-HUB servlet (named "Export Receiver") will receive the OBI exports and place the data into a temp table.
Note: The OXI-HUB Servlet update is done on the Cloud side. This update should only be completed if the Cloud is not set up.
- Open the OPERA App-Server Configuration screen and select the OXI Servlet Configuration tab.
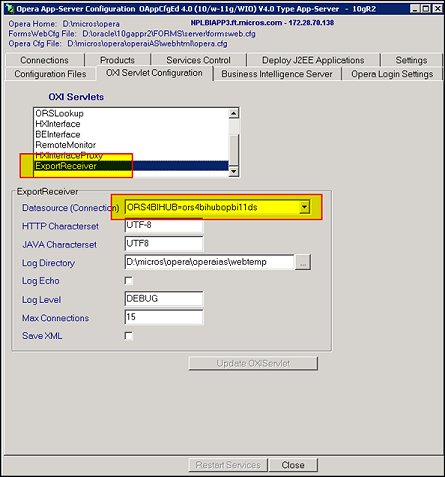
- Under "OXI Servlets," highlight ExportReceiver by clicking on it.
- In the "Datasource (Connection)" field, select the down arrow and choose your application server and database from the list of available servers.
- Select the Update OXIServlet button.
Installing the OXI Datamart Processor
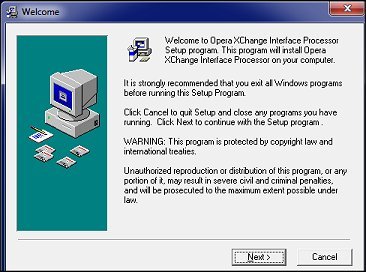
Note: If not already installed, install the OXI Datamart processor. The Datamart processor will be used to upload the OBI exports.
- Open the "OXI_PROCESSOR_SHELL.EXE" executable from your local drive or from a network drive. Select Next.
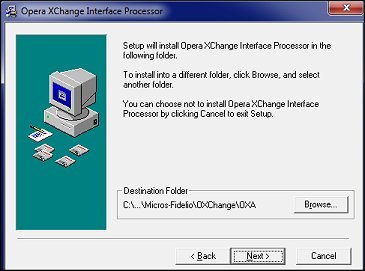
- Choose a destination folder for the processor by selecting the Browse button. Select Next.
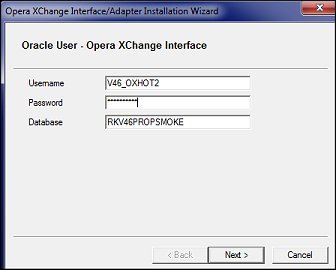
- Enter a Username and Password for your schema. Select Next.
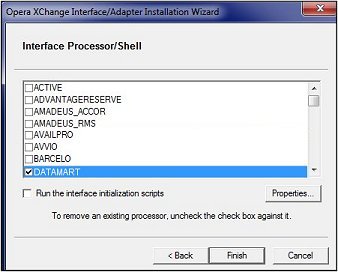
- Choose the "DATAMART" interface from the list of available interfaces. Select Finish.
Note: Be sure the Run the interface initialization scripts check box option is NOT selected. If this option is selected, the processor will be installed for all properties in the schema.
- Select the ellipsis button next to the "Log Directory" field and choose a directory in which to store the processor logs. Select OK.

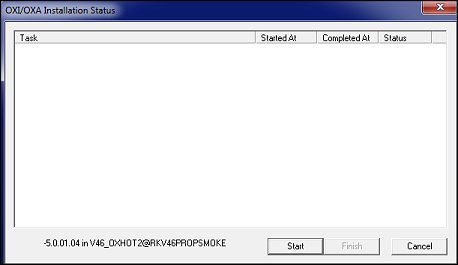
- Select Start to begin the installation.
- A dialog will open when the installation is complete. Select OK.
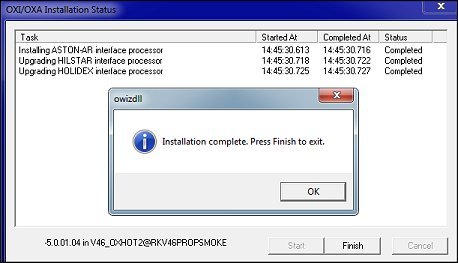
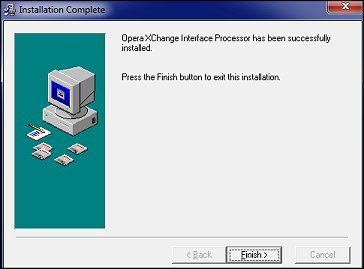
- Select Finish to exit.
Setting Up the Datamart Interface
On the client side in OXI, you will set up the Datamart interface to export files from OPERA to external systems.
- Go to Setup>System Configuration>Setup>License Codes>OXI and activate the OPERA Xchange Interface for DATAMART license. The license name is OPX_DMART.
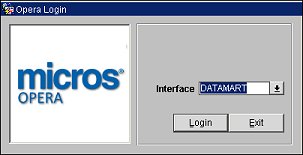
- In OXI, select the DATAMART interface when you log in.
- Select Interface Configuration>Edit Interface to open the Edit Interface Setup screen.
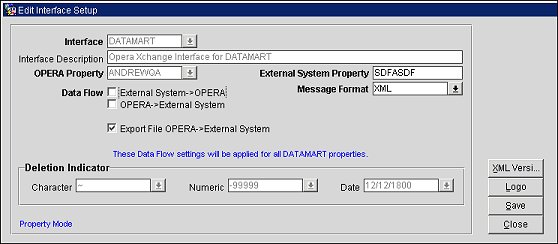
- On the Edit Interface Setup screen, select the Export File OPERA->External System check box.
- Select Save.
The OXI processor will now pick up the OBI exports and post them to the Cloud.
In PMS, the OBI exports will be sent in the Night Audit Exports process. In ORS, you will need to use OPERA Scheduler to schedule the BI Client - Export Daily Data to BI Cloud job for the export.
OBI Cloud Setup Part 1
