|
|
|
Change Room Type to Another Room Type
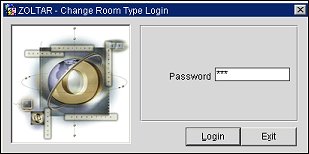
Note: When not in ORS, a password available from MICROS Systems Development is required in order to run this utility. This utility should be used with extreme caution and understanding of its impact.
Note: New room types must be configured for the property before they can be selected in this functionality.
Note: If the source room type is configured as a Can Be Meeting Room, then the target room type LOV will list only room types that are also configured as a Can Be Meeting Room.
The Change Room Type to Another Room Type utility (Utilities>Property Config>Change Rooms>Change Room Type to Another Room Type) allows for a properties' specified room type(s) on rooms, blocks, and reservations to be changed to another configured room type. Running this routine will update room types for in-house reservations and blocks, and reservations and blocks whose arrival date is the current business date or a future date. Room type is not changed on reservations or blocks for a past date. In addition, running this routine will update all associated room numbers to the newly defined room types and also will update the new room types with the appropriate room class. The old room types that were changed will remain available in the system until they are manually deleted.
For example, assume that room type AAA is changed to AA using the Change Room Type to Another Room Type functionality. The following situations would occur:
Note: Rate Code configuration will not be affected by this functionality. This means that if the old room type AAA was configured on the rate code header/details, the room type AAA will remain after the utility has been ran. If the property requires the new room type AA to be associated to rate codes, the AA room type must be added to the rate code header/detail prior to running the utility.
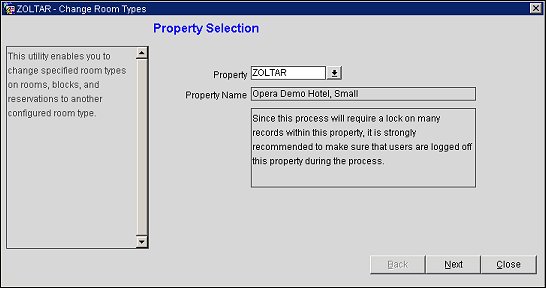
Prior to actually running the routine, the property will need to be selected, along with the old room type(s) (Source Room Type(s)) and the target room type that will replace them.
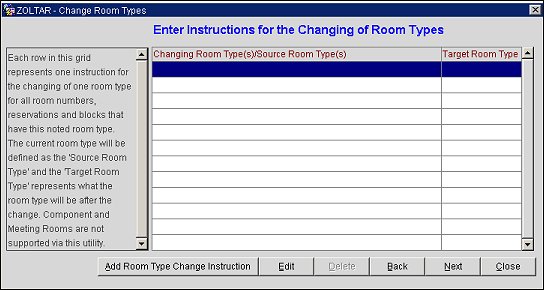
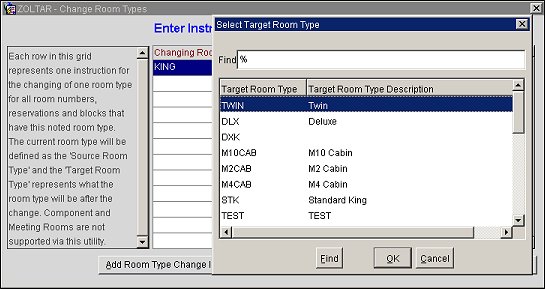
When setting up the Change Room Type to Another Room Type utility, a user will see a dialog help box on the left-hand side of the Change Room Types Screen, which assists the user in participating in the utility procedures. The information will change as the user continues through the utility. Please refer to the "To Change a Room Type to Another Room Type" procedure below for details on how to setup and run the utility.
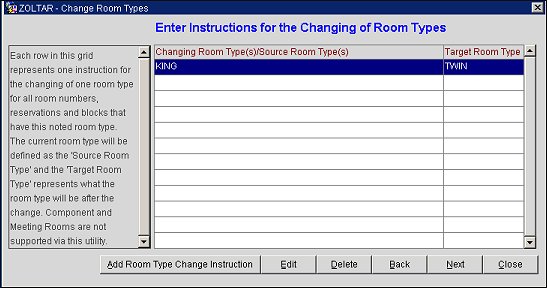
Changing Room Type(s)/Source Room Type(s). This column displays the Source Room Type(s) that will be changed. More than one room type can be selected to be changed at one time within the same Room Type Change Instruction. For example, if a property has been restructured to use two character room types, instead of three character room types, the Changing Type Instruction for this property might look something like the following (See above screen for example visual):
Target Room Types. This column displays the Target Room Types, which are the room types that the Source Room Types will be changed to. Only one target room type can be selected. The Target Room Types column displays the room type that will replace the old room type(s). Still using the same example, the following would occur (See above screen for example visual):
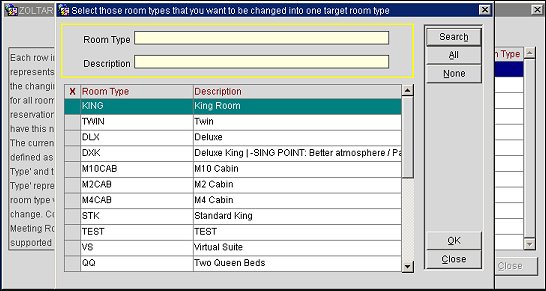
Add Room Type Change Instruction. Select this button to open a list of values of room types and choose the Source Room Type to be changed. Selecting this button will begin the setup process for the utility.
Delete. Select this button to delete the highlighted Room Instruction.
Back. Select this button to return to the previous step. If a mistake is made while entering a Changing Room Instruction, this button will return the user to the previous screen.
Next. Select this button to go to the next step in the Utility, which executes the Change Room Type Instructions that have been defined.
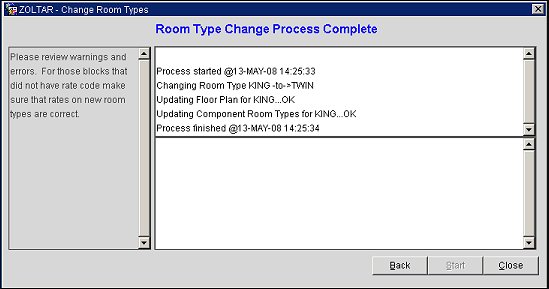
A message displays to inform you that the procedure has started and another message displays when the procedure is completed. Error messages are displayed if the utility encounters problems.
Following the actual error information is advice that the user may want to change the room type on the reservation manually. The user can make the requested fixes and this will insure that in-house and future reservations, blocks, and room number configurations have been successfully changed to the newly defined room types.
The Change Room Type Utility contains informational messages so that when a business block is encountered that cannot be updated, the user will be given the block id and issue that needs to be resolved before the Utility can be restarted.
The log file is available in the webtemp directory on the Application Server and it will automatically open when the Utility stops running.
This Utility can stop running for 2 reasons:
Note: A Change Room Type Login screen will open and a password will need to be entered to log on to the utility. In ORS, there is no password required.