Installing Oracle 9i Client
To install the Oracle 9i Client, follow the steps below:
Note: This is a default 9i Administration installation.
- Launch the etup.exe located in the 9i Client directory on the installation CD. (You may find it necessary to launch the AutoRun.exe from the \\9i Client\Autorun directory in order to launch the Setup wizard.)
Note: The 9i client may be installed into a C or D drive. It is always recommended to have a D drive for NON Operating system software.
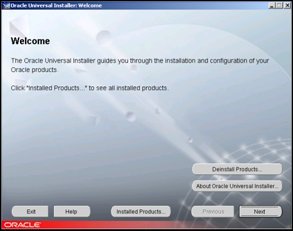
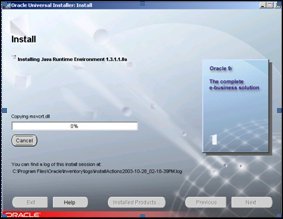
The Oracle Universal Installer (OUI) will be launched.
- On the Welcome screen, select Next.
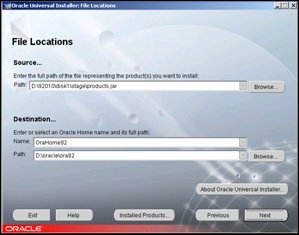
- Accept the defaults provided and select Next.
- At the Installation Types screen, choose the Administrator radio button. Select Next.
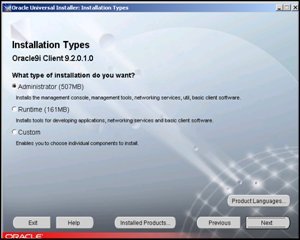
- On the Installation Types screen, choose the Runtime radio button. Select Next.
The installer will now proceed to implement the chosen components.
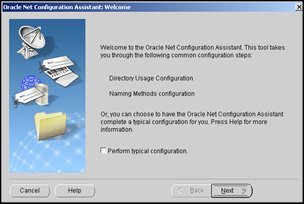
- You will now be prompted at the Oracle Net Configuration Assistant: Welcome screen. Select the Perform typical configuration check box. Select Next.
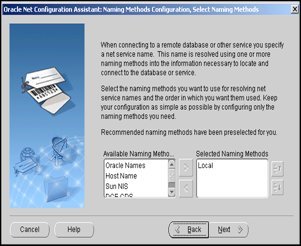
- The wizard will pre-select a naming method for you. Ensure “Local” is selected. Select Next.
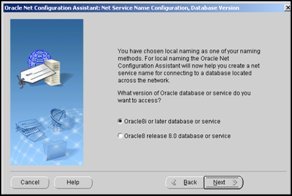
- Choose Oracle 8i or later. Select Next.
- Enter the Database Alias Name. Select Next.
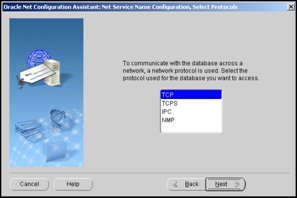
- Choose TCP protocol. Select Next.
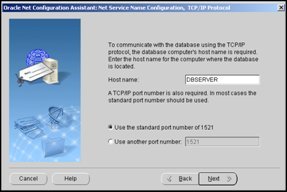
- Enter the name of the Database Server Machine or IP address. Select Next.
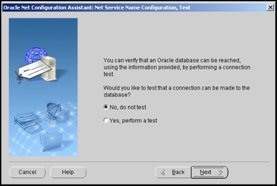
- Choose No, do not test. Select Next.
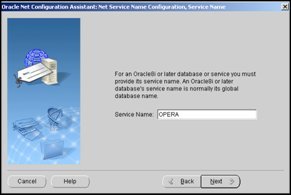
- Enter Opera for Net Service Name. Select Next.

- Choose No. Select Next.
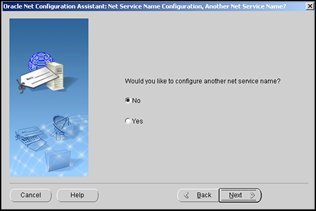
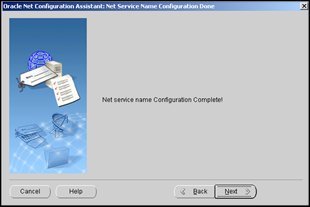
Starting with the screen below, follow the next series of screens until you are prompted to Finish.
Note: Once the Oracle Client is installed, Reboot the workstation/server.
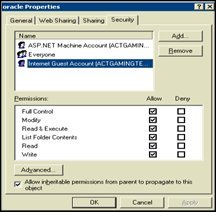
Giving full control access to Oracle Directory
Give full control access to “?”:\Oracle directory and all sub directories in order to group the following accounts on the Web Services Interface workstation:
- Everyone
- ASP.NET user
- IUSR_(COMPUTER NAME) account
This is for the Windows services and web services that are necessary to access the Oracle components without running into permission issues. These permission issues would appear as error messages within the service log files.