SOLA Setup and Verification
This section discusses the required setup and the verification to ensure that SOLA is configured properly.
Procedure:
Access the URL Maintenance component ().
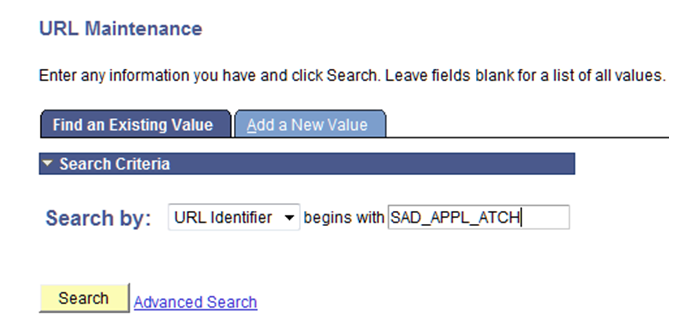
Enter SAD_APPL_ATCH in the Search by field:
Image: Searching for SAD_APPL_ATCH
This is an example of searching for SAD_APPL_ATCH in the URL Maintenance component.
Click the Search button.
Verify whether a URL value (either a File Server or Database) has been supplied.
Procedure:
Access the Roles component ().
For New User Registration, see Campus Community’s New User Registration Framework documentation for setup instructions on how to add role name CS - NUR GateKeeper.
For SOLA, complete the following steps:
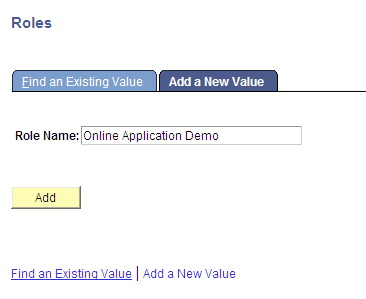
Add role name as Online Application Demo:
Image: Adding a role for SOLA
This is an example of adding a role for SOLA in the Roles component.
Click the Add button.
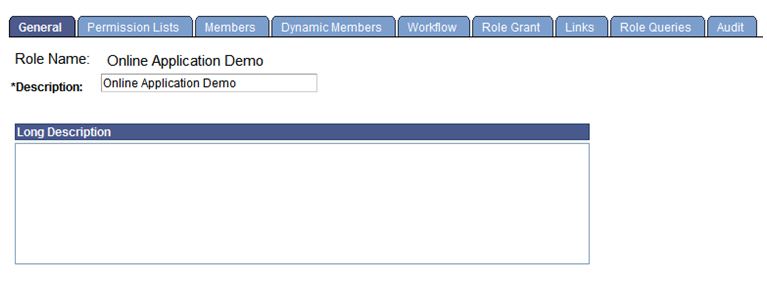
Add the description as Online Application Demo:
Image: Adding description for the SOLA role
This is an example of adding a description for the SOLA role on the General page.
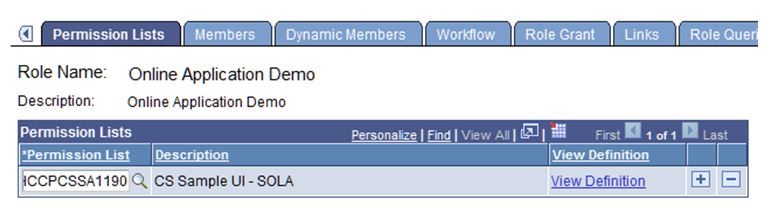
Add the permission list HCCPCSSA1190:
Image: Adding a permission list for the SOLA role
This is an example of adding a permission list for the SOLA role on the Permission Lists page.
Procedure:
Access the User Profiles component ().
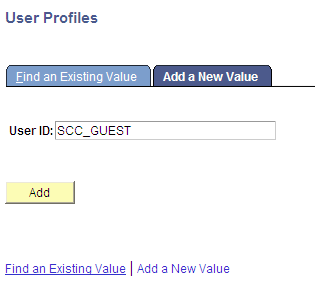
Add SCC_GUEST.
Image: Adding the guest account
This is example of adding the guest account in the User Profiles component.
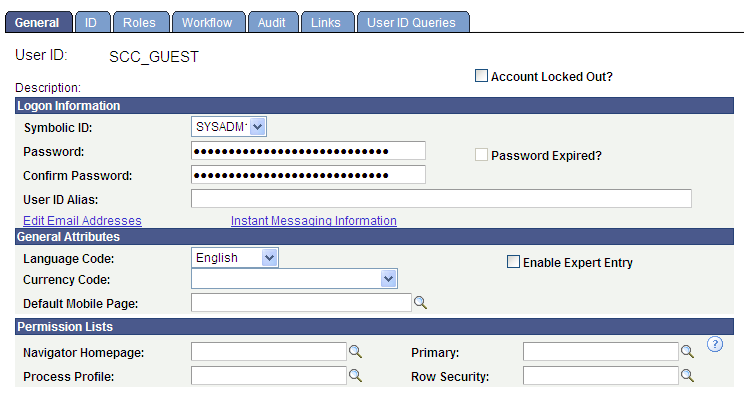
On the General page, enter values as shown in the following graphic:
Note: For password, choose a password of your choice.
Image: General page
This example illustrates the values entered on the General page.
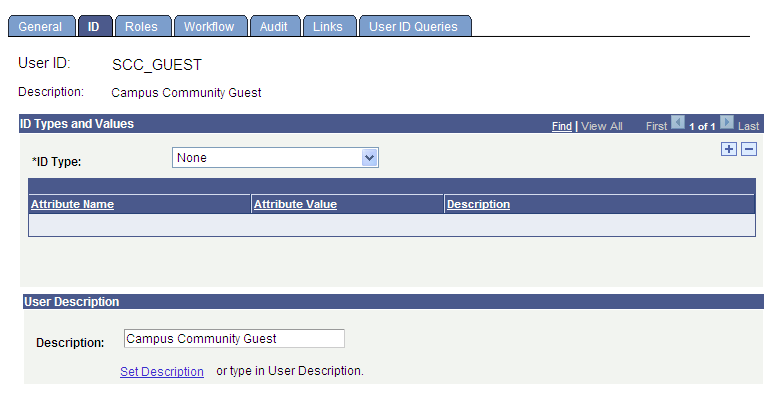
On the ID page, enter values as shown in this graphic:
Image: ID page
This example illustrates the values entered on the ID page.
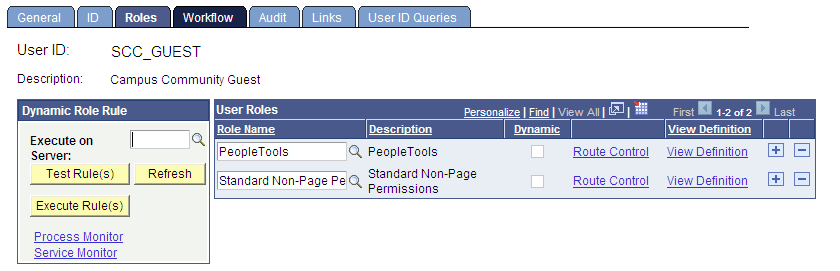
On the Roles page, enter values as shown in this graphic:
Image: Roles page
This example illustrates the values entered on the Roles page.
Save your changes.
Verify that minimal IB setup and service configuration is performed.
Verifying IB Gateway
Procedure:
Access the Gateways component ().
Select that Integration Gateway ID for which the Local Gateway is set to Y.
Verify that the URL is pointing to the correct gateway.
Ensure that the gateway can be pinged by clicking the Ping Gateway button.
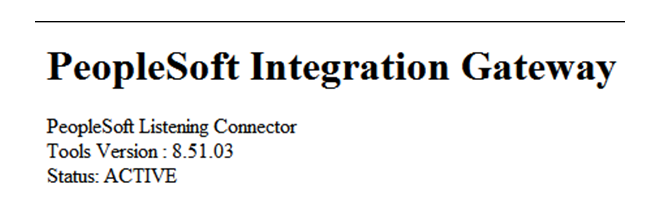
Image: PeopleSoft Integration Gateway page
You should see this page if the gateway is pinged successfully.
Verifying IB Nodes
Procedure:
Access the Nodes component ().
Click the Search button and scroll through the search results list looking for the Node Name where the Default Local Node is Y. There should be only one default local node.
On the Connectors page, click the Ping Node button.
Verify that the Gateway ID is pointing to the local gateway that you previously just pinged. If it is not, change the Gateway ID so that it is.
When you click the Ping Node button, you should see Success in the message text.
Verifying that the Domain Status is Active
Procedure:
Access the Domain Status page ().
Verify that the domain status is Active.
Verifying Service Configuration
Procedure:
Access the Service Configuration page ().
Verify that a service configuration exists.
Note
Do not continue if any of the verification steps mentioned in this section “Step 4: Set Up Integration Broker (IB)” fail. Resolve the failed steps before continuing.
Procedure:
Access the Services page ().
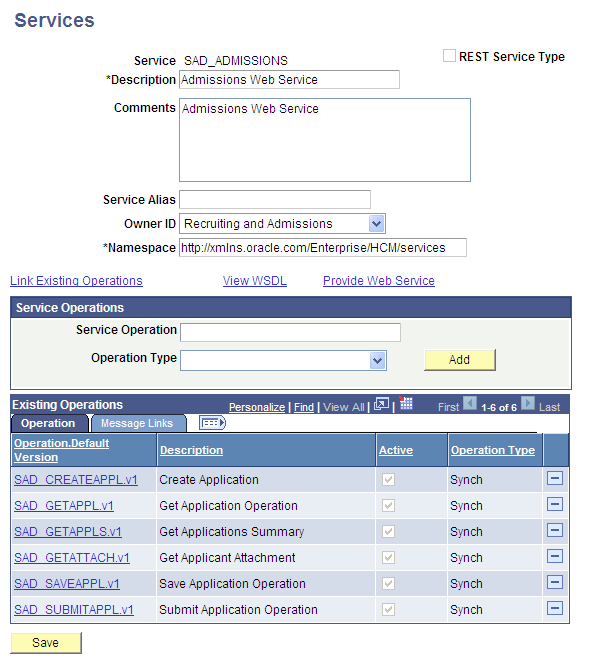
Generate Any to Local and Local to Local routings for the following six web service operations of the SAD_ADMISSIONS web service:
SAD_CREATEAPPL.v1
SAD_GETAPPL.v1
SAD_GETAPPLS.v1
SAD_GETATTACH.v1
SAD_SAVEAPPL.v1
SAD_SUBMITAPPL.v1
Image: The six service operations of SAD_ADMISSIONS service
This example illustrates the six service operations of SAD_ADMISSIONS service.
To generate these routings and verify that the operation status is Active:
For each operation, on the General page select both the Generate Any to Local check box and the Generate Local to Local check box.
Make sure that the service operation is Active. If the status is not active, select the Active check box.
Save your changes. When you save, the system updates the routing status to Exists for both routing actions:
Image: General page after save (1 of 2)
This example illustrates the fields and controls on the General page after save (1 of 2).
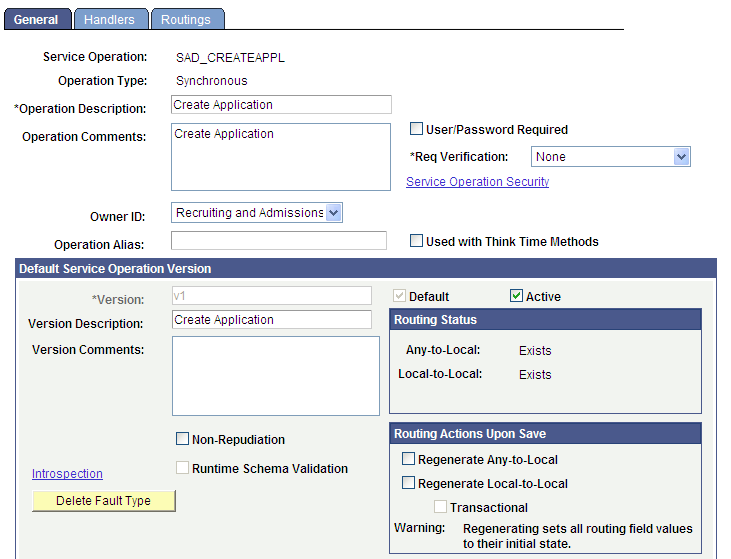
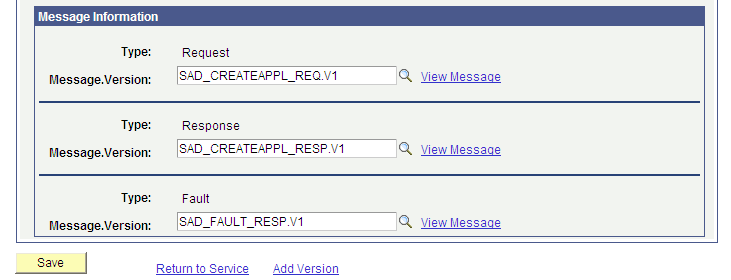
Image: General page after save (2 of 2)
This example illustrates the fields and controls on the General page after save (2 of 2).
Click the Return to Service link.
Repeat the steps 1 through 4 for the remaining operations.
For new user registration also you must perform the same steps:
Access the Services page ().
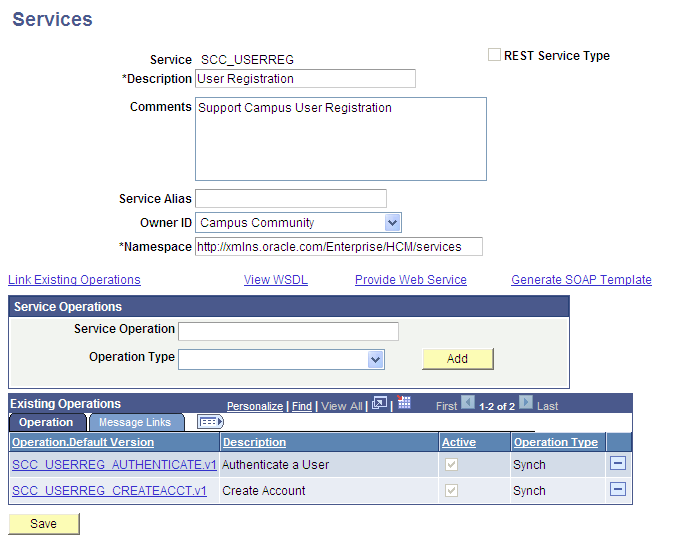
Generate Any to Local and Local to Local routings for the following two web service operations of the SCC_USERREG web service:
SCC_USERREG_AUTHENTICATE.v1
SCC_USERREG_CREATEACCT.v1
Image: The two service operations of SCC_USERREG service
This example illustrates the two service operations of SCC_USERREG service.
Repeat the preceding steps for generating routings and ensuring that the status is Active.
Procedure:
Access the Nodes component ().
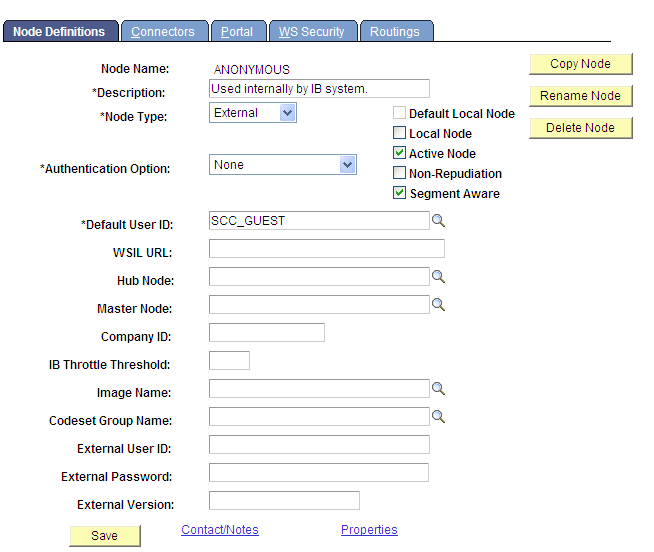
Search for the ANONYMOUS node name.
On the Node Definitions page, change the Default User ID to SCC_GUEST.
Image: Node Definitions page
This example illustrates the fields and controls on the Node Definitions page.
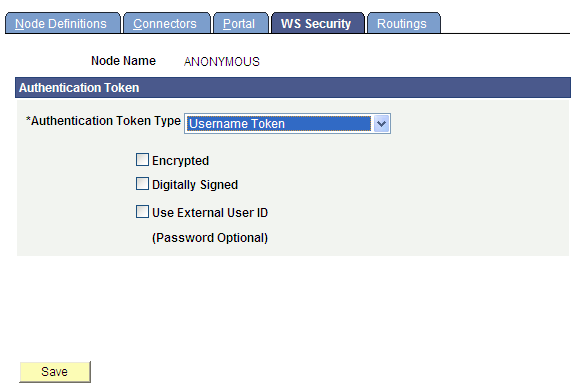
On the WS Security page, change the Authentication Token Type to Username Token.
Image: WS Security page
This example illustrates the fields and controls on the WS Security page.
Save your changes.
Procedure:
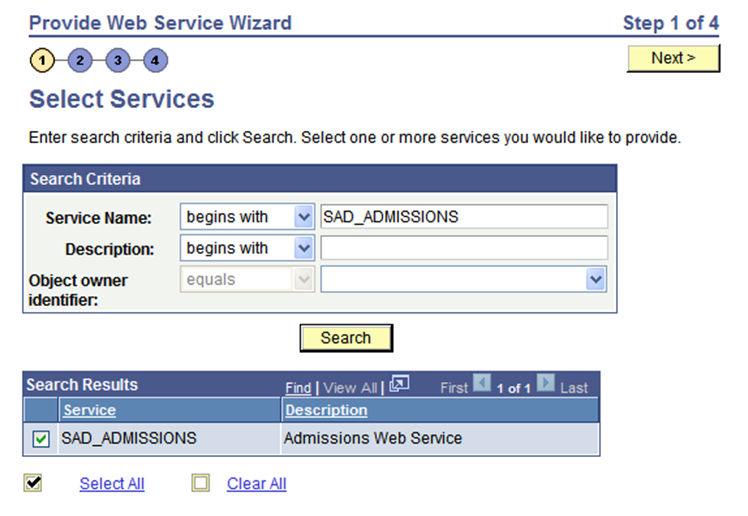
Access the Provide Web Service Wizard ().
Ensure all the operations for the SAD_ADMISSIONS and SCC_USERREG web services are published.
Search for SAD_ADMISSIONS service name:
Image: Select Services page
This example illustrates the fields and controls on the Select Services page.
Click the Select All button and click the Next button.
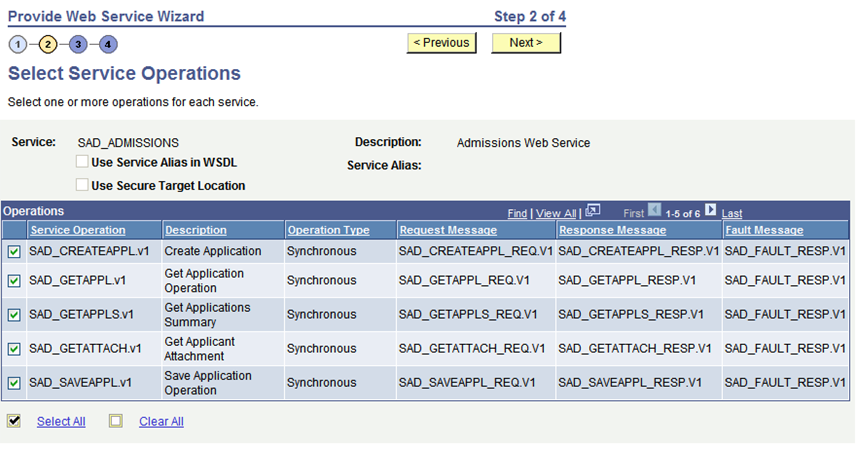
On the Select Service Operations page, click the Select All button and click the Next button.
Image: Select Service Operations page
This example illustrates the fields and controls on the Select Service Operations page.
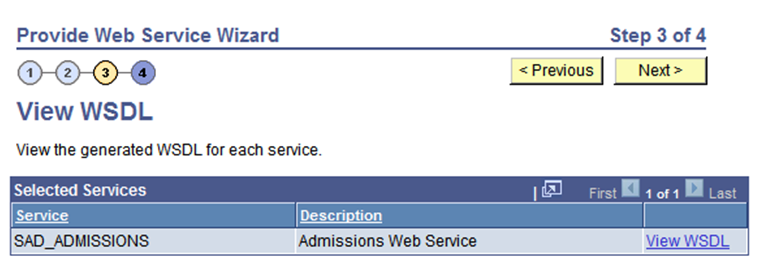
On the View WSDL page, click the Next button.
Image: View WSDL page
This example illustrates the fields and controls on the View WSDL page.
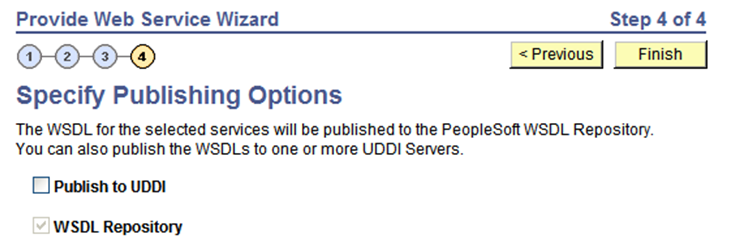
On the Specify Publishing Options page, click the Finish button.
Image: Specify Publishing Options page
This example illustrates the fields and controls on the Specify Publishing Options page.
Repeat the steps for the SCC_USERREG web service.
Procedure:
Access the HCM Interface Registry page ().
Image: HCM Interface Registry page
This example illustrates the fields and controls on the HCM Interface Registry page.
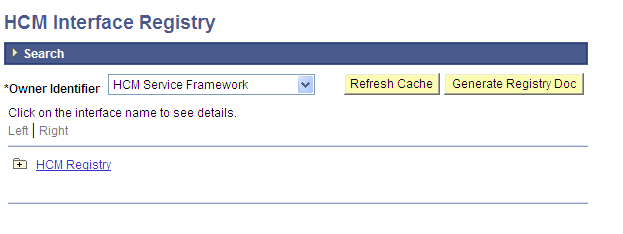
Click the Refresh Cache button.
Note: The message Processing displays and remains on the page. There is no other message displayed.
Procedure:
Access the New User Registration Context component ().
Click the Add a New Value tab.
Add the DEFAULT_CONTEXT New User Registration Context as shown in this graphic:
Image: New User Registration Context for SOLA
This is an example of the New User Registration Context for SOLA.
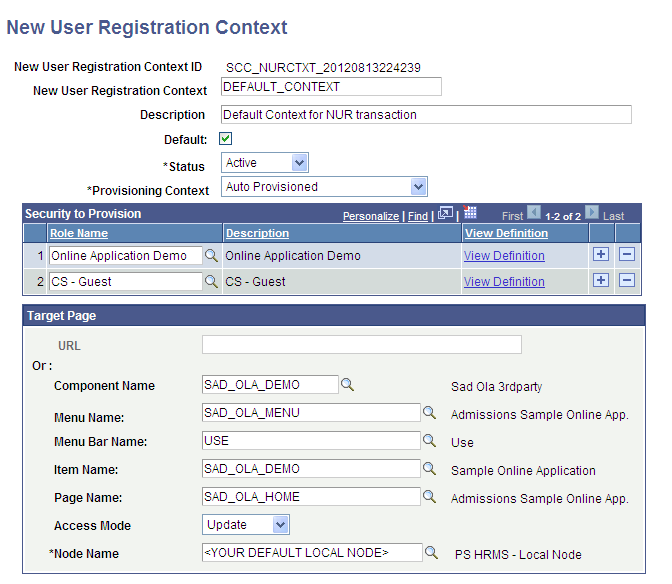
Select the Default check box.
In the Node Name field, you must select a node marked as Default Local Node = Y.
Save your changes.
Procedure:
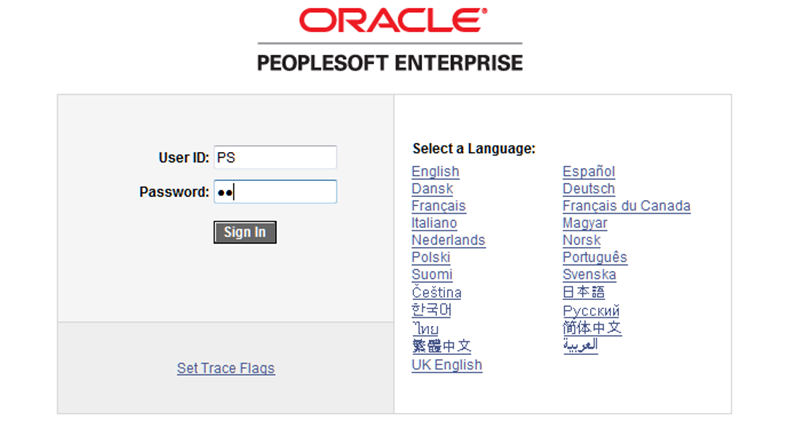
Sign into Campus Solutions using your institution's master user ID and password.
Image: Signing into CS
This is an example of signing into CS.
Access the New User Registration Tester page ().
Image: New User Registration Tester page with sign-in fields
This is an example of the New User Registration Tester page with sign-in fields.
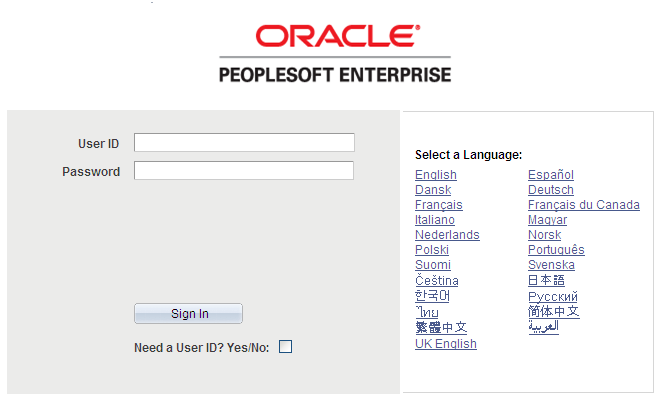
Select the Need a User ID? Yes/No check box.
Fill out the New User Registration Tester page as shown in this figure:
Image: New User Registration Tester page with the filled out user registration fields
This is an example of the New User Registration Tester page with the filled out user registration fields.
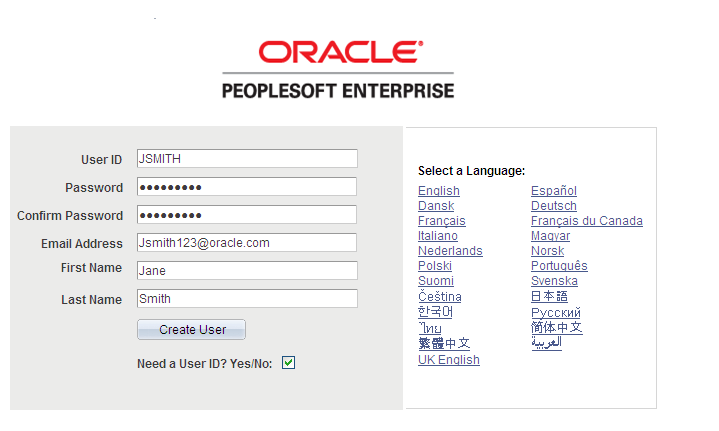
Note: For the password field, choose a password of our own.
Click the Create User button. On clicking this button, the system transfers you to Sample Online Application home page:
Image: Blank Online Application Home page
This example illustrates the fields and controls on the blank Application Home page.
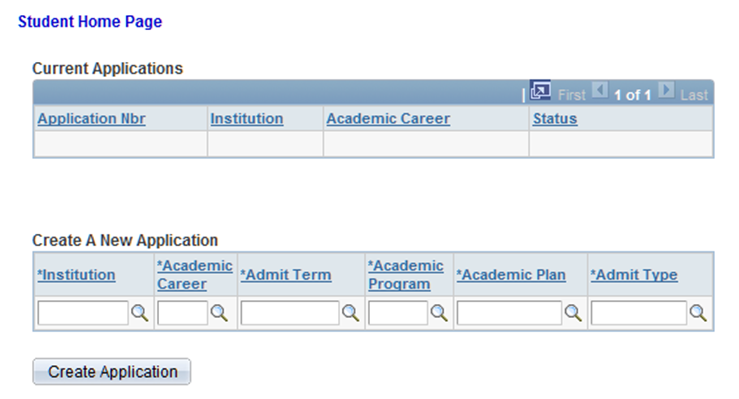
Fill out the Create A New Application section. Select values for:
Institution.
Academic Career.
Admit Term.
Academic Program.
Academic Plan.
Admit Type.
Image: Home page with the values for creating a new application
This is an example of the Home page with the values for creating a new application.
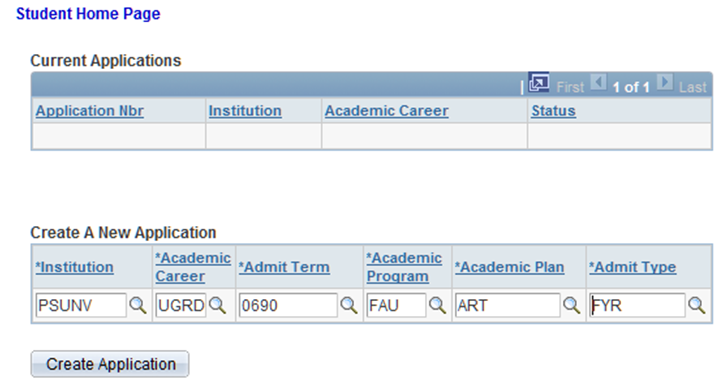
Click the Create Application button.
Change the value for the Gender field to Female.
Save your changes. When you save, a message should be displayed indicating that the application was successfully saved:
Image: Message indicating that application has been saved
This is an example of the message indicating that application has been saved.
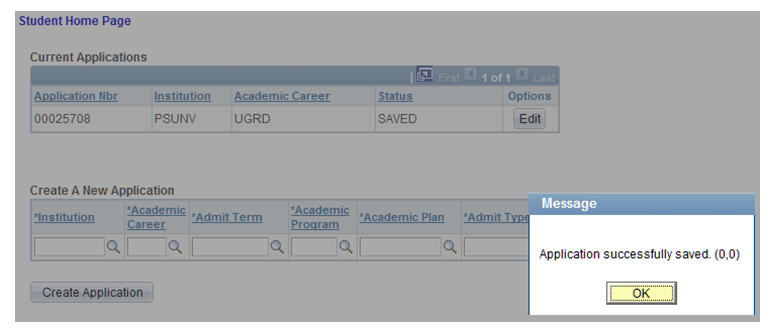
Click OK and sign out.
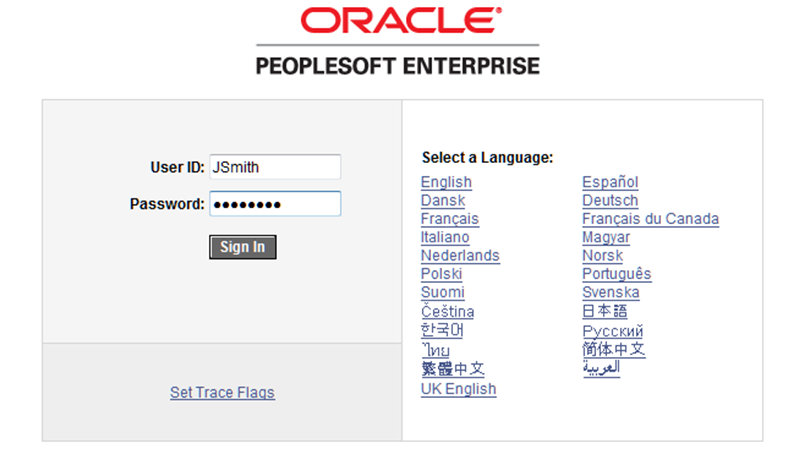
Sign back in using the newly created ID (that is, JSmith):
Image: Signing into CS using the ID created through New User Registration tester page
This is an example of signing into CS using the ID created through New User Registration tester page.
Access the Sample Online Application component ().
Image: Home page with the saved application
This is an example of the Home page with the saved application.
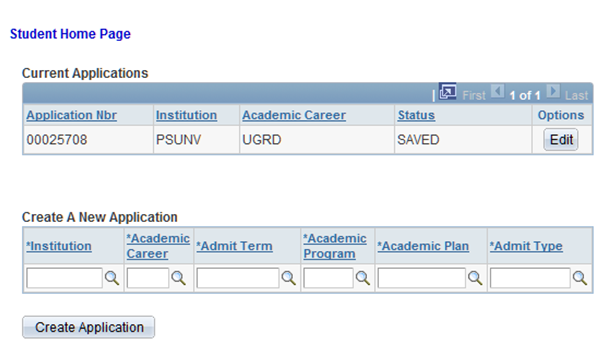
Click the Edit button.
You should be able to see the application you started and the previously saved Gender change.
Image: Basic Information page with the saved value
This is an example of the Basic Information page with the saved value.
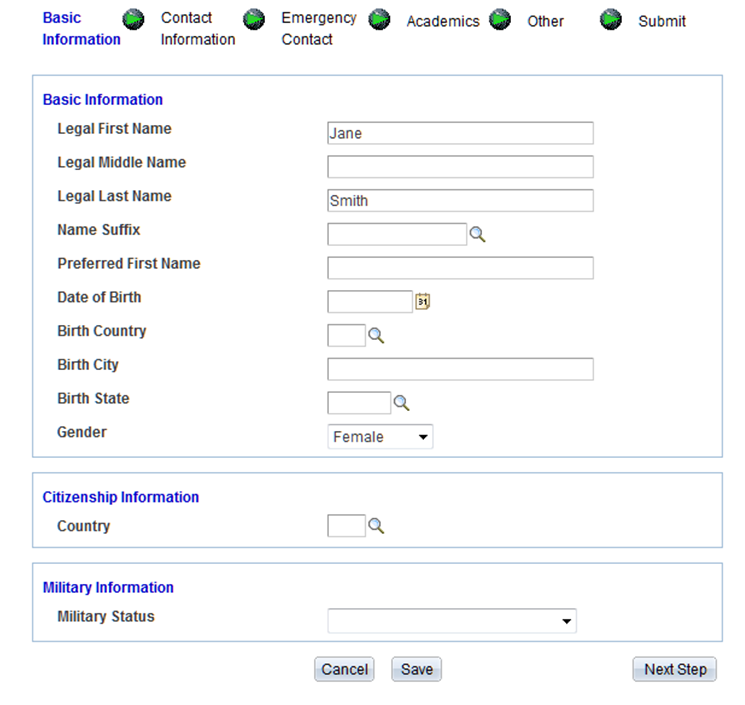
If you have made it this far, then the database is configured correctly for AAWS, SOLA, and New User Registration. If not, then verify that the preceding setup steps have been performed correctly.