Maintaining StudyLink Loan Information
This section provides an overview of maintaining StudyLink loan information and discusses:
Note: All of the following processes are intended for administrative users only.
Your institution must review student loan information, process payment schedules, track refunds, and create student account reports. Administrative users will run these processes to process loans for students to pay their tuition and living allowances or just the allowances. Loans for allowances only are sent to directly to the student and are not applied to the student account.
After a student has applied for a loan with StudyLink and StudyLink sends the VOS request to the institution, the institution creates the VOS return file that lists any mismatches of name, date of birth, or ID; the student's enrollment details; and the loan request amount.
Your institution receives PAY files from StudyLink for confirmed and declined student loans. For confirmed loans, a COBOL process is run that posts the payments to the students' accounts. Any excess funds are refunded to StudyLink. The system generates an institution PAY file to list refunds to StudyLink and a DAT file of refund transactions. The DAT file can be processed through Student Financials as an external file.
|
Page Name |
Definition Name |
Navigation |
Usage |
|---|---|---|---|
|
Process PAY File |
SSF_SL_RC_PAY |
|
Create the payment file and post payments to student accounts. |
|
Process Refund File |
SSF_SL_RC_PYI |
|
Create the refund file. |
|
Review Refund File |
SSF_SL_RVW_REF |
|
Review refund records. |
|
Create Student Report |
SSF_SL_RC_RPT |
|
Create reports on student loan account information. |
Access the Process PAY File page ().
Image: Process PAY File page
This example illustrates the fields and controls on the Process PAY File page. You can find definitions for the fields and controls later on this page.
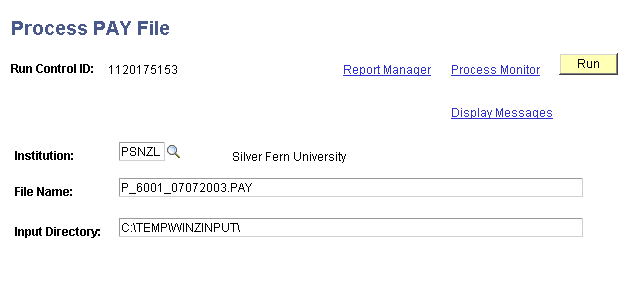
You must run the PAY file process to create the file and to post payments to student accounts. You can run the SQR (Structured Query Report) report SFSPAYR multiple times. Run the COBOL process SFPSLPAY to post the payments to the student account.
Access the Process Refund File page ().
Image: Process Refund File page
This example illustrates the fields and controls on the Process Refund File page. You can find definitions for the fields and controls later on this page.
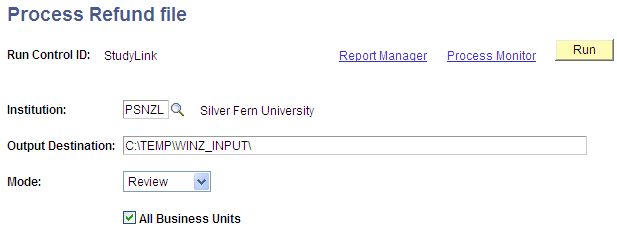
Use the Process Refund File page in conjunction with the Review Refund File page to create the Refund file to return funds to StudyLink.
The Process Refund File process identifies student records with a Fee VOS file (PS_SSF_SL_HIST) that have a matching Pay file (PS_SSF_SL_PAY) and a credit account balance (PS_ACCOUNT_SF) for the StudyLink item types identified on the StudyLink Posting Parameters (SSF_SL_BUS_UNIT) page.
When the refund process is run in final mode the refund details are written to the StudyLink refund PAY file and the refund transactions are written to a DAT file which can be imported into the core Student Financials transaction tables.
|
Field or Control |
Definition |
|---|---|
| Mode |
Review is selected by default to ensure that the process is always run in review mode to enable data checking. When the process is run in Review mode, any existing review Refund records are deleted from the temporary table and new review Refund records are created. The process produces the report and writes records to the Payment Business Unit table (PS_SSF_SL_PAY_BU) and the review table (PS_SSF_SL_REF_RVW). Use the Review Refund File page to modify the records. When you are ready, select Final mode. When the process is run in Final mode, the selected review Refund records are deleted and the data is written to the Refund Pay file and saved as permanent pay records in the Payment Business Unit table (PS_SSF_SL_PAY_BU), the Pay table (PS_SSF_SL_PAY) and the File Header table (PS_SSF_SL_FILE_HDR). The refund transactions are also written to a DAT file which can be imported into Student Financials using Group Processing - External Files. |
Access the Review Refund File page ().
Image: Review Refund File page
This example illustrates the fields and controls on the Review Refund File page. You can find definitions for the fields and controls later on this page.
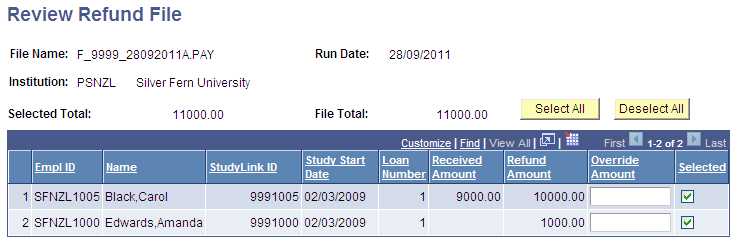
Use this page to review the refund records before sending them. You can select or deselect the records and update refund values (decrease).
|
Field or Control |
Definition |
|---|---|
| Selected Total |
Displays the total amount for all the records in the temporary table for which the Selected check box is selected, regardless of the records currently found or displayed. If you are processing many refunds and want to break them into several smaller refund files, the Selected Total allows you to see what you currently have selected compared to the refund amount in the entire file (File Total). |
| File Total |
Displays the total refund amount for all the records in the temporary table, regardless of the records currently found or displayed. |
| Override Amount |
Enter an amount here to refund an amount different to that calculated by Process Refund File. When Process Refund File is run in Final mode this value is written to the PAY and DAT files and used in the finalised refund PAY records. |
| Select All |
Click this button to select the Selected check box for each found record. This allows you to find all records and deselect them, and then find a subset of records, for example, all refund amounts less than $200, click Select All and process just that subset. |
| Deselect All |
Click this button to clear the Selected check box on all the found records. |
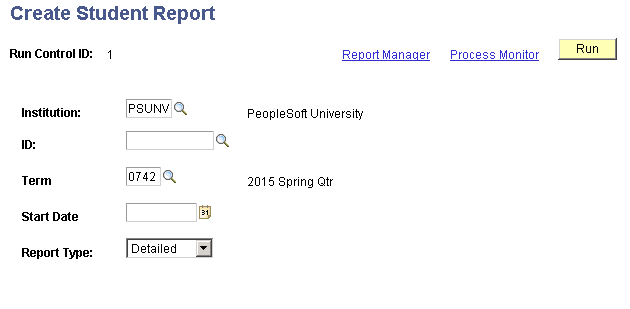
Access the Create Student Report page ().
Image: Create Student Report page
This example illustrates the fields and controls on the Create Student Report page. You can find definitions for the fields and controls later on this page.