Setting Up Receipt Messages
To set up receipt messages, use the Receipt Print Messages component (MESSAGES).
This section discusses:
|
Page Name |
Definition Name |
Navigation |
Usage |
|---|---|---|---|
|
Cashier Office Messages |
CSH_MSG_BD |
|
Create receipt messages linked to cashiering offices. |
|
Target Messages |
CSH_MSG_TG |
|
Create receipt messages linked to target keys. |
|
Tender Messages |
CSH_MSG_TN |
|
Create receipt messages linked to tender keys. |
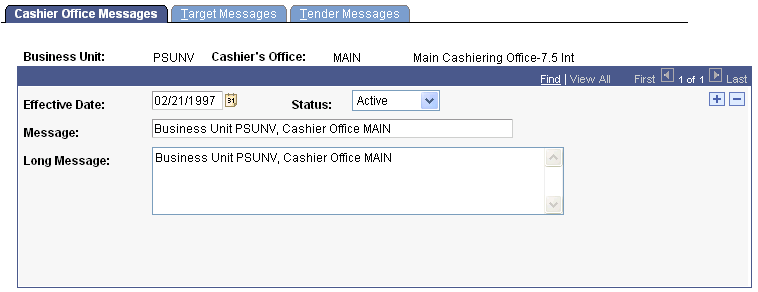
Access the Cashier Office Messages page ().
Image: Cashier Office Messages page
This example illustrates the fields and controls on the Cashier Office Messages page. You can find definitions for the fields and controls later on this page.
|
Field or Control |
Definition |
|---|---|
| Message |
Enter the message that you want to appear on all receipts printed by this cashier office. |
| Long Message |
Enter an optional, more detailed message. |
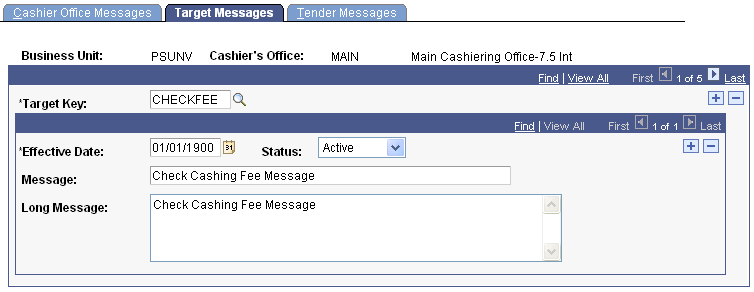
Access the Target Messages page ().
Image: Target Messages page
This example illustrates the fields and controls on the Target Messages page. You can find definitions for the fields and controls later on this page.
|
Field or Control |
Definition |
|---|---|
| Target Key |
Enter the target key to which you want to link the message. |
| Message |
Enter a message to appear on all receipts associated with the target key. |
| Long Message |
Enter an optional, more detailed message. |
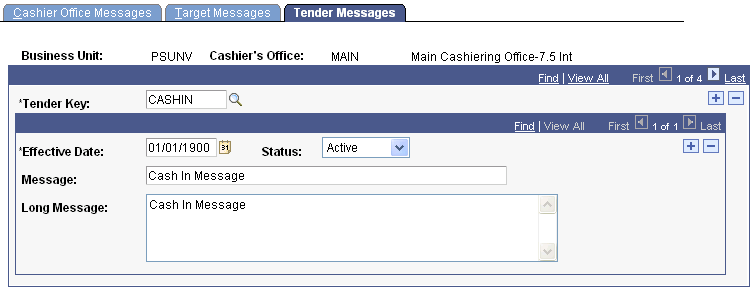
Access the Tender Messages page ().
Image: Tender Messages page
This example illustrates the fields and controls on the Tender Messages page. You can find definitions for the fields and controls later on this page.
|
Field or Control |
Definition |
|---|---|
| Tender Key |
Enter the tender key to which you want to link the message. |
| Message |
Enter a message to appear on all receipts associated with the tender key. |
| Long Message |
Enter an optional, more detailed message. |