Viewing and Managing the Enrollment Cart
The Enrollment Cart function allows students to view their cart for any terms for which they have an active enrollment cart, remove classes from their cart, and add all classes from their cart. All data required for the enrollment cart is provided through Enrollment Web Services.
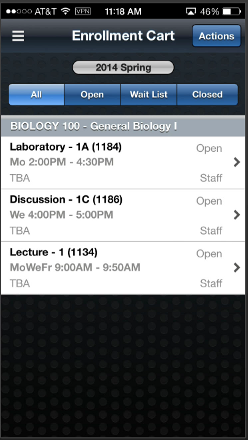
The buttons across the top allow the student to view the class sections in their cart based on the status of the class (Open, Wait List, or Closed). This is a quick way for a student to view the current status of the class (which could change frequently) in anticipation of enrollment.
Image: Enrollment Cart page
This example illustrates the Enrollment Cart page.
Removing a Class From Enrollment Cart
To remove a class from the cart, the student swipes across the class from left to right in order to make the Delete button appear. Students then tap the Delete button to remove the class from their cart.
Editing Classes in Enrollment Cart
Edit Class allows a student to modify their enrollment cart entries. The enrollment options the student previously selected appear and the student can either select new options or keep their prior selections and resave the class to their cart.
Viewing All Classes on a Map
Tapping the Action button at the top right of the Enrollment Cart brings up an action menu that includes the option to View on Map. View on Map presents all class sections in the student's schedule on the campus map at the same time. All meeting patterns are represented simultaneously. Building locations that have more than one class section (or meeting pattern) associated with them are marked with a pin that has multiple pinheads.
When you tap a pin, a popup window displays the class section information for that building. The student can tap on the popup to open the Class Details page for the indicated class section.