|
|
Release 11.1.2.4
Table of Contents:
Step 1: Downloading Installation Files
This document presents recommended steps to build a typical Oracle Essbase development environment on a single server running Microsoft Windows. This deployment is not intended for use in a production environment. A typical Essbase development environment comprises the following Oracle Enterprise Performance Management System components:
Essbase
Oracle Essbase Studio
Oracle Smart View for Office
Oracle Essbase Administration Services
Use a generic Windows user account, for example, epmrapid_user, that satisfies the following requirements. This account is referred to as deployment account throughout this document:
The deployment account is a member of the Administrators group on the server on which you are deploying this domain.
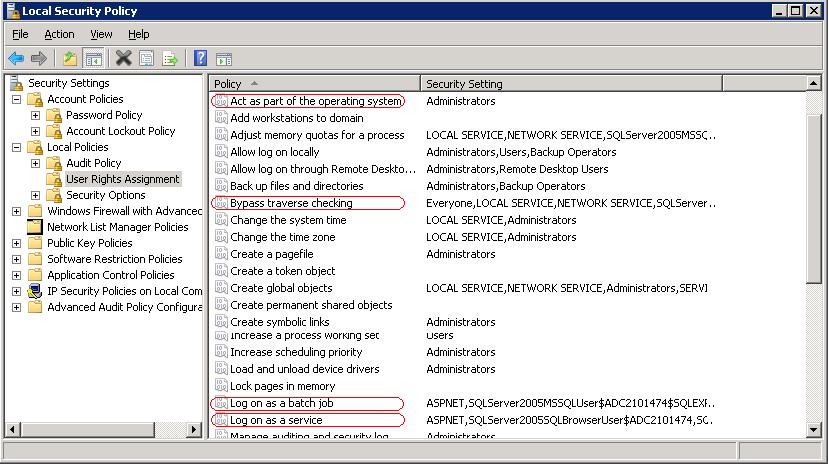
The following local security policies are assigned to the deployment account. By default, these policies are granted to members of the Administrators group:
Act as part of the operating system
Bypass traverse checking
Log on as a batch job
Log on as a service
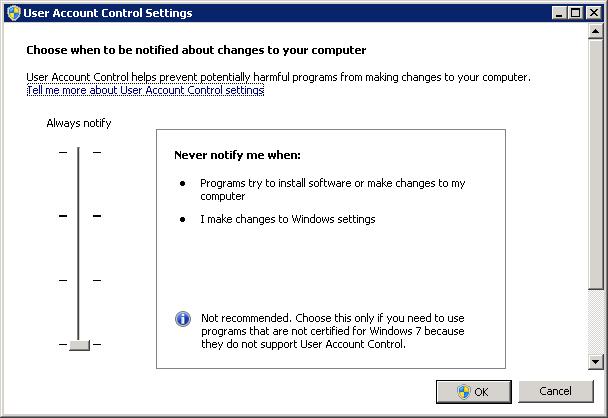
User account control is disabled for the deployment account
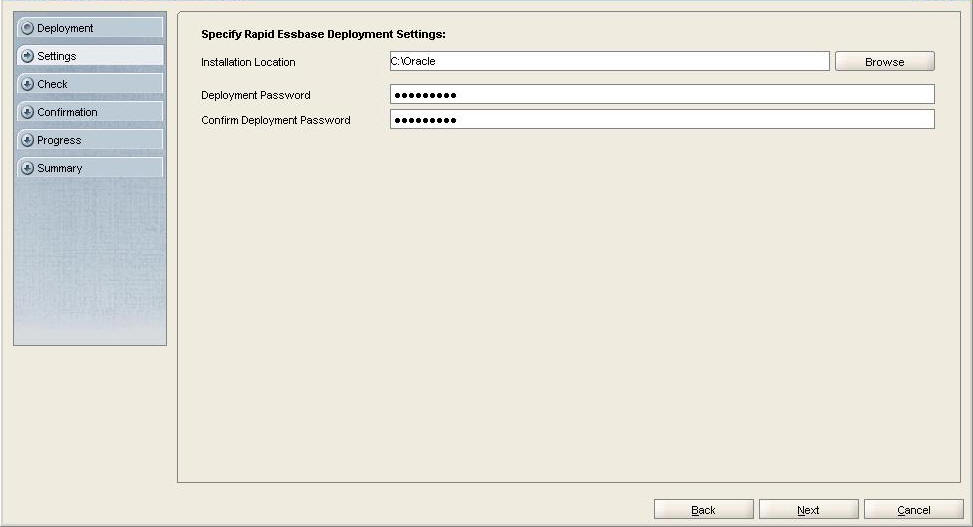
The password that you select for this account will be used as the password for Oracle Database Administrator, Oracle Database User, WebLogic Administrator, and EPM Administrator. This password is referred to as the deployment password throughout this document.
The deployment password must conform to these guidelines:
Contain at least one uppercase letter
Contain at least one numeral
Be at least eight characters long
Contain no special characters
An example of an acceptable deployment password is 1Rapidepm.
 To verify that local security policies are assigned to the deployment account:
On the server, click Start, then Administrative Tools, and then Local Security Policy.
In Local Security Policy, expand Local Policies, and then select User Rights Assignment.
Verify that the security setting for the policies highlighted in the following screen shot includes the Administrators group. Double-click the security setting of the policy to view its properties and assignments.
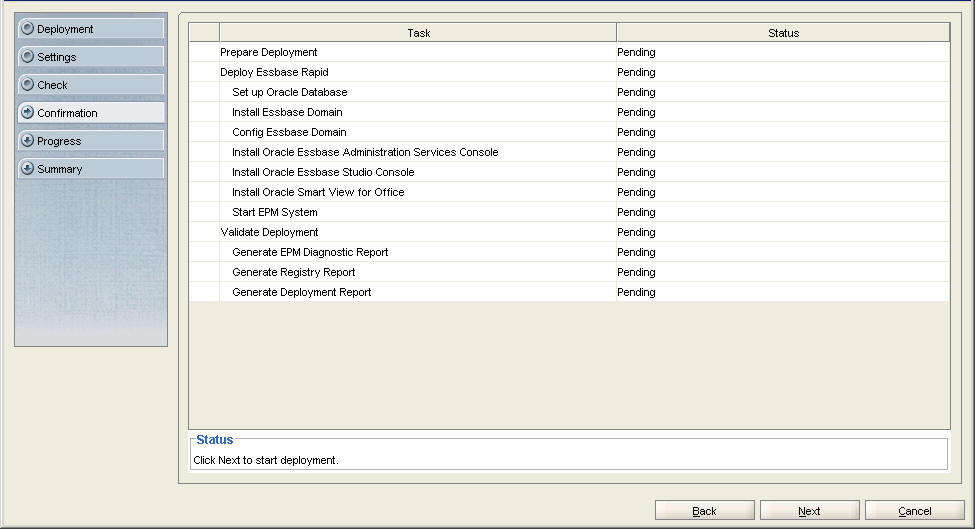
The deployment process involves the following steps and takes approximately three hours:
This section explains how to download Oracle 11g Database (Version 11.2.0.1.0) and EPM System product media packs and get them ready. You can download media packs simultaneously. Using a T1 connection, downloading media packs takes approximately 65 minutes. You must also download Smart View from Oracle Technology Network.
To download media packs from Oracle Software Delivery Cloud:
Create a folder named EPM_rapid_downloads on your server. The file path should not contain spaces.
On the Oracle Software Delivery Cloud, click Sign In/Register.
In Sign In, enter your Oracle Software Delivery Cloud user name and password, and then click Sign In.
In Terms & Restrictions, read and accept the Trial License and Export Restrictions agreements, and then click Continue.
Download part numbers to install Oracle Database 11g.
In Media Pack Search, search for Oracle Database product pack for Microsoft Windows x64 (64-bit), and then select Go.
In the Results section, select Oracle Database 11g Release 2 (11.2.0.1.0) Media Pack for Microsoft Windows x64 (64-bit), and then click Continue.

Download the following part numbers to EPM_rapid_downloads.
Table 2. Database Part Numbers to Download
| Part Number | Name |
|---|---|
| V20610-01 Part 1 of 2 | Oracle Database 11g Release 2 (11.2.0.1.0) for Microsoft Windows x64 (64-bit) (Part 1 of 2) |
| V20610-01 Part 2 of 2 | Oracle Database 11g Release 2 (11.2.0.1.0) for Microsoft Windows x64 (64-bit) (Part 2 of 2) |

Download part numbers to install Oracle Enterprise Performance Management System Essbase domain.
From the browser, navigate back to Media Pack Search.
In Media Pack Search, search for Oracle Enterprise Performance Management System for Microsoft Windows x64 (64-bit) platform, and then click Go to start the search.
In Results, select Oracle Enterprise Performance Management (11.1.2.4.0) Media Pack for Microsoft Windows x64 (64-bit), and then click Continue.
Download the following part numbers to EPM_rapid_downloads.
Table 3. EPM System Part Numbers to Download
| Name |
|---|
| EPM System Release 11.1.2.4.0 for Microsoft Windows (64-bit) Part 1 |
| EPM System Release 11.1.2.4.0 for Microsoft Windows (64-bit) Part 2 |
| EPM System Release 11.1.2.4.0 for Microsoft Windows (64-bit) Part 3 |
| EPM System Release 11.1.2.4.0 for Microsoft Windows (64-bit) Part 4 |
| EPM System Release 11.1.2.4.0 for Microsoft Windows (64-bit) Part 5 |
| EPM System Release 11.1.2.4.0 for Microsoft Windows (64-bit) Part 6 |
| EPM System Release 11.1.2.4.0 Client Installers for Microsoft Windows |
Using a program, for example 7-Zip, extract the contents of the EPM System Release 11.1.2.4.0 for Microsoft Windows (64-bit) Part 1 into EPM_rapid_downloads.
Using a browser, go to www.oracle.com/technetwork/middleware/smart-view-for-office/downloads/index.html.
Click Save File, browse to EPM_rapid_downloads, and then click Save.
Using a program, for example 7-Zip, extract the contents of the Oracle Smart View for Office ZIP file into EPM_rapid_downloads.
Log on to Oracle Hyperion Enterprise Performance Management Workspace and Administration Services Console to verify that Oracle Essbase domain has deployed successfully.
To verify Essbase domain deployment:
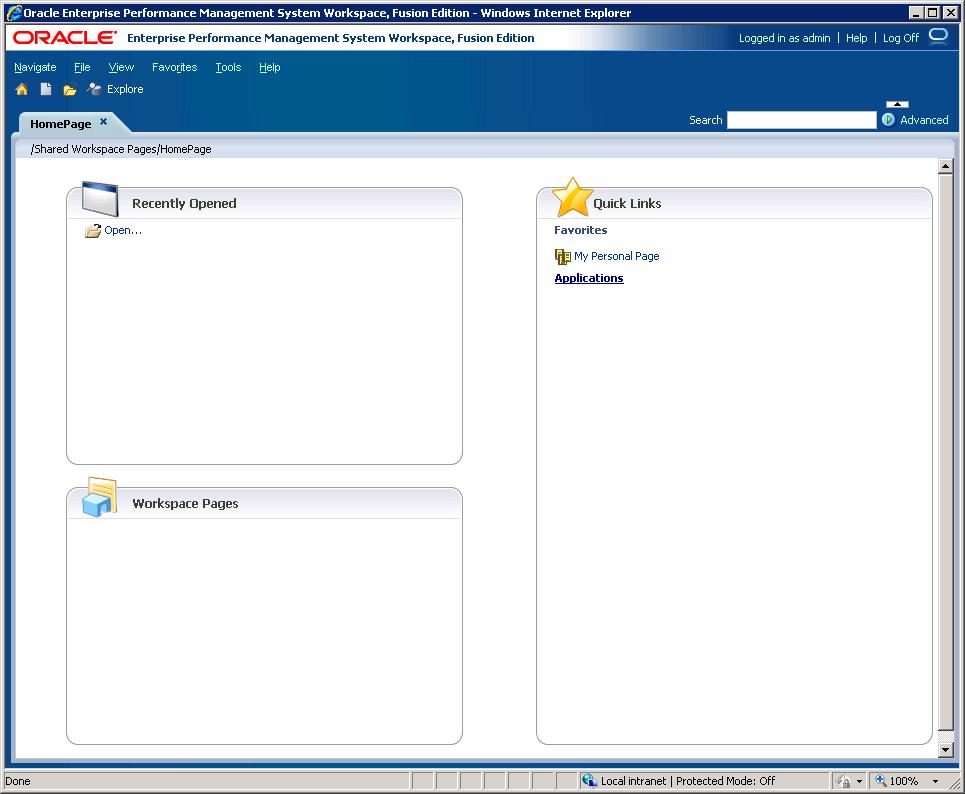
Access Oracle Hyperion Enterprise Performance Management Workspace.
Verify that you can access Administration Services Console.
Select Start, then All Programs, then Oracle EPM System, then Essbase, then Essbase Administration Services, and then Start Administration Services Console.
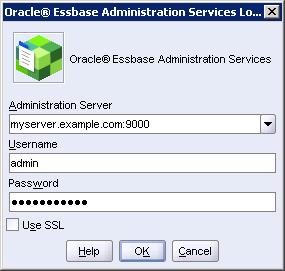
On the Logon screen, enter the following information, and then click OK.
Administration Server—Enter HostName:9000.
User Name—Enter admin.
Password—Enter the deployment password.
Oracle Essbase Administration Services Console opens.