- Replace and secure the air duct for removal by loosening the two brackets and the Phillips Number 2 thumb screws on both sides of the air duct.Figure 1 Remove air duct
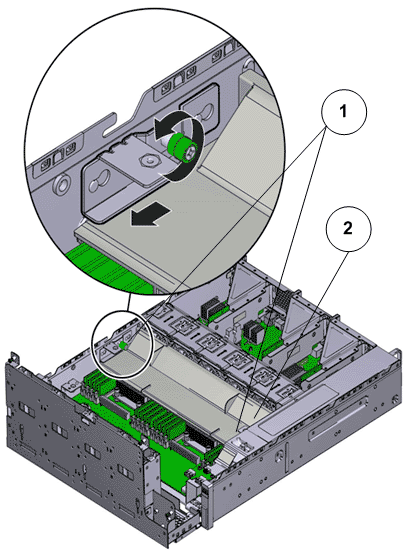
- Legend
1 Screws that secure air duct 2 Air duct
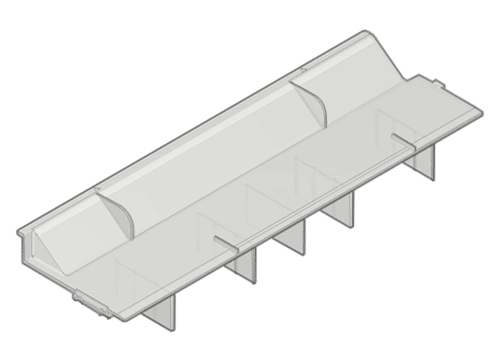
Note: The brackets that secure the air duct are labeled L (left) and R (right). The left bracket slides forward and the right bracket slides back when facing the Controller in the service position. - Lift up the air duct from the Controller chassis and set it aside.The following figure shows a Controller air duct:Figure 2 Air duct