The Component Registration section allows you to add components by defining certain parameters in the Component Registration window.
NOTE |
Before you begin, ensure that you have registered all the required components within the Run Rule Framework (RRF). For detailed information, see OFSAAI Administration Guide. |
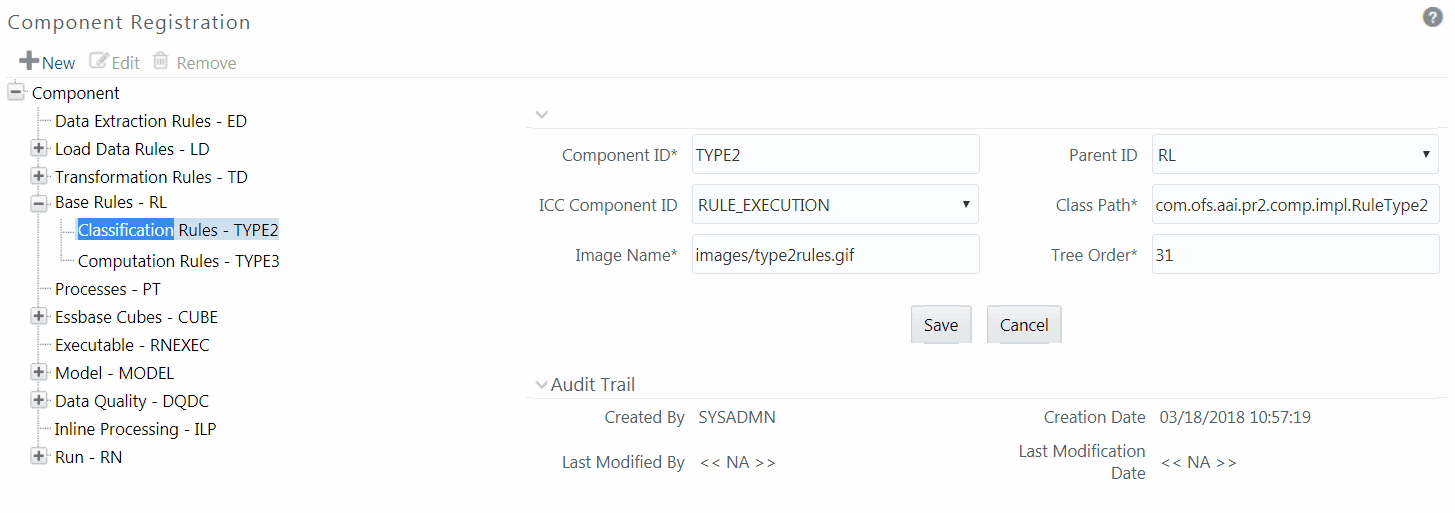
The Component Registration window displays the current components in the left pane and the field values of the selected component in the right pane. The parameters described for a component in this window are Component ID, ICC Component ID, Image Name, Parent ID, Class Path, and Tree Order.
The Audit Trail section at the bottom of Component Registration window displays metadata information about the Component selected / created.
You can register new components from the Component Registration window.
To register a new component:
1. From the Component Registration
window, click  New.
The fields in the right pane of the Component Registration
window are reset.
New.
The fields in the right pane of the Component Registration
window are reset.
2. Enter the details as tabulated below:
Field Name |
Description |
Component ID |
Enter the Component ID. |
Parent ID |
Select the Parent ID from the drop-down list. |
ICC Component ID |
Select the ICC Component ID from the drop-down list. |
Class Path |
Key in the class path. |
Image Name |
Key in the image name which is allocated for the component. |
Tree Order |
Enter the tree order as numeric value. |
3. Click Save. The fields are validated and the component is saved.
You can modify all the details except the Component ID of a Component. To modify an existing component in the Component Registration window:
NOTE |
Seeded Components cannot be modified. |
1. Select the Component from the left pane tree structure, whose details are to be updated.
2. Click  Edit button. The fields of the selected component
are editable.
Edit button. The fields of the selected component
are editable.
3. Edit the Component details as required. For more information, see Create Component.
4. Click Save to save the changes.
You can remove individual Component definitions which are no longer required in the system by deleting from Component Registration window.
NOTE |
Seeded Components cannot be deleted. |
1. Select the Component whose details are to be removed
and click  Remove.
2. Click OK in the warning dialog to confirm deletion.
The Component Registration window confirms the deletion of the component definition.