| Oracle® Retail Xstore Point of Service Manager's Guide Release 18.0 F12255-02 |
|

 Previous |
This chapter includes information about the functions that can be performed in the Back Office, but are not closely associated with a specific functional task. Like other Back Office functions, these activities are logged by the system for accountability and reporting purposes.
The following functions are included in this section:
Change your password - See Changing Your Password.
Dashboard View - See Using the Dashboard.
Oracle Retail XBRi Sales & Productivity Dashboard - See Sales and Productivity Dashboard.
Open a browser to access the World Wide Web - See Opening a Browser.
Exchange Serial Numbers - See Exchanging Serial Numbers.
|
Note: This function is also available from the POS register and the Employee Maintenance Menu in the Back Office. Refer to Employee Maintenance.If you need to change another employee's password, not your password, use the process described in Changing an Employee's Password. |
If your store is configured to use password challenge questions, you can re-set your password without knowing your current password by answering questions. See Forgot Password Challenge Questions for more information.
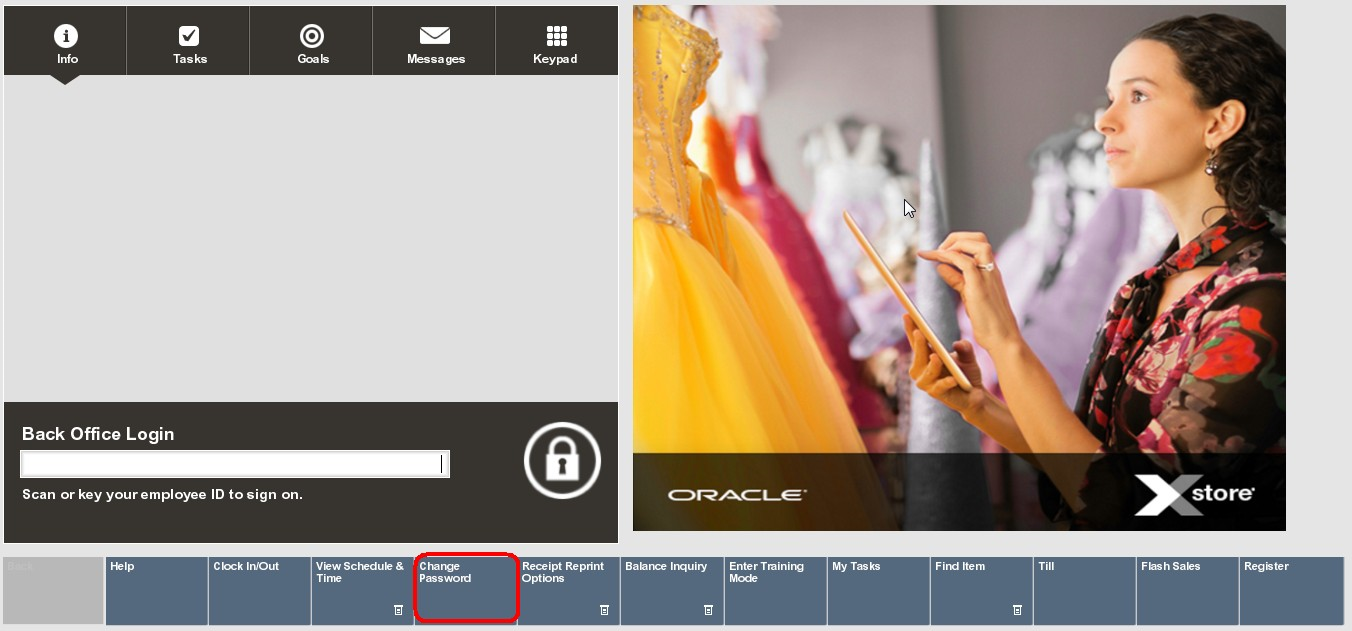
The Change Password option is available from the Back Office Login screen - before you log in to the system.
Select the Change Password option from the Back Office Login screen. Oracle Retail Xstore Point of Service prompts for your employee ID. If you are using the Fingerprint Scan, the prompt asks for your fingerprint.
Type or scan your Employee ID at the Change Password prompt and press Enter, or scan your finger if your system is set up to use a biometric device.
If prompted for your password, enter your current password and press Enter.
|
Note: If you forgot your current password and your store is configured with challenge questions, see Forgot Password Challenge Questions. |
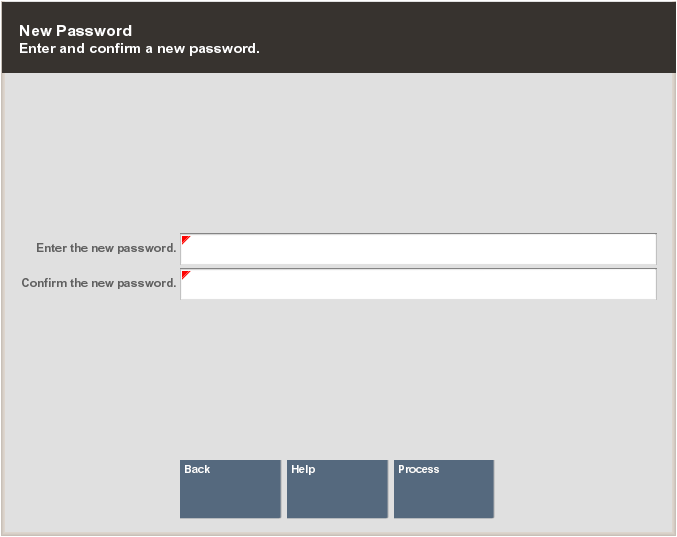
Oracle Retail Xstore Point of Service prompts you to enter and confirm your new password. Type your new password in the first field, and type the password again to confirm it in the field below.
|
Tip: Passwords may be case sensitive, so be sure you note whether the keyboard Caps Lock key is on or off when you enter and confirm your new password. |
Select Process to store your new password:
If the system accepts the password, a confirmation message is shown indicating that your password was changed. Press Enter to acknowledge this prompt and return to the Login screen.
|
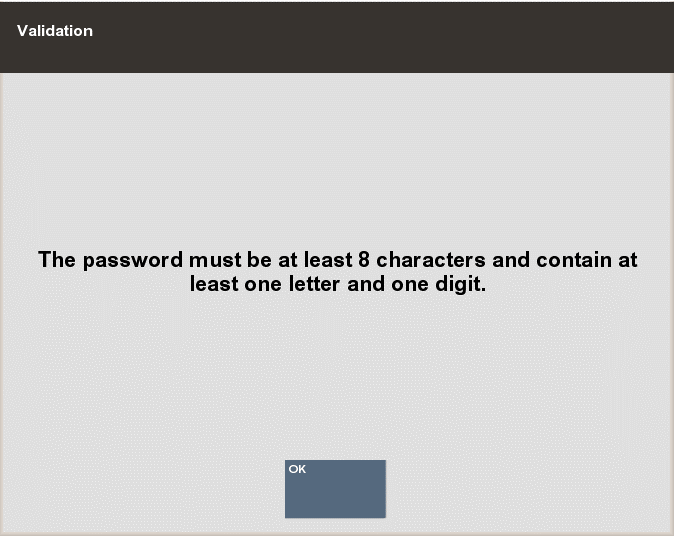
Note: The system may enforce certain rules regarding passwords. For example, a minimum number of characters may be required, and there may be a restriction on how frequently you can reuse an old password. |
If the new password you entered is invalid (according to your system's password requirements), the system displays a message. You must press Enter to acknowledge the prompt.
Oracle Retail Xstore Point of Service returns to the New Password prompt and you can enter a different password.
If your store is configured to use password challenge questions, you can re-set your password without knowing your current password by answering the questions. The answers to the questions are set up in the Back Office see the Establish Password Challenge Questions.
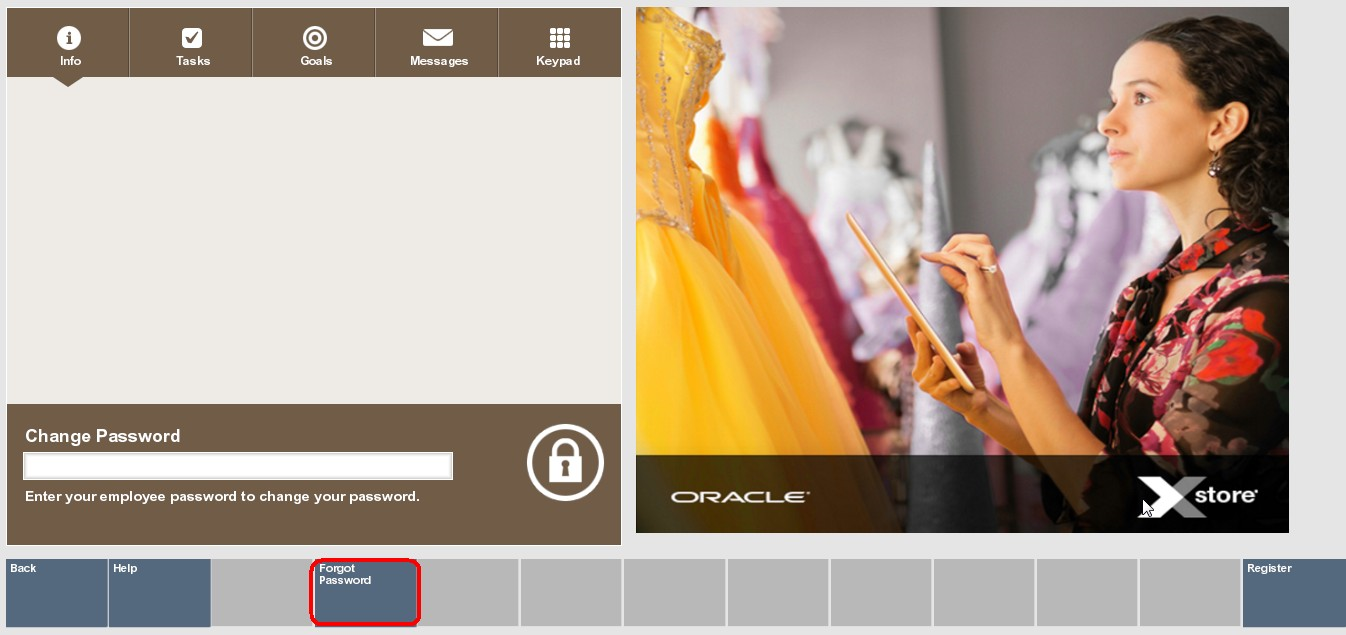
Select the Change Password option from the Register Login screen or the Back Office Login screen. Oracle Retail Xstore Point of Service prompts for your employee ID.
Type or scan your employee ID at the Change Password prompt and press Enter. If fingerprint scans are supported, scan your finger at the prompt.
Select the Forgot Password menu option.
Enter your last name for verification.
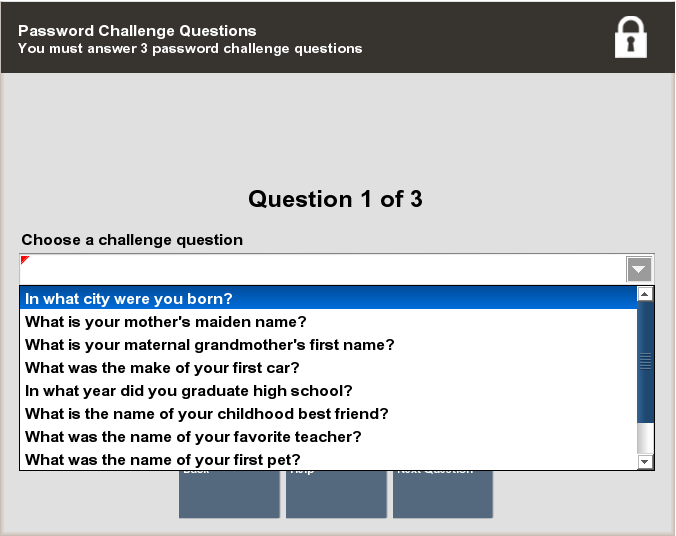
For each challenge question, type the answer and then select Next Question. For the last question, select Process.
Once you've answered all the questions correctly, the New Password prompt displays. Type your new password in the first field and type the password again to confirm it in the field below.
Select Process to store your new password. If the system accepts the password, a confirmation message is shown indicating your password has been changed.
Press Enter to acknowledge this prompt and return to the Register Login screen.
|
Note: The system may enforce certain rules regarding passwords, such as the minimum number of characters required or whether you can reuse an old password.If your new password is not valid, press Enter to acknowledge the validation prompt and try again. |
The goal of the dashboard is to automatically show timely sales data information- collected from various areas within the organization-in one place. The data shown on the screen is an analysis as to how your business is operating; using graphics, summaries, and lists to display the information.
Information shown on the Dashboard includes:
Sales Performance - WTD, MTD, and YTD values as a running totals section, up to and including the current day's sales
Net Sales for the Top 5 Departments from today
The top 5 best-selling items from today
The top 5 sales associates from today
Store Goals performance data
In addition to the information displayed on the page, menu options are provided to allow you to view and print the Flash Sales report, the Daily Sales report, the Best Sellers report, and the Employee Tasks report.
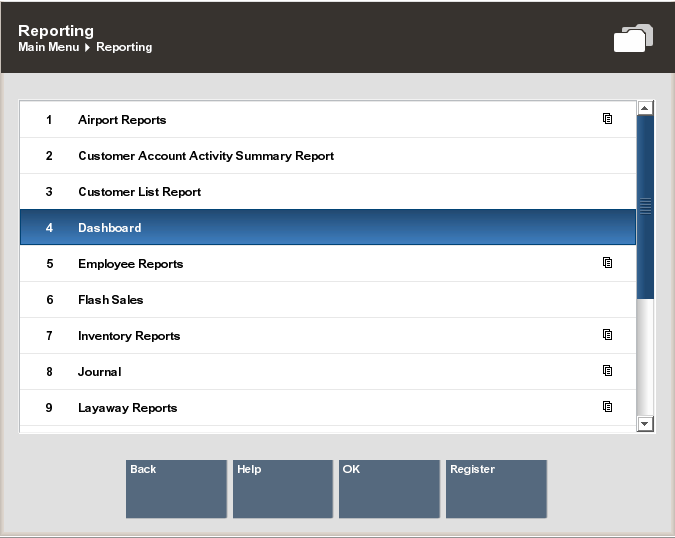
To view the Dashboard, select the Dashboard option from the Reporting menu and press Enter.
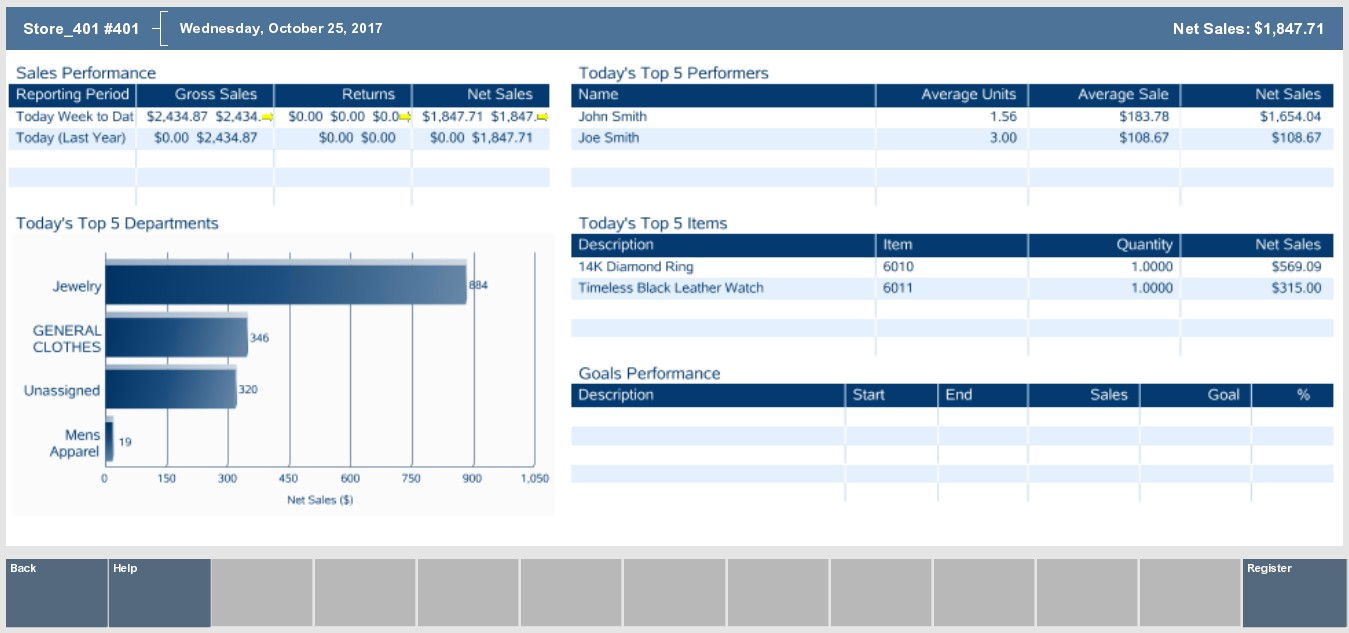
The Dashboard screen is divided into several informational areas as shown in the figure below:
This section shows the Gross Sales, Returns, and Net Sales for Today,
a year ago (Today - last year), Week-to-Date, Month-to-Date, and Year-to-Date. The data displayed in this section is a running totals section. This information shows the current day's sales in near real time, so these values change depending on when the Dashboard is displayed.
|
Note: Additional 'sales data is available on the Flash Sales and other Sales reports. |
This section show a graph representing the top 5 department sales. One axis of the graph shows the Net Sales dollars, and the other shows the Department ID.
This section shows the top 5 sales associates from today, listed in descending order, based on Net Sales dollars. In addition to Net Sales dollars, the Units per Transaction (UPT), and Average Sale dollars are also displayed.
|
Note: How the UPT and Average Sale data are calculated:Units per transaction = total units sold/# of transactions Average Sale = Net Sales/# of transactions |
You can review the Oracle Retail XBRi Sales and Productivity dashboard from Xstore.
To view the XBRi Sales and Productivity Dashboard:
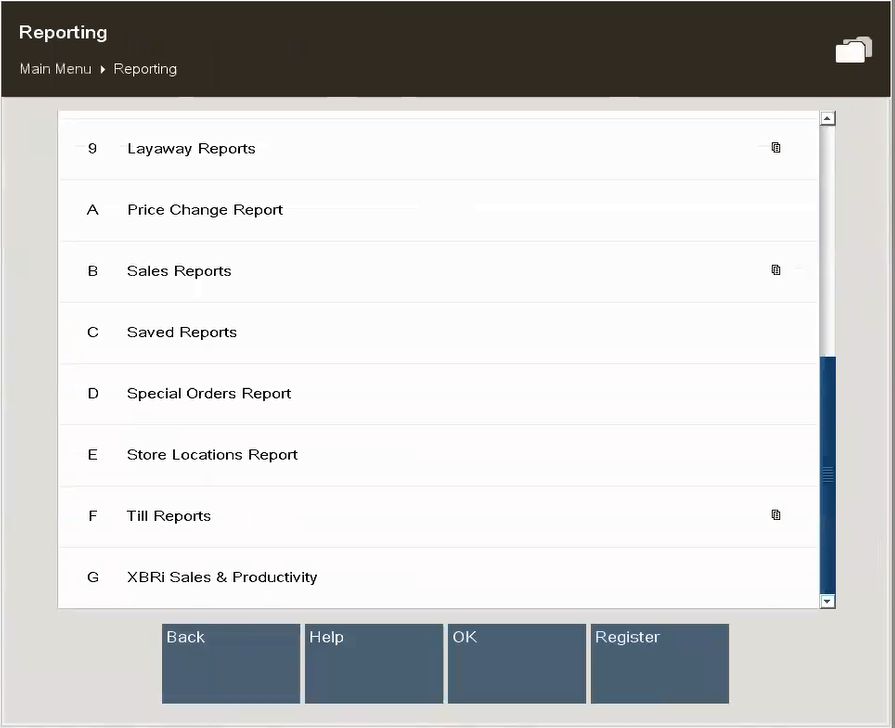
Select Inventory Reports from the Back Office Reporting Menu.
Select XBRi Sales & Productivity from the Inventory Reports menu.
Xstore calls the URL to XBRi.
Login to XBRi Cloud Services using your User name and Password.
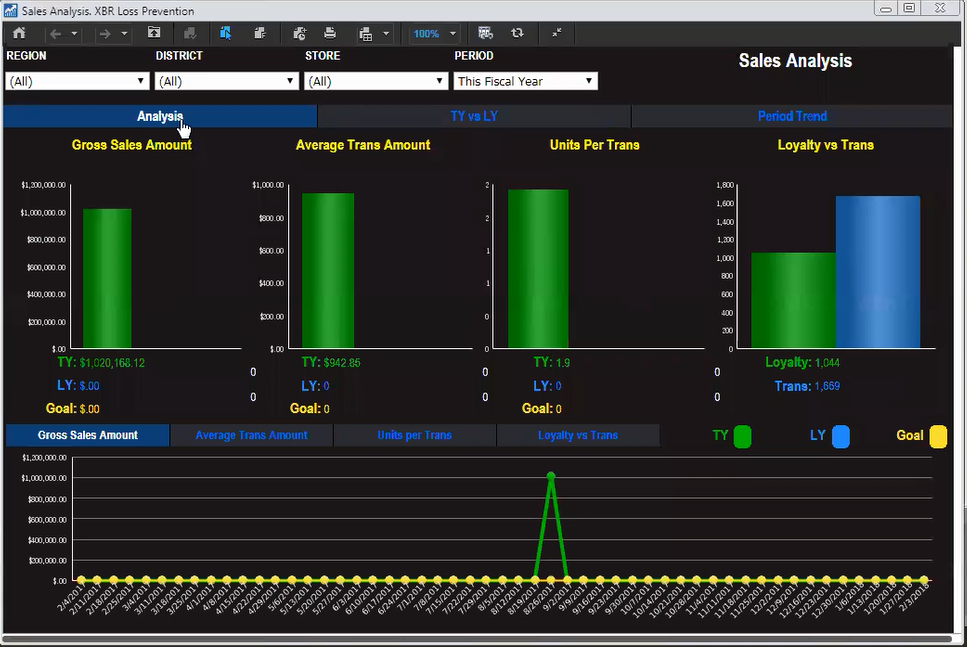
The Sales Analysis screen is displayed.
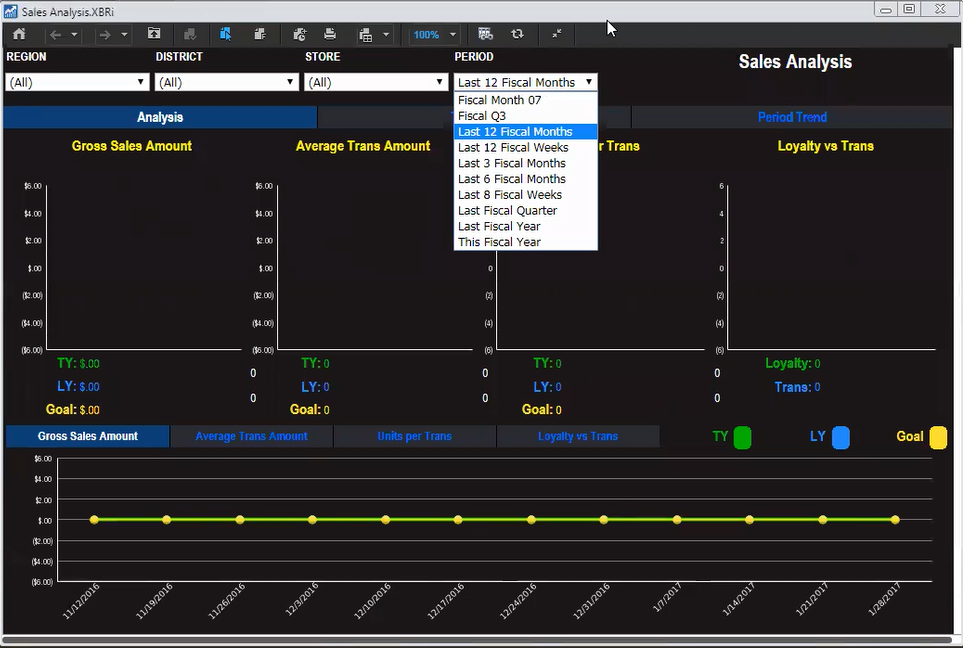
Select report parameters as required such as Region, District, Store and Period.
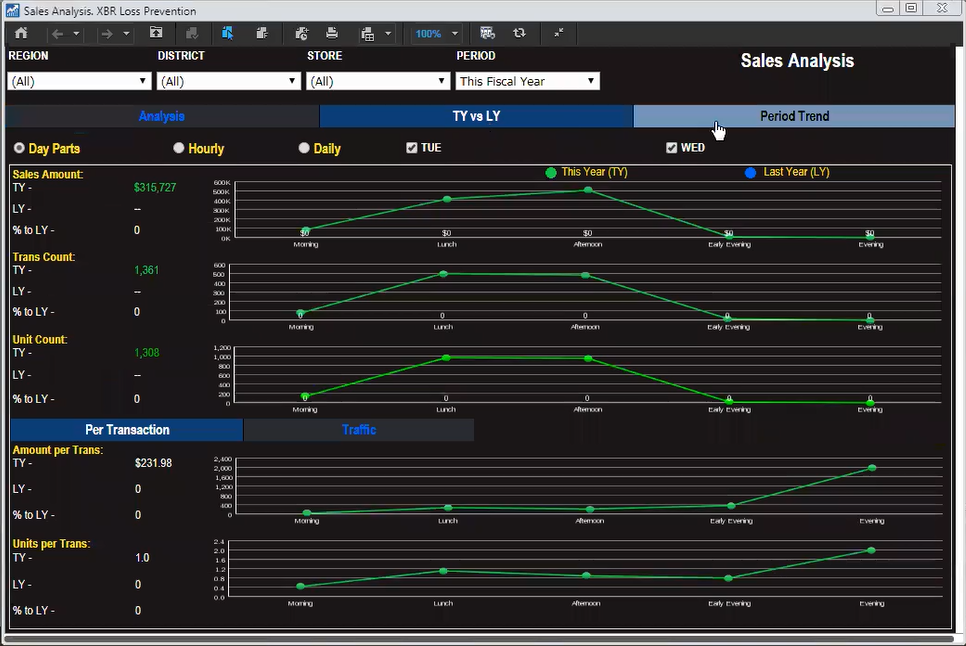
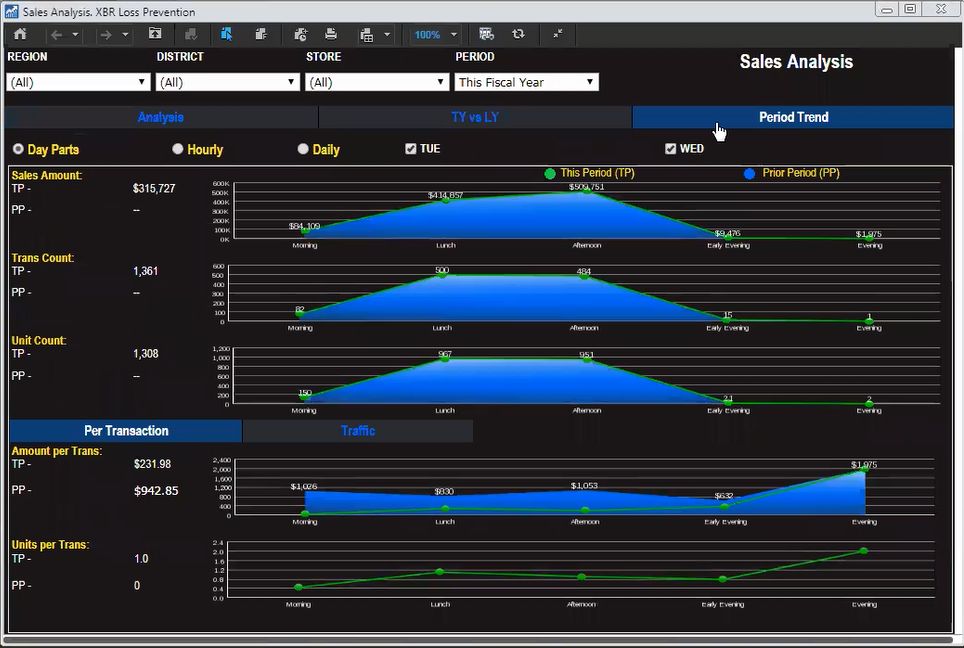
Select Period Trend.
Select X to close the screen and return to Xstore.
Your system may provide an option to access a web browser for navigating Internet sites. The option is available from the Back Office Main Menu. If this option is available to you, you may have a selection of browsers from which you can choose.
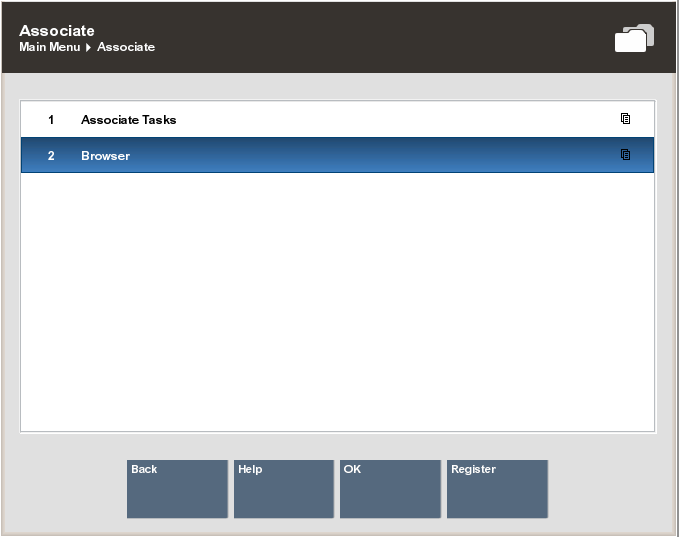
Select the Browser option from the Back Office Main Menu Associate option.
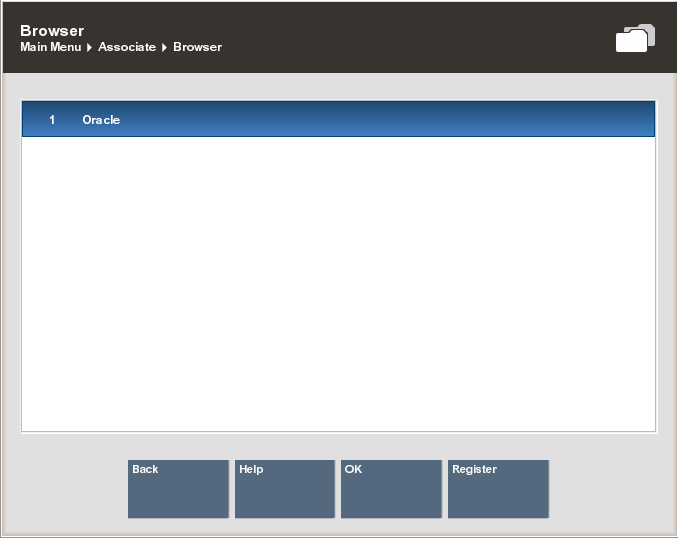
Select an option from the configured websites listed on the Browser menu. Use the up and down arrow keys to navigate among the options and press Enter.
The system opens the supported browser within the Oracle Retail Xstore Point of Service application and displays the website that you selected. For example, Oracle website is shown in the figure that follows. The Browser option allows you to access information without having to exit from Oracle Retail Xstore Point of Service.
|
Note: Certain plugins such as ActiveX and Flash are not supported, therefore specific websites may not load or display as expected. |
If you navigate to additional websites from within the browser, use the Browser Back or the Browser Forward options to navigate among other websites that you visited during a browser session.
After you are finished working in the web browser, select the Back option to return to the list of websites on the Browser Menu in Oracle Retail Xstore Point of Service. You may then repeatedly use Back to return to previous screens as necessary.
This option allows a serialized item to be exchanged and the new serial number to be linked with the old transaction. Blind or unverified returns are not supported.
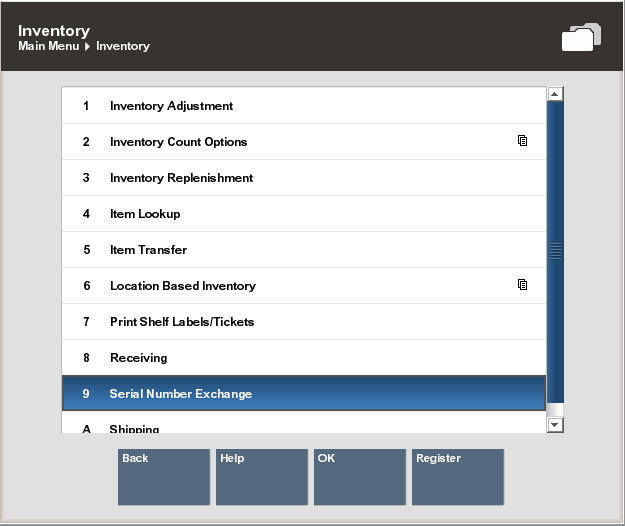
Select Serial Number Exchange from the Inventory menu.
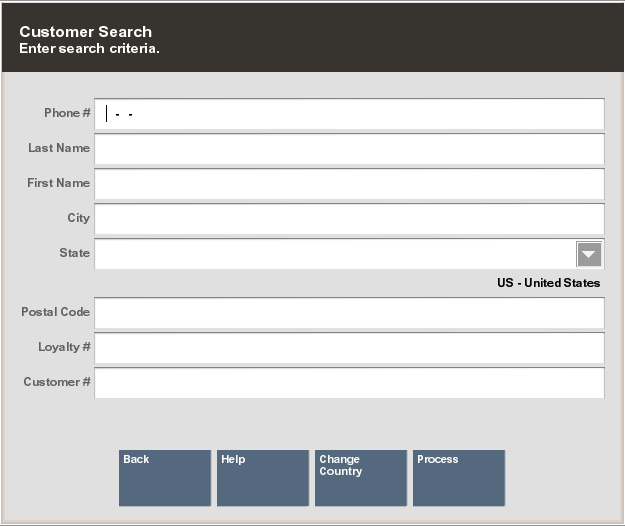
Enter the criteria to search for the customer.
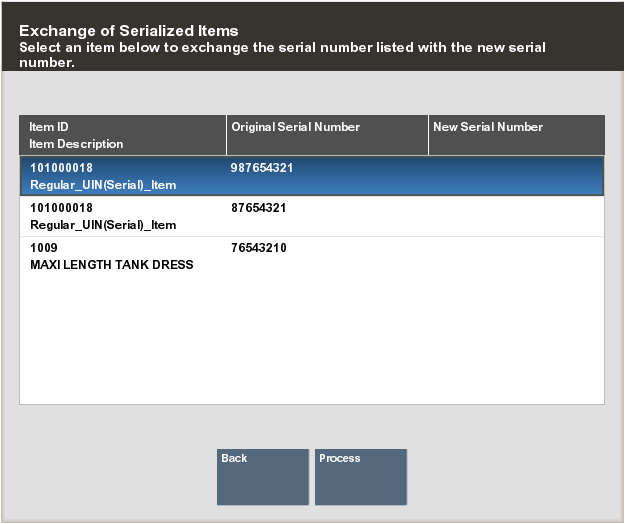
Scan the receipt or manually enter the receipt information to bring up the transaction. When the receipt has one or more serialized items in the transaction only those serialized items will display as a list.
Select an item from the list to exchange the serial number listed with the new serial number.
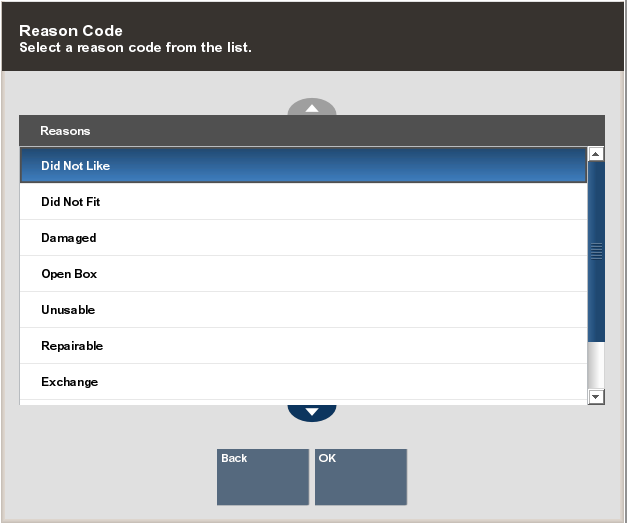
Select a reason code from the list.
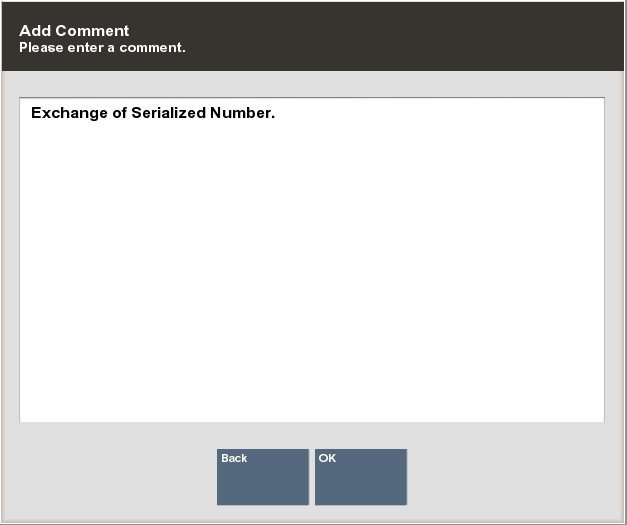
Enter a comment as to why the exchange is required and press OK.
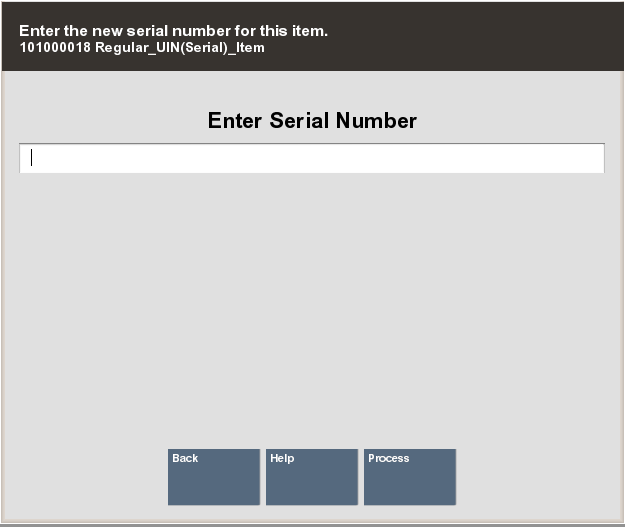
Scan or enter the new serial number.
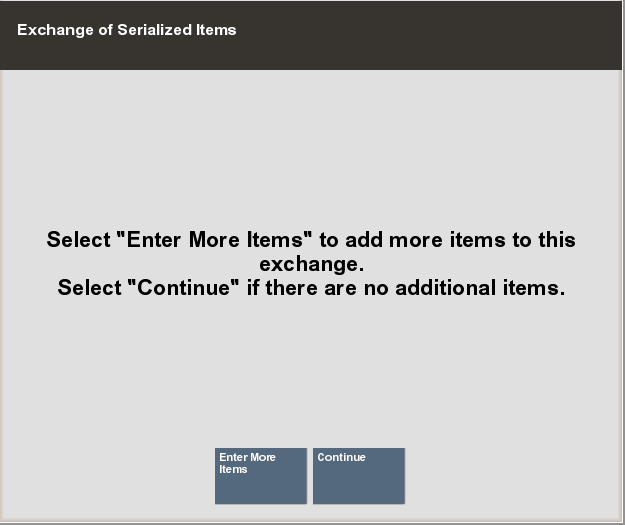
When there is more than one item to exchange, select the option Enter More Items and repeat steps 4 to 7, otherwise select Continue.
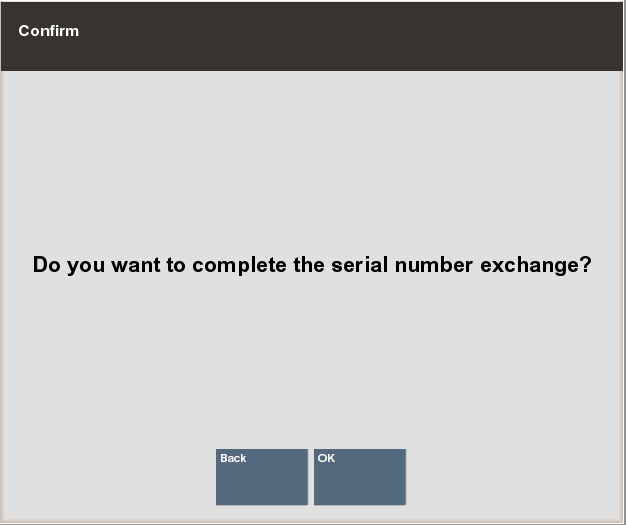
Select OK to complete the serial number exchange.
A receipt ticket prints listing each item exchanged and the new serial number for each item. Only the items that have new serialized numbers will print on the ticket. The exchange receipt does not display the price but shows Exchange Receipt.
|
Note: If a customer decides to return a serialized item, that had been exchanged, the system will have the latest serial number on file for that item. |