| Oracle® Retail Xstore Point of Service Manager's Guide Release 18.0 F12255-02 |
|

 Previous |
 Next |
| Oracle® Retail Xstore Point of Service Manager's Guide Release 18.0 F12255-02 |
|
Previous |
Next |
A Work Order is a request to take some action (perform a task) on an item. The item may be on the current sale transaction at the register, or it may be a previously- purchased item.
Work Order tasks may be organized into logically related categories. For example, some tasks may be related to jewelry, while others are related to automotive parts. Vendors who perform the work must be defined and associated with a store location because it's possible that a vendor may offer service only within a restricted geographic area.
After a Work Order has been created, the information in the Work Order account is accessible from the Back Office. Use the Back Office Work Order Maintenance functions to track, update, and maintain Work Order accounts.
|
Note: Refer to the Oracle Retail Xstore Point-of-Service User Guide for information about setting up Work Orders. |
This chapter contains the following sections:
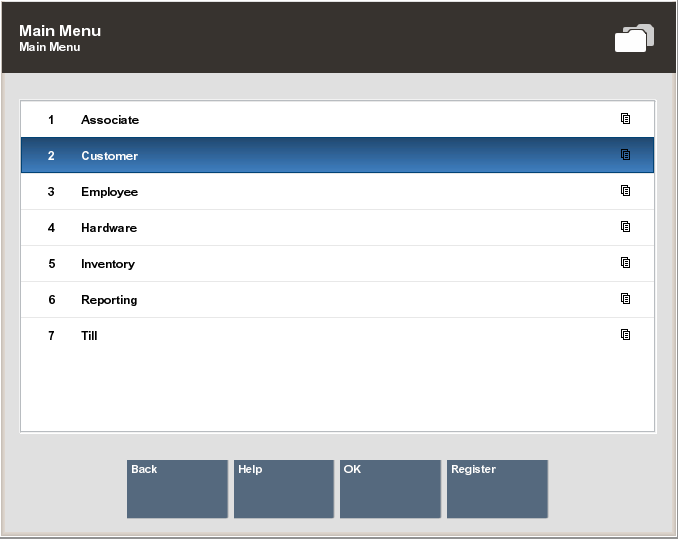
Select the Back Office option.
After logging in to the Back Office, select the Customer option from the Main Menu and press Enter.
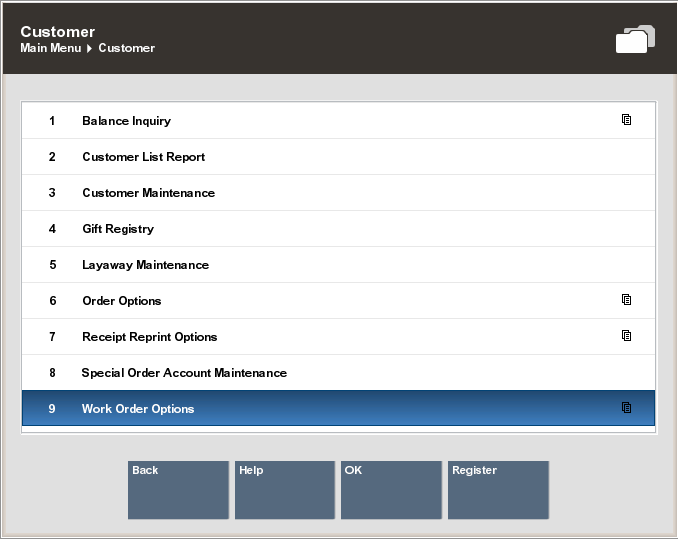
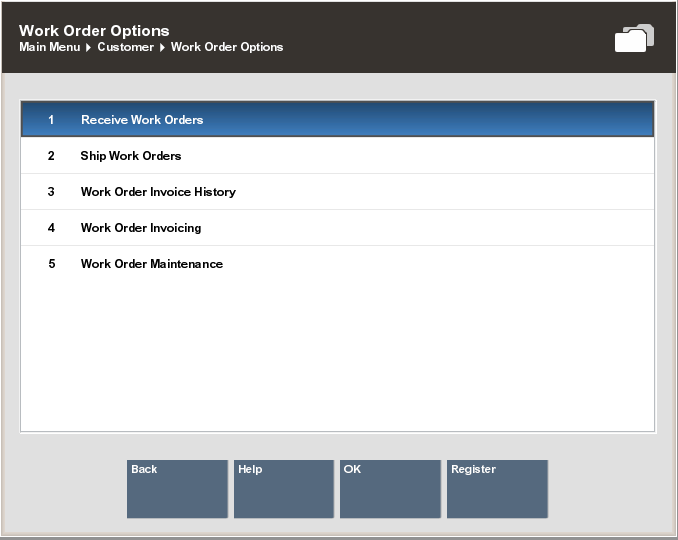
Select the Work Order Options option from the Customer menu and press Enter.
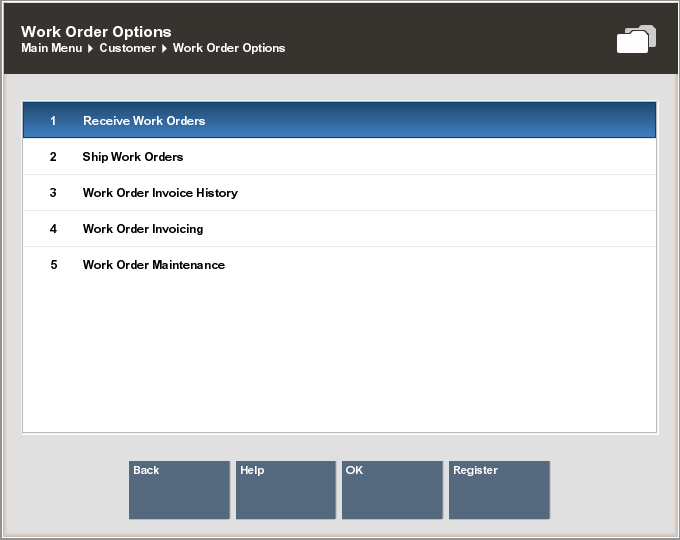
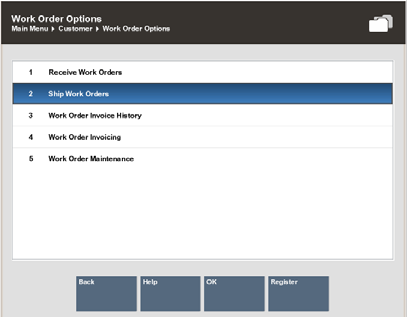
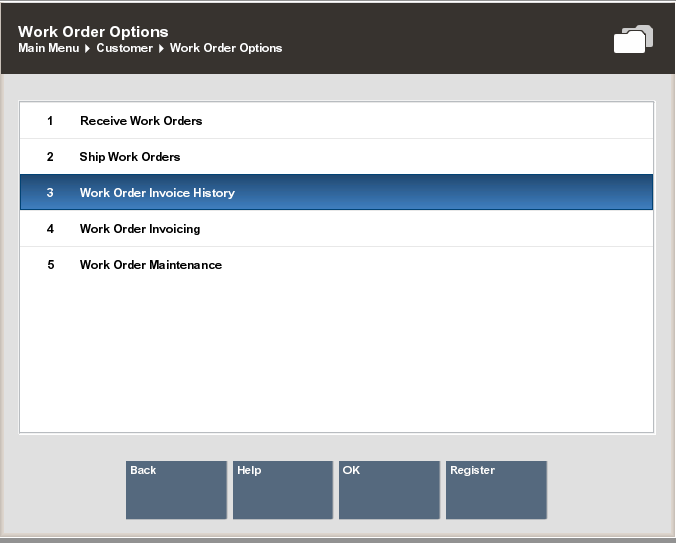
Oracle Retail Xstore Point of Service displays the Work Order Options menu. The following work order options are available:
Work Order Maintenance - Select this option to maintain Work Order information. Refer to Maintaining Work Orders.
Ship Work Orders - Select this option to ship Work Order items to the repair vendor. Refer to Shipping Work Orders.
Receive Work Orders - Select this option to receive completed Work Order items from the repair vendor. Refer to Receiving Work Orders.
Work Order Invoicing - Select this option to perform invoicing functions for Work Orders. Refer to Work Order Invoices.
Work Order Invoice History - Select this option to view existing Work Order invoice information. Refer to Viewing Work Order Invoice History.
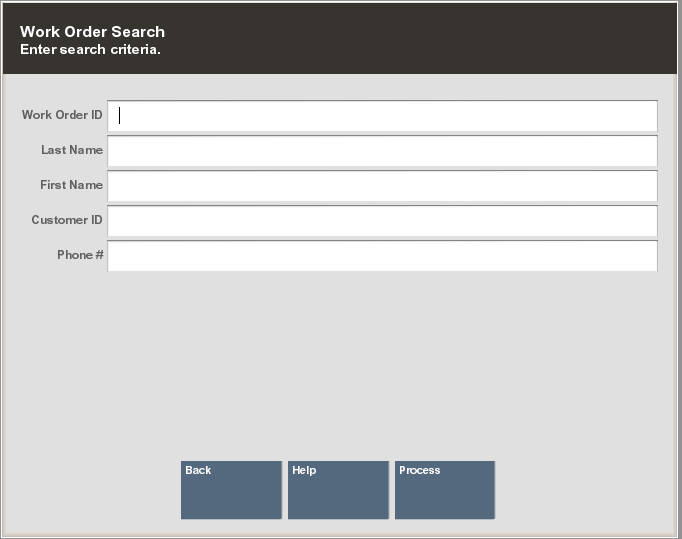
After selecting the Work Order Maintenance option at the Work Order Options menu, the system prompts for Work Order search information. Enter the criteria you want to use for finding a Work Order record and select Process.
If Oracle Retail Xstore Point of Service finds the Work Order, it is displayed in a list. Press Enter to continue.
The search criteria you entered may result in more than one record being found. Select the record you want from the list and press Enter.
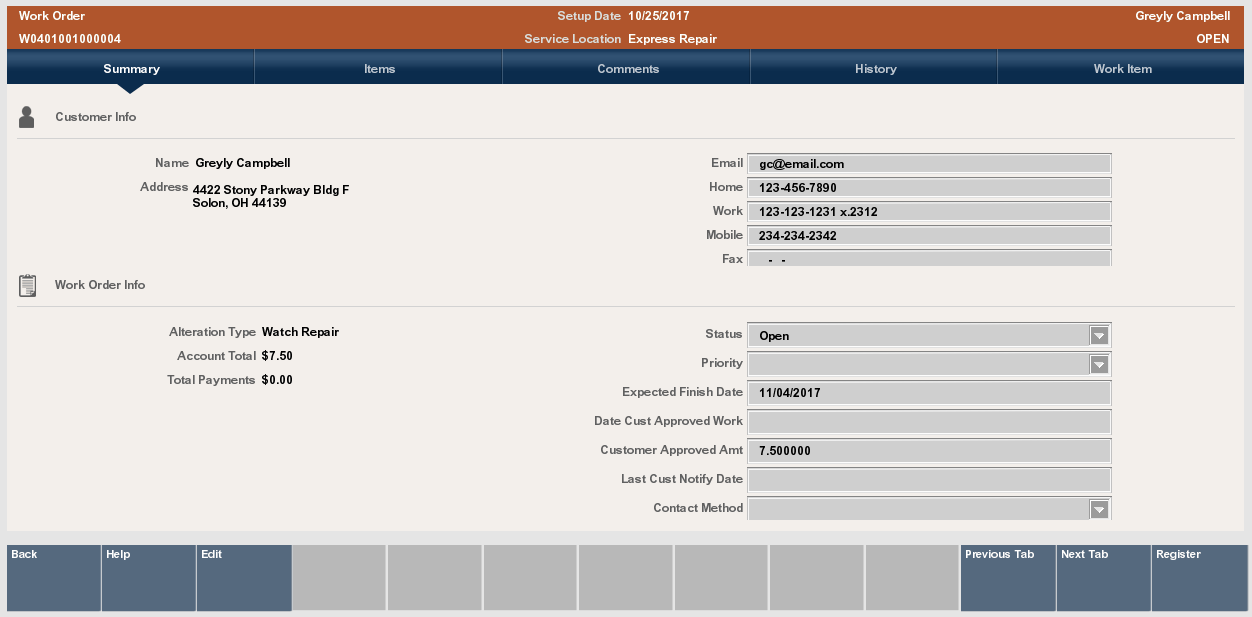
Select a Work Order record and Oracle Retail Xstore Point of Service displays the Work Order screen as shown here.
|
Note: When a screen or field is grayed out, the record can be seen, but not changed until you choose the Edit option. |
A Work Order record always opens in a read-only mode and cannot be edited unless you change to the editing mode. You can navigate between the five tab sections by selecting the Previous Tab and Next Tab menu options. Each tab contains information that is related to a particular aspect of the Work Order.
After viewing a Work Order record you may decide that some of the information must be changed, or you may want to enter additional information in some fields. You must transition to an editing mode to make any changes to the record.
Work Order Summary Tab: Shows the summary information for the Work Order, including its status, and customer contact information.
Work Order Items Tab: Shows the item task-related information for the Work Order, including any instructions and comments for performing the task.
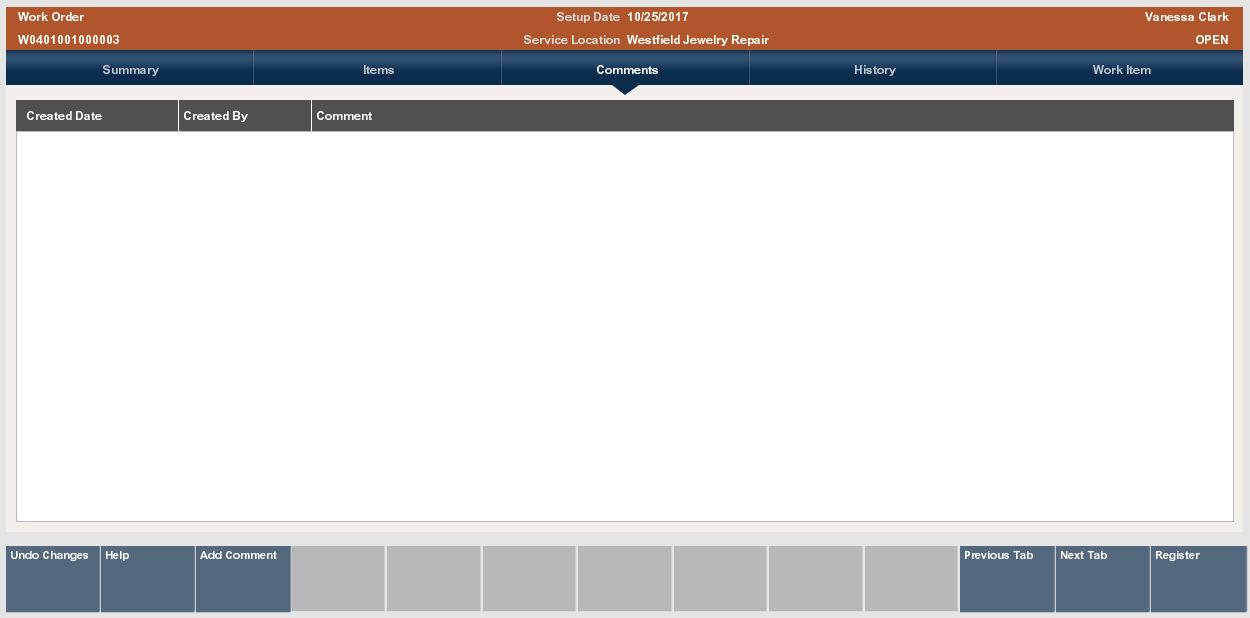
Work Order Comments Tab: Shows any comments that have been entered for the Work Order.
Work Order History Tab: Shows any status changes for the Work Order (view-only).
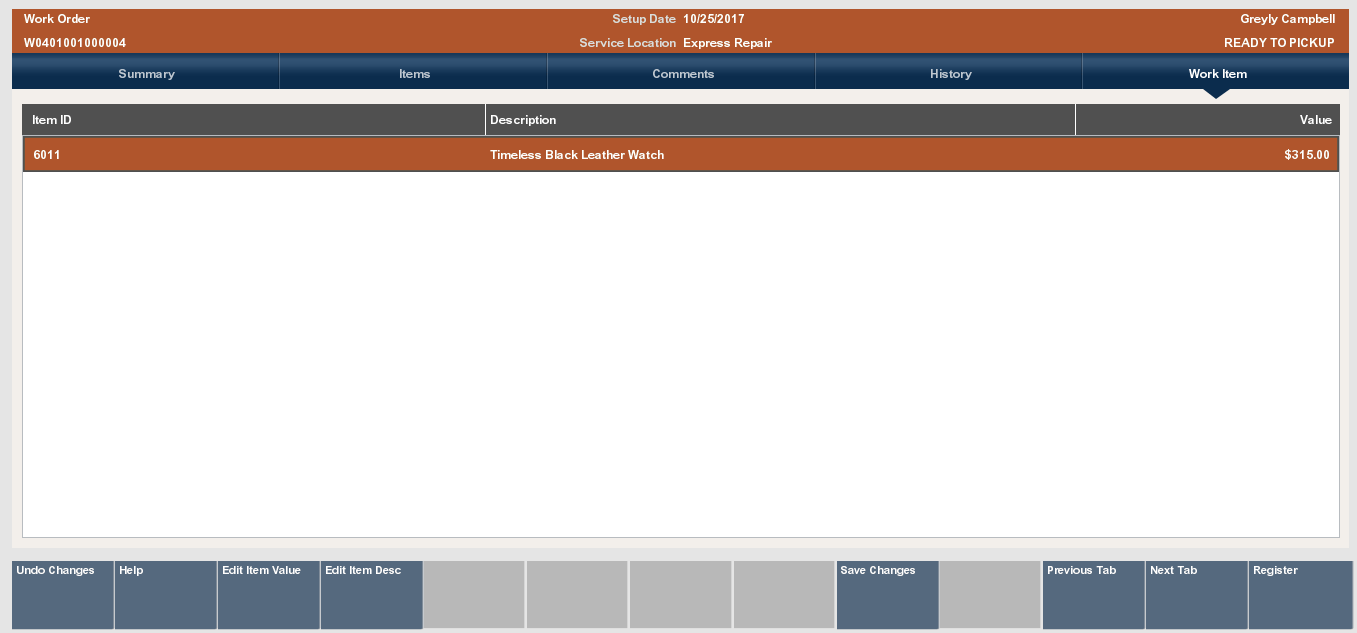
Work Order Work Item Tab: Shows the item ID and description for the item being repaired/altered, and the dollar value of the item.
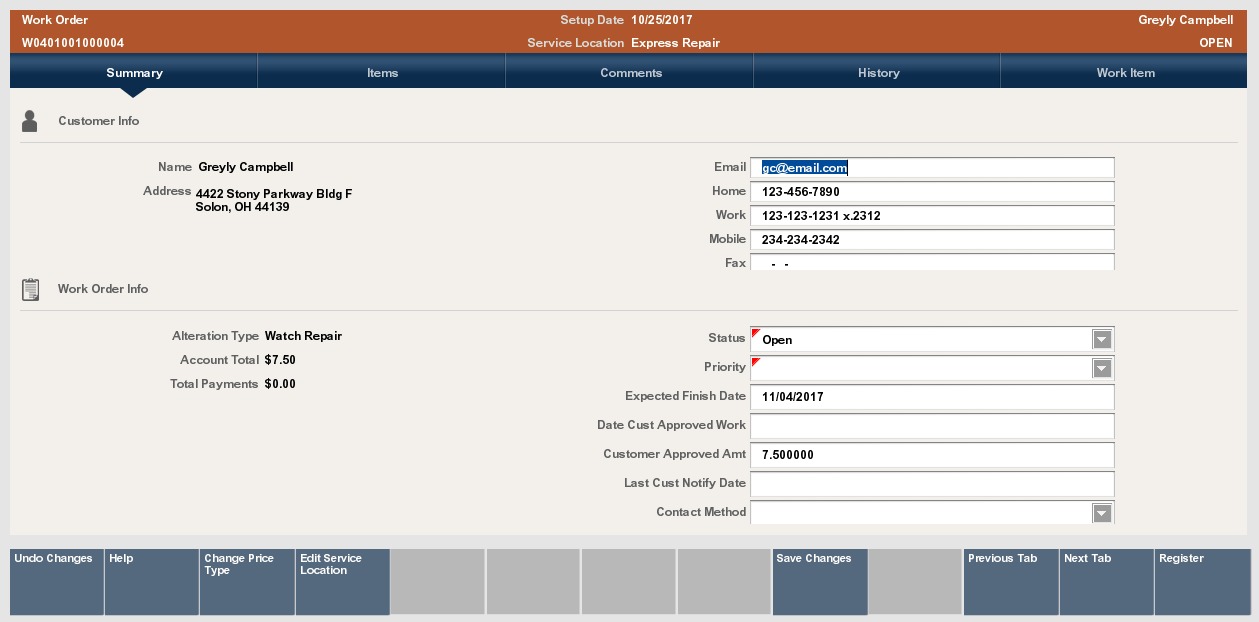
With the Work Order record displayed, select the Edit option to go into an editing mode. The fields are no longer grayed out.
Make changes to any of the fields:
Select the field you want to change and replace the old entry by typing over it with the new information.
Any fields that require entries are marked with a red triangle in the upper left corner of the field.
Any fields that have lists attached display a down arrow on the right side of the field.
The Work Order screen provides the following information:
See Figure 17-6
Work Order Id: A unique identifying number assigned to the Work Order. This number cannot be changed.
Service Location: The actual location where Work Order services are performed. To edit the service location:
Select the Edit Service Location option.
Enter a new Work Order location or select a Service Location from the list and press OK to change the Service Location for this Work Order.
See Figure 17-6
Customer Information: The customer's name, street address, Email address and phone number information is shown here.
Contact Information: The customer's name, street address, Email address and phone number information is shown here.
Alteration Type: These categories are defined by the home office and assigned to the Work Order when it is created. The Alteration Type cannot be changed for this account.
Account Total: The total for the Work Order account. This amount cannot be changed.
Total Payments: The total amount the customer has paid on this account. This amount cannot be changed.
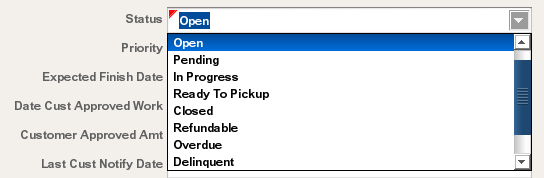
Status: The status for the Work Order account:
The Status may be changed as the Work Order moves through the Alteration/Repair process. For example, each new Work
Order has a status of Open when it is created. If work is performed at the store, the in-store service provider may change the status to In Progress when work is begun on the item.
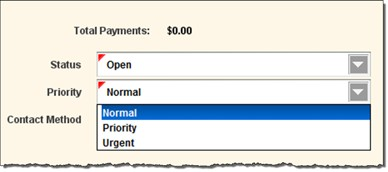
Priority: The priority of the Work Order account. The default is set to Normal, but may be changed to Urgent or Priority if the customer needs the item immediately.
Expected Finish Date: This is the date the item should be ready for customer pickup. Depending upon your store policy, this date may be calculated automatically based on certain Work Order parameters entered during setup.
Date Customer Approved Work: The date that the customer reviewed and approved the work to be performed on the item(s) and the amount that will be charged.
Customer Approved Amount: This is the maximum dollar amount the customer has agreed to pay for the work to be performed on the item, without requiring additional notification.
Last Customer Notify Date: The date the customer was last contacted about the Work Order account. For example, if the service provider notifies you that the repair is running behind schedule, you may need to inform the customer about the delay. You would update this field to track the date the customer was contacted.
Contact Method: The customer's preferred mode of contact.
Menu Options
Change Price Type: Select this menu option to edit the price type of this Work Order account:
Select the Change Price Type option. Oracle Retail Xstore Point of Service displays a list of price codes.
Select a price code from the list and OK to change the price type for this Work Order.
For example, if the customer did not have proof that this item was covered by a warranty when the Work Order was originally set up, you may need to change a Chargeable price type to a Warranty price type if the customer returns to the store with proof that the item is covered under a warranty.
Edit Service Loc: Select this menu option to edit the service location. See Service Location.
Select the Save Changes option to save any changes you made to the Work Order summary record.
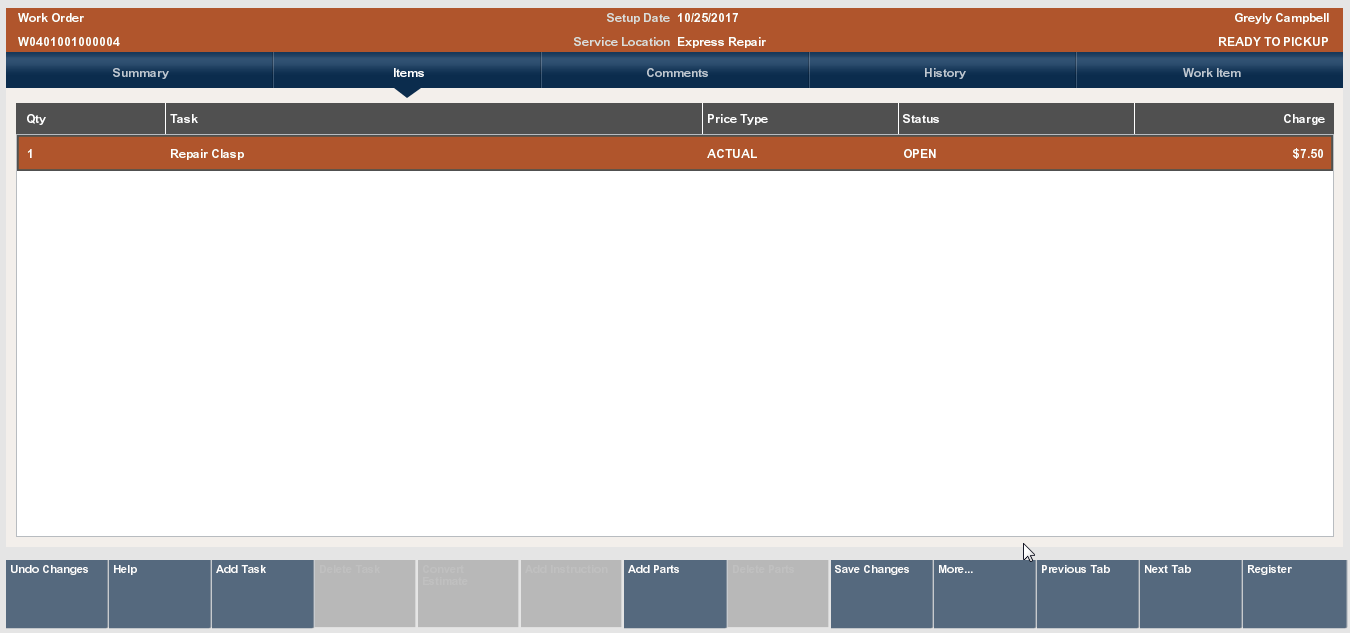
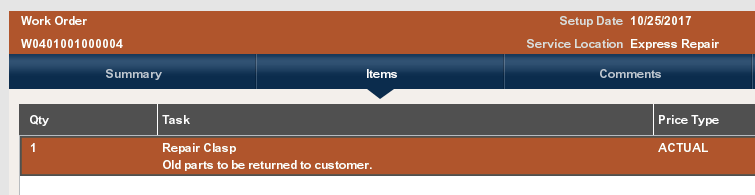
The Items tab shows the item task information for the Work Order, including instructions and comments for the task. In addition, you can add a new task, edit an existing task, and add parts. You must transition to an editing mode to make any changes to the record.
With the Work Order record displayed, select the Item tab.
Select the Edit option.
Information on the Items tab includes these columns:
Quantity: If a part is needed to perform a task, this entry indicates how many parts are needed.
Task: A brief description of the work that will be performed on the item.
Price Type: Prices may be categorized; for example, an Actual price or Estimated price.
Status: The current state of the task.
Charge: The dollar amount that will be charged to the customer for performing the task.
The following menu options are available:
Add Task: Select this option to add a new task to this Work Order. Refer to Adding a Task for procedural information.
Delete Task: Select this option to delete a task from the Work Order. Refer to Deleting a Task for procedural information.
Convert Estimate: Select this option to convert an estimated task amount to the actual cost of the task. This option is only available when there are estimated tasks on this Work Order account. You must convert all estimated tasks to actual task amounts before the account can be set to Ready For Pickup status. Refer to Converting an Estimate for procedural information.
Add Instruction: Select this option to add, view, and edit task instructions. Refer to Viewing/Adding Task Instructions for procedural information.
Add Parts: Select this option to add parts to the Work Order. Refer to Adding Parts for procedural information.
Delete Parts: Select this option to remove parts from the Work Order. This option is only available when there are parts on this Work Order. Refer to Deleting Parts for procedural information.
Change Quantity: Select this option to change the task quantity. Refer to Changing the Quantity for procedural information.
Change Price: Select this option to change the task price. Refer to Changing the Price for procedural information.
Change Tax Location: Select this option to change the tax location. Refer to Changing the Tax Location for procedural information.
Tax Exempt: Select this option to change the tax to tax exempt. Refer to Changing the Tax to Tax Exempt for procedural information.
Change Tax Amount: Select this option to change the tax amount. Refer to Changing the Tax Amount for procedural information.
Change Tax Percent: Select this option to change the tax percentage. Refer to Changing the Tax Percentage for procedural information.
|
Note: Select the More... option as needed to access the menu options available at the Items tab. |
Select the Save Changes option to save any changes you made to the Work Order items record.
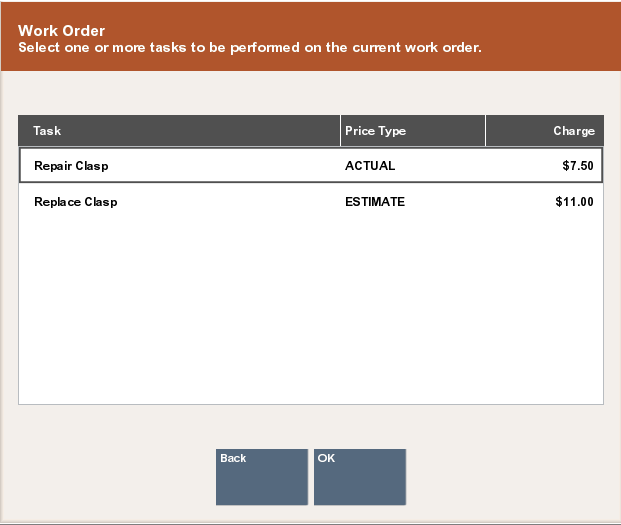
With the Work Order record displayed in edit mode, select the Add Task option.
Oracle Retail Xstore Point of Service displays a list of tasks available for this Work Order category. Use the up and down arrow keys to go to a task(s) and press Spacebar to select it. After marking all required tasks, press Enter to add them to the Work Order.
Oracle Retail Xstore Point of Service adds the new task and its associated price type and charge to the Work Order. Select the Save Changes option to save any changes you made to the Work Order detail record.
|
Note: Oracle Retail Xstore Point of Service adjusts any charges as required. If a change to the Work Order causes the charge to exceed the customer authorization limit, you may be prompted to confirm the changes with the customer. This information can be edited at the Summary tab. |
|
Note: Select the More... option as needed to access the menu options available at the Items tab. |
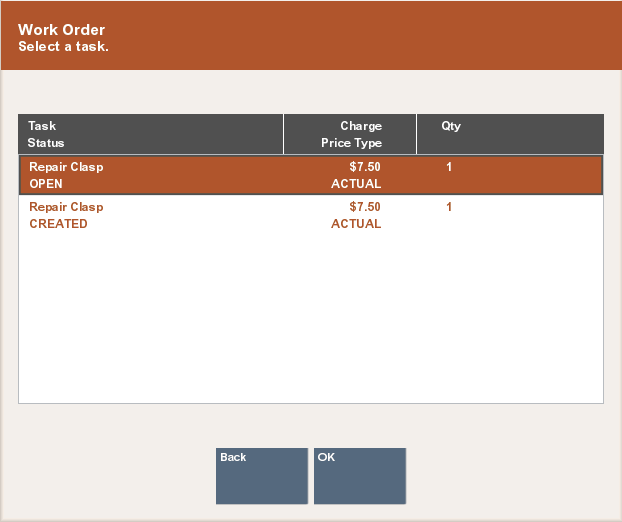
With the Work Order record displayed in edit mode, select the Delete Task option.
Oracle Retail Xstore Point of Service displays the tasks currently on this Work Order. Select the task from the list and press Enter to remove this task from this Work Order.
Oracle Retail Xstore Point of Service removes the task from the Work Order. Select the Save Changes option to save any changes you made to the Work Order detail record. Oracle Retail Xstore Point of Service adjusts any charges as required.
You must convert all of the estimated task amounts to actual task amounts before the Work Order account can be changed to Ready For Pickup status.
With the Work Order record displayed in edit mode, select the Convert Estimate option.
Oracle Retail Xstore Point of Service displays the estimated tasks currently on this Work Order. Select the task from the list and press Enter to convert this task from an estimated task amount to an actual task amount.
Oracle Retail Xstore Point of Service displays a list of tasks with actual charges associated with the task. Use the up and down arrow keys to go to a task in the list and press Spacebar.
Press Enter to update the Estimated task to an Actual amount task. Oracle Retail Xstore Point of Service updates the task on the Work Order.
Select the Save Changes option to save any changes you made to the Work Order detail record.
Oracle Retail Xstore Point of Service adjusts any charges as required.
|
Note: If a change to the Work Order causes the charge to exceed the customer authorization limit, you are prompted to confirm the changes with the customer. This information can be edited at the Summary Tab. |
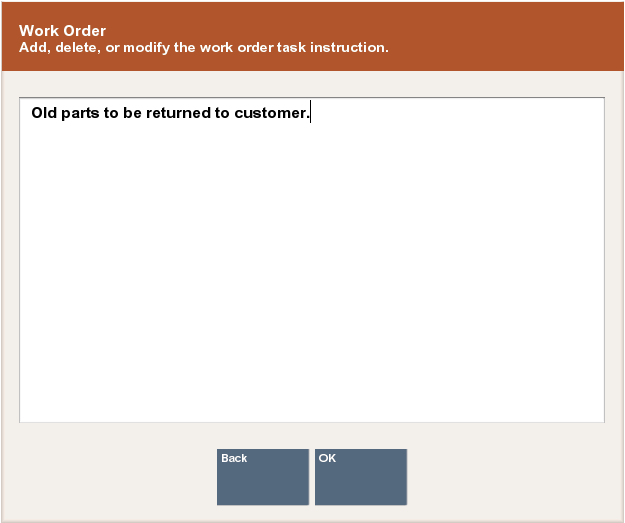
With the Work Order record displayed in edit mode, select the Add Instruction option.
Oracle Retail Xstore Point of Service displays the tasks currently on this Work Order. Select a task from the list and press Enter to view, edit, or add instructions.
Oracle Retail Xstore Point of Service displays the Work Order Task Instruction form. You can add, delete, or modify instructions on this form and then press Enter to add (or remove) these instructions to (from) the task.
Select the Save Changes option to save any changes you made to the Work Order record. The instruction is now associated with this task and is shown on the screen.
You can add an item ID for a part that is needed to complete the Work Order task.
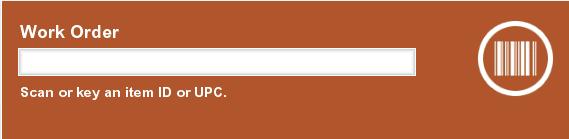
With the Work Order record displayed in edit mode, select the Add Parts option.
Oracle Retail Xstore Point of Service prompts for an item ID for the part to be added to this Work Order. Scan or key the item ID and press Enter.
Oracle Retail Xstore Point of Service adds the part and the associated price to the Work Order. Select the Save Changes option to save any changes you made to the Work Order detail record.
If you need to adjust the quantity required for any part that you added, use the Change Qty option to enter the number of parts needed. If you change any item's quantity, be sure to Save Changes.
Oracle Retail Xstore Point of Service adjusts any charges as required.
|
Note: If a change to the Work Order causes the charge to exceed the customer authorization limit, you may be prompted to confirm the changes with the customer. This information can be edited at the Summary Tab. |
You can remove a part that was added to a Work Order but was not used to complete the Work Order task.
With the Work Order record displayed in edit mode, select the Delete Parts option.
Oracle Retail Xstore Point of Service displays a list of parts currently on this Work Order. Select a part from the list and press Enter to remove the part and its associated price from the Work Order.
Select the Save Changes option to save any changes you made to the Work Order detail record.
Oracle Retail Xstore Point of Service adjusts any charges as required.
|
Note: Select the More... option as needed to access the menu options available at the Items tab. |
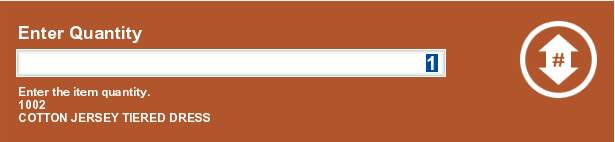
With the Work Order record displayed in edit mode, select the Change Quantity option.
Oracle Retail Xstore Point of Service displays a list of line items currently on this Work Order. Select an item from the list and press Enter.
|
Note: If the item you selected is not eligible for a quantity change, Oracle Retail Xstore Point of Service displays a message informing you that the item quantity cannot be changed. |
Oracle Retail Xstore Point of Service prompts for the item quantity to be added to this Work Order. Enter the quantity and press Enter. Oracle Retail Xstore Point of Service adds the new quantity and the associated price to the Work Order.
Select the Save Changes option to save any changes you made to the Work Order record.
Oracle Retail Xstore Point of Service adjusts any charges as required.
|
Note: If a change to the Work Order causes the charge to exceed the customer authorization limit, you may be prompted to confirm the changes with the customer. This information can be edited at the Summary Tab. |
|
Note: Select the More... option as needed to access the menu options available at the Items tab. |
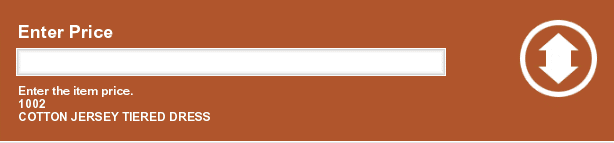
With the Work Order record displayed in edit mode, select the Change Price option.
Oracle Retail Xstore Point of Service displays a list of line items currently on this Work Order. Select an item from the list and press Enter.
|
Note: If the item you selected is not eligible for a price change, Oracle Retail Xstore Point of Service displays a message informing you that the item price cannot be changed. |
Oracle Retail Xstore Point of Service prompts for the item price to be added to this Work Order. The item you selected is displayed in the price change prompt. Enter the new price and press Enter.
Oracle Retail Xstore Point of Service updates the new price for the Work Order line item. Select the Save Changes option to save any changes you made to the Work Order detail record.
Oracle Retail Xstore Point of Service adjusts any charges as required.
|
Note: Select the More... option as needed to access the menu options available at the Items tab. |
With the Work Order record displayed in edit mode, select the Change Tax Loc option.
Oracle Retail Xstore Point of Service displays a list of line items currently on this Work Order. Select an item from the list and press Enter.
|
Note: If the item you selected is not eligible for a tax location change, Oracle Retail Xstore Point of Service displays a message informing you that the item tax location cannot be changed. |
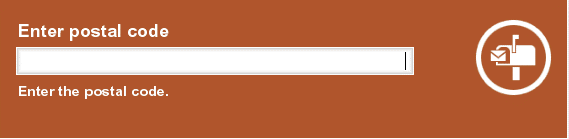
Oracle Retail Xstore Point of Service prompts for the postal code for the new tax location. Enter the postal code and press Enter.
Oracle Retail Xstore Point of Service changes the tax on the item based on the new postal code.
|
Note: If the postal code you entered is not recognized as a valid tax location, the current store's tax rate is used. |
If you are prompted for a tax change reason, select a reason from the list and press Enter.
Select the Save Changes option to save any changes you made to the Work Order detail record.
Oracle Retail Xstore Point of Service adjusts any charges as required.
|
Note: If a change to the Work Order causes the charge to exceed the customer authorization limit, you may be prompted to confirm the changes with the customer. This information can be edited at the Summary tab. |
|
Note: Select the More... option as needed to access the menu options available at the Items tab. |
With the Work Order record displayed in edit mode, select the Tax Exempt option.
Oracle Retail Xstore Point of Service displays a list of line items currently on this Work Order. Select an item from the list and press Enter.
|
Note: If the item you selected is not eligible for a tax exemption, Oracle Retail Xstore Point of Service displays a message informing you that the item tax cannot be changed. |
If prompted with a list of the current taxes on the item, select the tax to change. Use the up and down arrow keys to select a tax to change and then press Enter.
Depending upon the customer's tax status, you have the following options:
If the customer associated with the Work Order has a current tax exemption on file, you are prompted to select the tax exempt identifier from the list of exemptions on file for this customer. Select the tax exemption to apply to the item.
<OR>
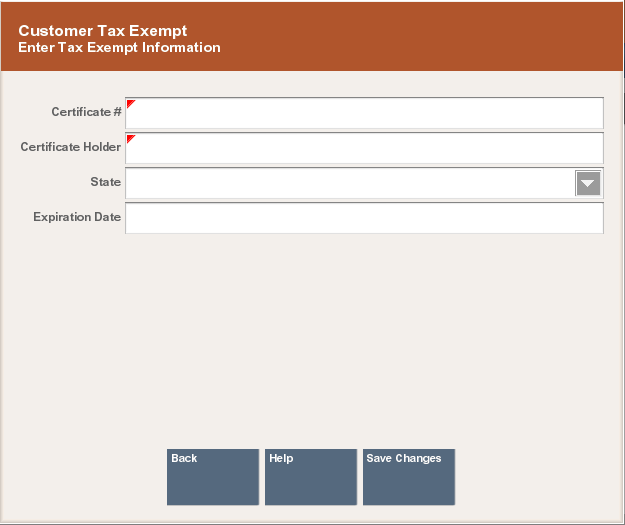
If the customer associated with the Work Order does not have a current tax exemption on file, you are prompted to enter the tax exempt information. Enter the tax exempt information and save your entries.
Oracle Retail Xstore Point of Service applies the tax exemption to the Work Order item.
Select the Save Changes option to save any changes you made to the Work Order detail record.
Oracle Retail Xstore Point of Service adjusts any charges as required.
|
Note: To add tax exempt information see the Oracle Retail Xstore Point-of-Service User Guide. |
|
Note: Select the More... option as needed to access the menu options available at the Items tab. |
With the Work Order record displayed in edit mode, select the Change Tax Amt option.
Oracle Retail Xstore Point of Service displays a list of line items currently on this Work Order. Select an item from the list and press Enter.
|
Note: If the item you selected is not eligible for a tax change, Oracle Retail Xstore Point of Service displays a message informing you that the item tax cannot be changed. |
Oracle Retail Xstore Point of Service may display a list of the current taxes on the item and prompt you to select the tax to change. If prompted, use the up and down arrow keys to select a tax to change and then press Enter.
Oracle Retail Xstore Point of Service prompts for the new tax amount. Enter the new tax amount and press Enter.
If you are prompted for a tax change reason, select a reason from the list and press Enter.
Select the Save Changes option to save any changes you made to the Work Order detail record.
Oracle Retail Xstore Point of Service adjusts any charges as required.
|
Note: If a change to the Work Order causes the charge to exceed the customer's authorization limit, you may be prompted to confirm the changes with the customer. This information can be edited at the Summary tab. |
|
Note: Select the More... option as needed to access the menu options available at the Items tab. |
With the Work Order record displayed in edit mode, select the Change Tax Percent option.
Oracle Retail Xstore Point of Service displays a list of line items currently on this Work Order. Select an item from the list and press Enter.
|
Note: If the item you selected is not eligible for a tax change, Oracle Retail Xstore Point of Service displays a message informing you that the item tax cannot be changed. |
Oracle Retail Xstore Point of Service may display a list of the current taxes on the item and prompt you to select the tax to change. If prompted, use the up and down arrow keys to select a tax to change and press Enter.
Oracle Retail Xstore Point of Service prompts for the new tax percentage. Enter the new tax percentage and press Enter.
Oracle Retail Xstore Point of Service changes the tax percentage on the item.
If you are prompted for a tax change reason, select a reason from the list and press Enter.
Select the Save Changes option to save any changes to the Work Order detail record.
Oracle Retail Xstore Point of Service adjusts any charges as required.
|
Note: If a change to the Work Order causes the charge to exceed the customer authorization limit, you may be prompted to confirm the changes with the customer. This information can be edited at the Summary tab. |
Any comments associated with the Work Order are shown on the Comments tab. You can also add a new comment for a Work Order record.
The information shown on the History tab provides a look at the actions taken on this Work Order as it moved through the repair/alteration process. The information here is read-only and cannot be edited.
After viewing a Work Order item record you may decide that some of the information must be changed. You can change the item description and the item valuation. You must transition to an editing mode to make any changes to the record.
Item ID: The item identifier.
Item Description: A brief description of the item.
Value: The dollar value of the item. This value is typically used for shipping insurance and store liability purposes.
With the Work Order item record displayed in edit mode, the following options are available:
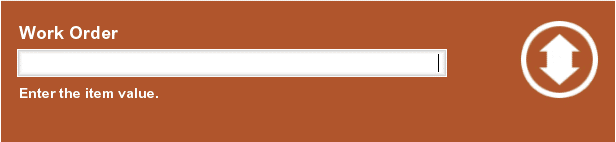
Edit Item Value: Select this option to change the valuation of the Work Order item. This is the value placed on the merchandise being serviced. This value is typically used for shipping insurance and store liability purposes.
When you select this option, Oracle Retail Xstore Point of Service prompts you to choose the item from a list of items on this Work Order account. Select the item and press Enter.
At the Work Order item value prompt, type a new value for this item and press Enter.
Oracle Retail Xstore Point of Service updates the Work Order item valuation with this information.
Select the Save Changes option to save any changes you made to the Work Order item record.
Edit Item Description: Select this option to change the description of the Work Order item.
When you select this option, Oracle Retail Xstore Point of Service prompts you to choose the item from a list of items on this Work Order account. Select the item and press Enter.
At the Work Order item description prompt, type a new description for this item and press Enter. Oracle Retail Xstore Point of Service updates the Work Order item description with this information
Select the Save Changes option to save any changes you made to the Work Order item record.
Use the shipping function to ship Work Order items to the repair vendor.
To ship a Work Order item to a repair vendor, select the Ship Work Orders option from the Work Order Options menu.
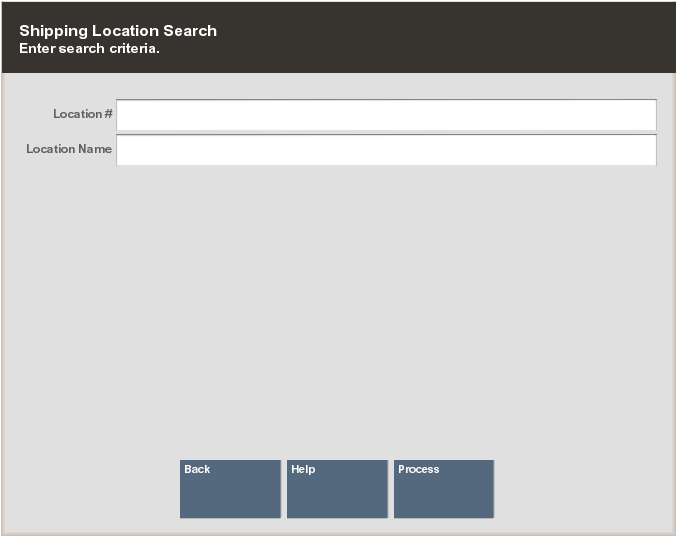
The system prompts for the shipping location (repair vendor) search information. Enter the information as required to find the service location for the Work Order and select Process to continue.
|
Note: To see a list of all service locations, leave the fields blank and press Enter. |
If more than one service location matches the search criteria you entered, the system displays a list of service locations. Select a service location from the list and select Process to continue.
If only one location matches the search criteria, the system displays the Work Order accounts that are pending shipment to that service location.
Select a Work Order account from the list of Work Order accounts to be sent to this service location. Use the up and down arrow keys to go to an account in the list and press Spacebar to select it. Press Enter to continue.
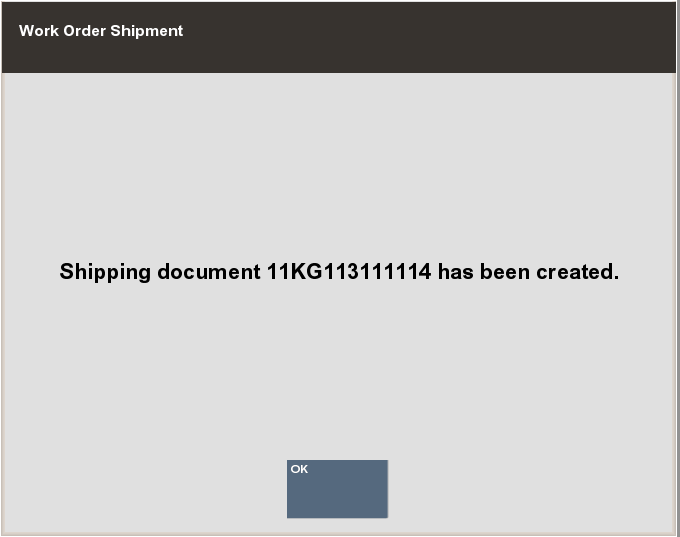
The system creates a shipping document for the Work Order and displays the shipping document information. Press Enter to continue with the shipping process.
The system prompts: Do you want to print a shipping label? Select Yes to print a shipping label.
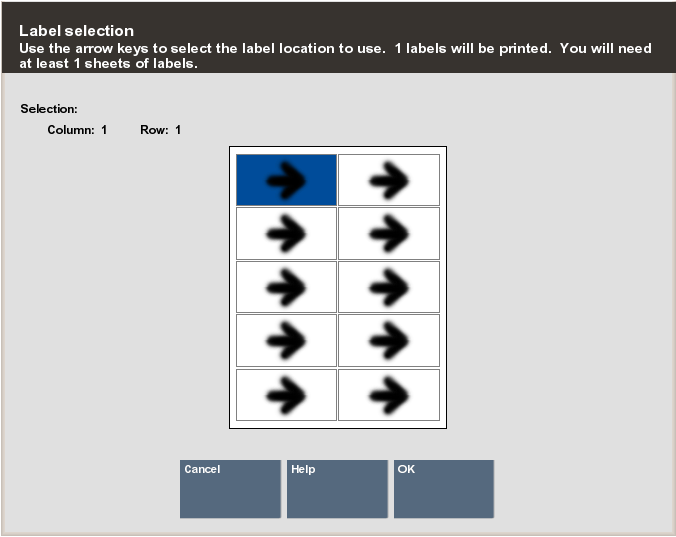
The system prompts for the label location on the label sheet. Use the arrow keys to select where the first label should be printed on the label sheet and press Enter.This allows you to use partial sheets to avoid wasting labels.
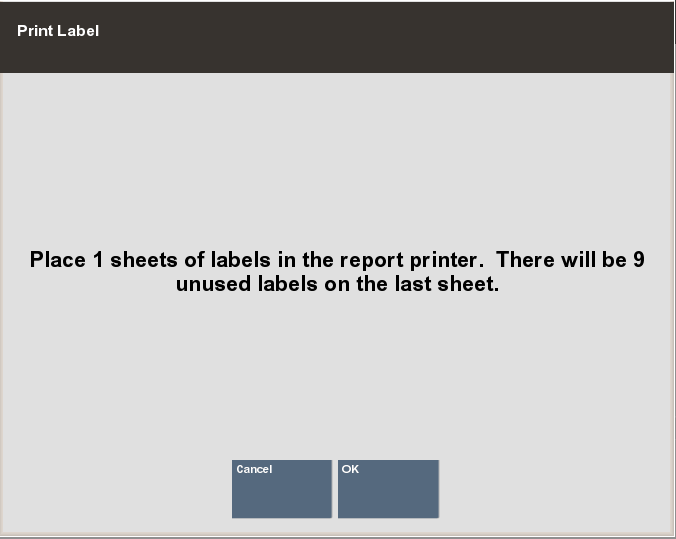
The system calculates the number of label sheets you need, the number of unused labels that will remain on the label sheet, and prompts you to load the label stock in the printer.
Press Enter when you are ready to print the shipping label.
The system prints the labels and returns to the Shipping Location Search form where you can continue shipping Work Orders to service locations.
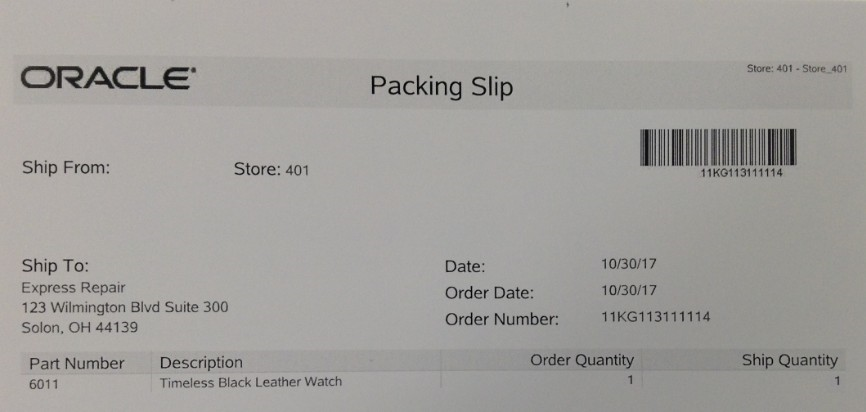
The system prompts: Do you want to print a packing slip?
Select No if you do not want to print a packing slip. The system skips printing a packing slip.
<OR>
Select Yes to print a packing slip on the report printer. Xstore returns to the Shipping Location Search Form (Figure 17-27).
Use the receiving function to receive completed Work Order items from the repair vendor.
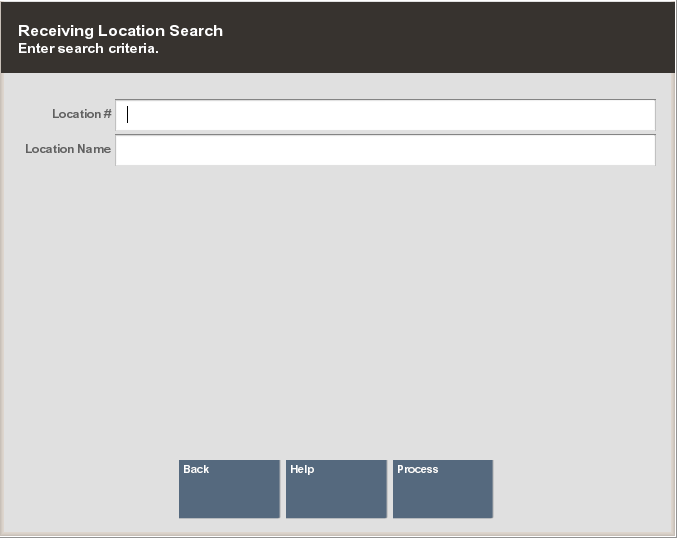
To receive a Work Order item from a repair vendor, select the Receive Work Orders option from the Work Order Options menu.
The system prompts for the receiving location (repair vendor) search information. Enter the information as required to find the service location for the Work Order and select Process to continue.
|
Tip: To see a list of all service locations, leave the fields blank and press Enter. |
If more than one service location matches the search criteria you entered, the system displays a list of service locations. Select a service location from the list and select Process to continue.
If only one location matches the search criteria, the system displays the Work Order accounts pending receipt from this service location.
Select a Work Order account from the list of Work Order accounts to be received from this service location. Use the up and down arrow keys to go to an account and press Spacebar to select it. Press Enter to continue.
The system creates a receiving document for the Work Order and displays the receiving document information. Press Enter to continue with the receiving process.
The system prints a packing list for this receiving document, any receipts as configured for your store, and returns to the Receiving Location prompt where you can continue receiving Work Orders from service locations.
Once the work order is received, the system marks the Work Order item as Ready To Pick Up.
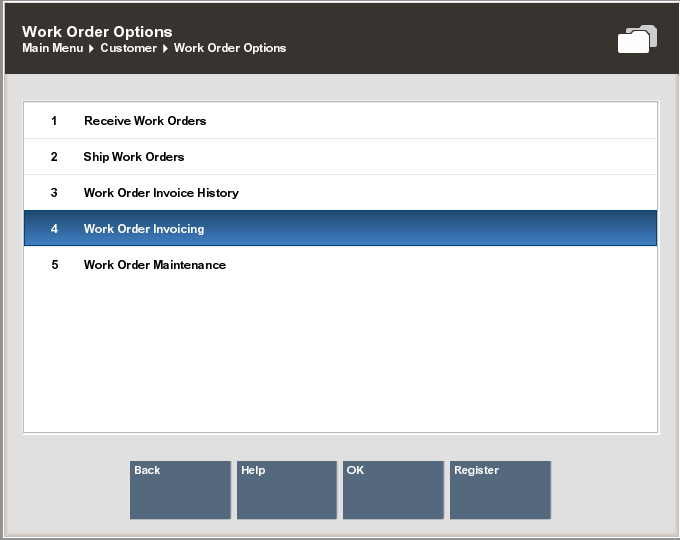
Use this function to maintain your Work Order invoice information from the repair vendors.
To maintain a Work Order invoice from a repair vendor, select the Work Order Invoicing option from the Work Order Options menu.
The system prompts for the invoicing location. Enter the search criteria to find the location and select Process to continue.
|
Tip: To see a list of all service locations, leave the fields blank and press Enter. |
If more than one service location matches the search criteria you entered, the system displays a list of service locations. Use the up and down arrow keys to select a service location from the list and select Process to continue.
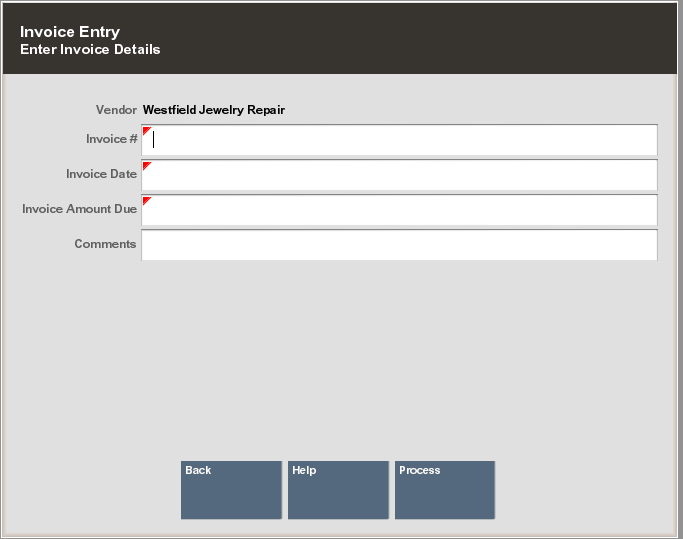
Enter the required information as found on the invoice from the service vendor and select Process to continue.
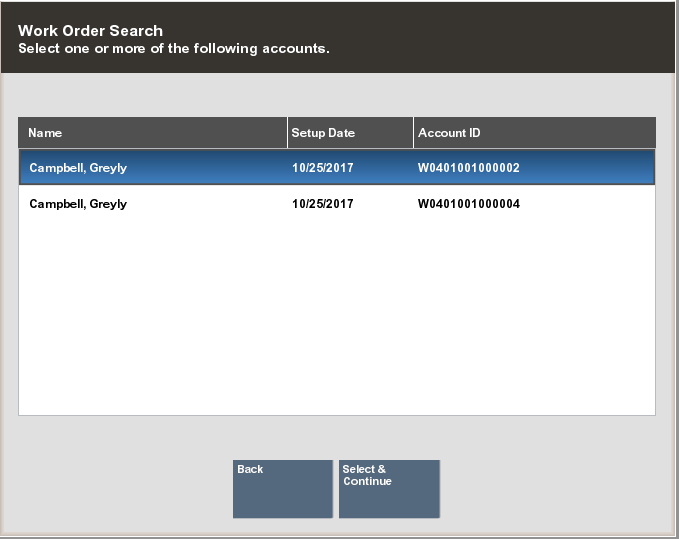
The system prompts you to select Work Order accounts for this invoice. Select the account(s) from the list and press Enter to continue.
|
Note: You may select multiple accounts. Use the up and down arrow keys to navigate through the list and press the spacebar on each account you want to select. |
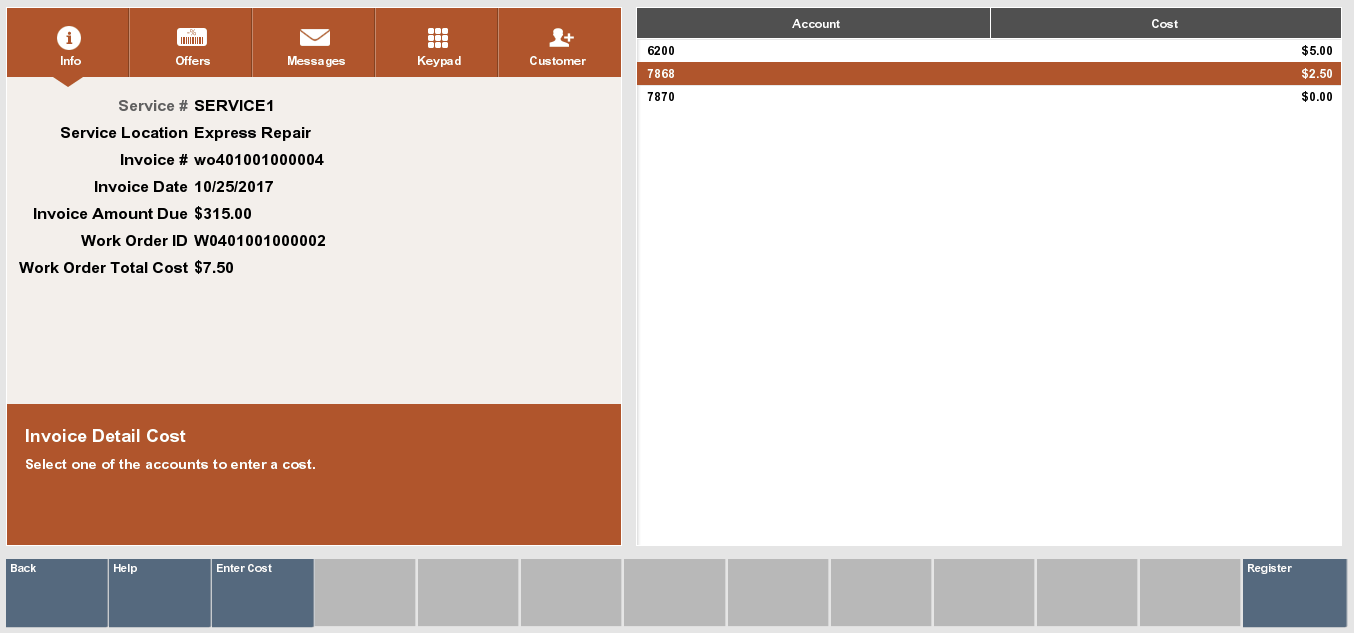
The system prompts for the cost of each Work Order on this invoice. Enter the information for each General Ledger # (or other information determined by your store's policy) and select Save Invoice to save the data.
The system displays a running total at the bottom of the screen as you enter the costs for each Work Order.
To add a fee, select Add Misc Fee.
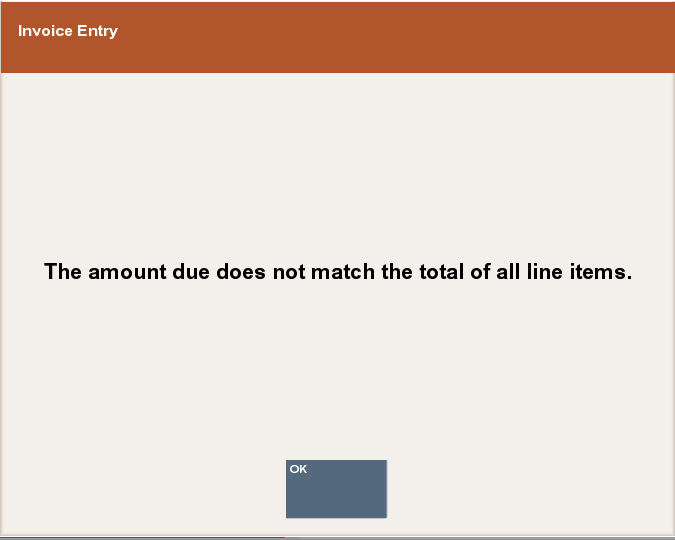
The system verifies that the amounts you entered match the amount due for this invoice:
If the amounts do not match, the system displays a message indicating the amounts do not balance and you must reenter the invoice Work Order costs. Press Enter to acknowledge the prompt.
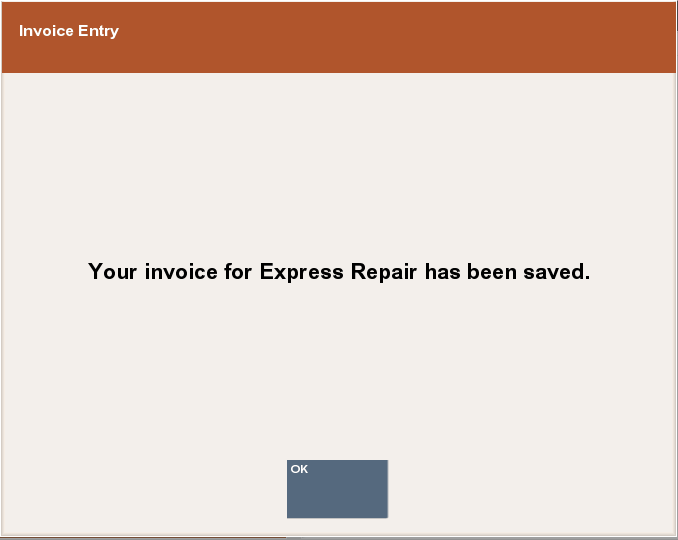
When the Work Order account amounts you entered match the invoice amount, the system displays a prompt indicating the invoice data has been saved. Press Enter to acknowledge the prompt.
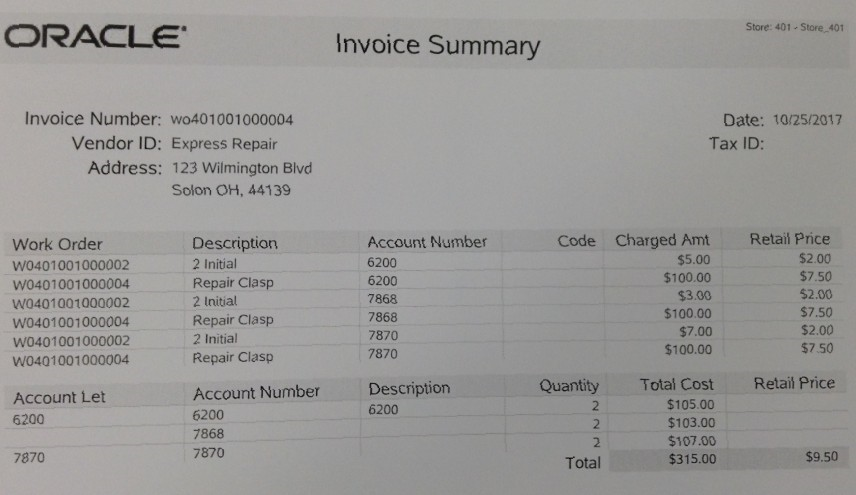
The system prints an invoice report for your records.
Use this function to view information about completed Work Order invoices.
To view Work Order invoice history, select the Work Order Invoice History option from the Work Order Options menu.
The system prompts for the invoicing location. Enter the search criteria to find the location and select Process to continue.
|
Tip: To see a list of all service locations, leave the fields blank and press Enter. |
If more than one service location matches the search criteria you entered, the system displays a list of service locations. Use the up and down arrow keys to select a service location from the list and select Process to continue.
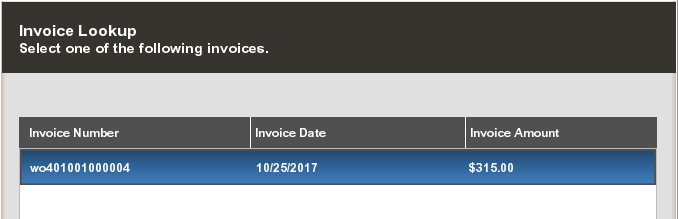
Select the invoice you want to view for the selected service location and press Enter to continue.
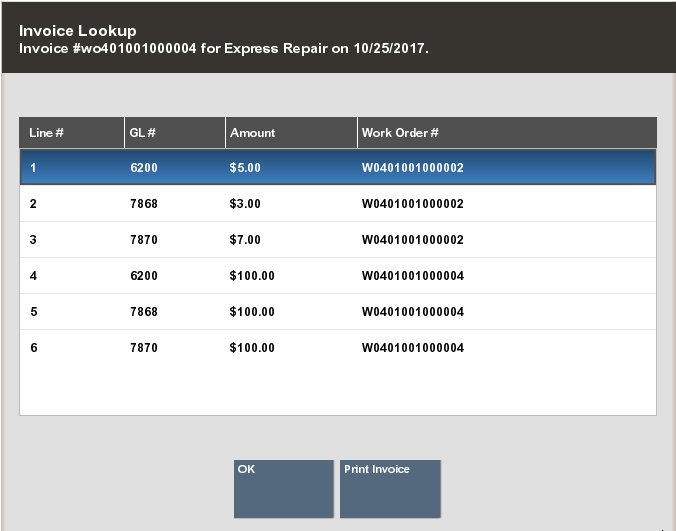
The system displays the invoice detail:
Press Enter to close the invoice detail form and return to the Work Order Options Menu.
Select Print Invoice to print the invoice on the report printer.