| Oracle® Retail Xstore Point-of-Service Mobile User Guide Release 18.0 F12257-04 |
|

 Previous |
Oracle Retail Xstore Point of Service Mobile provides a wide variety of reports to help you monitor and analyze your store's operations and sales. All Xstore POS desktop reports are now available on Mobile Tablet. They are accessed via the Reporting option on the Xstore Mobile Tablet Context Menu. This option is only available when outside of a sale. The information in this guide will help you understand what reports are available and how to access the reports you need.
|
Note: All Oracle Retail Xstore Point of Service desktop reports are available on Mobile Tablet and Workstation 610 but not on the Mobile Handheld. See Oracle Retail Xstore Reports Guide for more information on report options and details of individual reports. |
This chapter contains the following sections:
The reports available on the Back Office menu are based on your business needs. The order in which the reports are displayed may also be customized. Because each Oracle Retail Xstore Point of Service Mobile menu is configurable, the menu options and locations shown on your system may be different than the options shown throughout this guide.
Controlling access to company information on reports is a significant issue and Oracle Retail Xstore Point of Service Mobile addresses that requirement through system security privileges. Access to reports can be controlled at an individual employee level or at a group level.
Table 34-1 List of Report Categories and Reports
| Report Category | Report | |
|---|---|---|
|
Airport Reports |
Airport Sales Tax Report |
|
|
Customer Account Activity Summary Reports |
||
|
Customer List Report |
||
|
Dashboard |
||
|
Employee Reports |
Employee Productivity Report |
|
|
Employee Schedule Reports |
Employee Performance |
|
|
Employee Schedule Detail Report |
||
|
Employee Time Off Summary Report |
||
|
Employee Tasks |
||
|
Time and Attendance Reports |
Open Timecard Report |
|
|
Payroll Detail by Employee |
||
|
Payroll Summary |
||
|
Posted Timecard |
||
|
Fiscal Reports |
Generate Last Daily Report |
|
|
Flash Sales |
||
|
Inventory Reports |
Inventory Movement History Report |
|
|
Inventory Movement |
||
|
Inventory Movement Pending Report |
||
|
Inventory Stock Cost |
||
|
Item List Report |
||
|
Receiving Exception Report |
||
|
Receiving Report |
||
|
Replenishment Open Product Requests Report |
||
|
Replenishment Product Request Report |
||
|
Restock Report |
||
|
Shipping Exception Report |
||
|
Shipping Manifest Report |
||
|
Journal Report |
||
|
Layaway Reports |
Layaway Account Activity Report |
|
|
Layaway Aging Report |
||
|
Price Change Report |
||
|
Sales Reports |
Daily Sales & Cash Report |
|
|
Best Sellers |
||
|
Cancelled Transaction Report |
||
|
Credit Card Report |
||
|
Daily Sales Report |
||
|
Gift Certificate Report |
||
|
Line Void Report |
||
|
Merchandise Sales Analysis Report |
||
|
No Sale Report |
||
|
Post Void Transaction Report |
||
|
Price Override Report |
||
|
Restock Report |
||
|
Returned Merchandise Report |
||
|
Sales By Department Report |
||
|
Sales By Hour Analysis Report |
||
|
Sales By Hour Report |
||
|
Sales Goals Report |
||
|
Suspended Transaction Report |
||
|
Tax Exemption Report |
||
|
Saved Reports |
||
|
Special Order Reports |
||
|
Store Locations Report |
||
|
Till Reports |
Cash Drawer Audit Report |
|
|
Cash Drawer Report |
||
|
Paid In/Paid Out |
||
|
XBRi Sales &Productivity |
Xstore POS desktop reports are accessed via the Reporting option on the Xstore Mobile Tablet Context Menu. This option is only available when outside of a sale.
To access Xstore reports on your tablet, follow the steps below.
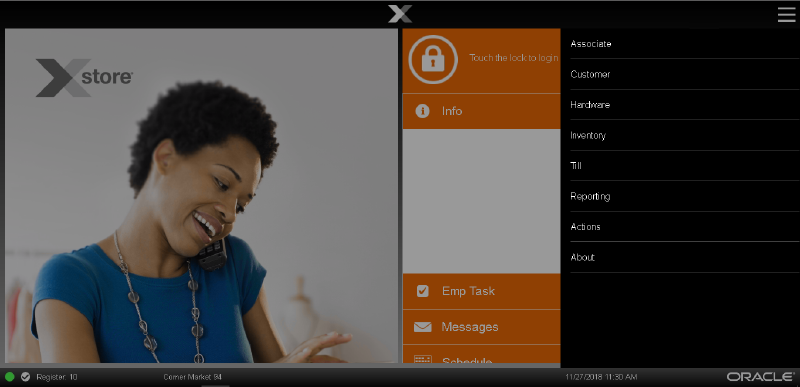
At the Login screen, select the Context Menu button in the upper-right hand corner of the screen.
On the Context Menu, select Reporting.
Login with your Employee ID and password.
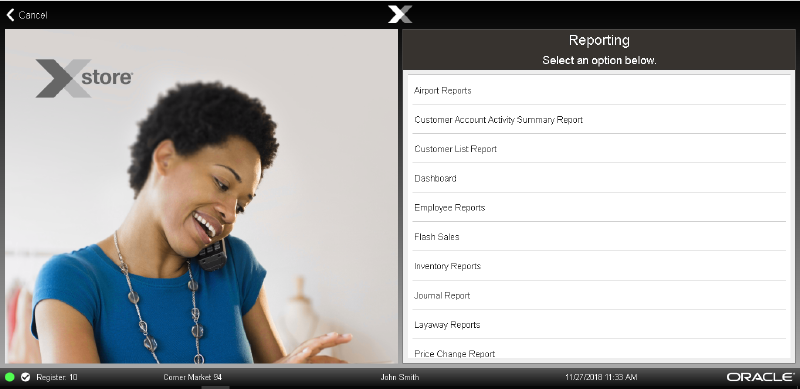
Depending on your system's configuration Report Categories are displayed.
Select Cancel to return.
Select a Report Category. Xstore Point of Service displays a list of available reports.
Select Cancel to return to Reporting.
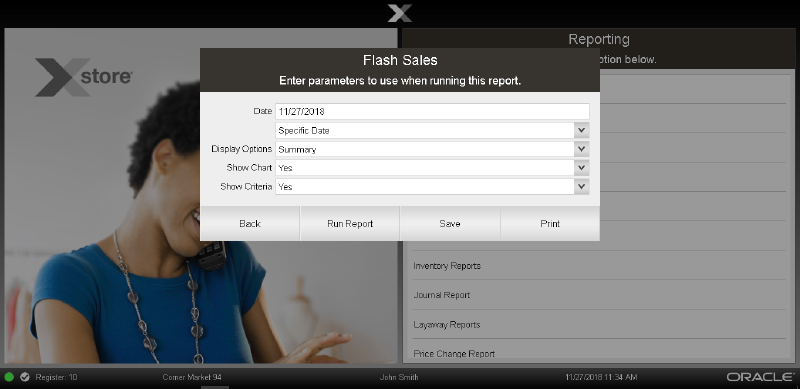
Select a report from the list. The system displays the Report Search screen where applicable. Enter the search criteria.
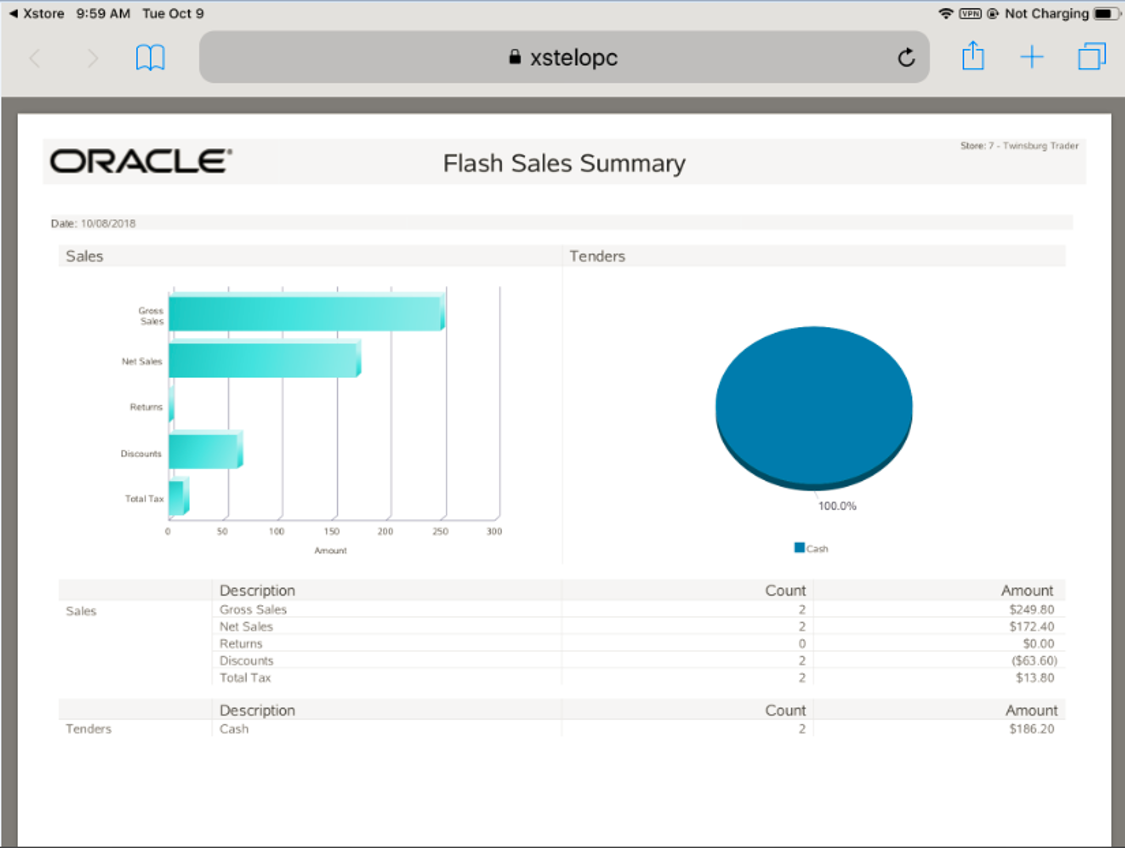
Select Run Report. The report is displayed in the PDF viewer of your device, for example Apple devices use iBooks or PDF Reader depending on their default viewer.
Close the report when done by selecting Xstore displayed in the very top left corner of the screen. Alternatively, select Save or Print.
After running a report, it can be saved so that the data can be reviewed later. The system automatically stores your saved report in a location based on the system's configuration and your login ID.
|
Note: Only you can view the reports you have saved. No one else has access to your saved reports. |
Select the Save option on the criteria selection form to rerun or view a report later.
This option is also available when viewing a report using the Save menu option.
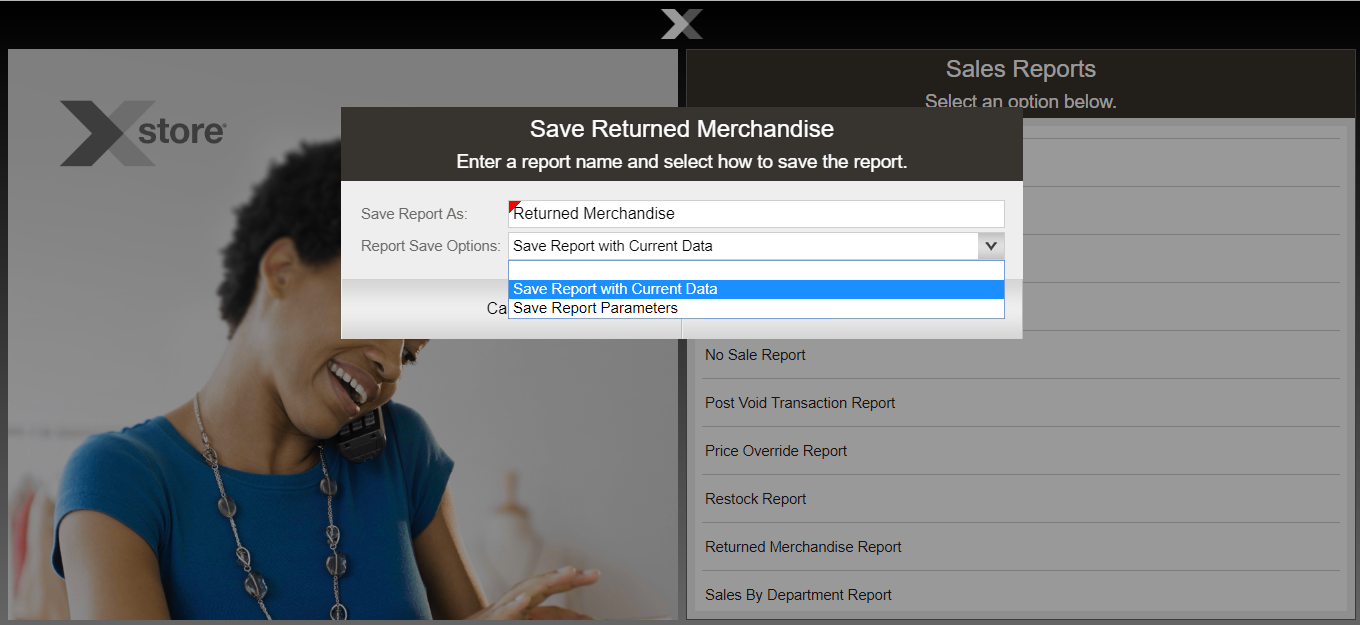
The system displays the Save Form for the report.
Edit or accept the report name in the Save Report As field.
Select one of the two options in the Report Save Options field:
Save Report With Current Data: The next time you view this report, it will be exactly the same as it was when originally generated.
Save Report Parameters: The next time you view this report, it will be based on the same selection criteria (parameters). If you use a relative date parameter, the actual data retrieved is updated using current information.
Select OK to save the report.
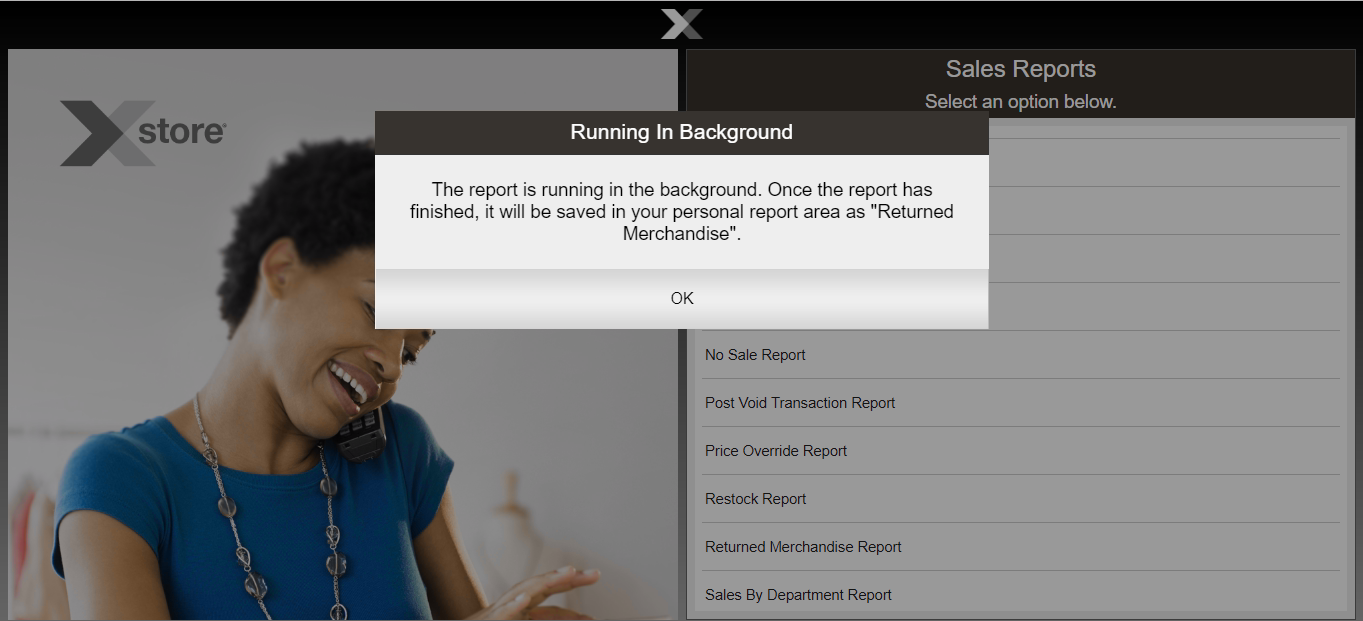
The Report Criteria Saved or Running in Background prompt displays, select OK.
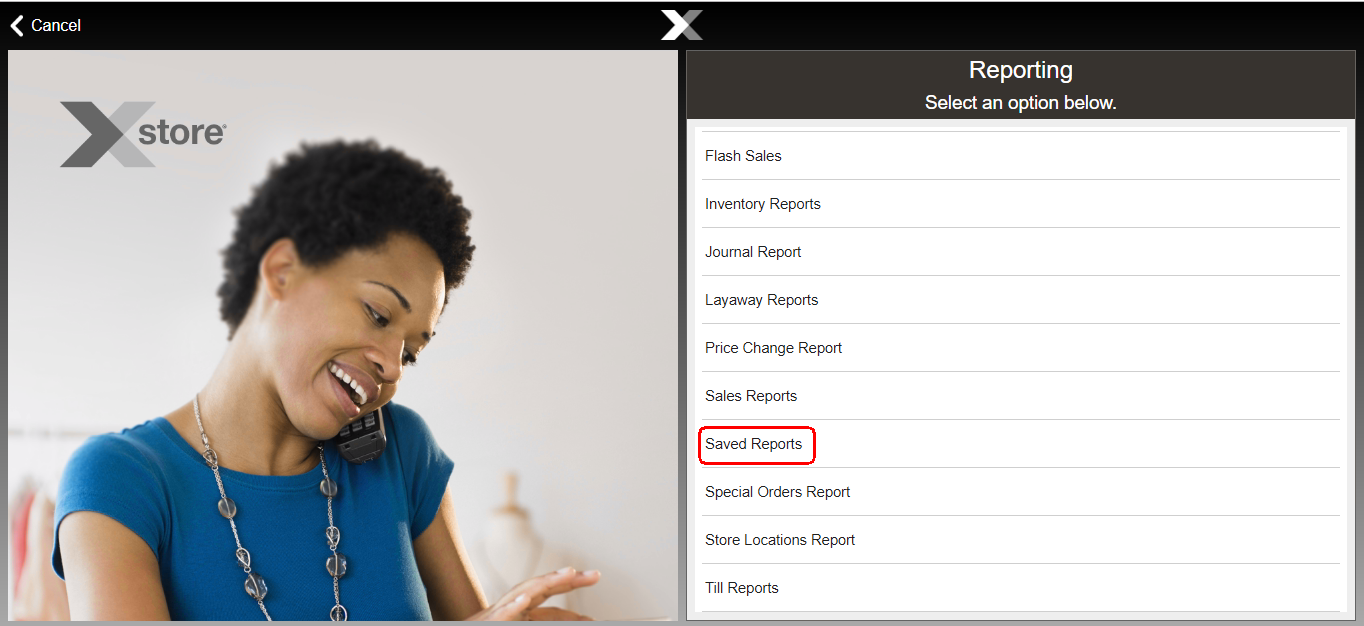
Select Reporting in the Context Menu, login with your Employee credentials, and then choose the Saved Reports option, and select OK.
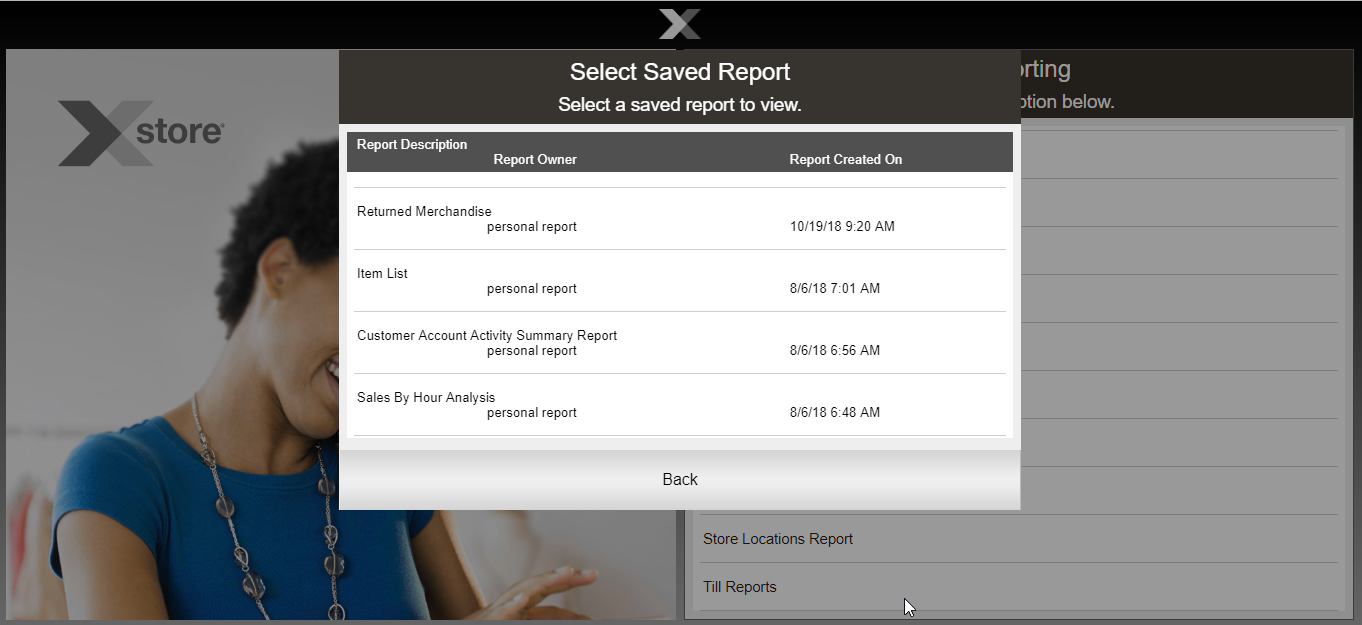
Select the report you want to see. If necessary, use the up and down arrows to scroll and see additional saved reports.
To view a saved report, select the View option to display the report on the screen.
To delete a saved report, select the Delete option on the list of saved reports and select Yes to confirm that you want to delete the selected report.
After you are finished viewing or deleting the report, select the Back option to return to the saved reports list.
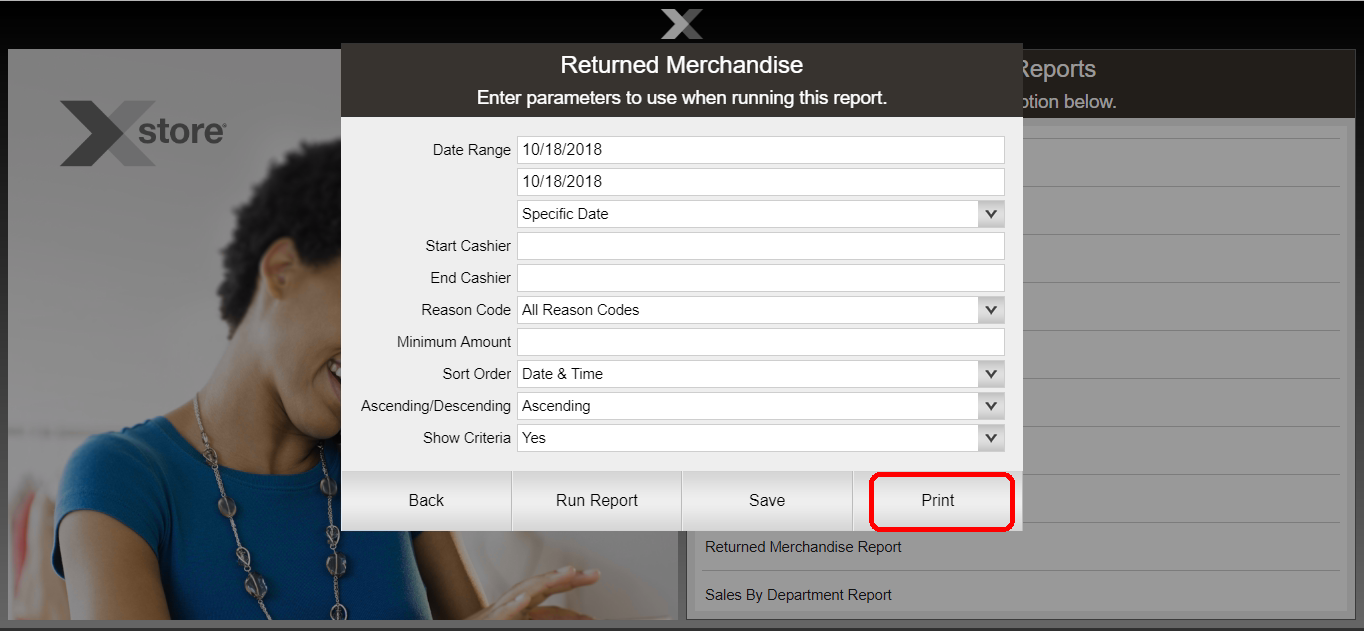
An option to print a page range may be available for some reports. The reports that support this feature are determined by the Home Office. If a report supports printing a specified page range, you will be prompted to enter the page(s).
After generating a report, and with the report displayed, select the Print option.
If prompted, type the page, pages, or page range to be printed. For example, at the prompt, type 1-3,6,7-9,12 to print only those pages and press Enter to print the report.