| Oracle® Retail Xstore Point of Service Mobile User Guide Release 19.0 F25674-03 |
|

 Previous |
 Next |
| Oracle® Retail Xstore Point of Service Mobile User Guide Release 19.0 F25674-03 |
|
Previous |
Next |
Till Maintenance options control the funds in the till. Select from the following options:
Cash Pickup - Select this option to perform a cash pickup transaction. See Cash Pickup.
Cash Transfer - Select this option to transfer cash to a till. See Cash Transfer (From Store Safe To Till).
Mid-day Deposit - Select this option to perform a mid-day deposit transaction, which allows a manager to place funds into a store safe during the course of a working session. See Mid-day Deposit.
Till Audit - Select this option to perform a till audit (a count performed on an active till to check against system value). See Till Audit.
|
Note: Many Till Maintenance options are controlled by user security and may not be available to all associates. |
Cash Pickup is a till feature that allows an associate to take cash from a till so that the amount does not exceed a specified threshold amount. Each tender type that is physically in the till can be picked up, for example, cash, foreign currencies, or coupons. The system may be configured to prompt for an associate to make a cash pickup when the amount in the till is greater than the threshold amount.
|
Note: Your system's configuration may specify the maximum amount that should be kept in a till. If that amount is exceeded after completing the tendering process for a transaction, the system may display a prompt indicating that a cash pickup should be made. However, you do not have to wait for this prompt to make a cash pickup. After you have assigned a customer to a transaction or added items to a sale, you cannot perform a cash pickup. |
At the Main Menu screen, select and log in to display the Till menu, then select Till Maintenance to display the Till Maintenance menu.
Select Cash Pickup from the Till Maintenance menu.
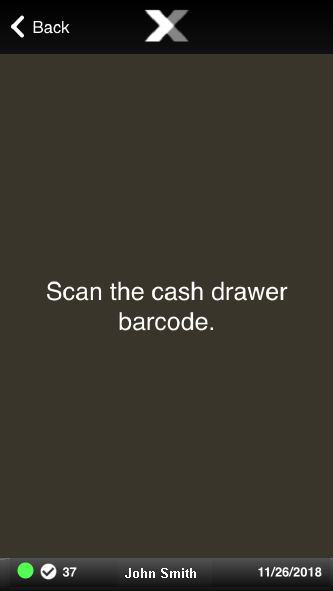
If necessary, scan the cash drawer on which to perform the cash pickup.
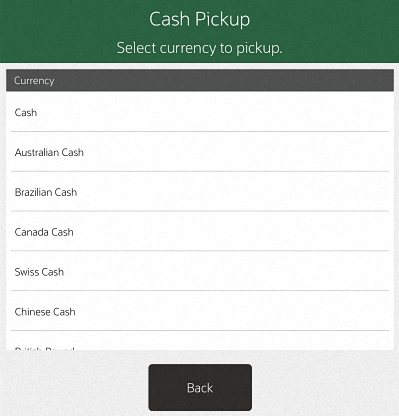
If your store is configured for foreign cash currency tenders to be given as change, select the type of tender from the list.
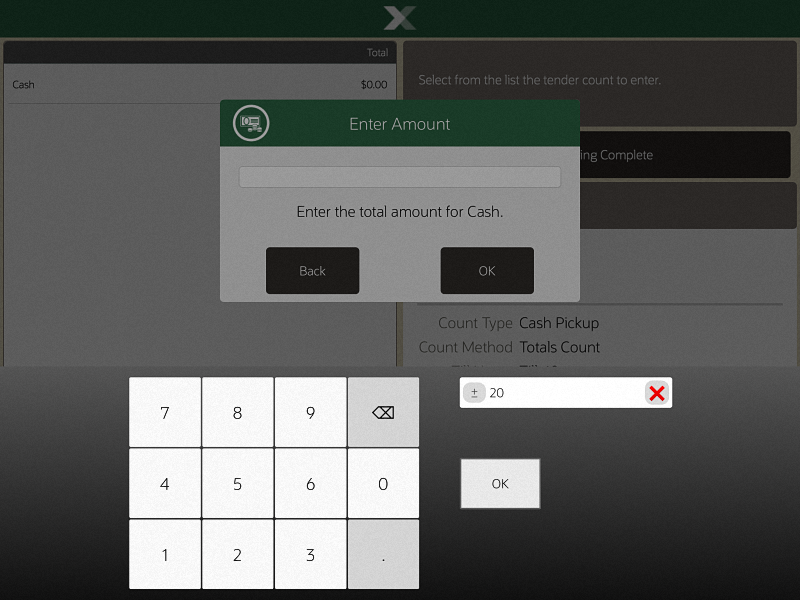
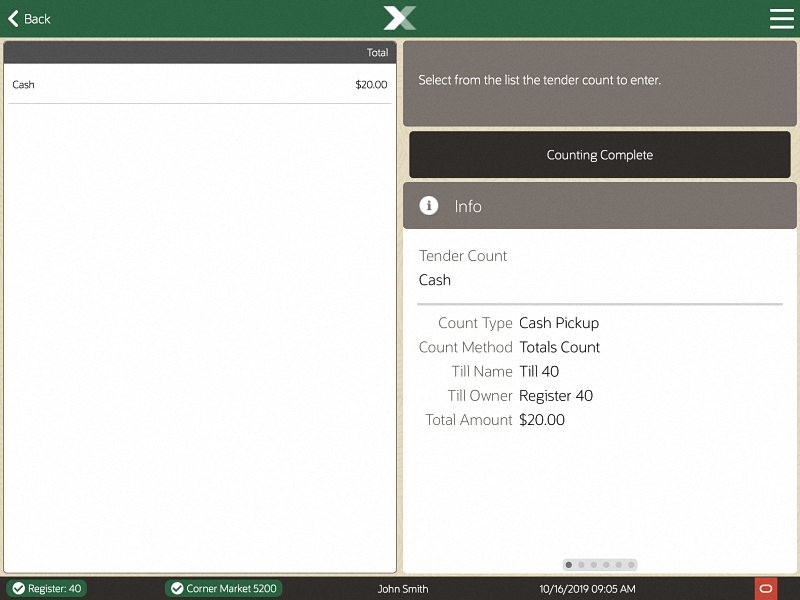
At the Cash Pickup prompt, enter the cash amount that you are picking up and press OK.
|
Note: Your system's configuration may specify the minimum amount that should be kept in a till. If you try to remove an amount that results in the till amount going below this level, the system displays a prompt indicating the amount that must remain in the till after a pickup. Press OK to return to the Cash Pickup amount prompt. |
Remove the cash from the till and close the drawer.
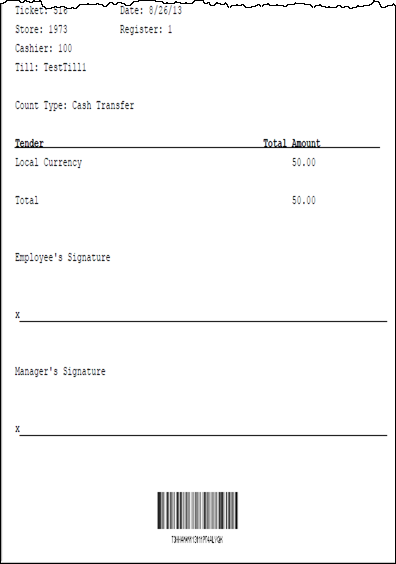
The system prints a receipt for this cash pickup transaction.
Figure 53-4 Cash Pickup Transaction Receipt

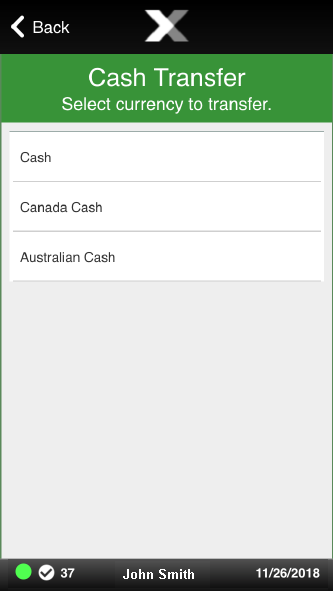
Cash Transfer moves cash from the store safe to a till. To perform a Cash Transfer from the store safe to a till, do the following:
At the Main Menu screen, select Till then select Till Maintenance to display the Till Maintenance menu. In the Till Maintenance menu, select the Cash Transfer option. See Mobile POS Till Menu.
|
Note: If the register has more than one cash drawer, you my be prompted to select the till to be used for this process. |
If necessary, scan the cash drawer on which to perform the cash transfer.
If your store is configured for foreign cash currency tenders to be given as change, select the type of tender from the list.
The cash drawer is popped open.
Enter the amount of cash you would like to transfer and then press OK.
A receipt prints for the cash transfer and Xstore Mobile returns to the Till Maintenance menu. The cash transfer is complete.
Mid-day Deposit allows you to place funds from a register into the store safe during the course of a working session. This activity is not necessarily restricted to a specific time, and may be used as often as necessary.
At the Main Menu screen, select Till then select Till Maintenance to display the Till Maintenance menu. In the Till Maintenance menu, select the Till Audit option.
|
Note: If the register has more than one cash drawer, you my be prompted to select the till to be used for this process. |
If necessary, scan the cash drawer on which to perform the cash transfer.
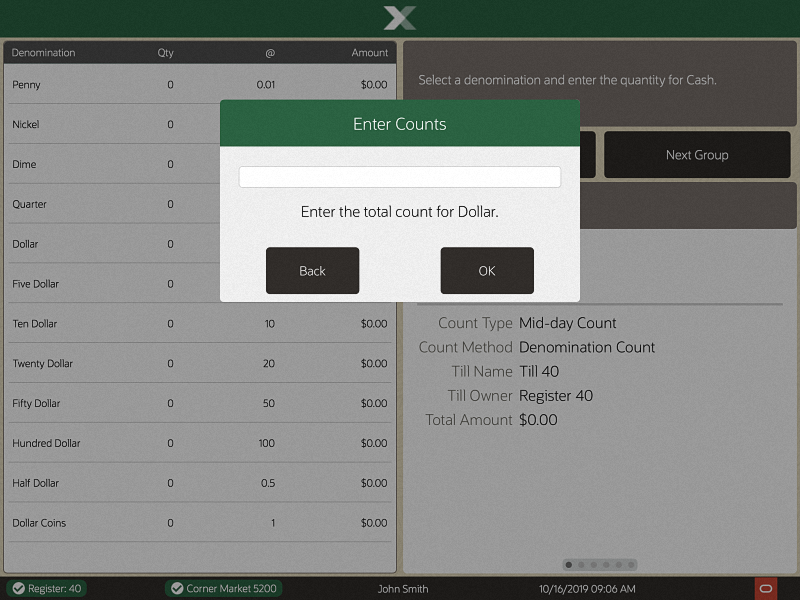
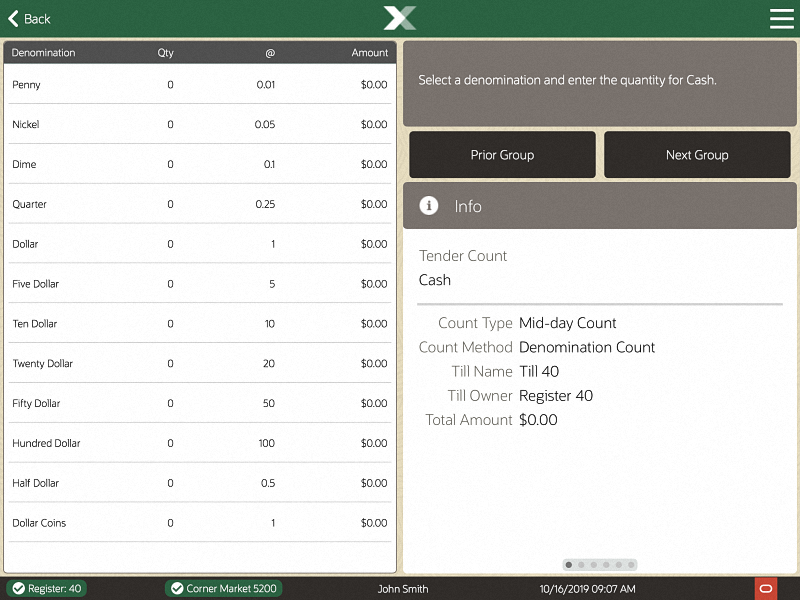
The Count Summary screen displays a list of tender groups that may be removed from the till and deposited in the store safe. Select the tender type you want to count and select the Count Selected option.Enter each value as required in the focus bar. The tender type you select and your system's configuration determine the type of count you must perform.
If additional funds are to be placed into the store safe, select the Next Group option to display the input screen for the next tender type.
Enter the count and amount values for the next tender group that you selected.
|
Tip: You may select Prior Group to return to the previous tender group in the list. |
Select the Summary option to return to the list of all tender groups.
At the Count Summary screen, select the Done Counting option.
|
Note: The difference between the Declared Amount (your count) and the System Amount is the amount remaining in the till. |
The system prints a receipt for the Mid-day deposit.
Close the cash drawer. The system returns to the Main Menu.
Till Audit provides the capability to select a tender type, record its total current value, and see if that value balances with the amount that the system shows for the same tender. The system calculates and displays any difference (over/short) between the two amounts.
|
Note: Till audit does not adjust the till counts; it is used only to count the till while it is attached to a register. |
A Till Audit may be performed any time after the Beginning Count and before the Ending Count. The till does not need to be removed after the audit is completed.
At the Main Menu screen, select Till then select Till Maintenance to display the Till Maintenance menu. In the Till Maintenance menu, select the Till Audit option.
|
Note: If the register has more than one cash drawer, you my be prompted to select the till to be used for this process. |
If necessary, scan the cash drawer on which to perform the cash transfer.
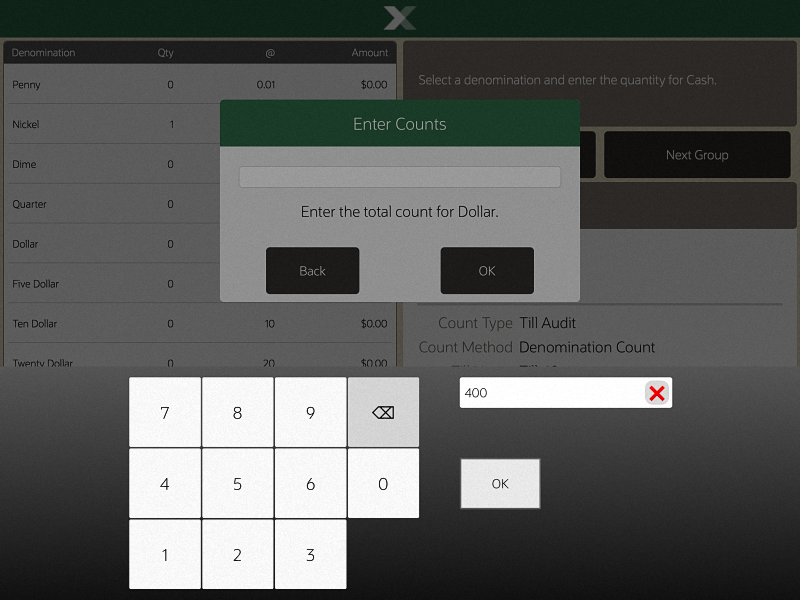
At the Count Summary screen, select the tender type you want to count and select the Count Selected option.Enter each value as required in the focus bar. The tender type you select and your system's configuration determine the type of count you must perform.
Enter each value as required in the focus bar and press Enter. The tender type you select and your system's configuration determine the type of count you must perform.
After you complete the count for the selected group, select the Next Group option, and repeat this step for additional groups that you want to count.
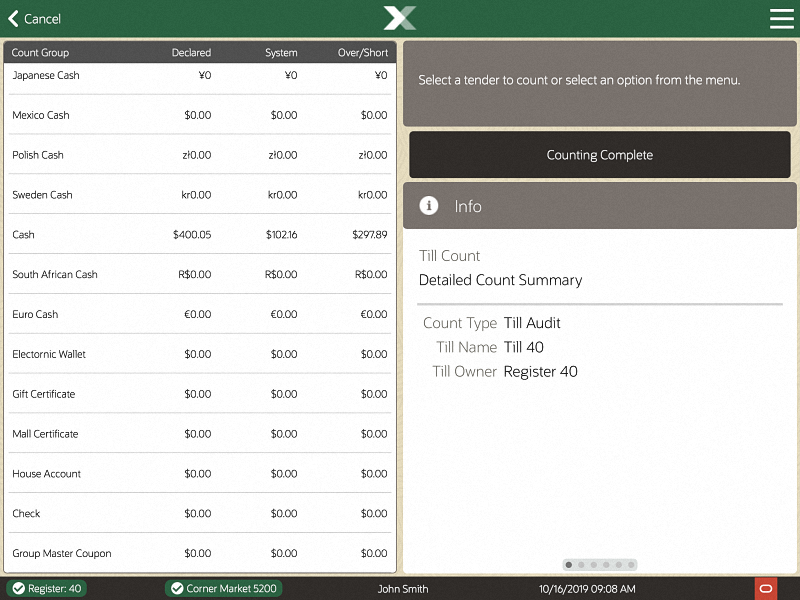
After you count all groups that you want to audit, select the Summary option to return to the Count Summary screen. Check the Over/Short column to see if your till is now balanced with the system values for each tender type.
Select the Done Counting option when you complete your audit of the till.
The system prints a Till Audit receipt for your records.
Close the cash drawer. The system returns to the Till Options menu.