5. End of Cycle Operations
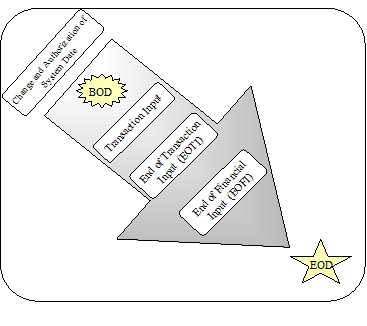
The End of Cycle operations consist of several stages. In this chapter we shall discuss in details the various stages that are a part of the cycle. The various stages in this cycle have been diagrammatically represented below:
The list of mandatory functions that should be run as part of BOD, for each module of Oracle FLEXCUBE has been listed in Annexure A of this user manual.
This chapter contains the following sections:
5.1 Starting End of Cycle Process
To start the End of Cycle process, choose End of Cycle and the Start EOC option under it.
This section contains the following topics:
- Section 5.1.1, "Processing End of Cycle Operations"
- Section 5.1.2, "Verifying EOC Process"
- Section 5.1.3, "Dropping End of Transaction Input "
5.1.1 Processing End of Cycle Operations
You can invoke the ‘End of Cycle Operations’ screen by typing ‘AEDSTART’ in the field at the top right corner of the Application tool bar and clicking the adjoining arrow button.
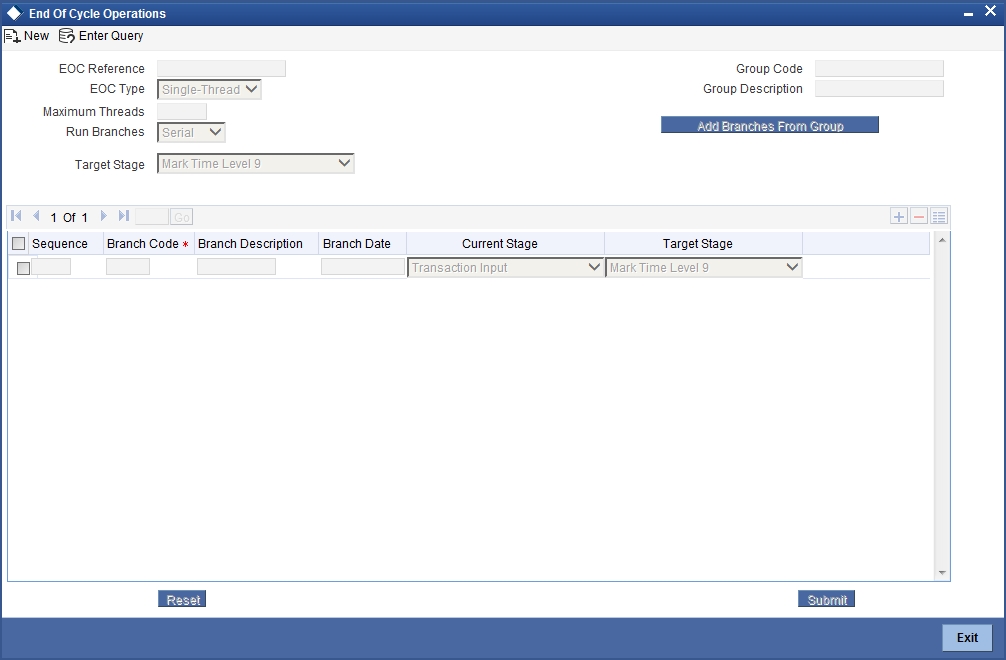
In order to initiate EOC operations, specify the following details:
EOC Reference
On clicking ‘Submit’ button, the system generates a unique EOC reference number.
Target Stage
As part of EOC operations, the system will process each selected branch from its current stage to the target stage. Select the target stage for all the branches from the adjoining drop-down list. This list displays the following stages:
- Mark End of Transaction Input
- Post End of Transaction Input 1
- Post End of Transaction Input 2
- Post End of Transaction Input 3
- Mark End of Financial Input
- Post End of Financial Input 1
- Post End of Financial Input 2
- Post End of Financial Input 3
- Mark End of Day
- Post End of End of Day 1
- Post End of End of Day 2
- Post End of End of Day 3
- Mark Beginning of Day
- Post End of Beginning of Day 1
- Post End of Beginning of Day 2
- Post End of Beginning of Day 3
- Mark Transaction Input
- Mark End of Previous Day
- Post End of Previous Day 1
- Post End of Previous Day 2
- Post End of Previous Day 3
You can select the appropriate one. The system defaults this as the target stage for all branches. However, you can modify the same for each branch.
In End of Cycle Operation, if EOC group code with End of Previous Day is selected, then the system validates the following on SUBMIT action:
- For the current stage or target stage fields, if the stages other than MARKEOPD or POSTEOPD_1, 2, 3 are selected, then the system displays an error message.
- For any branches in the group, if the EOD process is not completed till TI the system displays appropriate error message.
The EOC Group for EOPD starts after EOD Cycle. EOPD group continues to run Mark End of Previous Day (MARK EOPD) and Post End of Previous Day Stages (POSTEOPD_1, POSTEOPD_2, POSTEOPD_3). This EOPD Group can be optional. The system supports if you prefer to run normal group. Normal Group runs from Mark End Of Transaction Input to Post End of Previous Day 3 (POSTEOPD_3).
Run Mode
Indicate the mode in which the EOC operation should take place. The system allows you to select any one of the following run modes:
- Serial – The system processes EOC in a serial mode taking branch after branch. In this mode, even if the process fails for a particular branch, the system moves on to the next branch and proceeds.
- Parallel – The system processes EOC stage wise, for all selected
branches. At any stage if it fails, the system will not be able to run
it for any of the remaining branches.
For example, consider an EOC operation for two branches, Branch A and Branch B from the stage ‘Set Time Level to 9’ to the stage ‘End of Financial Input’. The system initially processes both branches to the stage ‘End of Transaction Input’ at once. It goes on till the final stage. However, in the meantime, if any branch fails to process, the system stops the EOC operations for both the branches together.
EOC Type
Select a valid EOC operation type you need from the adjoining drop-down list. This list displays the following options:
- Multi Thread – If you select this option, the system runs EOD
based on the scheduler framework. Oracle FLEXCUBE prepares EOD run charts
for the selected branches and submits synchronous request to the Database
to run EOD. Scheduler framework then picks-up these branches and runs
EOD. Hence Multi Thread is also referred as ‘Scheduler’ type.
A Scheduler Framework is available to process EOD batch.
- Branch Scheduler – It polls branches submitted for EOD in scheduler mode and triggers the EOD process. Before triggering the EOD process for a particular branch, the scheduler validates its feasibility for processing EOD. If EOD Running Mode is maintained as ‘Parallel’, then it checks for the movement of the branch to the next stage, because all the branches are synchronously moved across stages. Scheduler also keeps track of number of sessions for the current EOC.
- Single Thread – If you select this option, the system runs the entire EOD process in single session, for all branches. After submitting EOD, Oracle FLEXCUBE submits an asynchronous request to the Database to run EOD.
Maximum Threads
Specify maximum number of sessions you need to maintain, if you have selected ‘Multi Thread’ as ‘EOC Type’.
5.1.1.1 Selecting Branches for EOC Operations
Under EOC Branch Groups, the system displays the list all EOC branch groups that you have maintained. You can select one or more branch groups to proceed with EOC operations. Use the checkbox adjacent to each group to select it. Check against ‘ALL’ to indicate that the EOC has to be run for all the branches together.
Once you have selected the branch groups, click ’Populate’ button. Under EOC Branches, the system displays all branches grouped under the selected branch groups.
Note
The system does not display the branches for which EOC is already running.
You can add more branches to the list of branches displayed. Click add icon to add more rows to the list. Specify a valid branch code to set the target stage. This adjoining option list displays all valid branch codes maintained in the system. However, the option list will not display the branches for which EOC is already running.
To remove a branch from the list, check the box adjacent to the branch code and Click delete icon.
Once you have specified all the details, click ’Submit’ button. The system proceeds with the EOC process in Asynchronous mode after necessary validations.
You can use the ’Reset’ button to clear the list of branches. Further, you need to select the branch groups and individual branches again to proceed with EOC operation.
5.1.2 Verifying EOC Process
In Oracle FLEXCUBE, you can verify the status of EOC that you have submitted. The EOC Monitor screen displays the status of EOC process across branches. You can invoke the ‘EOC Monitor’ screen by typing ‘AESBRMTR’ in the field at the top right corner of the Application tool bar and clicking the adjoining arrow button.
The screen is as shown below:
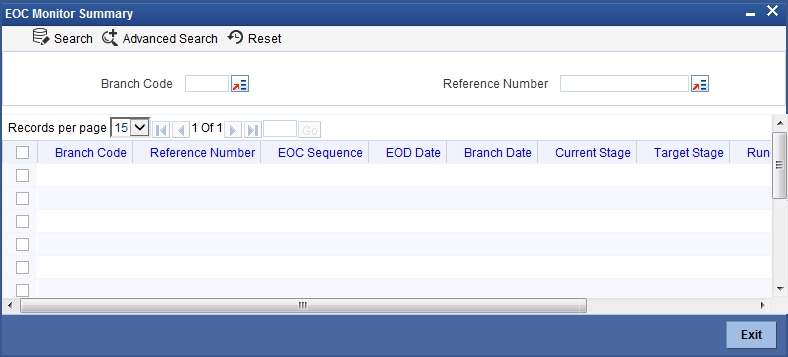
Branch Code
You can filter your search by branch code. Select the branch code from the option list to view the status of the EOC processes for that branch.
EOC Reference Number
You can filter your search by the reference number of the EOC operation. Select the reference number from the option list to view the status of the EOC processes.
You will notice four buttons arrayed on the screen. The functions that each of these buttons performs are detailed below:
Search
For the specified criteria, on clicking ‘Search’ button, the system fetches the records.
Reset
Use this button to reset the search criteria.
Advanced Search
You can perform an advanced search defining more filter criteria.
Go to Page
Based on the number of records displayed per page, the system will fetch them on multiple pages. Enter the page number and use this button to navigate to that page.
On this screen, you can search for the EOC processes that are currently running. Specify the branch code or the EOC Reference number and click ’Search’ button. Based on the filters that you have set, the system displays the details of the EOC processes.
You can drill down to view the detailed information on a specific EOC process. Double click on the required row to view the details.
The system displays the following details under EOC Runchart:
- Branch Date
- Sequence
- EOC Stage
- Stage Status
- Reference Number
- Session
You can select a particular stage to see the status of the batches configured for that stage. The system displays the following details pertaining to the selected batch:
- EOC batch
- Batch status, i.e. pending, completed or aborted
- The EOC reference number
- Error code, in case the process is aborted
If you find a batch in aborted status, you may process the batch again using ‘Rerun Batch’ button.
5.1.3 Dropping End of Transaction Input
You may stop a running AEOD batch within the current branch using ‘End of Cycle Operations’ screen. You can invoke the ‘End of Cycle Operations’ screen by typing ‘EIDUEOTI’ in the field at the top right corner of the Application tool bar and clicking the adjoining arrow button.
The screen is as shown below:
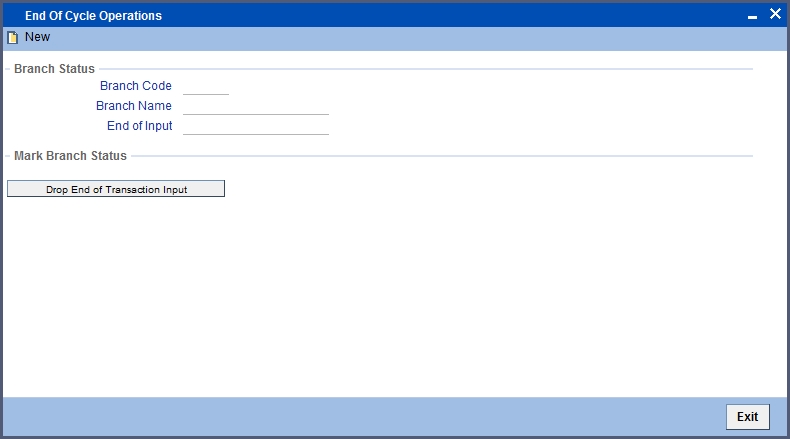
The system displays the following details on this screen:
- Branch code of the current branch
- Branch name
- End of Input
You can stop an AEOD process by clicking ’Drop End of Txn Input’ button on the screen. The system seeks a confirmation for going ahead with dropping. Once you confirm it, the system updates the status of the process as ‘End of Transaction Input’.
5.1.3.1 Stopping EOC for Running Branches
You can stop running EOC processes for specific branches using ‘End of Cycle’ screen. You can invoke the ‘End of Cycle’ screen by typing ‘AEDSTOP’ in the field at the top right corner of the Application tool bar and clicking the adjoining arrow button.
The screen is as shown below:
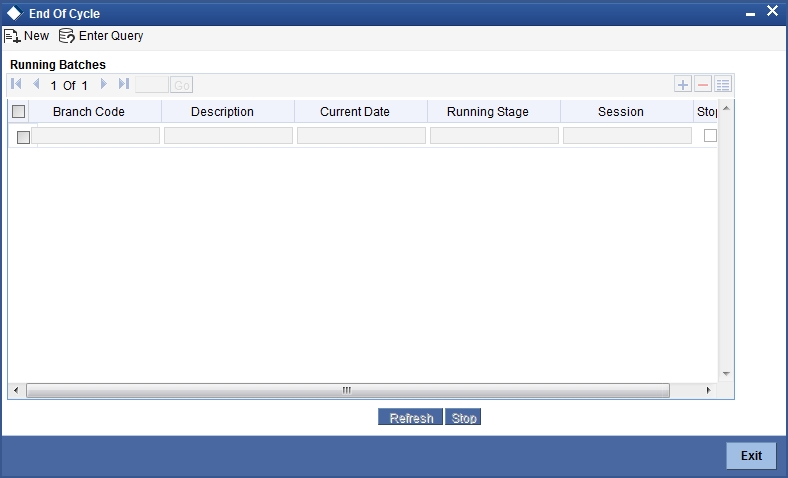
The system displays the running branches on this screen. Check the box under ‘Stop’, against the branches for which you wish to stop the process. Click ‘Stop’ button to stop the process for the selected branches.
5.1.3.2 Various Stages of EOC Process
End of Transaction input (EOTI)
The End of Transaction input (EOTI) stage is the first stage in EOD operations. The system should be moved to this status after all the transactions for the day have been entered into the system. In addition, all the transactions should be authorized and the relevant messages generated.
Note
Please note that while it is not mandatory for all the messages to be generated on the same day as transaction input, it is ideally done that way. In an exceptional situation, you can go ahead with the End of Day processes without generating a message. This message will remain in the ungenerated status in the Outgoing Message Browser and can be generated on any other day. An ungenerated message will not be archived.
You will not be allowed to mark EOTI under the following circumstances:
- When a message is in an unprocessed state
Note
When a reply to the message sent has either not been received or arrived at by the system.
- The above validations are applicable for RTGS messages only.
- When transactions that have been input are yet to be authorized
- When the debit and credit totals for the day do not match for some reason
Under such circumstances, you should examine the transaction(s), which have resulted in the imbalance (with the help of the Transaction Journal) and take the necessary action. The action could be in the posting an extra entry, or moving an entry from one account to another, etc.
After you have moved the system to this status, you will neither be allowed to enter further transactions into the system nor will you be allowed to perform any maintenance functions. All the relevant toolbar actions will also be disabled. However, you can perform queries on the system.
You can run only those automated functions that have been defined for this stage of End of Day processing.
At this stage no further accounting entries can be passed for the day either through transactions that you have entered or by transactions that are automatically triggered by the system.
After you have moved the system to this status you can generate financial reports for the day now since all the automatic processes have been run for the day and since the balances available will be the latest.
After EOFI is marked, you can generate all advice related messages like reports, tracers and all other information on the day’s activities.
The EOD process is designed to tie up all the operations for a financial day and prepare the system for the next day.
The End of Day operations for a branch can begin after all the transactions for the day have been input and authorized. Ideally, all the messages for the day should also be generated before the End of Day operations begin. A message should be carried over to a subsequent day only under exceptional conditions.
The End of Day status indicates that you have completed all the activities for the day. After EOD for a branch is run, the system will not allow you to run any other operation in the branch, till the system date has been changed to the next working day, and authorized. If you try to run any application, you will be prompted to change the system date first.
5.2 Changing System Date
The first task for a business day is to change the system date to the current working date. This date will be used by the system for all purposes that are associated with a date: automatic processes scheduled for the day, the date/time stamp for the activities that take place during the day, and so on.
This section contains the following topics:
5.2.1 Viewing System Date
You can view details of the system date in the system dates table. You can invoke the ‘System Dates Maintenance’ screen by typing ‘STDDATES’ in the field at the top right corner of the Application tool bar and clicking the adjoining arrow button.
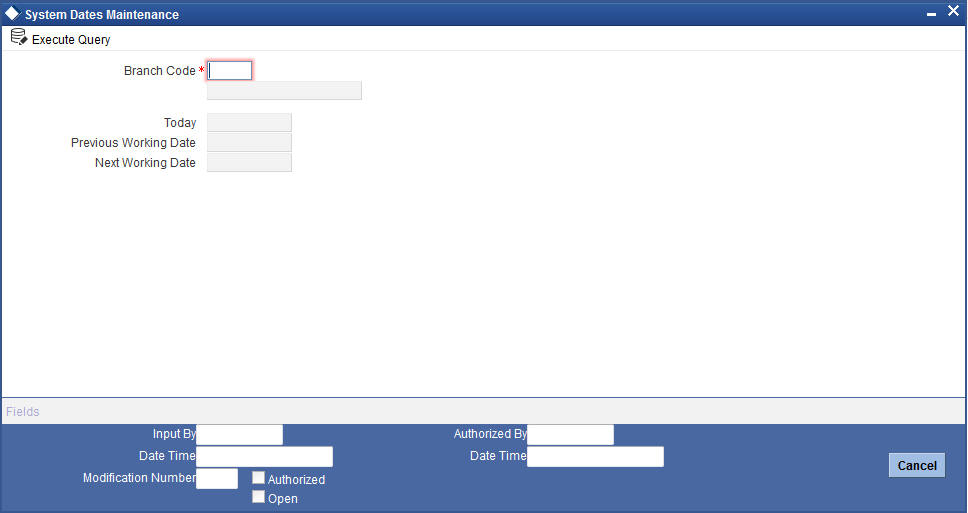
The default date will be displayed in the screen. For instance, on the first working date 1st of January, 1998; the system dates will be updated to read as follows:
Today s date = 01 January 1998
Previous working date = 31 December 1997
Next working date = 02 January 1998
Today’s date is defaulted from Next working date of the old record. Previous working date is defaulted from today’s date of the old record. The Next working date is picked up from the Local branch holiday calendar as maintained for your branch.
The only time you add a record in the system dates table is when Oracle FLEXCUBE is first installed in your branch. Subsequently, the dates will be updated by EOD operations.Click ‘Exit’ button to exit the screen. You will be returned to the Application Browser.