| Oracle® Health Sciences Mobile Clinical Research Associate Server User's Guide Release 2.0 E61213-01 |
|
|
PDF · Mobi · ePub |
| Oracle® Health Sciences Mobile Clinical Research Associate Server User's Guide Release 2.0 E61213-01 |
|
|
PDF · Mobi · ePub |
This chapter describes how to work with Mobile CRA contacts. It contains the following topics:
Mobile CRA maintains a contact list separate from your iPhone or iPod contacts. The contact list within the Mobile CRA application will synchronize with the CTMS contact list. The CTMS contacts delivered to Mobile CRA will be the contacts associated with your assigned sites, where you are on the study team. All contacts will be read only. You can set a user preference to control the frequency of contact synchronization, and the time at which the synchronization occurs.
The following steps describe how to navigate within CRA contacts:
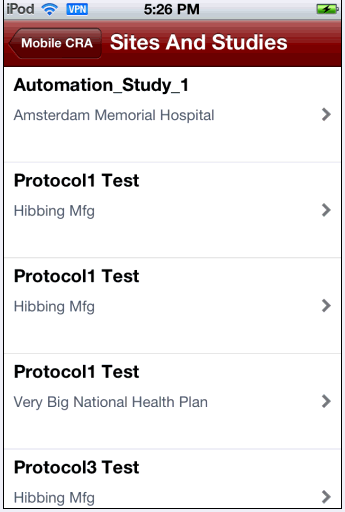
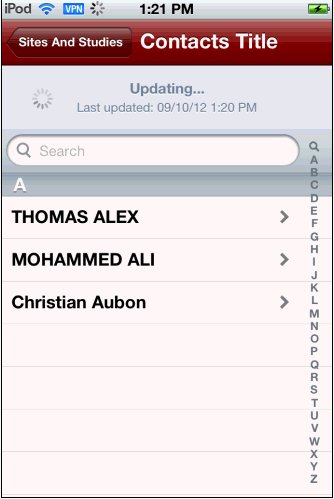
Tap CTMS Contacts in the Mobile CRA menu. A list of studies is displayed.
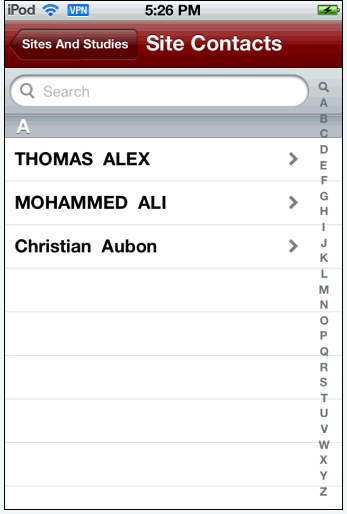
Tap a study to view the contacts for it.
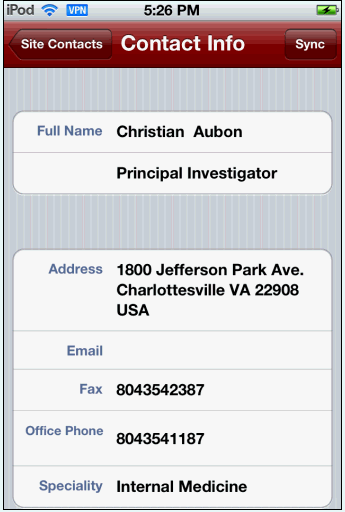
Tap a contact to view the details.
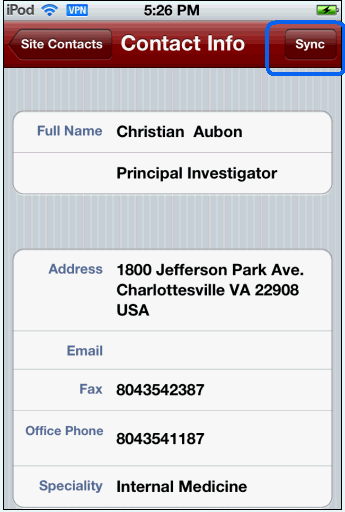
To synchronize the Mobile CRA contacts with your device contacts, tap Sync on the top right of the contact details.
Figure 10-4 Synchronize CRA Contacts with Device Contacts
To synchronize Mobile CRA contacts with CTMS contacts, drag the contact list downward.
Figure 10-5 Synchronize CRA Contacts with CTMS
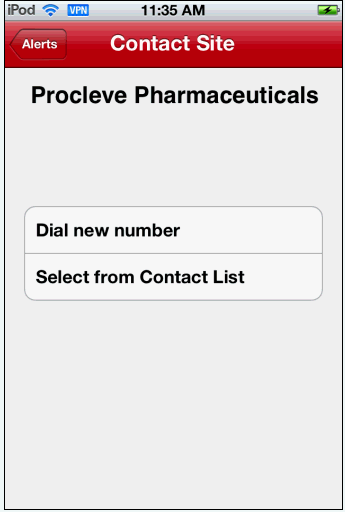
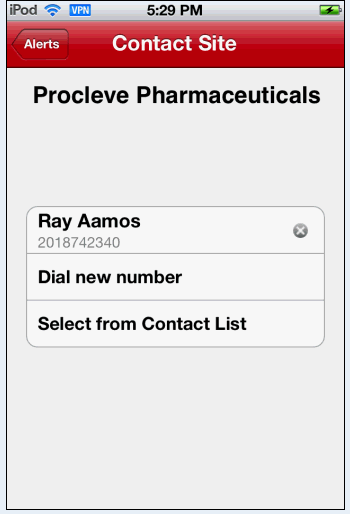
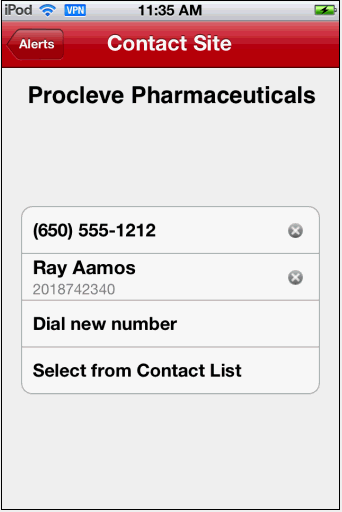
You can link an alert to a contact either by dialing a new number from your phone or by selecting an existing number in your iPhone phonebook.
Perform the following steps to link an alert to a new number:
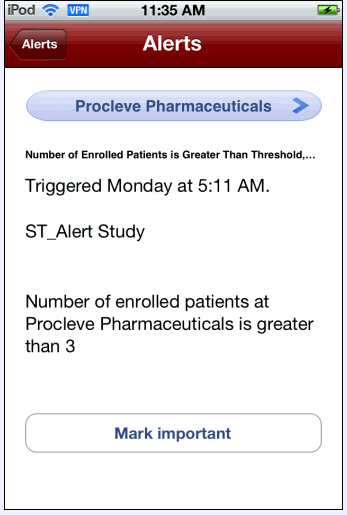
Tap the alert to view its details.
Tap the site name to display its contact details.
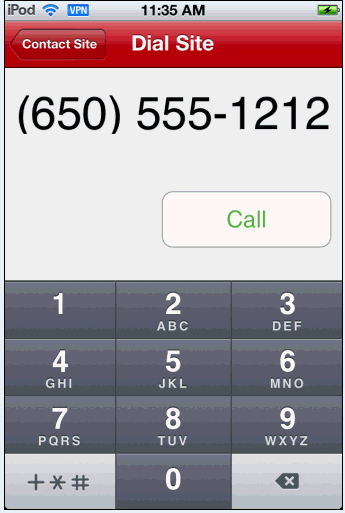
Tap Dial new number. Your iPhone dialling pad is displayed.
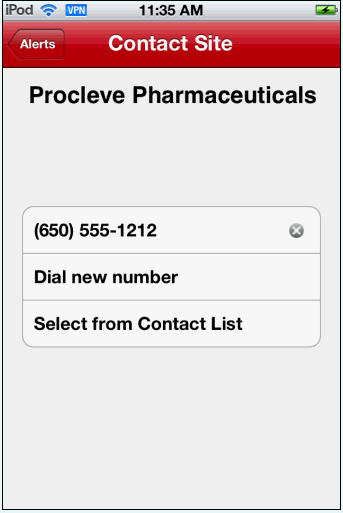
Tap the number you want to call. Once a call is initiated, the phone number is associated with the site.
If you dial more than one number, they all will be linked to one site.
Perform the following steps to link an alert to an existing number in your device phonebook:
Tap the alert to view its details.
Tap the site name to display its contact details.
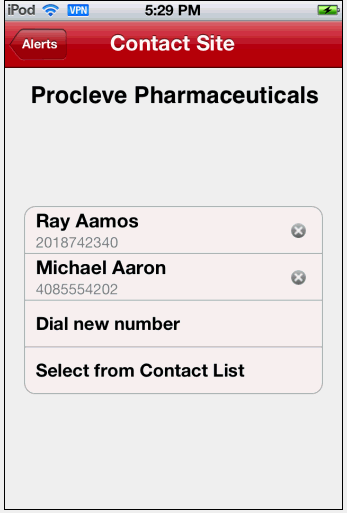
Tap Select from Contact List. Your iPhone contact list is displayed.
Figure 10-12 Select Number from Contact List
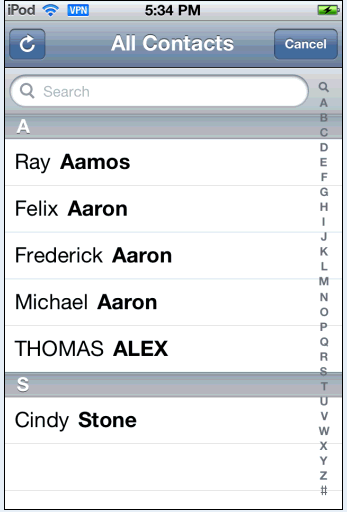
Tap the contact you want to associate with the site.
Figure 10-13 Select Contact to Associate with Site

Once the call is initiated the name and number are associated with the site.
Figure 10-14 Contact Associated with a Site
You can link more than one phonebook contact to the same site by following the above steps.
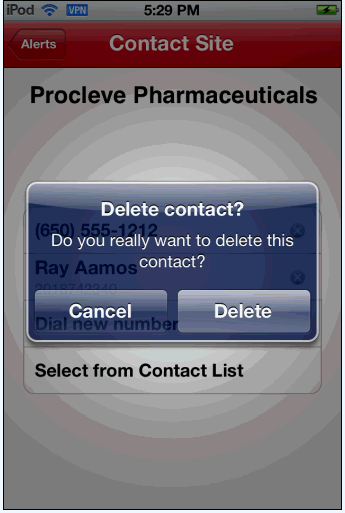
You can dissociate a contact from a site. Perform the following steps to remove a contact from a site:
Tap a site to view its details.
Tap the site name to display its contact details.
Tap the x icon in the contact to remove it from a site. You will be prompted whether you want to delete the contact.
Tap Delete. The contact will be dissociated from the site.
|
Copyright © 2013, 2015, Oracle and/or its affiliates. All rights reserved. Legal Notices |
|