| Oracle® Retail Brand Compliance Management Cloud Service User Guide Release 18.0 E99005-02 |
|

 Previous |
 Next |
| Oracle® Retail Brand Compliance Management Cloud Service User Guide Release 18.0 E99005-02 |
|
Previous |
Next |
This chapter provides an introduction to accessing and using Oracle Retail Brand Compliance Management Cloud Service. The following topics are covered in this chapter:
To log in to Oracle Retail Brand Compliance Management Cloud Service:
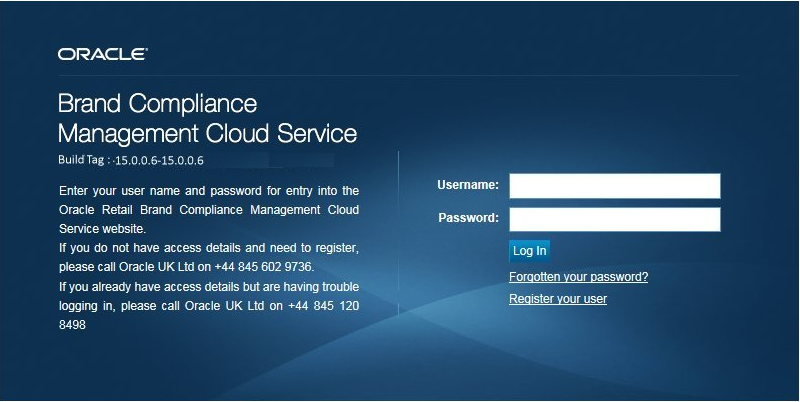
To start the application, open a web browser. Enter the URL for your Oracle Retail Brand Compliance Management Cloud Service application. The login page appears.
Enter your user name and password and select Log In.
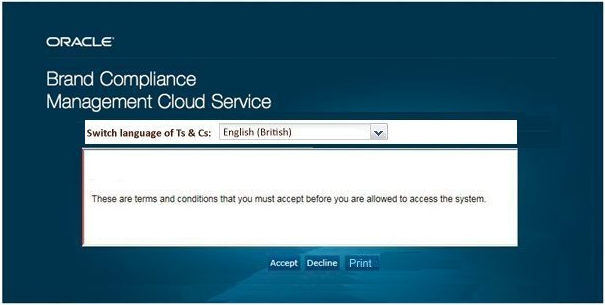
If the Terms and Conditions page appears, you must accept the Terms and Conditions. Read the terms and conditions. You may choose to view the terms and conditions in any of the supported languages. To continue with the login, select Accept.
The Home page appears. See "Home Page."
To register your user account and set your password for the first time:
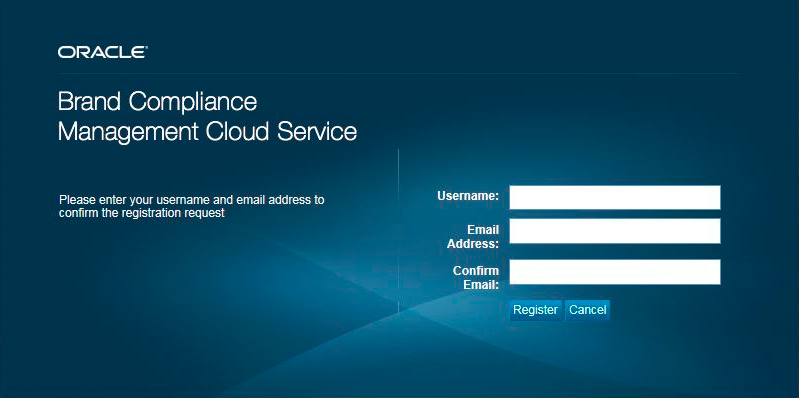
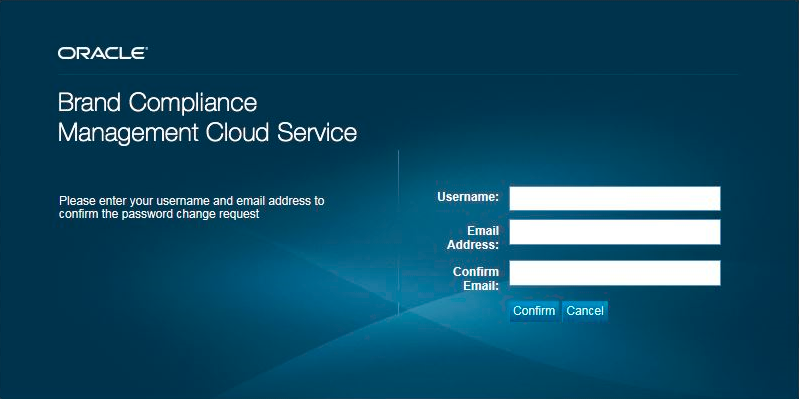
Select the Register your user link. You are prompted to enter your user name (an email message will have been sent to you when your account was created) and your email address.
Enter your user name and email address. Select Confirm. An email message is sent to this address. The email message contains a link you can use to set your password.
|
Note: If the link is not used within 24 hours, it will expire and these steps will need to be repeated. |
If your password will expire soon, the Password Expiry dialog box appears. It displays how many days are left until your password expires:
If you want to change the password, select Change Password. Your are prompted to change the password. See Figure 2-4. Enter your current and new passwords. Select Ok. The Home page appears.
If you want to change the password at a later time, select Change Later.
The Home page appears.
If your password has expired, you are prompted to enter a new password before you can log in. Enter your current password and the new password. Reenter your new password to confirm the change. Select Ok. The Home page appears.
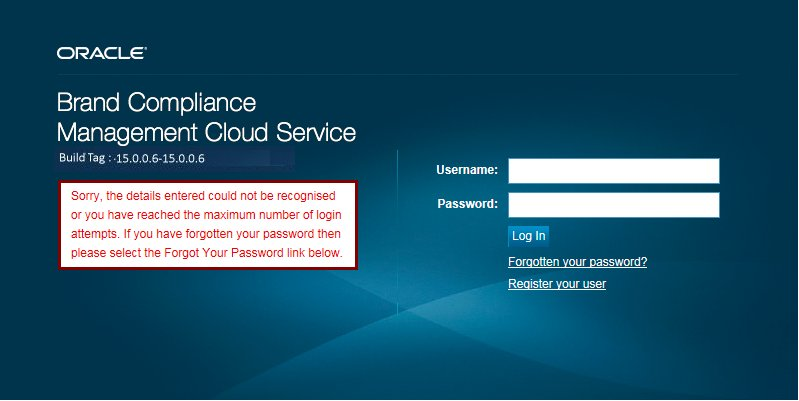
To change your password if you cannot remember the password:
Select the Forgotten your password link. You are prompted to enter an email address.
Enter your user name and email address. Select Confirm. An email message to sent to the address. The email message contains a link you can use to reset your password.
|
Note: If the link is not used within 24 hours, it will expire and these steps will need to be repeated. The system automatically sends you an email message as a confirmation whenever you change your password. |
|
Note: If the administrator changes the rules that control the format and minimum strength of passwords, your password is automatically expired. You are prompted to set a new password the next time you log in. |
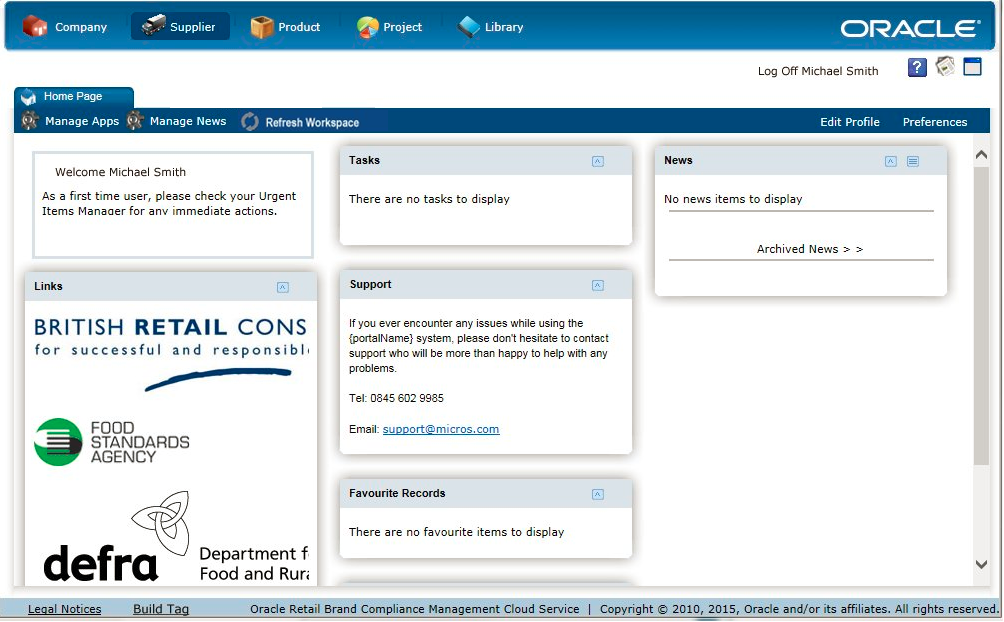
After successfully logging in, the Home page appears.
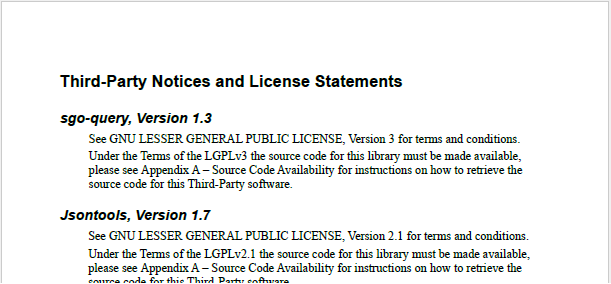
Clicking the Legal Notices link at the bottom of the page displays a message box containing options to display details of all third-party software components that are used within the system.
To view the legal notices, click a link. A PDF appears which lists the third-party software components. An example is shown in Figure 2-8.
Clicking the Build Tag link at the bottom of the home page displays a message box containing the full Oracle Retail Brand Compliance Management Cloud Service release version that the portal is currently running.
The navigation bar shows the Oracle Retail Brand Compliance Management Cloud Service modules that you can access. To access a module, select the icon in the navigation bar or an option from the actions available for the module. A new tab is opened to enable you to access the module.
A retailer or supplier user can also view their company details. Select the Company icon. The following actions are available:
Company Details. The details, such as contact name and address, can be viewed and edited.
Users. The Company Users tab opens. For more information on working with user information, see the Oracle Retail Brand Compliance Management Cloud Service Administration Guide.
Admin. For more information on administration functionality, see the Oracle Retail Brand Compliance Management Cloud Service Administration Guide.
Table 2-1 describes the icons that appear on the Home page.
Table 2-1 Icons on Home Page
| Icon | Description |
|---|---|
|
|
Open online help, if available. For some icons and fields, tooltips are available. A tooltip is displayed when you place the mouse over the icon or field. |
|
|
Display the list of recent items you have accessed. Select an item from the list and the item opens.
|
|
|
Minimize the navigation bar. |
|
|
Maximize the navigation bar. |
|
|
Add this item to your favorites list. |
|
|
Open this tab in a window. |
The following Apps are available on the home page:
Welcome
Displays a welcome message.
Links
Displays a set of icons that link to web sites. When you select an icon, the web site opens in a new browser window or tab.
Tasks
Displays any actions that need to be performed. For more information on the Tasks App, see Chapter 5.
Support
Displays information on how to contact customer support if you require assistance or encounter a problem.
Favourites
Use to bookmark records, documents within the document library, or an area of the system, for example, Site Approvals. New bookmarks are added at the top of the list. The items can be moved up and down the list.
News
Lists available news items. Archived news items can also be accessed. For more information on the News App, see Chapter 4.
Select the Manage Apps link. The Apps Manager dialog box opens. There is an entry for each App shown on the Home page.
If there is checkbox next to the App name, you can add or remove the App from your Home page. To add the App, check the box. To remove the App, uncheck the box. Mandatory Apps cannot be removed.
The following functionality is available for System Administrators:
The title and other details for the App can be edited. Click the link and a tab opens. For an example of the content, see Figure 2-11.
If a delete icon is displayed for the App, click the icon to delete the App. The Confirm Delete dialog box appears. Select Ok.
A new App can be created. For more information, see "Create a New App."
When you have made all your updates, select Save.
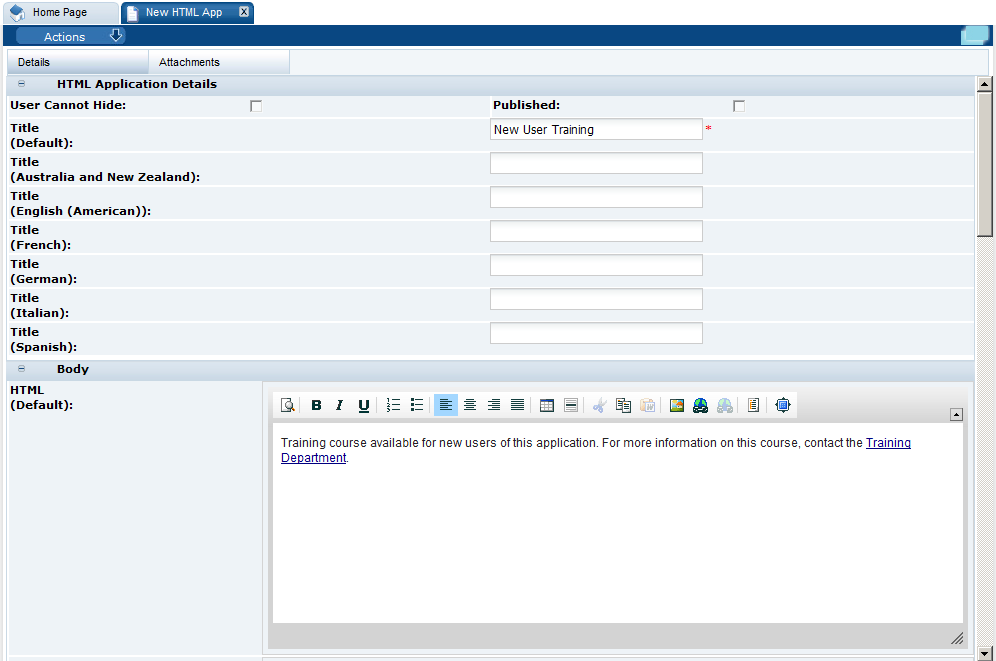
To create a new App:
Select New App. The New HTML App tab opens.
Enter the details:
If the User Cannot Hide field is checked, the App will not appear in a user's Apps Manager panel. This prevents a user from removing this App from the Home page.
If the Published field is checked, all users will see this App when they next log in.
A default title is required. You can also enter a title for each available language.
In the Body section, enter any content to be displayed. Content can be added for each available language.
To save the new App, select Save.
Refresh Workspace refreshes the contents of your Task, UIM, and News apps, and the Favorites and Recent Items lists.
|
Note: Automatic refreshing of these items may have been disabled in order to reduce unnecessary server workload.If your portal has been configured to not perform refreshes automatically, the contents will only refresh when you log in or click Refresh Workspace; otherwise, they will be automatically refreshed whenever the contents change. The refresh option is hidden if auto-refresh is enabled for the portal. |
To move an App to a different place on the Home page, move the cursor over the title bar of the App. Hold down the left mouse button and move the App. Release the button when it is at the place where you want it on the Home page. If you place it in a position already occupied by another App, the App already in that position moves down one position in the page.
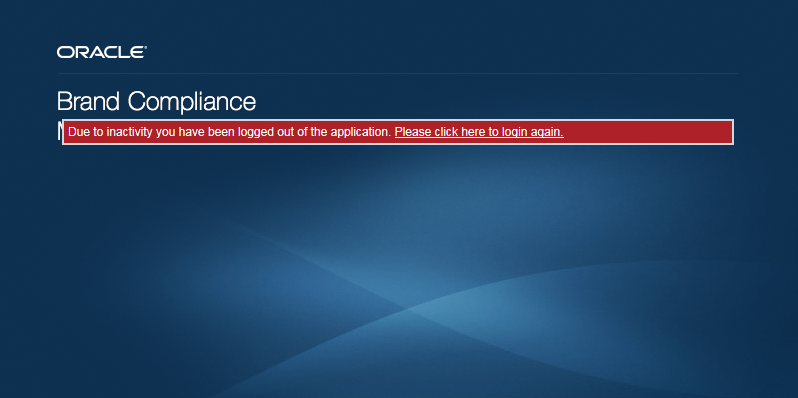
The system can define a timeout interval for sessions. If a user does not interact with the session within that interval, the user is logged out. The system monitors how close a user is to the session expiration time. A warning appears as the limit approaches.
If you interact with the application before the time limit occurs, the timeout is reset. If you do not interact with the system within the time limit, you are logged out of the application. A link is provided to log back in.
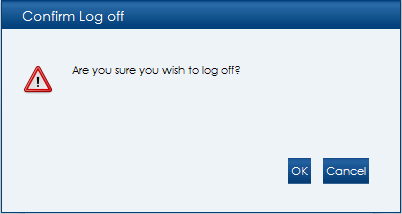
To log out of Oracle Retail Brand Compliance Management Cloud Service, select Log Off. The Confirm Log Off dialog box appears.
If you do not have any open records, you are prompted to confirm. Select Ok. You are logged out of the application.
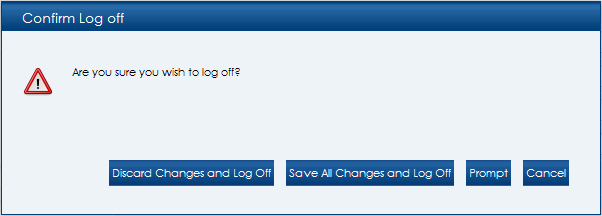
If you have any open records, you are prompted on how to handle the open records:
If you select Discard Changes and Log Off, any pending changes for the open records are discarded and you are logged out.
If you select Save All Changes and Log Off, your updates to all open records are saved and you are logged out.
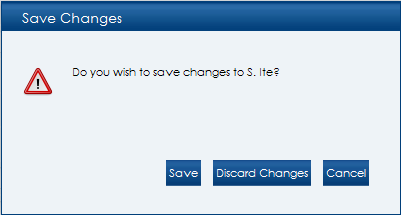
To handle each open record individually, select Prompt. A dialog box is displayed for each open record. For each open record, select whether to save or discard the changes. You are then logged out.