The Oracle MICROS Workstation 625/655 can be mounted on a variety of Oracle MICROS stands, including the Oracle MICROS Workstation 6 Series Adjustable Stand, Oracle MICROS Flexible Stand, Oracle MICROS Compact Stand, and the Oracle MICROS Basic Stand. Although the stands vary in appearance, the workstation mounting procedure is identical.
The following steps describe how to mount the workstation on the Oracle MICROS Workstation 6 Series Adjustable Stand.
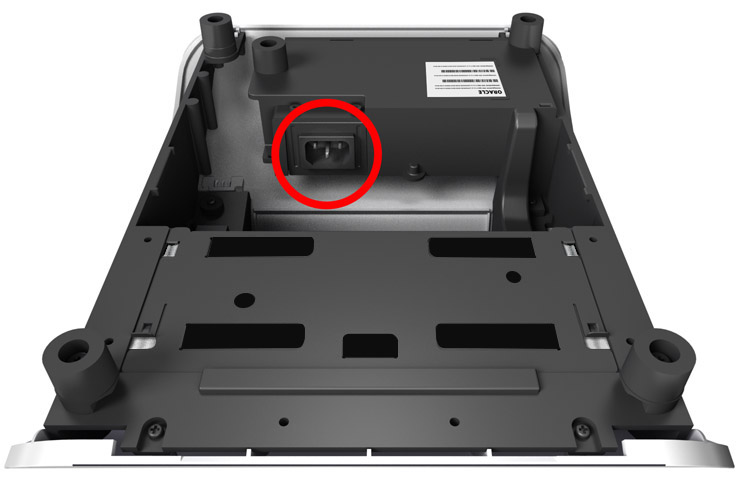
- Place the Adjustable Stand on its back and connect the AC power cable from the wall outlet.
Note:
The Oracle MICROS Flexible Stand, Oracle MICROS Compact Stand, and Oracle MICROS Basic Stand do not include integrated power supplies.
- Place the Adjustable Stand upright.
- Tilt back the Adjustable Stand mount.
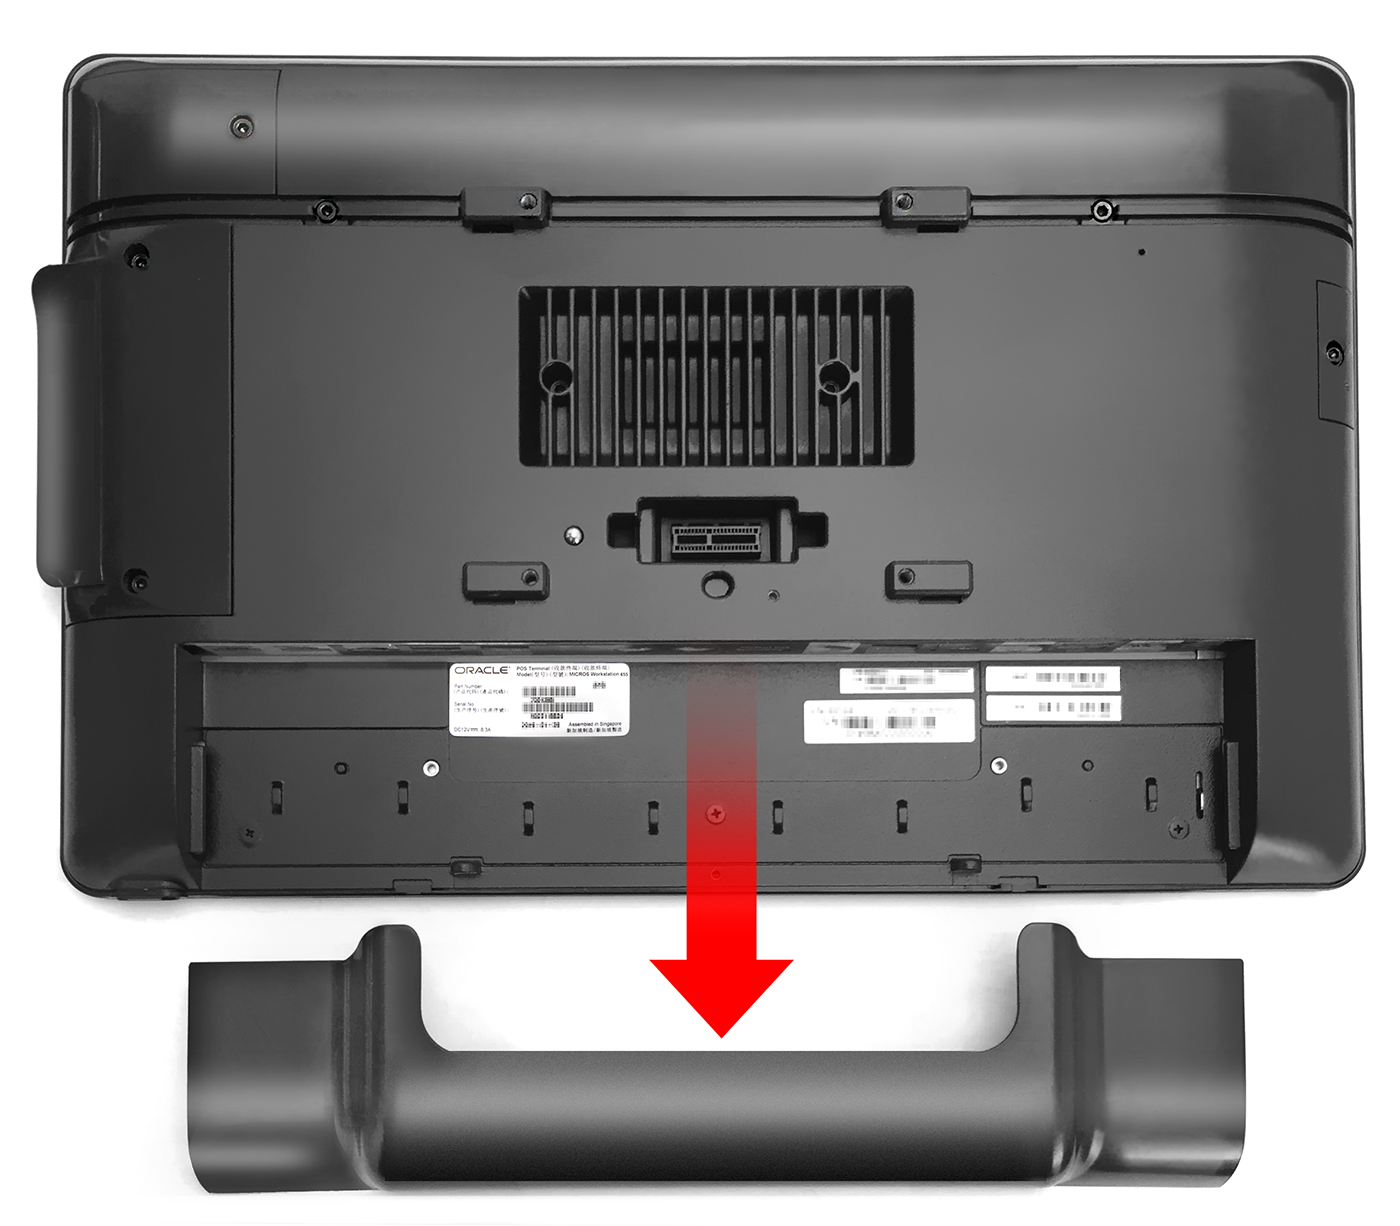
- Place the workstation face down on a flat surface, and then remove the I/O panel cover by sliding it away from the workstation.
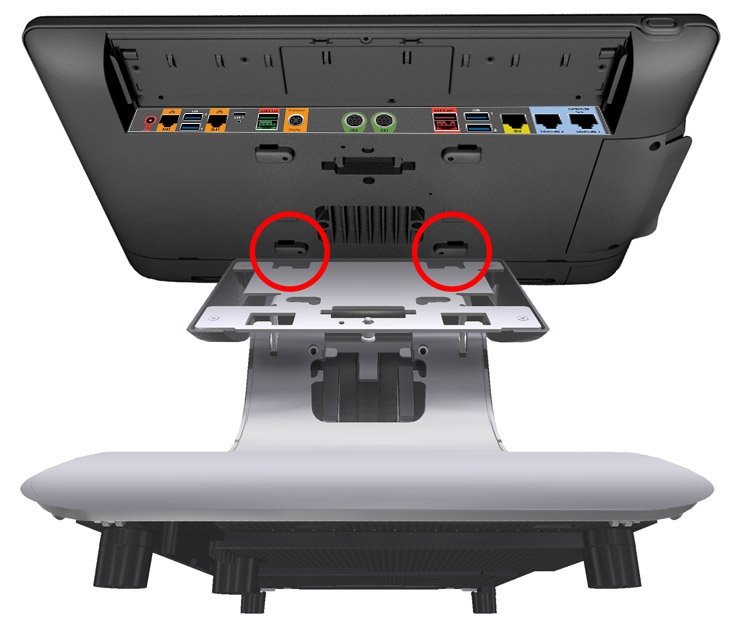
- Place the workstation on the Adjustable Stand so that the nubs rest on the mount.
- Lay the workstation on the mount and pull it toward you until you hear a click.
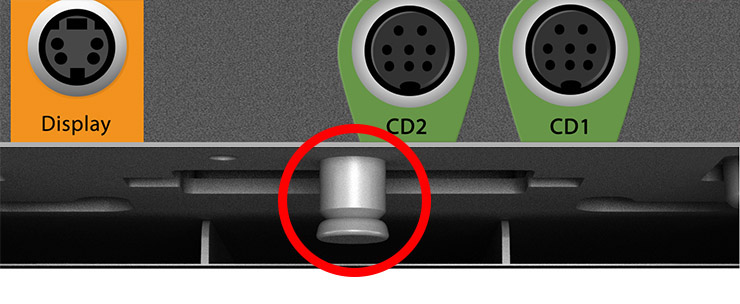
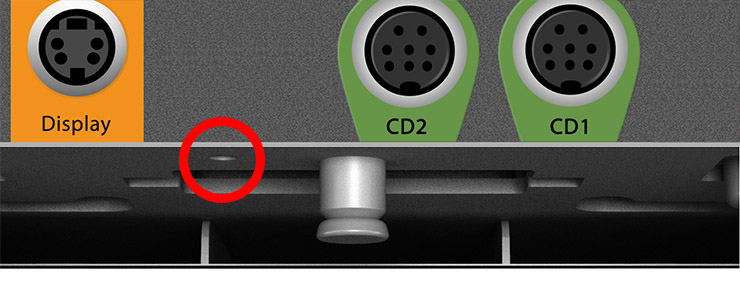
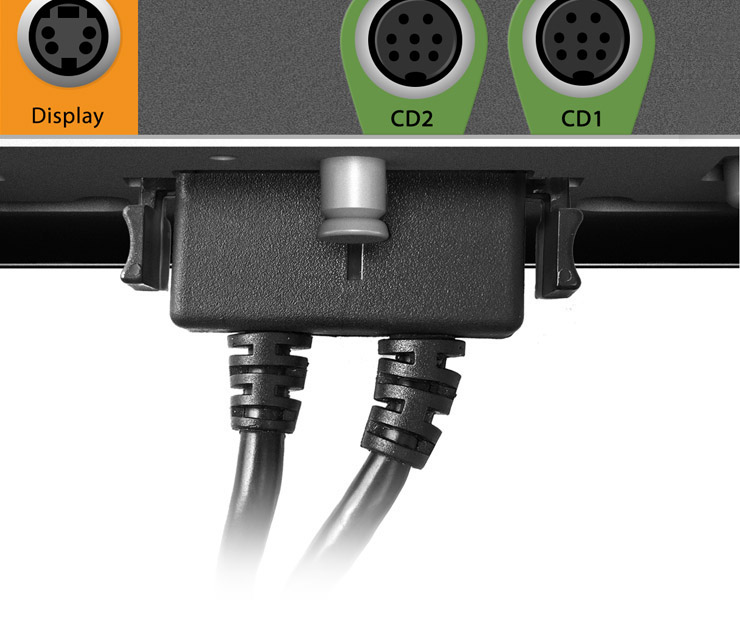
- Make sure the quick release pin is depressed. If it is not depressed, you must pull the workstation toward you until it clicks in place.
- If you want to secure the workstation to the Adjustable Stand, install the security hex bolt.
- Connect the DC power cable to the workstation.
Note:
The Oracle MICROS Workstation 625E does not support simultaneous use of both power ports (DC power cable + Mini-DIN port).
- Connect your peripherals (printers, cash drawers, etc.) to the appropriate ports on the workstation I/O Panel. Route cables through the bottom of the stand, and then guide them through the opening in the stand neck. To access the Adjustable Stand interior, remove the stand cover.
- If required, use the Velcro straps in the stand neck opening to organize cables.
- Replace the workstation I/O panel cover. For added security, install the included hex bolts to anchor the cover to the workstation.
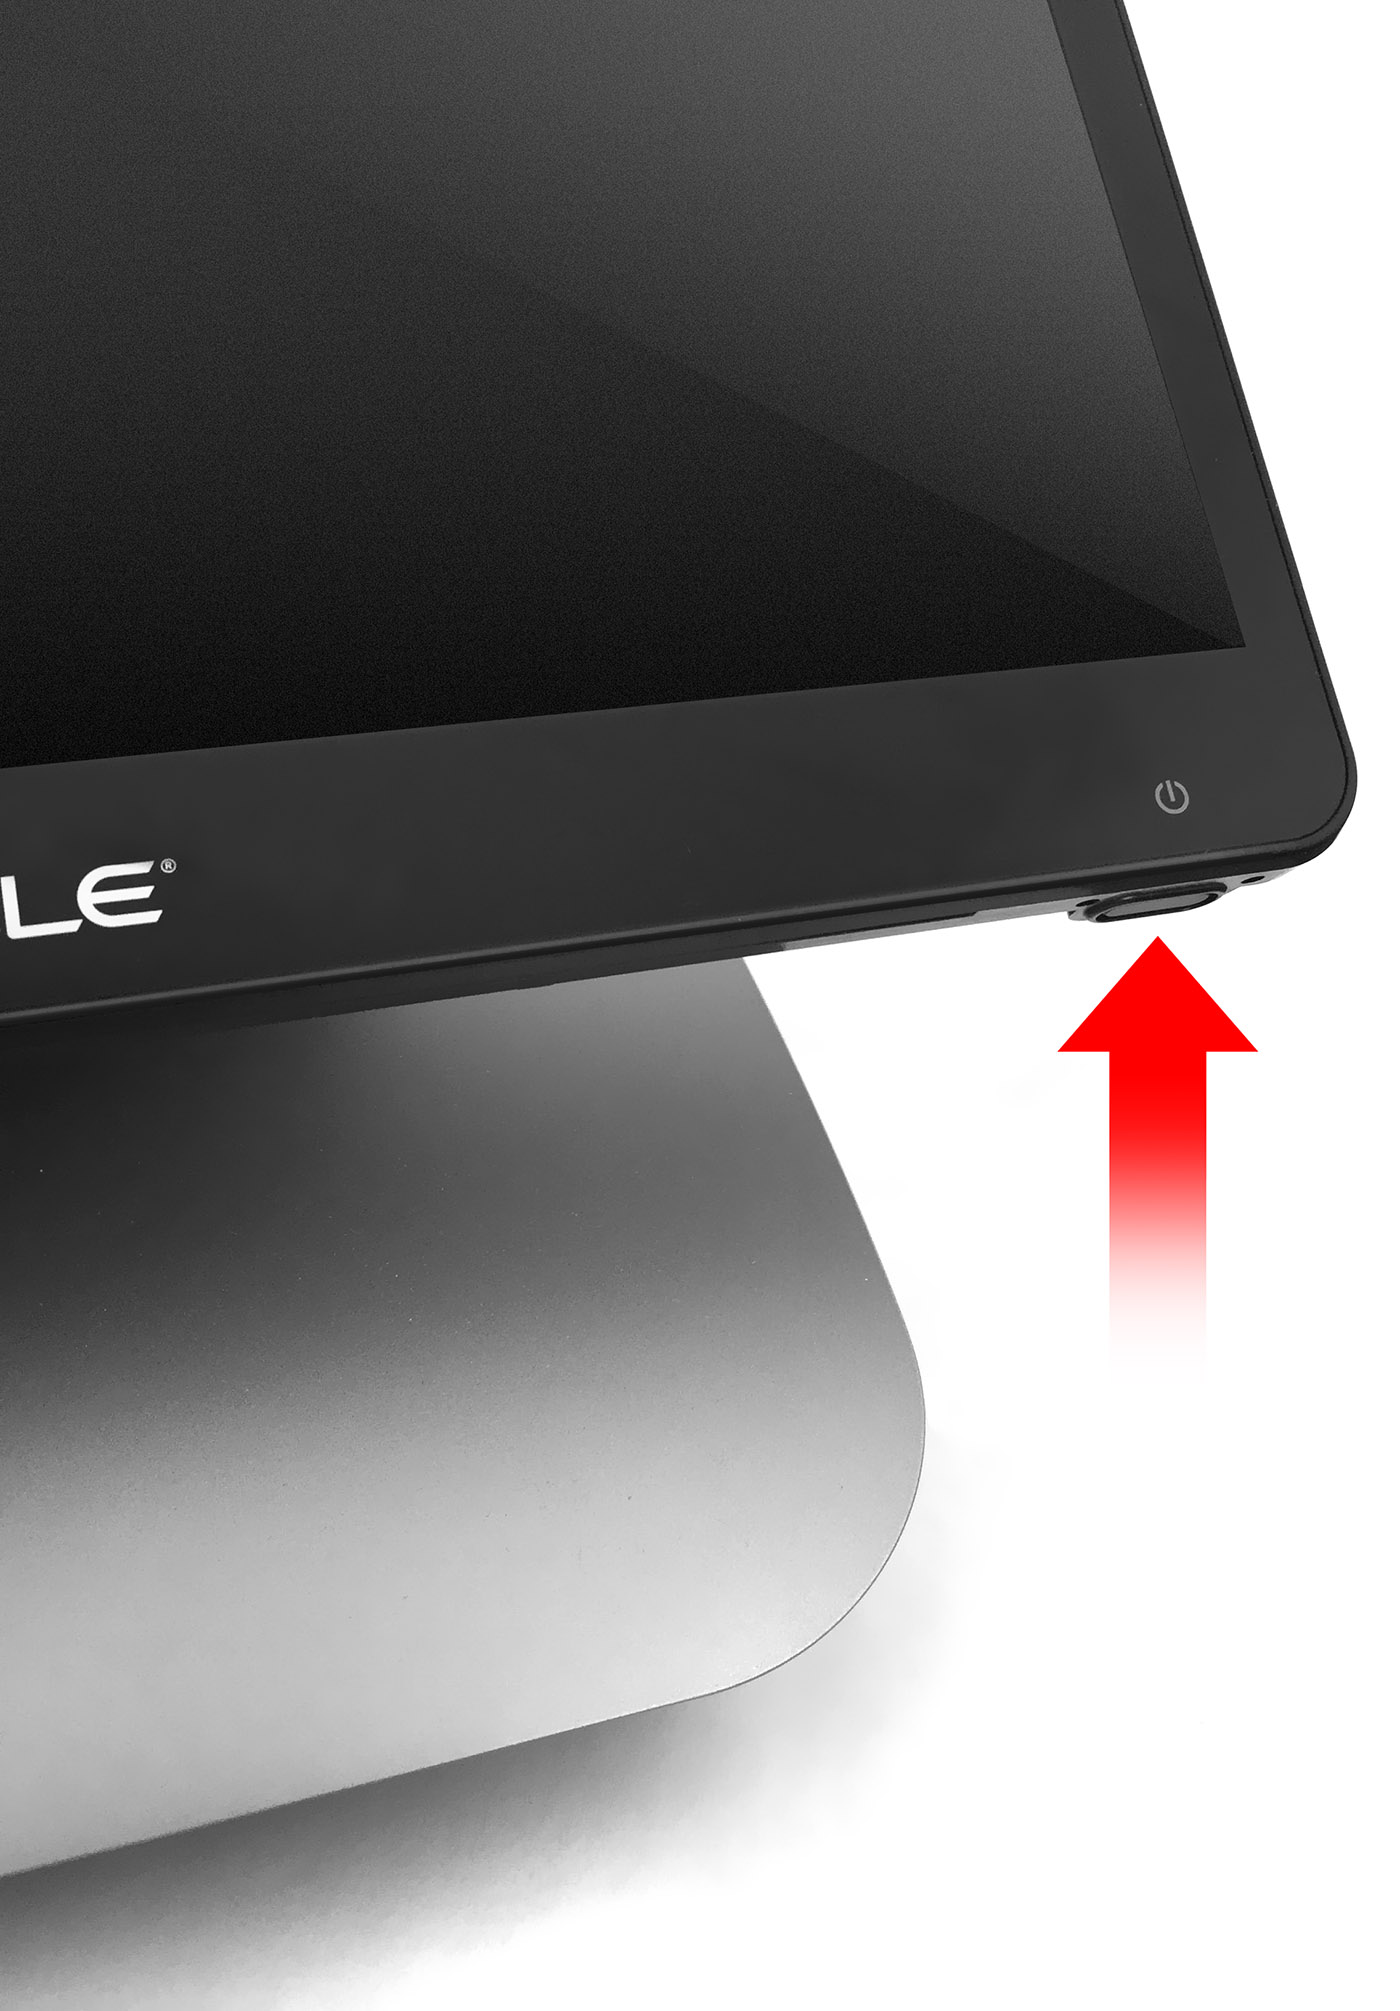
- Turn on the workstation by pressing the power button.
