12. Processing Vendor Payments
This chapter explains process of making supplier/vendor payments using direct transfer or issuing Managers Check (MCK) or by onward remittance payment modes. This is done using the ‘Vendor Payment Detailed’ screen. This chapter also explains about independent vendor payment triggered before sale (account initiation). The chapter also discussed how to query on the outstanding vendor payments with respect to an account.
This chapter contains the following sections:
12.1 Vendor Maintenance
This section contains the following topic:
12.1.1 Maintaining Vendor Account Details
You can maintain the details of all the vendors with whom you deal in the ‘Vendor Maintenance’ screen. You can invoke this screen by typing ‘XPDVNMNT in the field at the top right corner of the Application tool bar and clicking the adjoining arrow button.
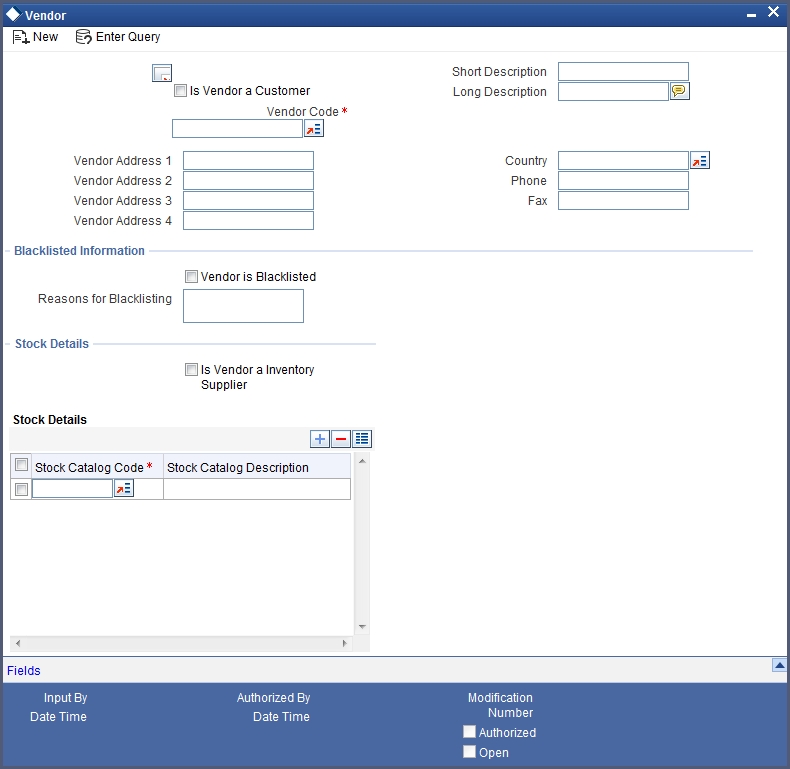
In addition to other details, you can capture the following details for a vendor:
Vendor Code
If the vendor is a customer then you can select the vendor code by clicking on the option list. For vendors who are customers of the bank the option list will display the list of CIF values. For vendors who are not customers of the bank you can enter the vendor code in this field.
12.1.1.1 Capturing Vendor Account Details
Credit Account
Select the credit account or GL for the payments to be made by clicking on the option list. This list will display the list of account and GLs. For vendors who are not customers of the bank, any account or GL can be chosen. There will be no validation done against this selection.
Branch Code
The branch, in which the chosen account resides, is displayed here.
Payment Mode
Select the mode of payment from the drop-down list. The options for selection are:
- A - Account Transfer
- O - Onward Remittance
- N - None
Note
By default, the value will be ‘None’.
For details about the other fields in this screen, refer the section ‘Maintaining Vendor’ in the chapter ‘Maintaining Documents and Vendors’ in the Expense Processing User Manual.
12.2 Vendor Payment Details
This section contains the following topics:
- Section 12.2.1, "Maintaining Vendor Payment Details"
- Section 12.2.2, "Payment By Contract Tab"
- Section 12.2.3, "Payment by Vendor Tab"
- Section 12.2.4, "Advices Button"
- Section 12.2.5, "Events Button"
- Section 12.2.6, "Vendor Credit Advice"
12.2.1 Maintaining Vendor Payment Details
Vendor payment for an account can be made before initiation. You can do this in Oracle FLEXCUBE through the ‘Vendor Payment Detailed’ screen. You can invoke this screen by typing ‘VPDPYMNT’ in the field at the top right corner of the Application tool bar and clicking the adjoining arrow button.
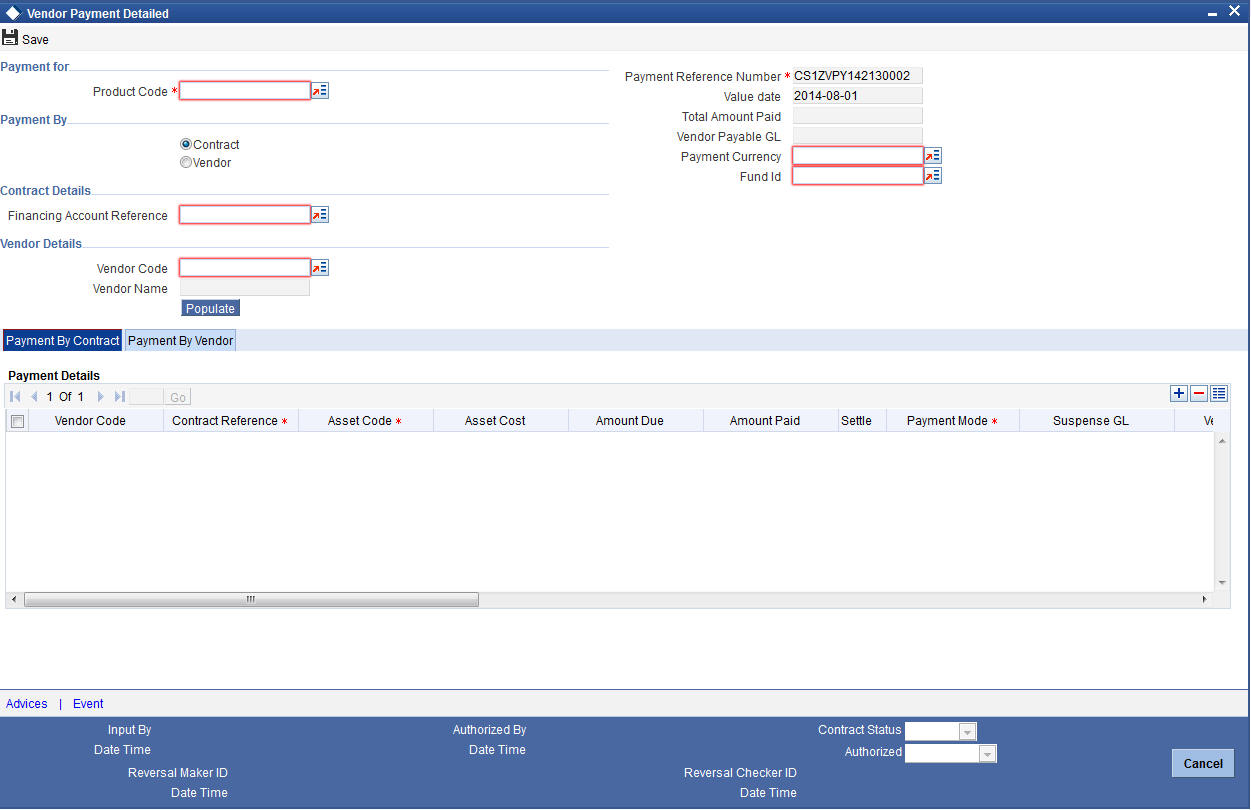
You can specify the following details:
Payment For
Product Code
You can select the product code of the payment from the option list. All the contracts displayed under the ‘Payment Details’ will be of same product code.
Payment By
Indicate whether the payment should be made for a single vendor across multiple contracts or for multiple vendors linked to a single contract by choosing the appropriate option:
- Vendor
- Contract
Payment Reference Number
Here the payment reference number automatically gets defaulted for the current payment.
Fund Identification
You can select the fund id of the payment from the option list. All the contracts displayed in the ‘Payment Details’ will be of Fund Id. If the fund Id is not associated with the payment then fund Id should not be entered.
Payment Currency
You can select the currency of the payment from the option list. All the contracts displayed under the ‘Payment Details’ will be of same currency.
Value Date
The system displays the value date of the payment.
Account Number
If you have indicated that payment should be made for a single contract, you will have to specify the account number of the contract for which vendor payment has to be made. The adjoining option list displays all valid Islamic Financing accounts maintained in the system for the given product code and currency combination. You can select the appropriate one.
Vendor Payable GL
The system displays the vendor payable GL.
12.2.1.1 Query by Vendor Id
Click ‘Populate’ button to query records based on the ‘Payment By’ criterion. If you have opted for making a payment to a single vendor linked to multiple contracts, the system will fetch all contracts along with the asset details for the given ‘Vendor Id’, ‘Product Code’ and ‘Payment Currency’ combination. It will display the result in the ‘Payment Details’ section.
12.2.1.2 Query by Contract
If you have opted for making a payment for a single contract having multiple vendors linked to it, the system will fetch all vendor details along with the asset details for the given ‘Account Number’, ‘Product Code’ and ‘Payment Currency’. It will display the result in the ‘Payment Details’ section.
Total Amount Paid
The total amount paid to the vendor will get defaulted here only after saving the record.
Contract Details
Financing Account Reference
Specify the financing account reference number. Alternatively, you can select financing account reference number from the option list. The list displays all valid financing account reference number maintained in the system.
Vendor Details
Specify the following details if you have opted to make payment for a single vendor across multiple contracts.
Vendor Code
Specify the vendor Id for the payment. The adjoining option list displays all valid vendor IDs maintained in the system. You can select the appropriate one.
Vendor Name
Once you specify the Vendor Code, the corresponding vendor name is displayed here.
12.2.2 Payment By Contract Tab
Click ‘Payment by Contract’ tab in ‘Vendor Payment Detailed’ screen..
The following details are captured:
- Vendor Code of the payment
- Contract Reference Number
- Asset Code of the payment
- Asset Cost of the payment
- Amount Due
- Amount Settled
- Asset Currency
Settle
Check this box to make the payment to one vendor at a time.
Payment Mode
Select mode of payment from the drop-down list. The list displays the following values:
- Account Transfer - Select this option if the payment mode is Account Transfer.
- Onward Remittance – Select this option if the payment mode is Onward Remittance.
- Instrument - Select this option if the payment mode is Instrument.
Suspense GL
Specify the suspense GL. Alternatively, you can select suspense GL from the option list. The list displays all valid suspense GL maintained in the system.
Vendor Account
Specify the vendor account number. Alternatively, you can select vendor account number from the option list. The list displays all valid vendor account number maintained in the system.
Account Branch
The system displays the branch code.
Account Description
The system displays the account description.
Account Currency
The system displays the currency code.
Transaction Code
Specify the transaction code to be used for making the payment. Alternatively, you can select transaction code from the option list. The list displays all transaction code maintained in the system.
Instrument Type
Select the type of instrument from the drop-down list. The list displays the following values:
- Bankers Cheque - Select this option if the instrument type is Bankers Cheque
- Demand Draft - Select this option is the instrument type is Demand Draft
Payable Bank
Specify the payable bank code, Alternatively, you can select payable bank code from the option list. The list displays all open and authorized clearing bank code maintained in the system.
Payable Branch
Specify the payable branch code. Alternatively, you can select payable branch code from the option list. The list displays all branches for the bank code chosen.
Instrument Number
The system displays the instrument number.
The Instrument number will be displayed only after Authorization of vendor payment.
Instrument Transaction Reference
The system displays instrument transaction reference number.
The Instrument Transaction Reference will be displayed only after Authorization of vendor payment.
12.2.3 Payment by Vendor Tab
When the settlement is done through Vendor option, if there are multiple contracts, the system will make the payment through a single instrument. If you want to have multiple instruments for multiple contracts, then the system will book different Vendor Payment contracts.
Click ’Payment by Vendor’ tab in ‘Vendor Payment Detailed’ screen to specify the vendor details.
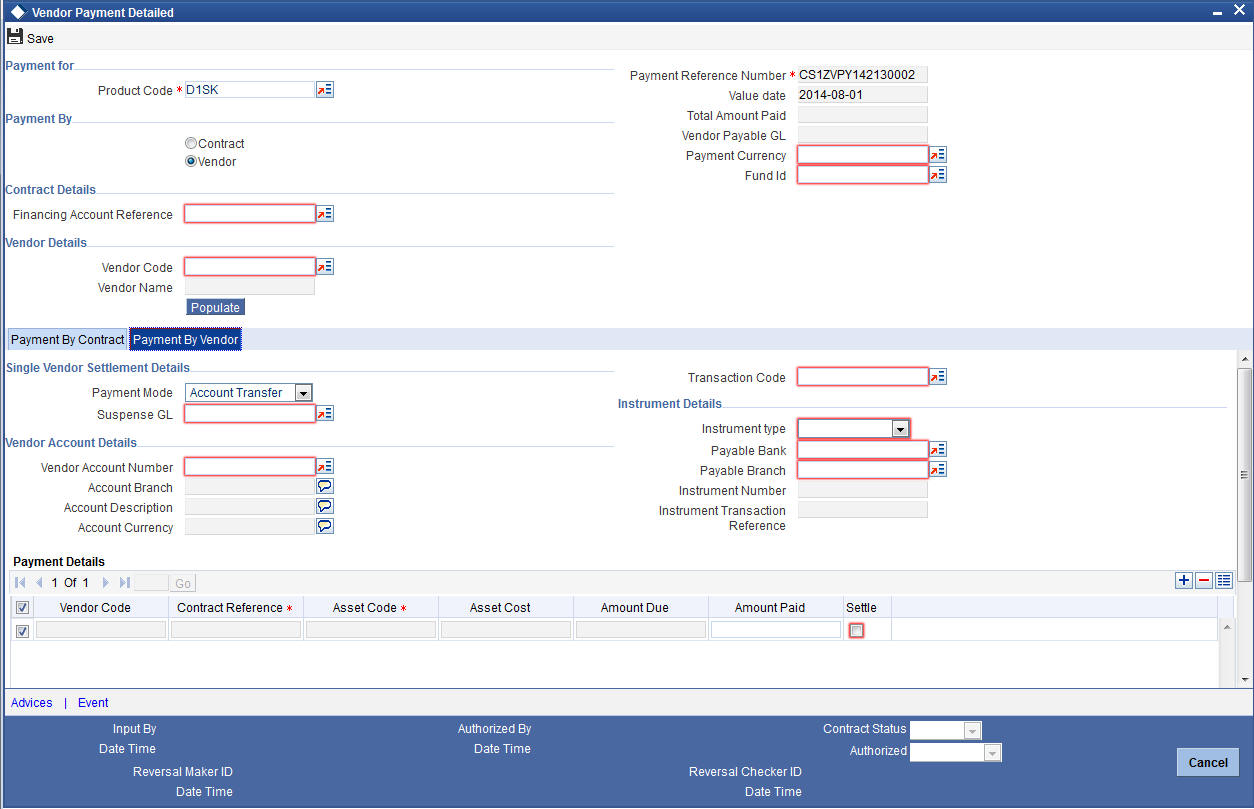
You can specify the following details:
Single Vendor Settlement Details
Payment Mode
Select mode of payment for vendor from the drop-down list. The list displays the following values:
- Account Transfer - Select this option if the payment mode is Account Transfer. If you choose to make payment through account transfer mode, the vendor settlement account will be defaulted and accounting entries will be in the contract currency. The system will generate a credit advice for the vendor. You can view the advice by clicking ‘Advices’ button.
- Onward Remittance – Select this option if the payment mode is Onward Remittance. If you choose to make payment through onward remittance mode, you need to specify ‘Suspense GL’. The system displays accounting entries in the contract currency. The payment advices will not generate for the onward remittances payment.
- Instrument - Select this option if the payment mode is Instrument.
If you have selected ‘Payment Mode’ field as ‘Instrument’, then ‘Instrument Type’ field is mandatory.
If you have selected ‘Payment Mode’ field as ‘Account Transfer’, then the fields under Vendor Account Details section will be mandatory and the fields under Instrument Details section will not be applicable.
If you have selected ‘Payment Mode’ field as ‘Onward Remittance’, then only ‘Suspense GL’ field is applicable. The fields under Vendor Account Details and Instrument Details section will not be applicable.
Suspense GL
Specify the suspense GL for vendor. Alternatively, you can select suspense GL from the option list. The list displays all valid suspense GL maintained in the system.
Vendor Account Details
Vendor Account Number
Specify the vendor account number. Alternatively, you can select vendor account number from the option list. The list displays all valid account number maintained in the system.
Account Branch
The system displays the branch code.
Account Description
The system displays the account description.
Account Currency
The system displays the currency code.
Instrument Type
Select the type of instrument from the drop-down list. The list displays the following values:
- Bankers Cheque - Select this option if the instrument type is Bankers Cheque
- Demand Draft - Select this option is the instrument type is Demand Draft
If you have selected ‘Instrument Type’ field as ‘Demand Draft’, then ‘Payable Bank’ and ‘Payable Branch’ fields will be mandatory.
Payable Bank
Specify the payable bank code, Alternatively, you can select payable bank code from the option list. The list displays all open and authorized clearing bank code maintained in the system.
Payable Branch
Specify the payable branch code. Alternatively, you can select payable branch code from the option list. The list displays all branches for the bank code chosen.
Instrument Number
The system displays the instrument number allocated at the time of vendor payment authorization
Instrument Transaction Reference
The system displays instrument transaction reference number.
Payment Details
Vendor Code
The system displays the vendor code.
Contract Reference
The system displays the contract reference number.
Asset Code
The system displays the asset code.
Amount Due
The system displays the amount due.
Amount Paid
Specify the amount paid.
Settle
Check this box to make the payment to one vendor at a time.
12.2.3.1 Processing Changes on Vendor Payment
If you have selected ‘Payment Mode’ as ‘Instrument’, then you need to specify ‘Instrument Type’, ‘Instrument Number’, ‘Payable Bank’, ‘Payable Branch’ fields.
While saving the Vendor payment transaction with payment mode as instrument, the system will generate the following Accounting entries for the VPAY event for payment mode Instrument:
Dr/Cr |
Accounting GL |
Amount |
Transaction reference |
Dr |
Vendor Payable GL |
Vendor Payment Amount |
Vendor Payment Reference |
Cr |
Suspense GL |
Vendor Payment Amount |
Vendor Payment Reference |
On authorization of the vendor payment transaction by Instrument.
The system will trigger ‘BC Issue against GL’ screen (8302) if payment is to be made by Banker’s Cheque.
If Demand Draft option is chosen, the system will trigger ‘DD Issue against GL’ screen (8306) for the DD Instrument internally.
If payment is for a single contract involving multiple vendors, payment can be done by issuing multiple Instruments, if required.
Note
The validations of the instrument details and the passing of accounting entries will be same for normal instrument transaction.
The system will pick fields/GLs required for the teller transaction as follows:
Field /GL Details for teller transaction |
Teller Instrument Transaction Type Banker’s Cheque against GL(8302) |
Teller Instrument Transaction Type Demand Draft against GL(8306) |
Beneficiary name |
Vendor Name |
Vendor Name |
Beneficiary Address |
Vendor Address |
Vendor Address |
Payable Bank |
N.A |
Payable Bank entered in vendor payable screen |
Payable Branch |
Transaction Branch |
Payable Branch entered in vendor payable screen |
Transaction GL |
Suspense GL |
Suspense GL |
Offset GL |
As maintained for BCG/BCI in Instrument Product Maintenance (DDDPRMNT) |
As maintained for DDG/DDI in Instrument Product Maintenance (DDDPRMNT) |
Narrative field |
Vendor Payment Reference |
Vendor Payment Reference |
The system will pass the following accounting entries for the Instrument transaction as follows:
Dr/Cr |
Accounting GL |
Amount |
Transaction reference |
Dr |
Suspense GL |
Vendor Payment Amount |
Teller reference |
Cr |
Offset GL |
Vendor Payment Amount |
Teller reference |
The system will waive the charges applicable to instrument transaction.
When the transaction is authorized the system will automatically populate the instrument number with the lowest unused instrument number from the inventory or from the instrument maintenance.
The system will display the related teller transaction number on authorization of vendor payment.
If any of the instruments issued is in active or paid status, the system will not allow reversal of vendor payment. This validation is done based on the Instrument transaction reference number stored.
If the instruments issued are in cancelled or refund status, the system will reverse vendor payment.
If Hamish Jiddayah amount is not paid in full, the system will display an override message. This can be configured as an error, if required.
The following accounting entries are passed for the different modes of payment are given below:
For Account Transfer mode of payment:
Payment Option |
Account |
Dr/Cr |
Direct Transfer |
Vendor Payable |
Dr |
Direct Transfer |
Vendor Settlement account |
Cr |
For Onward Remittance mode of payment:
Payment Option |
Account |
Dr/Cr |
Remittances |
Vendor Payable |
Dr |
Remittances |
Suspense GL |
Cr |
For ‘Purchase’ event:
- Dr - Purchase Asset GL
- Cr - Vendor payable GL
For ‘Vendor Payment’ event:
- Dr - Vendor payable GL
- Cr - Vendor settlement account/DAO GL/Suspense GL
In case of multiple vendors across a single contract, the system settles the payment against a single payment reference number. If a single vendor has supplied multiple assets for a single contract, then a netted payout entry will be posted to the individual vendor account based on the payment mode selected.
12.2.4 Advices Button
Click on Advices’ button to invoke ‘Advice Details’ screen.
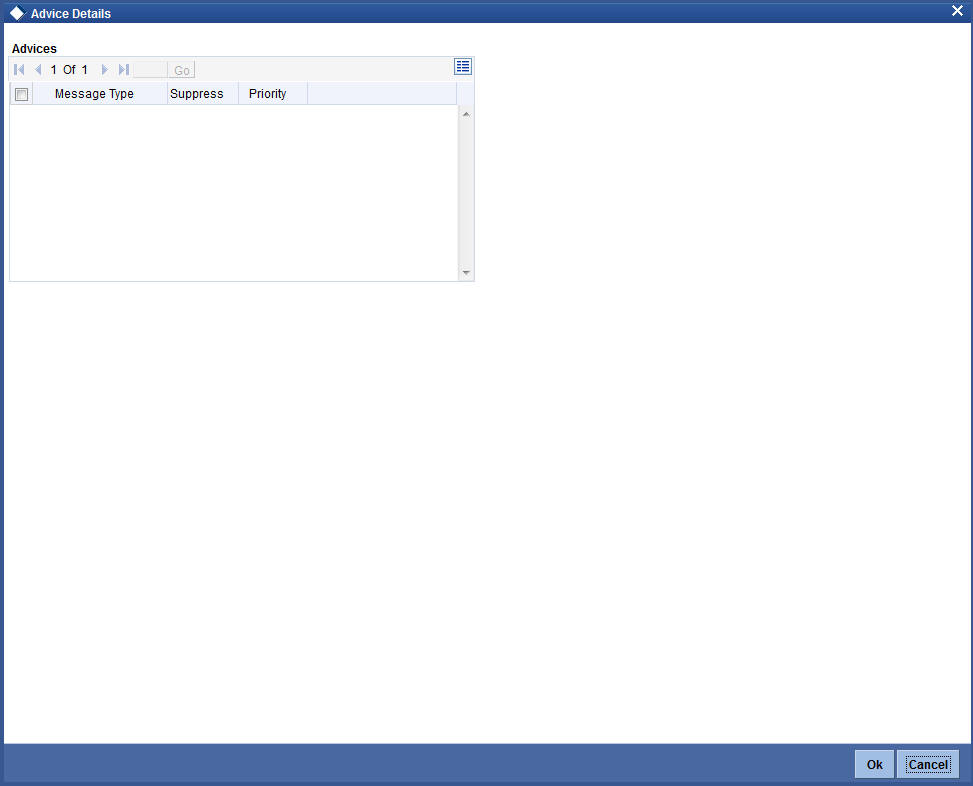
The system displays the following details:
- Message Type
- Suppress
- Priority
12.2.5 Events Button
You can view the event details by clicking ‘Event’ button in the ’Vendor Payment detailed’ screen. The event VPAY is triggered for vendor payment and in case of vendor payment reversal the event VPRV is triggered. By clicking ’Advices’ button Vendor payment credit advice gets attached and the advice will be generated as part of the VPAY event.
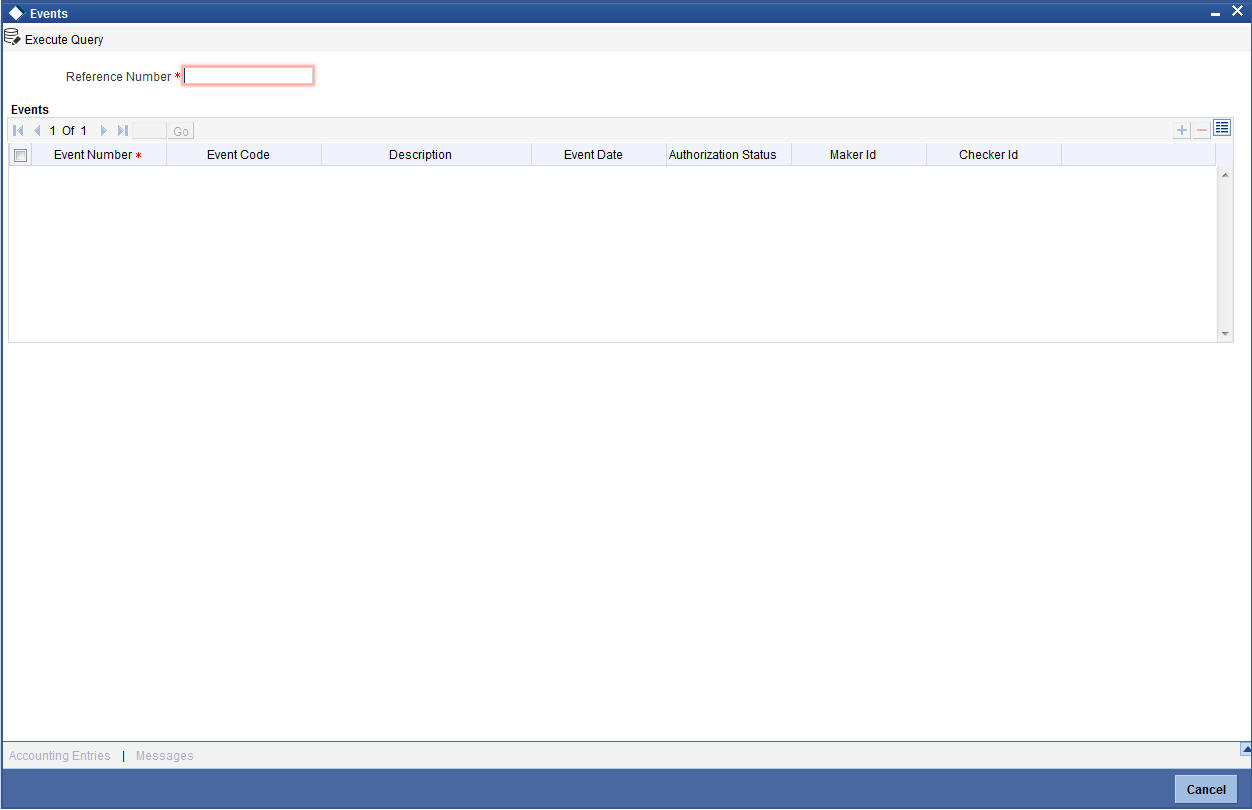
You can specify the following details:
Reference Number
Specify the reference number.
The system displays the following events:
- Event Number
- Event Code
- Description
- Event Date
- Authorization Status
- Maker ID
- Checker ID
12.2.6 Vendor Credit Advice
The Vendor credit advice (VPCRADV) is attached using the ’Advices’ button. A sample advice format is shown below:
ACCOUNT : CL1102012
USER REFERENCE NO : 000ZVPY0119401HB
CONTRACT CURRENCY : AED
CONTRACT VALUE DATE : 13-JUL-2001
WE HAVE EXECUTED THE FOLLOWING TRANSACTION ON YOUR BEHALF:
CUSTOMER NAME : BOEING CORP -------------------------------------------------
VALUE DATE CCY AMOUNT
-------------------------------------------------
13-JUL-2001 AED 750
12.2.7 Viewing Vendor Payment Details
You can view vendor payment details using ‘Vendor Payment Summary’ screen. You can invoke the ‘Account Summary’ screen by typing ‘VPSPYMNT’ in the field at the top right corner of the Application tool bar and clicking the adjoining arrow button.
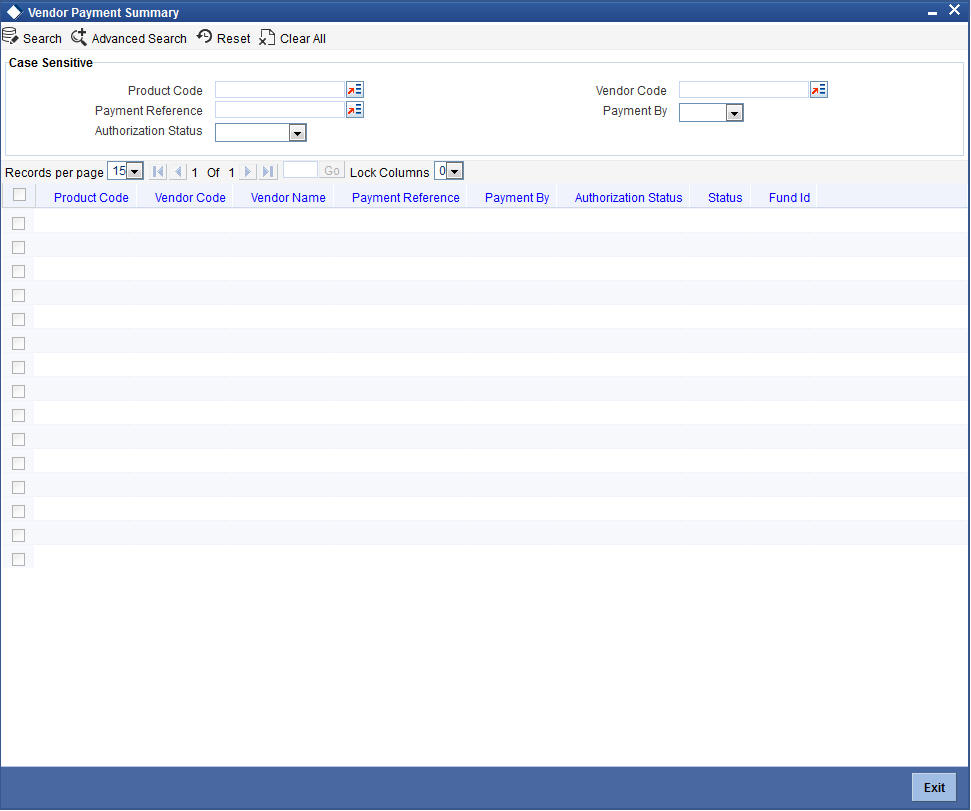
You can query a record using the following options:
- Product Code
- Payment Reference
- Authorization Status
- Vendor Code
- Payment By
Click ‘Search’ button. The system identifies all records satisfying the specified criteria and displays the following details for each one of them:
- Product Code
- Vendor Code
- Vendor Name
- Payment Reference
- Authorization Status
- Payment By
- Status
- Fund ID