2. Style Designer – An Overview
2.1 Introduction
Style Designer is an easy to use stand-alone utility that helps you modify the look and feel of the user interface elements of Oracle FLEXCUBE according to your requirements. It provides a WYSIWYG environment where you can choose the required interface element and modify its appearance as you wish.
The interface elements that constitute Oracle FLEXCUBE user interface can be broadly classified as follows:
- Page Templates – base for designing different types of pages
- Form Elements – used to collect data from the user or display information
- Text – used to display text appearing in the different interface elements
- Tables – used to display data in an ordered manner and also to input certain types of details
- Widgets – used to display information that the user can act upon
These user interface elements are explained in detail in the subsequent sections. Style designer provides an easy to use editor window where you can modify the characteristics of any of the interface elements listed above.
The changes that you make to the interface elements get updated in the CSS (Cascading Style Sheet) attached to the utility. After making necessary changes to the look and feel of the interface elements, you can attach this style sheet to Oracle FLEXCUBE.
This chapter contains the following sections:
2.2 Invoking Style Designer
After installing Style Designer, you can invoke the application be double-clicking ‘StyleDesigner.htm’ under CSS folder, available at the location where you have installed the application.
This section contains the following topics:
- Section 2.2.1, "Pre-requisites"
- Section 2.2.2, "Modifying Existing Theme"
- Section 2.2.3, "Creating New Theme"
- Section 2.2.4, "Toolbar"
- Section 2.2.5, "Navigation Tabs"
- Section 2.2.6, "Workspace"
2.2.1 Pre-requisites
You need to take care of the following points to ensure proper functioning of the Style Designer utility.
- To run the style designer utility you need to have Internet Explorer version 6.0 or above installed on your PC.
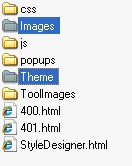
- Before launching Style Designer, you need to copy the ‘Theme’
and ‘Images’ folders of Oracle FLEXCUBE to Style Designer
root folder.
- For the application to work properly, a minimum screen resolution of 1024x768 should be maintained.
- Also, you need to make sure that none of the files in the ‘CSS’ folder has read-only attributes.
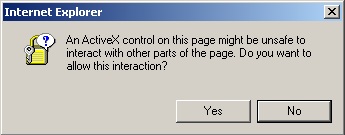
For the application to function, you need to allow Active-X interaction in you browser window. The following window pops up initially, when you try to open ‘StyleDesigner.htm’. You need to click ‘Yes’ button here to invoke the application.
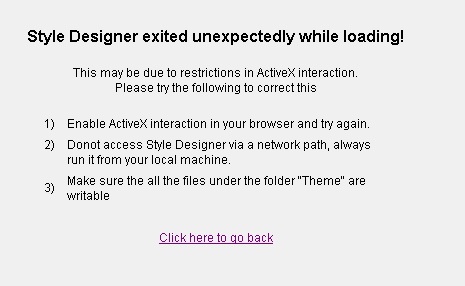
If you click ‘No’ in this window or close the window, the following message gets displayed, indicating the error that might have happened during loading of the application and the possible corrections for the same.
If you select ‘Yes’ in the previous window, to allow Active-X interactions, the following ‘Style Designer’ window gets displayed.
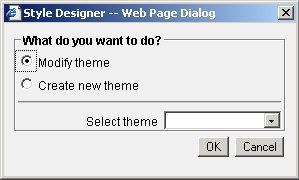
In this screen you can indicate whether you want to modify an existing theme or create a new theme for the interface elements.
2.2.2 Modifying Existing Theme
Select the option ‘Modify Theme’ in the ‘Style Designer’ screen to modify an existing theme. You also need to select the theme which you want to modify from the ‘Select Theme’ drop-down list. The themes that are already present in Oracle FLEXCUBE are displayed in the drop-down list. Select the theme that you wish to modify and click ‘OK’ button to proceed. ‘Modify Theme’ option is selected by default.
Note
While opening the file, Style Designer looks for theme files with 'Ext' prefix. For example, if you choose ‘Flexblue’ from the ‘Select theme’ dropdown list, Style Designer will open the file ‘ExtFlexblue.css’ from the Theme folder. The image folder for this CSS file will also have an ‘Ext’ prefix and the path will be Images\ExtFlexblue.
2.2.3 Creating New Theme
If you want to create a new theme, you need to select the option ‘Create New Theme’ in the ‘Style Designer’ screen.
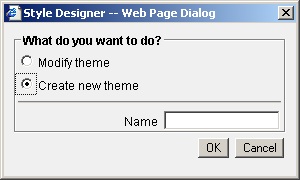
Specify a name for your theme in the ‘Name’ field and click ‘OK’ button to proceed. Style Designer creates a CSS file for the new theme in the ‘Theme’ folder and an empty folder gets created under ‘Images’ folder for holding images required for the theme.
Note
While saving the file Style Designer prefixes ‘Ext’ to the name you provide. For example, if the input theme name is ‘Skyblue’, the CSS file name will be ‘ExtSkyBlue.css’ and the image folder name will be ‘ExtSkyBlue’.
Once you click ‘OK’, the Style Designer application screen opens up as shown below.
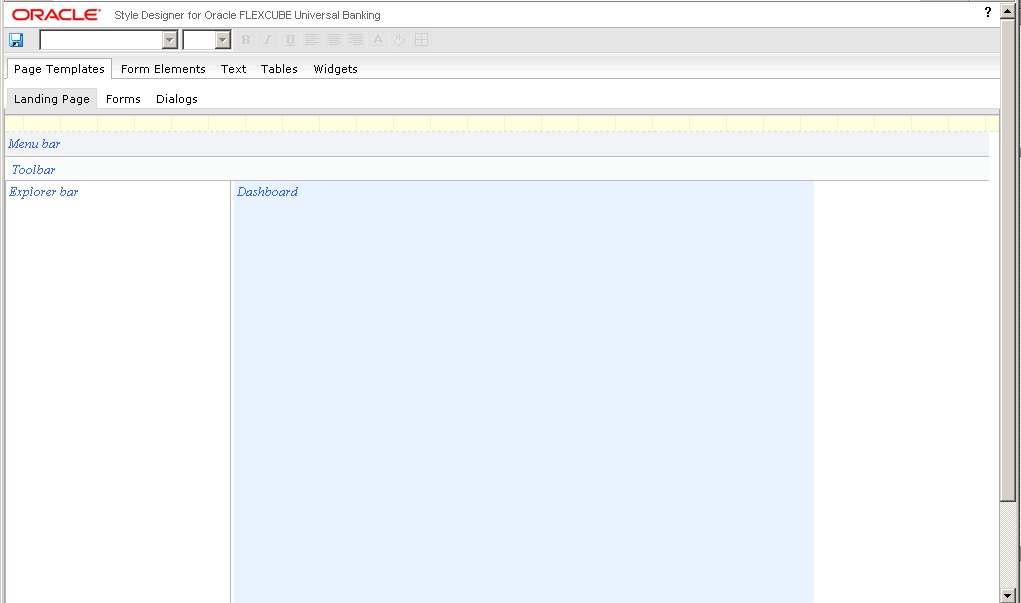
The style designer window consists of the following three main components:
- Toolbar
- Navigation Tabs
- Workspace
These components are explained in detail in the subsequent sections.
2.2.4 Toolbar
The top-most layer appearing in the application screen indicates the toolbar. The toolbar displays all the actions that you can perform on the interface elements.

Some of the actions that you can perform in the toolbar are listed below:
- Change formatting properties like fonts, font size, font style etc.
- Change the alignment of the text to left, right or center
- Change the color of the font
- Change the background properties and background image of the element
- Change the border properties of the element
The options in the toolbar are enabled or disabled based on whether the related property is applicable to the interface element you wish to modify.
2.2.5 Navigation Tabs
The navigation section appears below the toolbar. The navigation section displays tabs at two levels. The tabs at the first level indicate the various interface elements present in Oracle FLEXCUBE. The tabs at the second level display the options present under each interface element type.

For example, Page Templates has the options Landing Page, Forms and Dialog, which get displayed at the second level. You can select the element you wish to modify from the options that are displayed here.
For more details on interface elements refer the chapter ‘User Interface Elements’ in this user manual.
2.2.6 Workspace
The lower portion of the screen, below the toolbar and the navigation tabs, indicates the workspace. The workspace provides a simulation of the interface element that you have selected in the navigation section. The workspace is a WYSWYG area that reflects the modifications you have performed on the selected interface element.
The following diagram illustrates the workspace that gets displayed when you select the ‘Landing Page’ option under ‘Page Templates’.
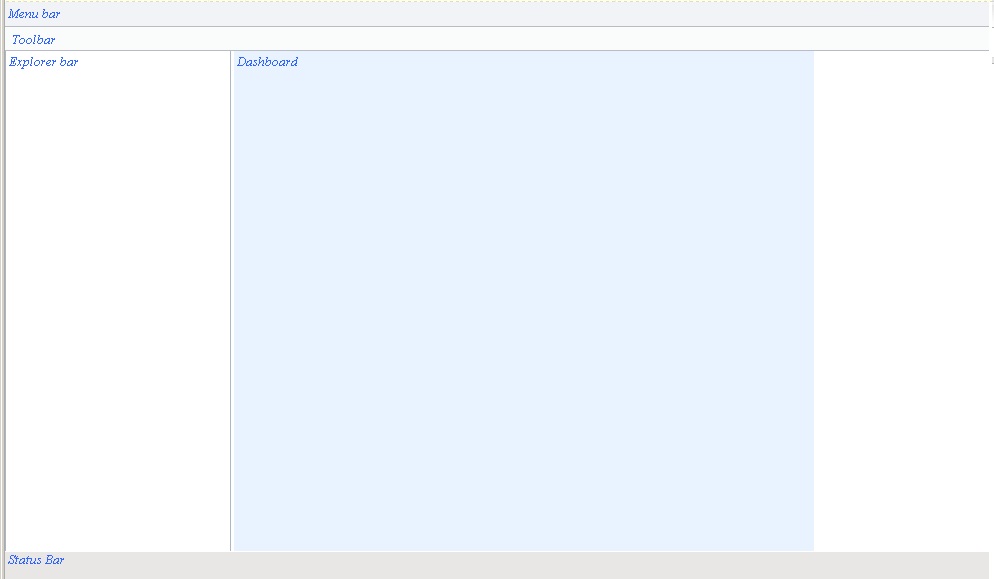
Once you select an element in the navigation section, the workspace simulates the same and only the actions that you can perform on a selected element will be enabled in the toolbar.
In this case, you can change the background and the border properties of the ‘Menu bar’, ‘Tool bar’ ‘Explorer bar’, ‘Status bar’ and the ‘Dashboard’ elements.