| Oracle® Retail Demand Forecasting Cloud Service Administration Guide Release 23.1.201.0 F79767-01 |
|

 Previous |
 Next |
| Oracle® Retail Demand Forecasting Cloud Service Administration Guide Release 23.1.201.0 F79767-01 |
|
Previous |
Next |
This chapter describes the process to build or patch an application including:
This section describes the process of building RDF Cloud Service from the bootstrap environment with retailer data and generated configuration for the plug-in options. Once RPASCE and RDF Cloud Service are installed in the Oracle Cloud environment, the Administrator will have the option to overwrite and build with GA data or with retailer data. The Administrator also has the option to generate the configuration for different plug-in options.
A newly provisioned RDFCS environment is set up with a bootstrap configuration that allows the Administrator to log in and access the Online Administration Tools (OAT) interface before the application has been built. The bootstrap OAT configuration allows only tasks required to construct an application. Once the application has been constructed, the application tasks and the bootstrap activities both will be available. This allows the application to be rebuilt from scratch multiple times if needed.
The following steps take you through the process of building a customer application for RDF Cloud Service using the bootstrap environment:
After installing RDF Cloud Service, log in to the bootstrap environment as an Administration user.
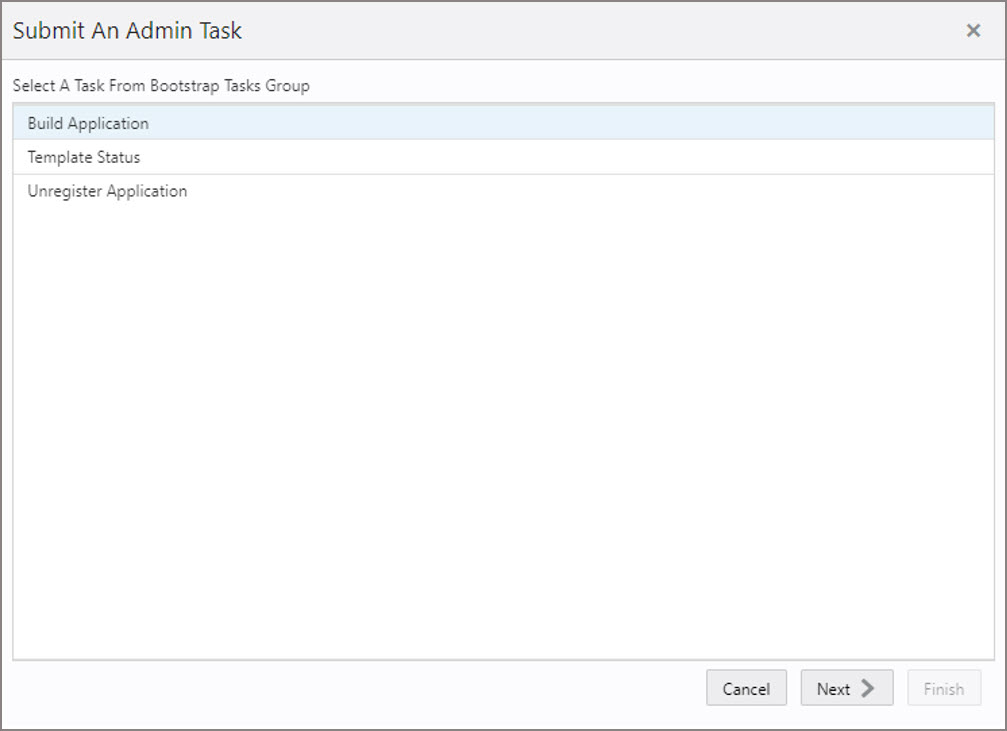
In the Tasks list, select Administration and then Online Admin Tools. Click Submit a New Admin Task.
Select the Build Application task and click Next.
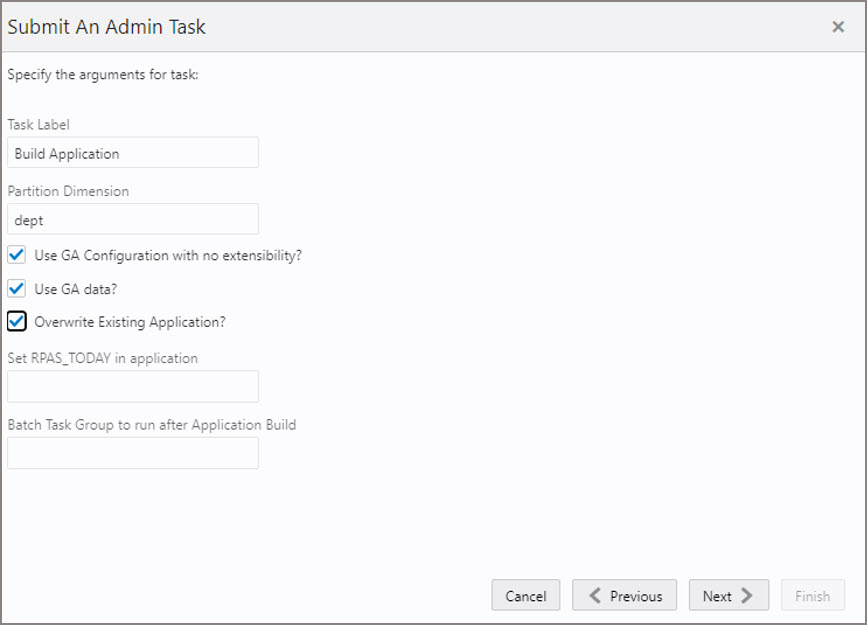
Set the arguments for the task:
Enter the Task Label.
Partition Dimension is defaulted to dept dimension in for RDFCS. The application is internally partitioned based on this dimension to allow parallel processing of data in the batch.
Select the Use GA Configuration with no extensibility check box, only if you need to deploy the pure template configuration without any changes, otherwise clear this box and upload the new configuration to the Object Store. If no configuration is found in Object Store, the deploy job will fail.
Select the Use GA data option only if the customer wants to deploy the application using the GA data set readily available for the application. If the customer wants to deploy and use their own data set, upload the files to Object Store.
If the application was already created and needs to be overwritten, select the Overwrite Existing Application option; otherwise, do not select this option. Selecting this option will drop the existing application and all associated meta data stored, so it will also lose connection to the environment. The customer will need to log out and log in again to view the status of the deploy.
RPAS_TODAY is an optional parameter. It is needed only if the customer is planning to use the GA data set. For RDF GA data, the preferred RPAS_TODAY date is 20190331.
Select the Batch Task Group to run after the Application Build. This is an optional parameter with the default value of post_build.
Application Deploy without any batch will not load any hierarchy or data into the application, so the customer may need to run tasks to load hierarchy and data after domain build if they are not providing any task to run during the Application Build.
After choosing all the necessary options, click Next.
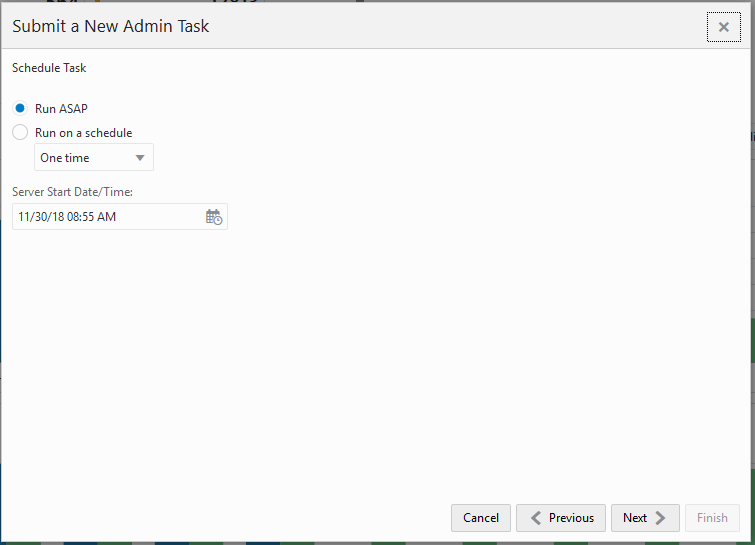
Select the time to schedule the task and click Next. Click Run ASAP if the Administrator wants to run the task now or the task can be scheduled by selecting the Run on a Schedule option.
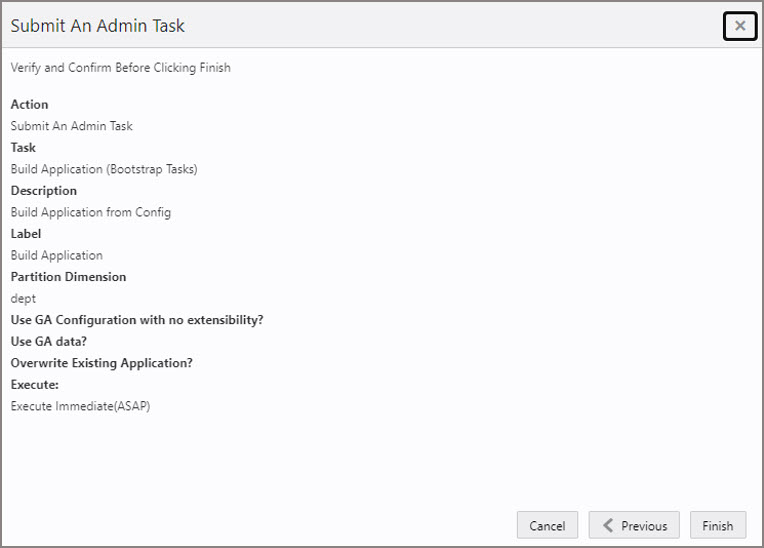
Review the selections and click Finish.
After submitting, review the status of that task in the dashboard similar to any other standard administration tasks.
After the task is successfully completed, log out and then log in for changes to the task flow to appear.
This section describes the process of patching the RDF Cloud Service application using the Online Administration Tools. Once the RPASCE and RDF Cloud Service upgrade patches are installed in the Oracle Cloud environment, the RDFCS application will be patched by default with the latest configuration with the last used plug-in options. However, if the customer wants to reapply the patch with changes to the plug-in options, or with extensibility changes, the customer can use this task. Before scheduling this task, the Administrator should ensure that no users are logged in to the application while patching the solution.
The following steps walk you through the process to patch the RDF Cloud Service application as an Administration user:
After installing RDF Cloud Service, log in to the application as an Administration user.
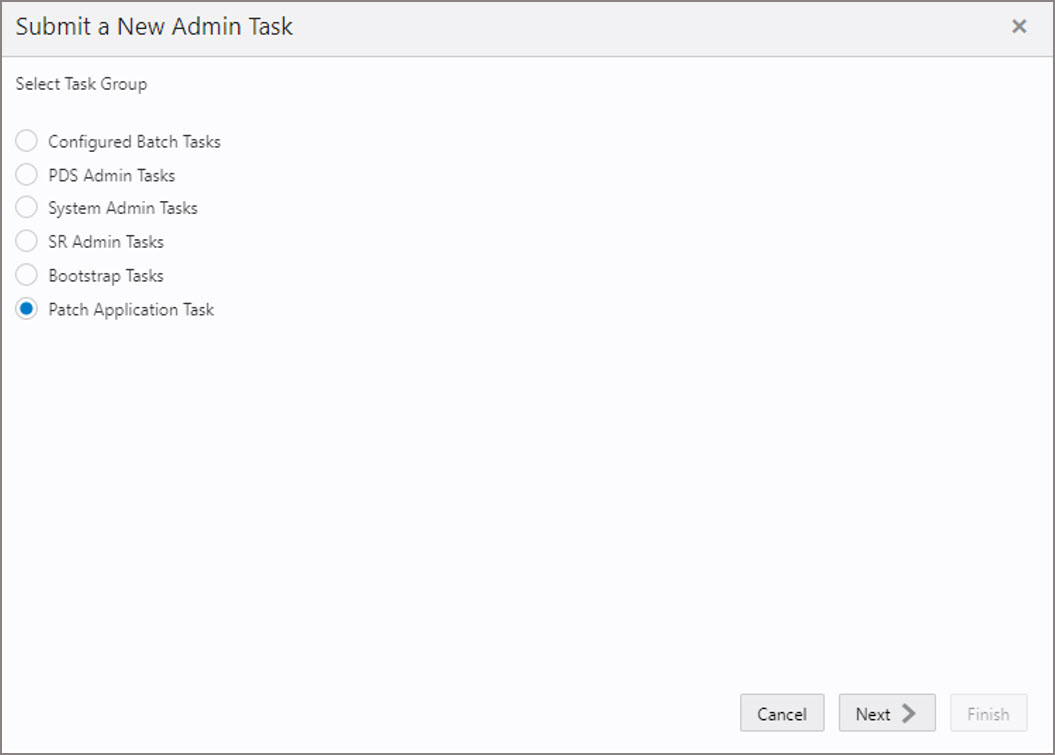
In the Tasks list, select Administration and then Online Admin Tools. Click Submit a New Admin Task.
Select Patch Application Task and then click Next.
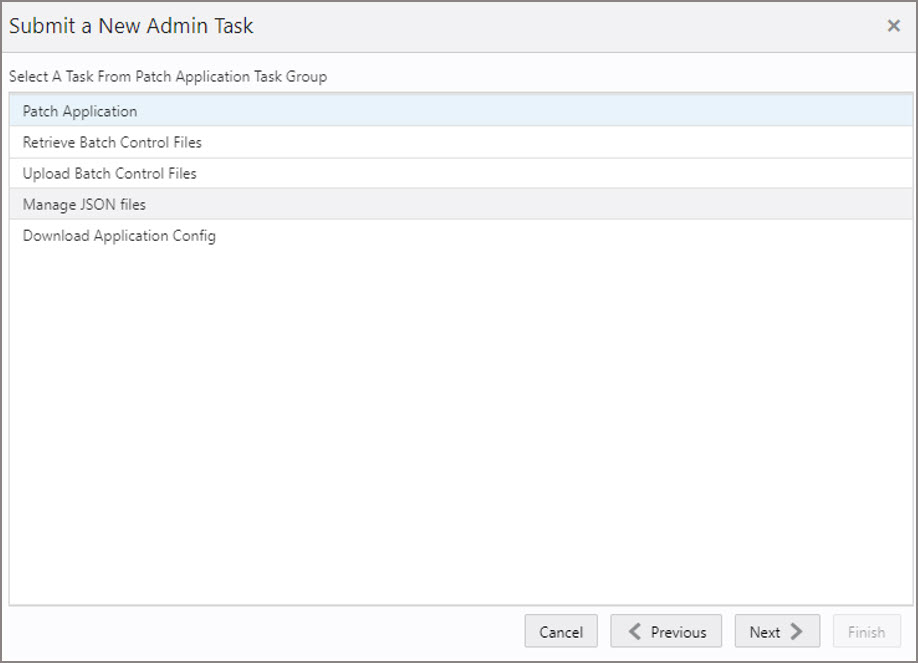
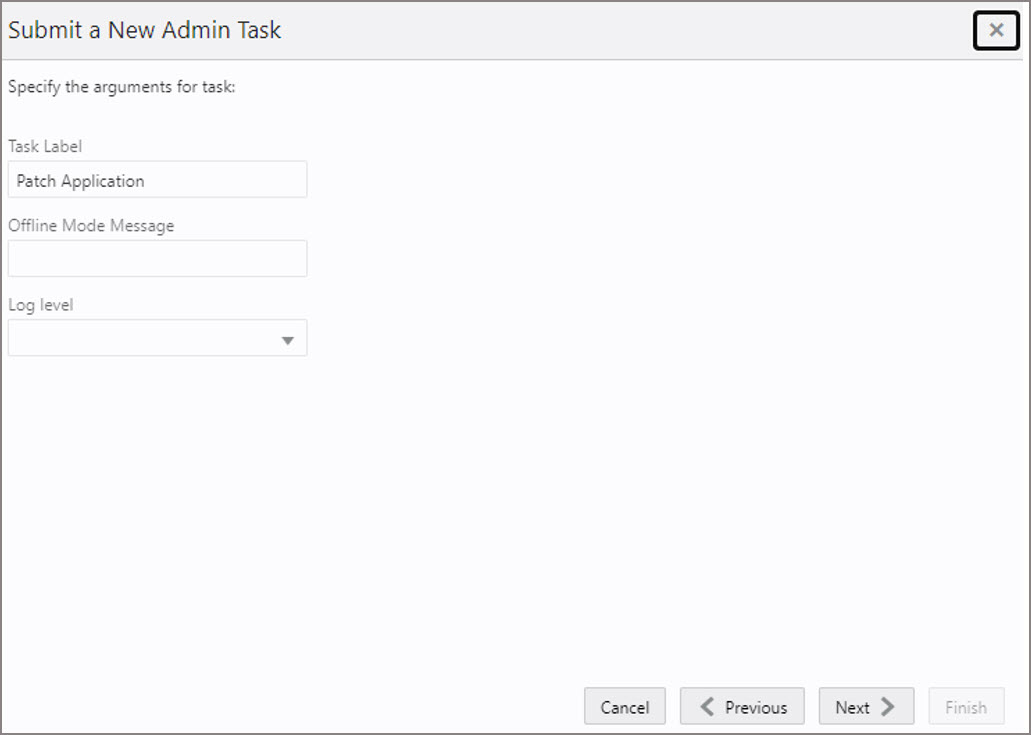
Select Patch Application and set the arguments for the task:
Enter the Task Label.
Enter the Offline Mode Message.
If patching with an updated customer configuration, ensure that the customer configuration has been previously uploaded to the Object Store
After choosing all the necessary options, click Next.
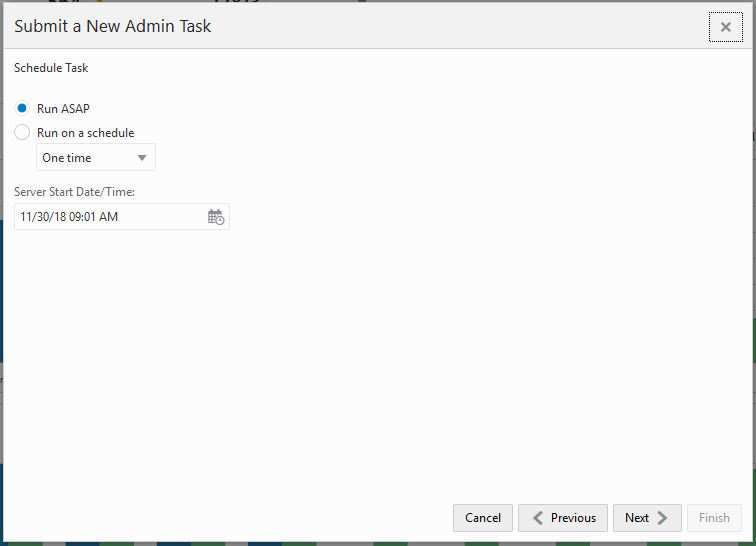
Select the time to schedule the task and click Next. Click Run ASAP if the administrator wants to run the task now or the task can be scheduled by selecting the Run on a Schedule option.
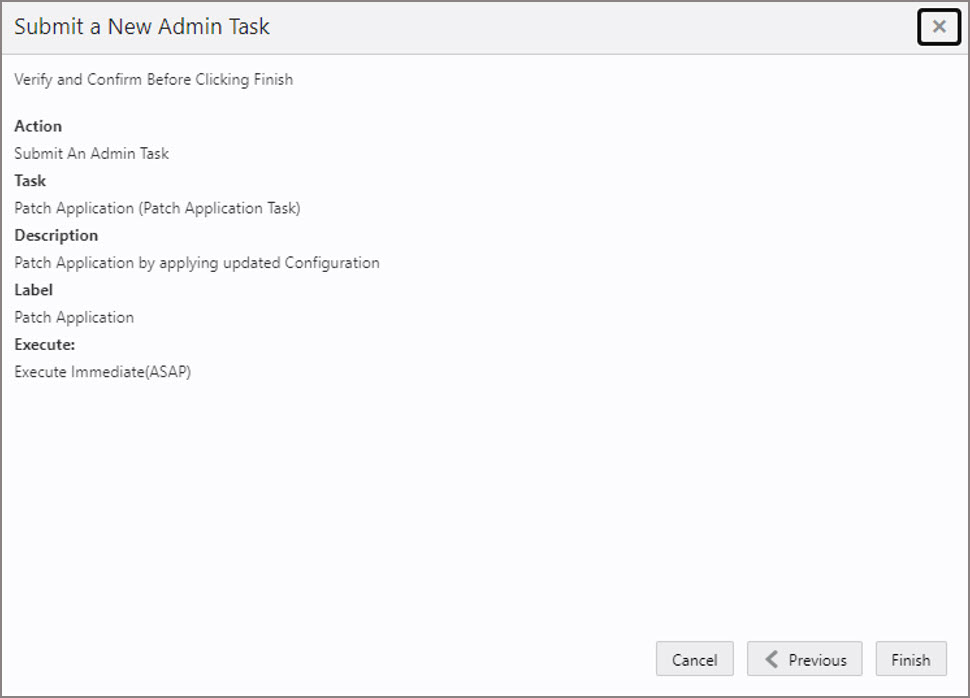
Review the selections and click Finish.
After submitting, review the status of that task in the dashboard similar to any other standard administration tasks.
The RDFCS application when provisioned is deployed as a Template application with the Template status of Activated. This cannot be changed for RDFCS.