| Oracle® Retail Merchandise Financial Planning Cost Cloud Service User Guide Release 15.0 E69494-01 |
|

 Previous |
 Next |
| Oracle® Retail Merchandise Financial Planning Cost Cloud Service User Guide Release 15.0 E69494-01 |
|
Previous |
Next |
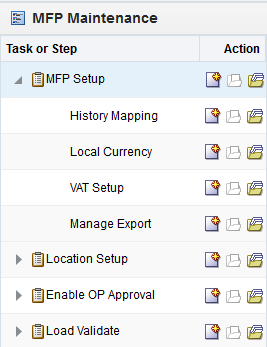
The MFP Maintenance activity consists of the following tasks:
MFP Setup
Location Setup
Enable Op Approval
Load Validate
This chapter focuses on the steps within the MFP Setup Task, which include:
History Mapping
Local Currency
VAT Setup
Manage Export
To open a MFP Setup workbook:
Click the New Workbook icon in the MFP Setup task.
The workbook is built.
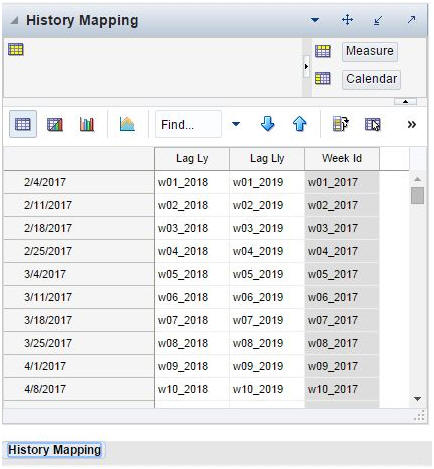
The History Mapping step is used by the administrator to map weeks for the last year and the last last year (two years ago). Using History Mapping, the administrator can map up to two years back.
History Mapping contains only the History Mapping view.
Within this view, you can set the mapping for up to two years back. The previous year's mapping is used to identify which week to map to when determining the last year's values in a workbook. The mappings from the last last year are used to identify which weeks to map to when determining the values from two years back in a workbook.
The left-most column is the Week Label. The right-most column is the associated Week ID.
Table 2-1 Mapping View Measures
| Measure | Description |
|---|---|
|
Lag Ly |
Identifies the week that is being used for mapping as adjusted last year. |
|
Lag Lly |
Identifies the week that is being used for mapping as last last year (two years ago). |
|
Week ID |
Identifies the internal week position for the current week for reference. This is useful for copying the week positions when manually setting Lag Ly and Lag Lly. |
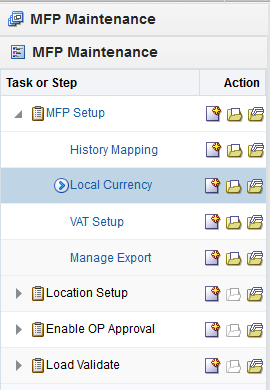
The Local Currency step provides support for administering local currency configuration. This view is only available when the provision option with local currency is implemented.
The Local Currency step consists of two views:
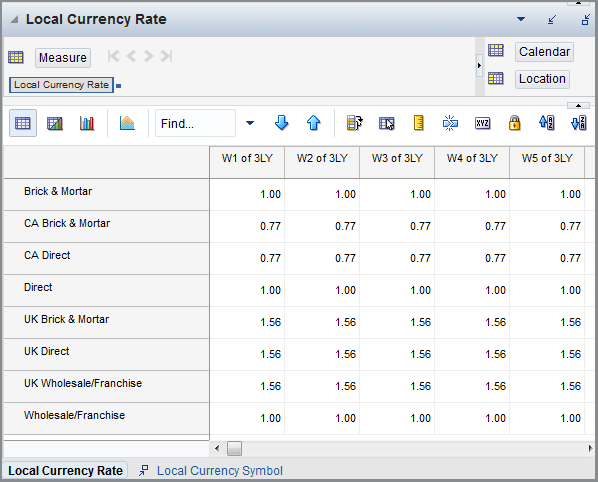
Local Currency Rate
Local Currency Symbol
Within this view, you can set the local currency conversion rate for each Channel by Week.
Within this view, the planning administrator sets the local currency symbol for each channel. This currency symbol can be included as the Location attribute in all Local Currency views.
For example, in Figure 2-6 the BRA Brick & Mortar channel has R$ as its local currency symbol, which indicates that local currency values for this channel are in Brazilian Real. All local currency BRA Brick & Mortar monetary values are displayed with R$.
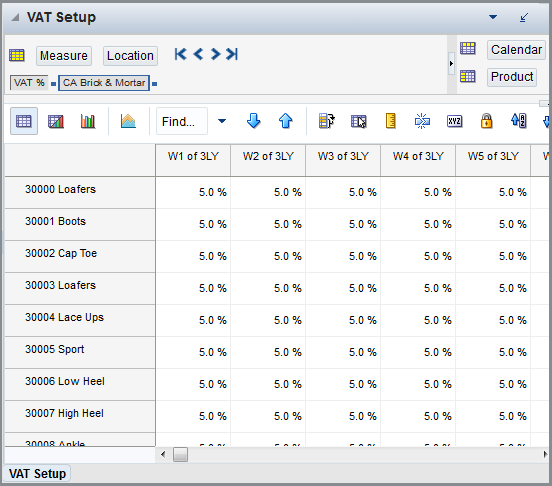
The VAT Setup step allows a planning administrator to enter the Value Added Tax (VAT) rate for each subclass by week.
The VAT Setup step contains the VAT Setup view.
In this view, the planning administrator can input the VAT% rate for each subclass by week.
When sales costs are planned, the VAT% rate is applied to gross sales and then returns are subtracted to calculate net sales. If no VAT% rate is planned, then net sales are simply determined as gross sales less returns.
VAT Rate% is stored at Week/Subclass/Channel.
The Manage Export step provides the ability to control which periods and positions are included when plans are exported. The values set in this step are employed in batch (along with corresponding Approved/Submitted/Seeded Info measures) to set export flags for all the plan versions that are exportable from MFP Cost Cloud Service:
Merch Plan Current Plan (MP Cp)
Merch Plan Original Plan (MP Op)
Merch Plan Waiting for Approval Plan (MP Wa)
Merch Plan Working Plan (MP Wp)
Location Plan Current Plan (LP Cp)
Location Plan Original Plan (LP Op)
Location Plan Working Plan (LP Wp)
Merch Targets Target (MT Tgt)
Merch Targets Working Plan (MT Wp)
Location Targets Target (LT Tgt)
Location Targets Working Plan (LT Wp)
The planner or administrator indicates whether elapsed periods should be included and which positions should be exported in the following two views:
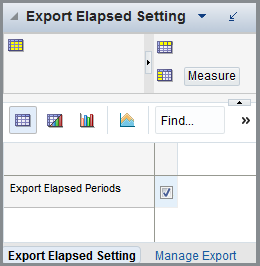
Export Elapsed Setting
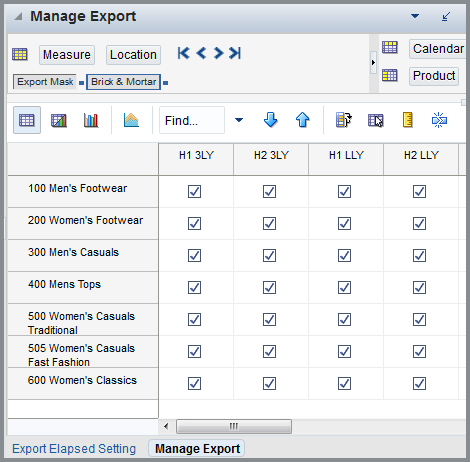
Manage Export
Within this view, the planner or administrator designates whether or not elapsed periods should be included when exporting plan data.
Table 2-5 lists the measures available in this view.
Within this view, the planning administrator selects the positions that should be included when exporting plan data for all versions.
Table 2-6 lists the measures available on this view.
Table 2-6 Manage Export View Measures
| Measure | Description |
|---|---|
|
Export Mask |
Allows the user to control which positions are exported for all plan versions. When selected, the Department/Channel/Half is included when exporting plan data. By default, this boolean is checked for all positions. If the user wants to exclude any Department/Channel/Half from exporting, the user must un-check this boolean. |
The export flags are set based on Export Mask and the Approved or Submitted Info for Approved or Submitted Plans and Seeded Info for Working Plans.