| Oracle® Retail Process Orchestration and Monitoring Guide 16.0.21 E68086-01 |
|

 Previous |
 Next |
Oracle Retail applications, such as the Oracle Retail Process Orchestration and Monitoring application, include some common interface options and controls that you can use throughout the application workflow. The following sections describe these user interface controls in more detail.
Although you may have more than one Oracle Retail application installed on your system, each application may use many of the same interface components and abide by common rules and constraints.
You can quickly access the tasks of current applications and switch to other applications from the Navigation bar. For more information on the Navigation bar, see the Accessing the Area section.
The following topics are covered in this chapter:
To log on to the application:
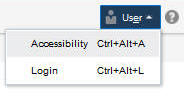
Click the User list menu on the top right of the Oracle Process Orchestration and Monitoring window.
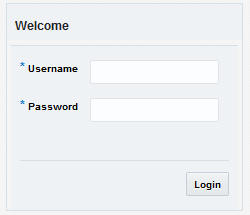
Click Login. The Welcome screen appears.
Provide the following login information:
Enter your user name in the Username field.
Enter your password in the Password field.
Click Login.
This application contains an online HTML help that can guide you through the user interface. User information is included to describe high-level processes and procedures, as well as provide step-by-step instructions for completing a task.
You can access online help for a particular page by clicking on the Help link at the top of the application home page or by clicking the Help icon ![]() on every page of the application. Once in the help, you can access additional information through the table of contents or by using the index.
on every page of the application. Once in the help, you can access additional information through the table of contents or by using the index.
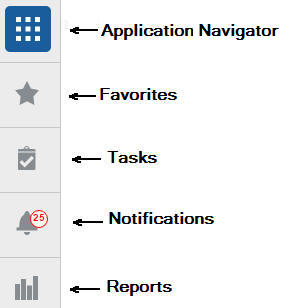
You can quickly access the tasks of current applications and switch to other applications from the Navigation bar.
The following Navigation bar options are common across all the applications:
Application Navigator
Favorites
Tasks
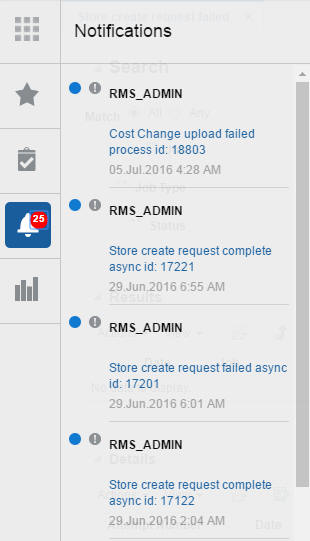
Notifications
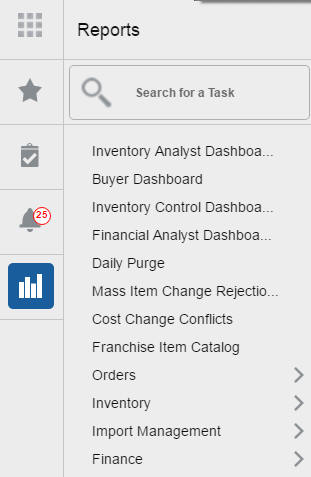
Reports
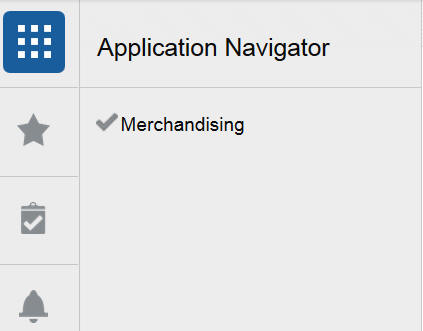
The Application Navigator is optional for the application and provides the ability to switch between applications.
|
Note: Your view may vary, depending upon the features selected during the setup process. |
To switch between applications:
At the top left of the application, click the Application Navigator ![]() icon to open the list of available applications.
icon to open the list of available applications.
Select the listed applications. The application will open in a new tab.
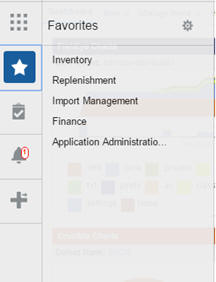
You can select your favorite tasks without accessing the Tasks menu. It helps you quickly get into your frequently used tasks.
You can click the Favorites icon in the Tasks menu to access tasks designated as favorites. You can also select the cog icon from the Favorites menu to edit the favorite list. Tasks can be selected or deselected as favorites in the Tasks menu.
Oracle Retail applications support a variety of navigational tools and methods that allow you to move efficiently between application pages. Information on how to use and manage each of the tools and methods is included in this section.
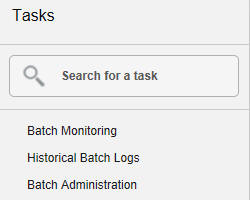
A task is a set of links to a series of task flows organized in a specific sequence to accomplish a business process or procedure. For example, tasks can be defined for common multi-step procedures or processes so that you can quickly step through tasks. By navigating sequentially to the pages outlined in the task, you are assisted in stepping through the business process or activity.
Your Tasks list appears on the top left side of the home page. All of the tasks to which you have access are listed on the Tasks window. You can either click on the specific task name to open, or use the Task Search component to search for a Task that you want to open.
To begin working with a task, choose the application feature or process from the list.
|
Note: Your task menu may appear slightly different, depending on your retail application. |
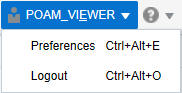
The Preferences pages are where you specify the default regional, language, and accessibility settings that you want to use throughout the system.
To set your preferred preferences, click User list > Preferences at the top of the application home page. The Preferences page appears. The standard preference options available are as follows:
Regional
Language
Accessibility
To return to the application home page, click Back to Home at the top of the page.
Use the following options to specify the default formats for territory, date, time, number, and time zone you want to use throughout the system.
Table 1-1 Regional Options
| Value | Description |
|---|---|
|
Territory |
Specify the country details. |
|
Date Format |
Select the date format that you want to use. |
|
Time Format |
Select the time format that you want to use. |
|
Number Format |
Select the number format that you want to use. |
|
Time Zone |
Select the time zone you want to use. |
Use the following options to specify the default language you want to use throughout the system.
|
Note:
|
The Actions menu, View menu, and icons are displayed in the form of a table. For more information on these options, see the sections Action Menu and Icons and View Menu.
The Actions menu provides the option to take different actions related to entries in the table. Depending on the nature of the table, these actions can be add, view, delete or edit table rows, create by moving to a new screen or export the table contents to the spreadsheet. Alternatively these actions can also be performed by using the icon buttons on the table toolbar. For more information on the icon/buttons, see the Screen Level Action - Icons and Buttons.
In some tables, it may also contain some table specific actions.
Table 1-4 Actions Menu/Icons and Descriptions
| Actions Menu/Icon | Description |
|---|---|
|
Export to Excel and Export to Excel icon |
You can export the records in the table to a Microsoft Excel spreadsheet by selecting Actions > Export to Excel or by using the Export to Excel icon |
|
Refresh icon |
Use the Refresh icon Not available in the Dependencies and External Dependencies section. |
|
Wrap icon |
You can wrap the values in the table column by first clicking the column on which you would like the text to wrap and then using the Wrap icon Not available in the Dependencies and External Dependencies section. |
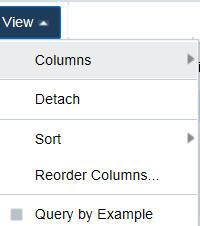
The View menu provides the options for managing the table columns and sorting and filtering the table data.
In some tables you have the option to choose a saved custom view, which is an arrangement of columns different from the default view of the table.
Table 1-5 View Menu/Icons and Descriptions
| View Menu List | Description |
|---|---|
|
Columns |
You can manage which of the columns will be shown in the table by clicking the Show All and Manage Columns options. |
|
Detach and Detach icon |
You can view the tables in the application in a separate window by clicking Detach or by using the Detach icon |
|
Sort |
You can sort columns by the following options:
|
|
Reorder Columns |
You can reorder columns by clicking the Reorder Columns option. |
|
Query by Example and Query by Example icon |
You can filter the items by one or multiple column values by clicking the Query by Example option or by using the Query by Example icon |
You can search for a particular entity by entering, selecting, or searching in the application, for example, search for a batch job.
To search for a batch job:
From the Tasks menu, select Historical Batch Logs. The Historical Batch Logs window appears.
You can search for a batch job by providing search criteria in the Filters section. The criteria can be provided either in Basic or Advanced mode, depending on the requirement. Basic is the default mode when the search screen is entered. Click Advanced to access the search panel in advanced mode. You can return to Basic mode by clicking Basic.
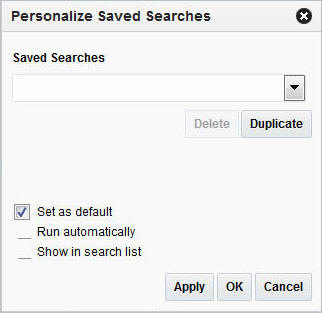
Select Personalize from the Saved Search list to view the personalized saved search. The Personalize Saved Searches pop up allows you to edit, copy, or delete Saved Searches.
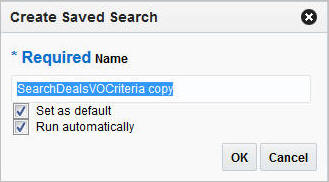
You can create a Saved Search by selecting the Save button in the Search Criteria panel after you have entered the criteria for your search. The Save button will call up the Create Saved Search window where the search is given a name and the user determines whether it should be the default search as well as whether it should be run automatically.
To view the created saved search:
Click the Save.. button. The Create Saved Search window appears.
Enter the name of the search.
You can also choose to save the combination of the search criteria by selecting the following check boxes:
Set as default
Run automatically
You can view all the sections in the Deal window by clicking the Expand icon ![]() . You can shrink all the sections in the Deal window by clicking the Shrink icon
. You can shrink all the sections in the Deal window by clicking the Shrink icon ![]() .
.