7. Configure AQ-JMS Bridge
The following steps are to be performed to configure the AQ-JMS Bridge through the Weblogic Console:
- Create Data Sources for AQ-JMS Bridge
- Configure MDB Flow
- Create Credentials and System Policies
- Deploy MDB EJB
Note
Ensure that MDB EJB is not configured and deployed (i.e. OfsllQueueApp.ear deployment) on the same server on which the other WebServices are deployed.
7.1 Create Data Sources for AQ-JMS Bridge
- Login to Oracle Weblogic 12c console (http://hostname:port/console).

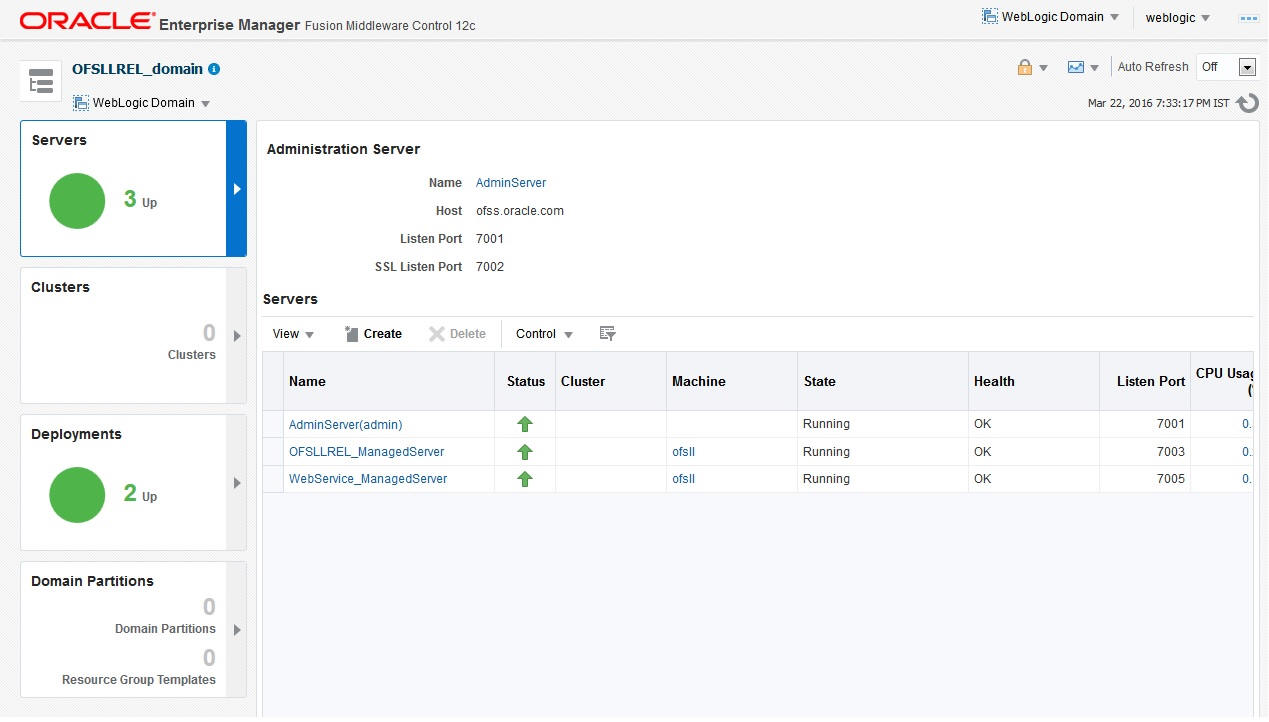
- On
successful login, the following window is displayed.

- Click
Domain Name > Services > Data Sources. The following window is
displayed.
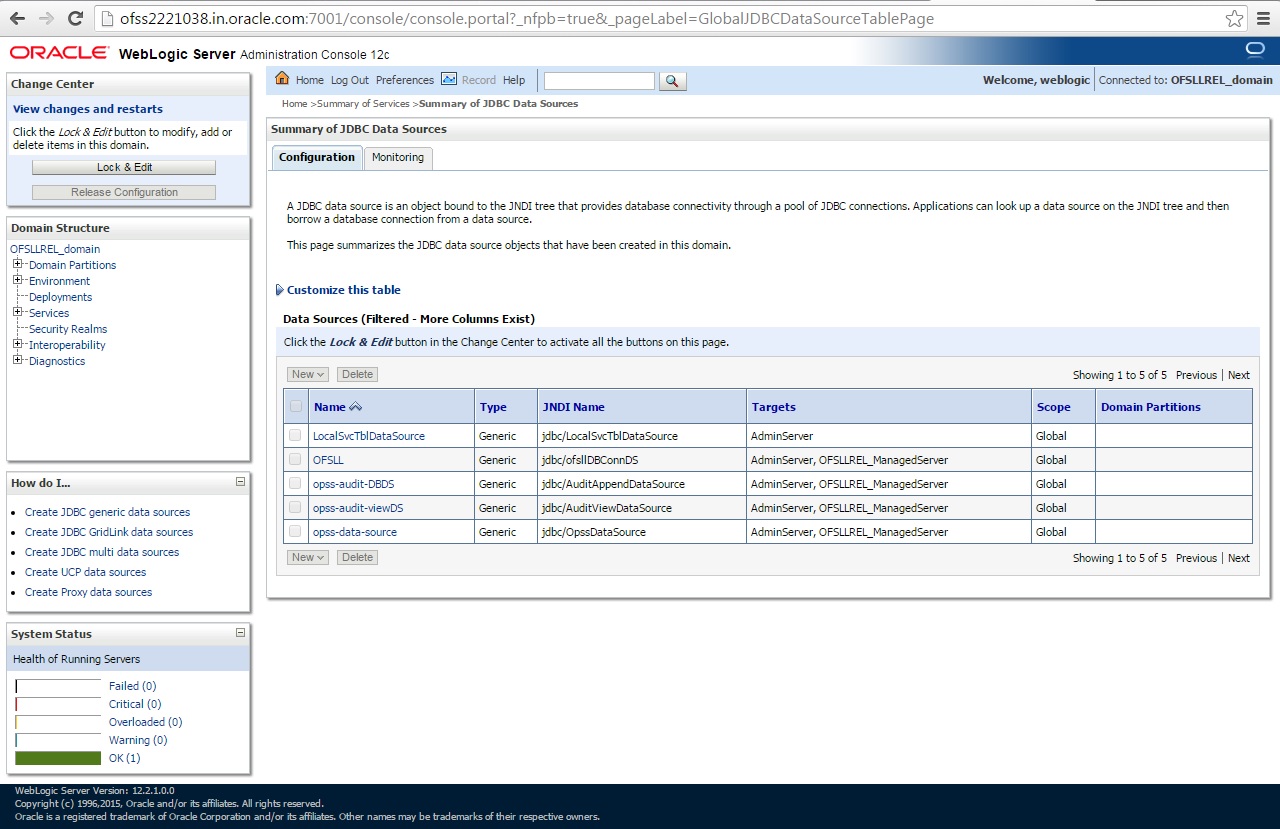
- Click
‘Lock & Edit’ button on the left panel. Click ‘New’
on right panel and select ‘Generic Data Source’.
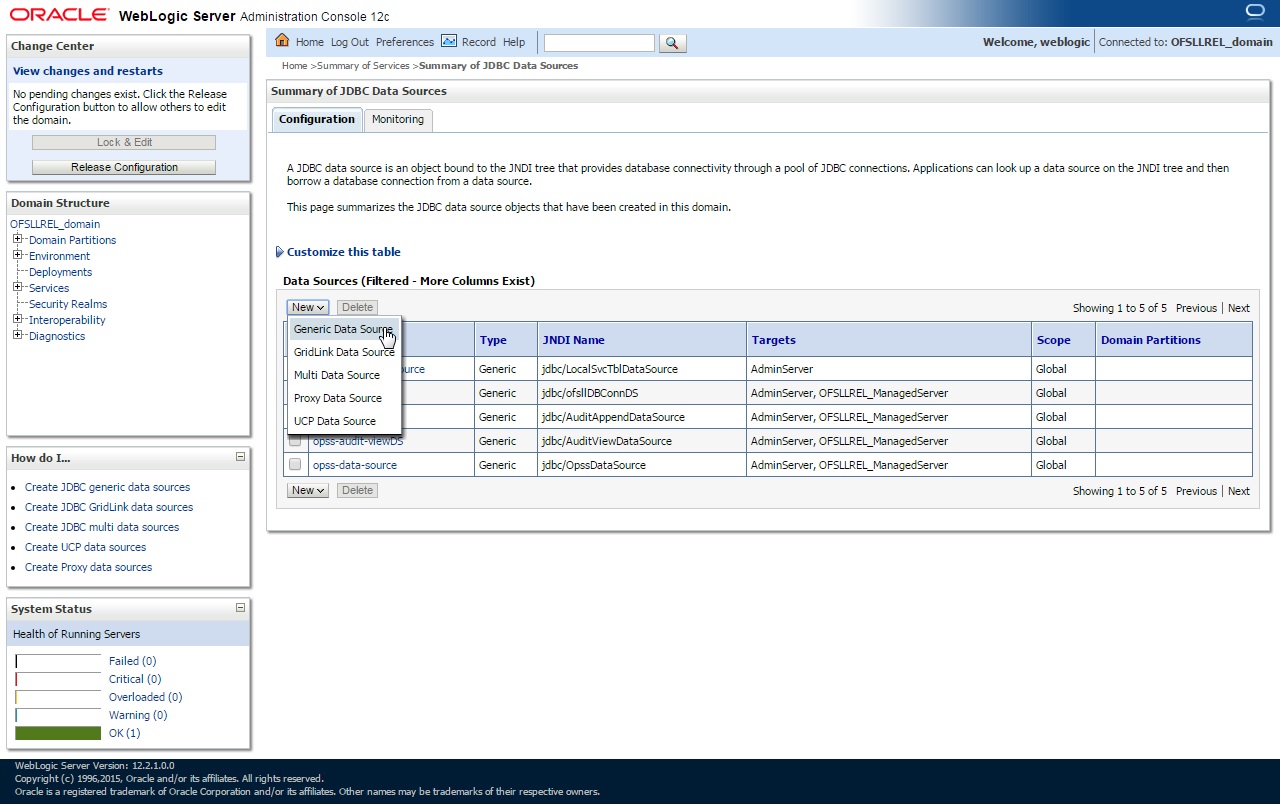
- The
following window is displayed.
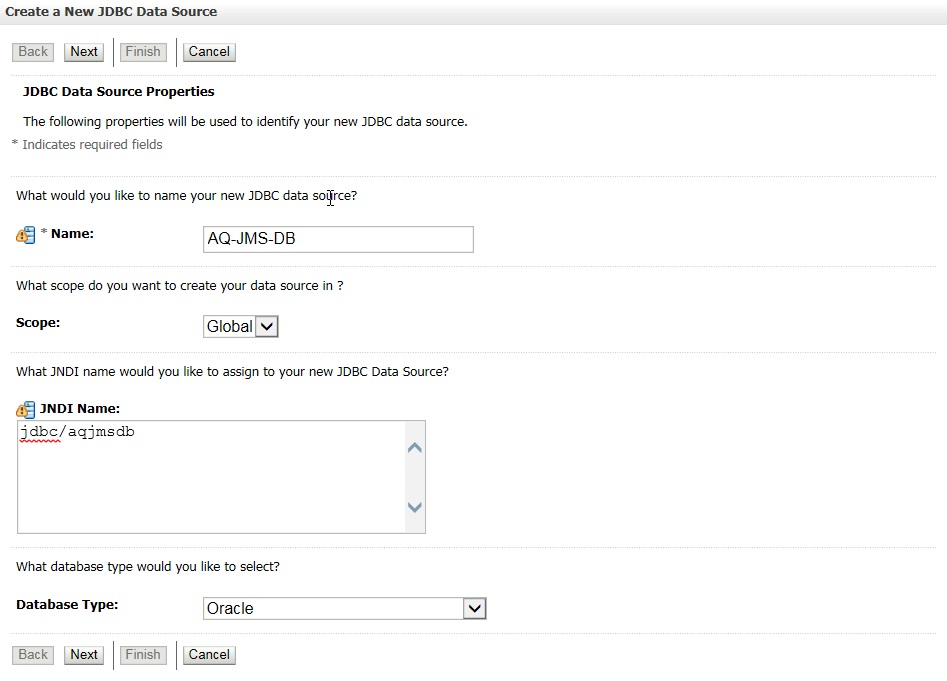
- Specify the following details:
- Enter Data source Name
- Enter the JNDI Name as ‘jdbc/aqjmsdb’.
Note
If required, you can specify any other JNDI name, but however ensure to use the same JNDI name during other configuration steps.
- Select ‘Oracle’ as Database Type.
- Click ‘Next’. The following window is displayed.
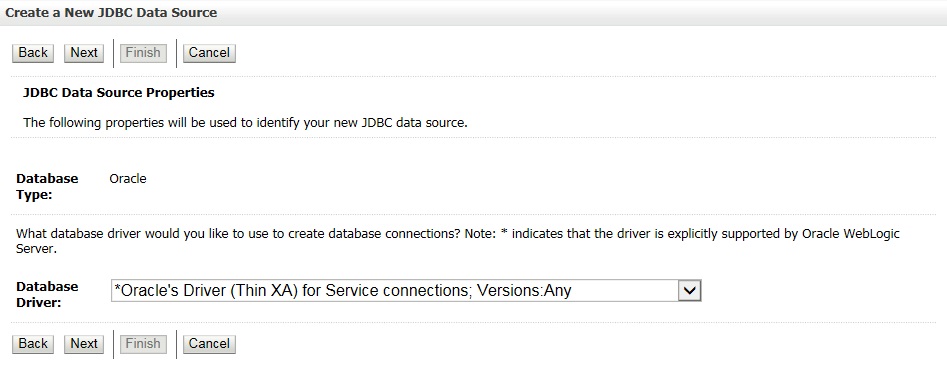
- Select the Database Driver ‘Oracle's Driver(Thin XA) for Services connections;Versions:Any’.
- Click ‘Next’. The following window is displayed.
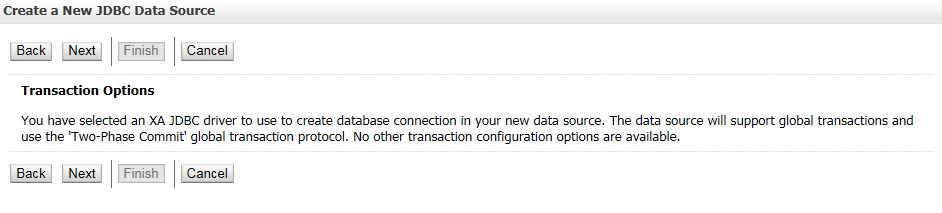
- Click ‘Next’.
The following window is displayed.
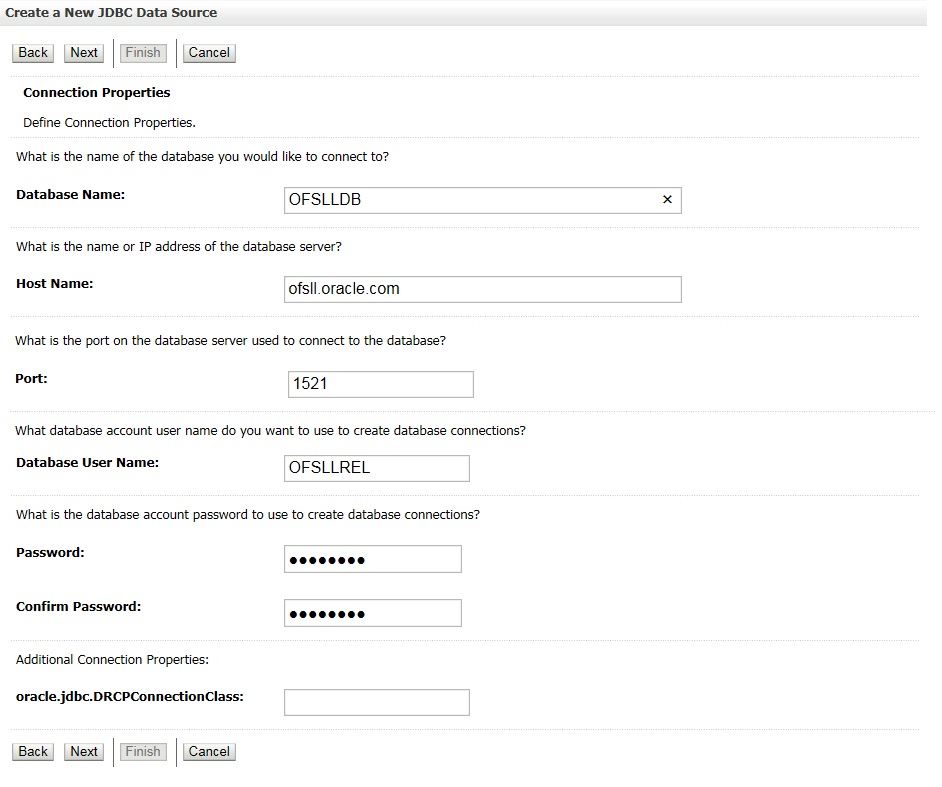
- Enter the Database details.
- Click ‘Next’. The following window is displayed.
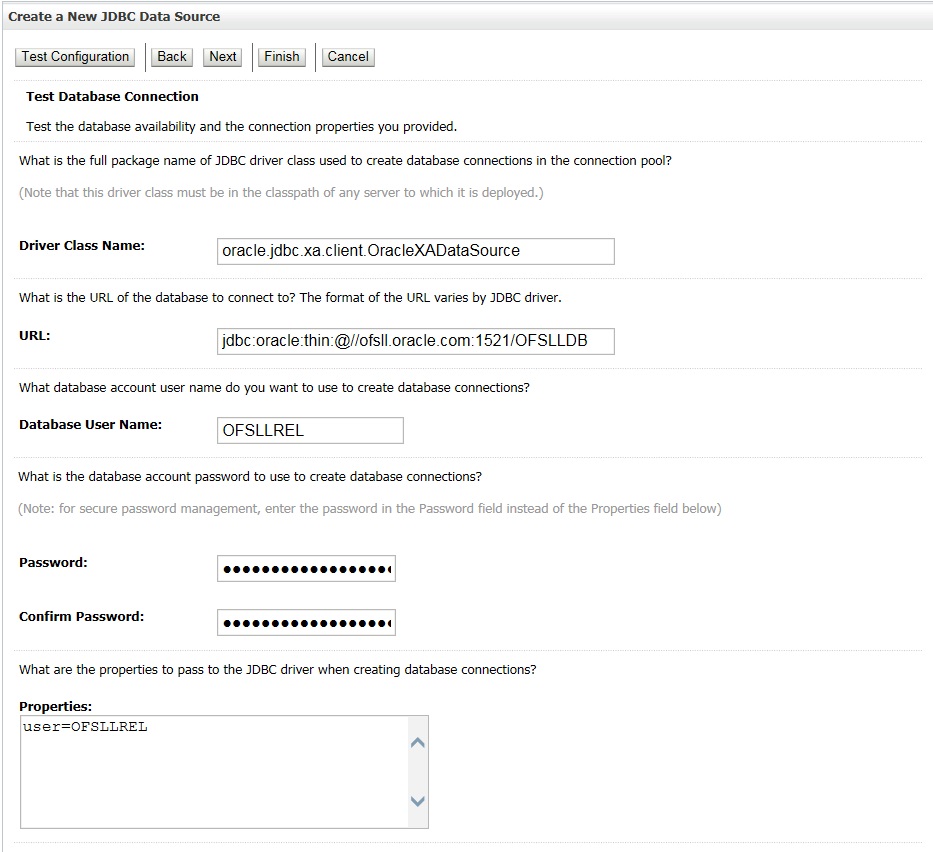
- Click ‘Test Configuration’. On completion, displays a confirmation message as ‘Connection test succeeded’.
- Click ‘Next’. The following window is displayed.
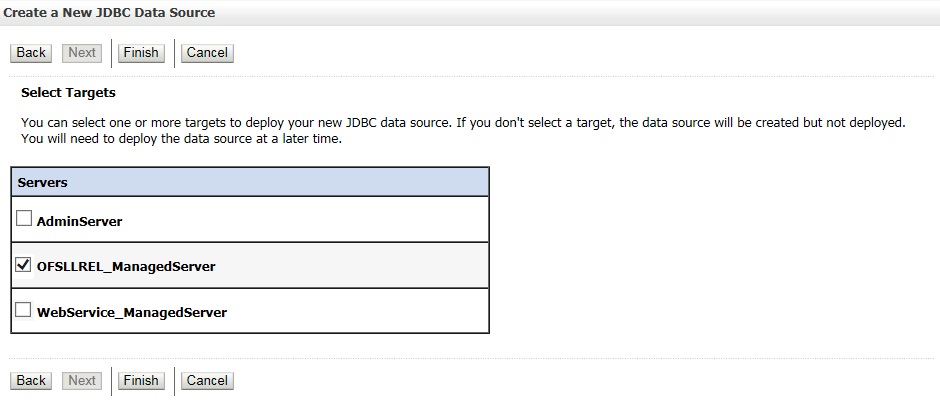
- Select target Server as ‘OFSLLREL_ManagedServer’.
- Click ‘Finish’ to activate the changes.
7.2 Configure MDB Flow
To configure the MDB Flow from Weblogic Console, do the following:
- Login to Oracle Weblogic 12c console (http://hostname:port/console).
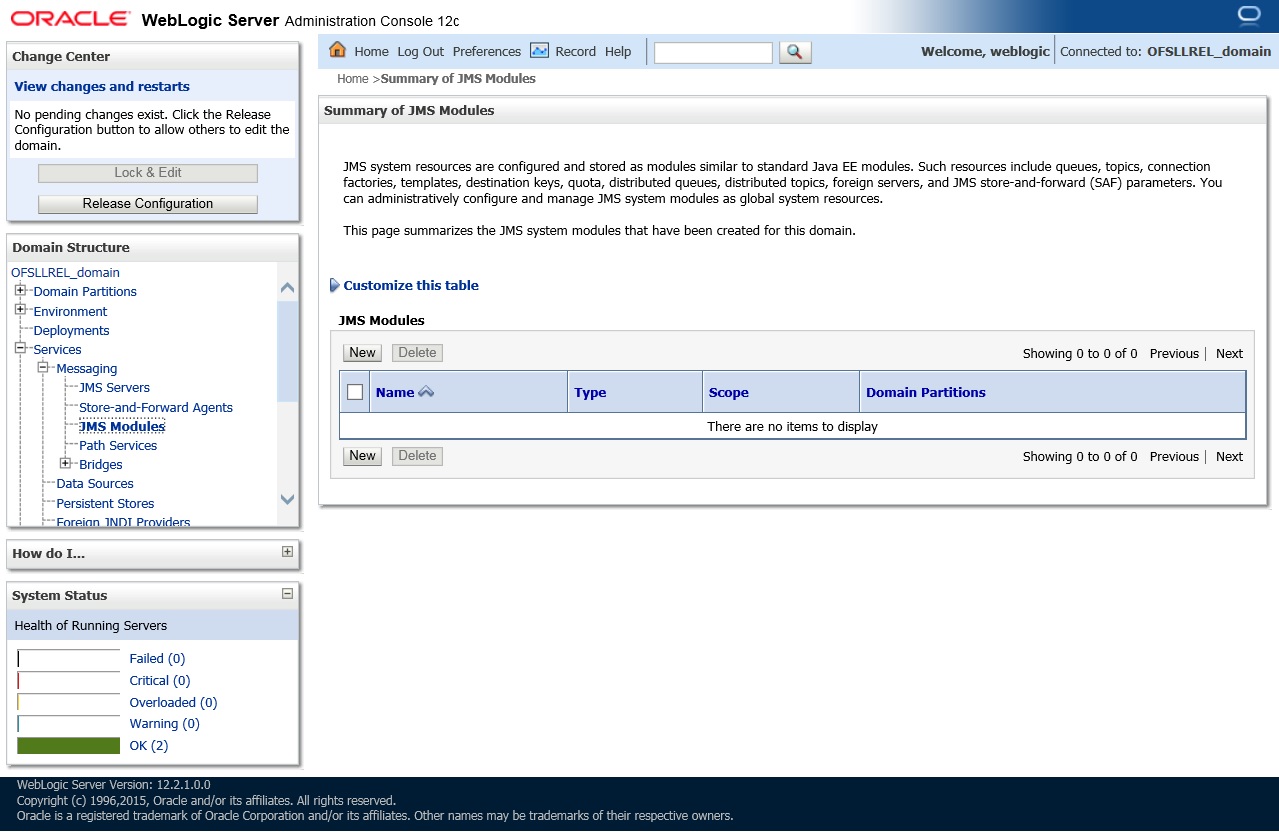
- On the left pane, click 'Services'.
- In Messaging tree click ‘JMS Modules’. The
following window is displayed.
- Click 'New'. The following
screen is displayed.
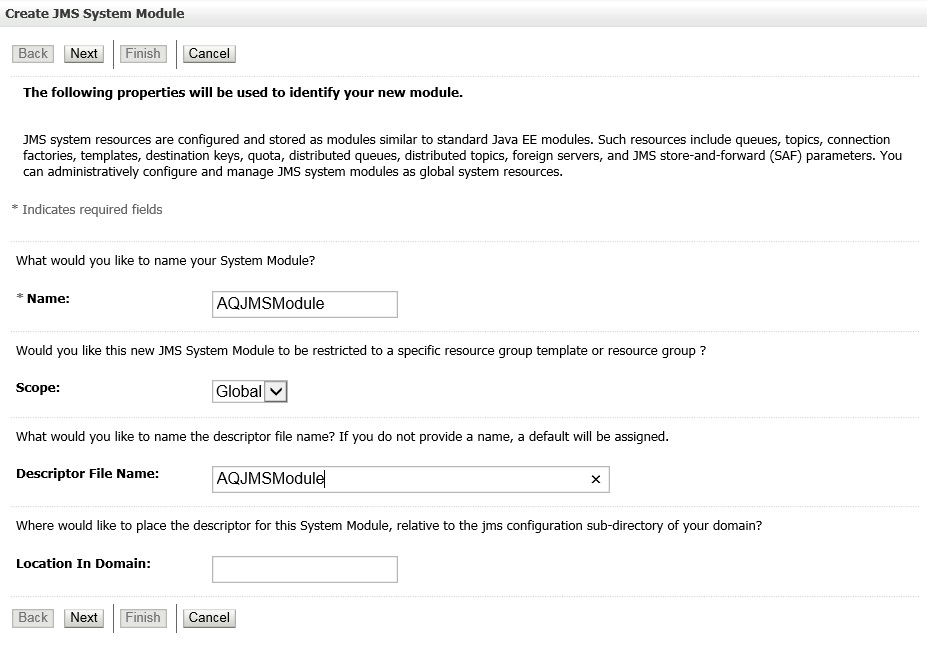
- Specify the following details:
- Name: AQJMSModule
- Descriptor File Name: AQJMSModule
- Click ‘Next’. The following window is displayed.
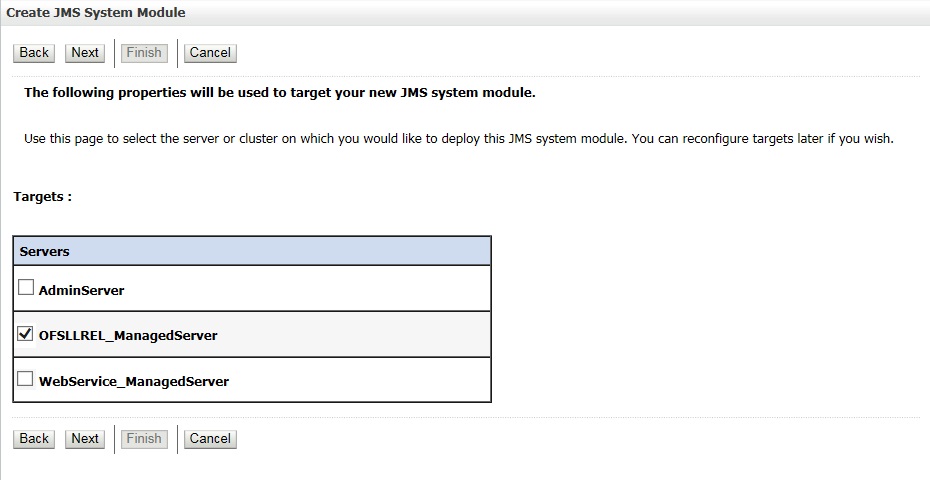
- Select target servers as ‘OFSLLREL_ManagedServer’.
- Click ‘Next’. The following window is displayed.
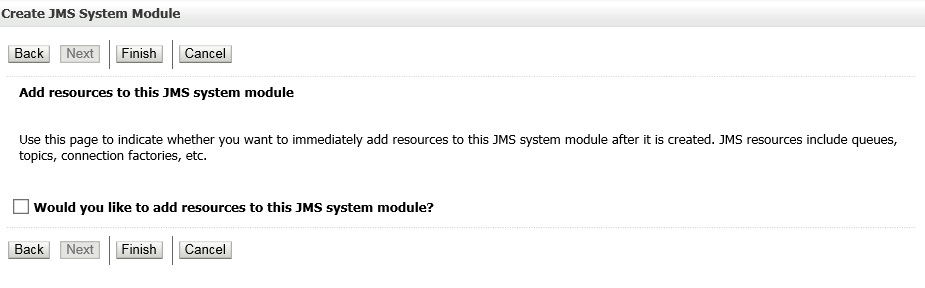
- Click ‘Finish’
to activate the changes. The following window is displayed.
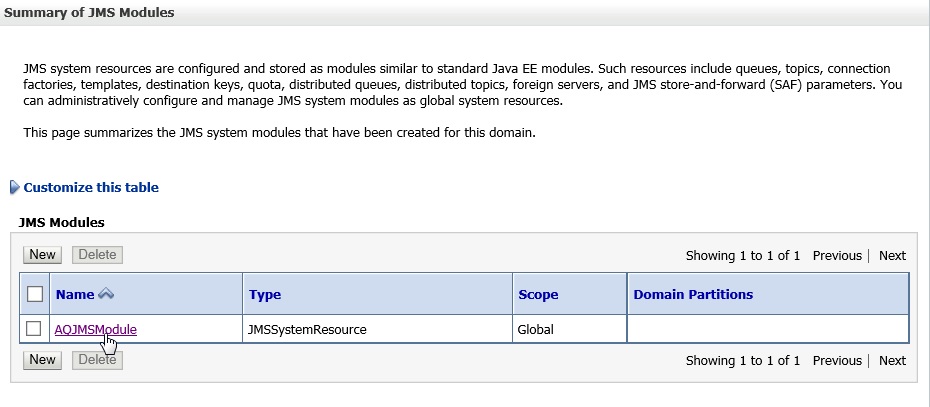
- Click on the JMS
Module that you created. The following window is displayed.

- Click ‘New’
in ‘Summary of Resources’ section. The following window is
displayed.
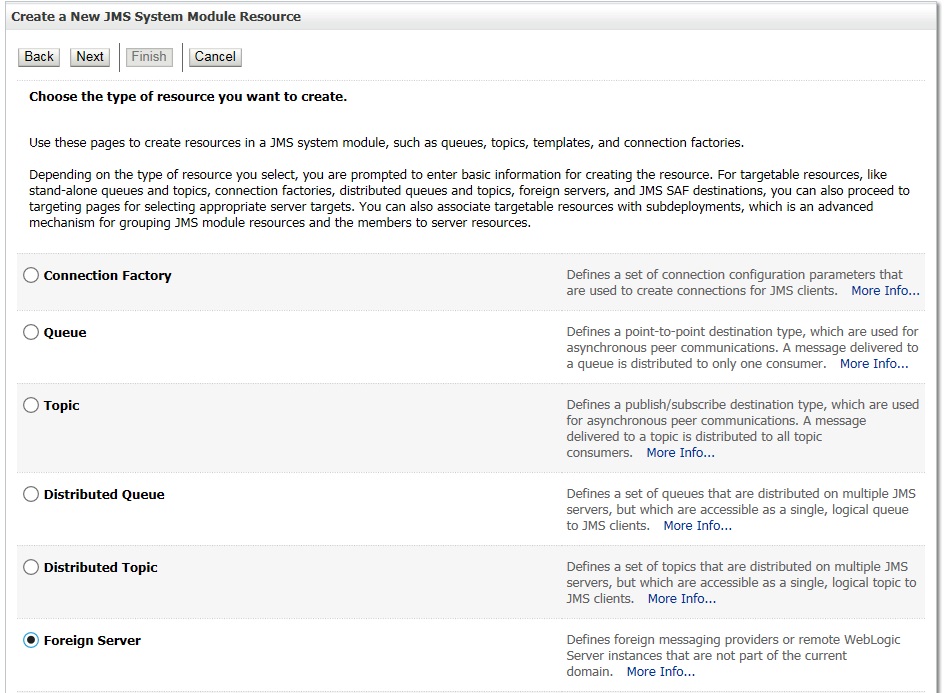
- Select ‘Foreign Server’ as the option for type of resource to be created.
- Click ‘Next’. The following window is displayed.
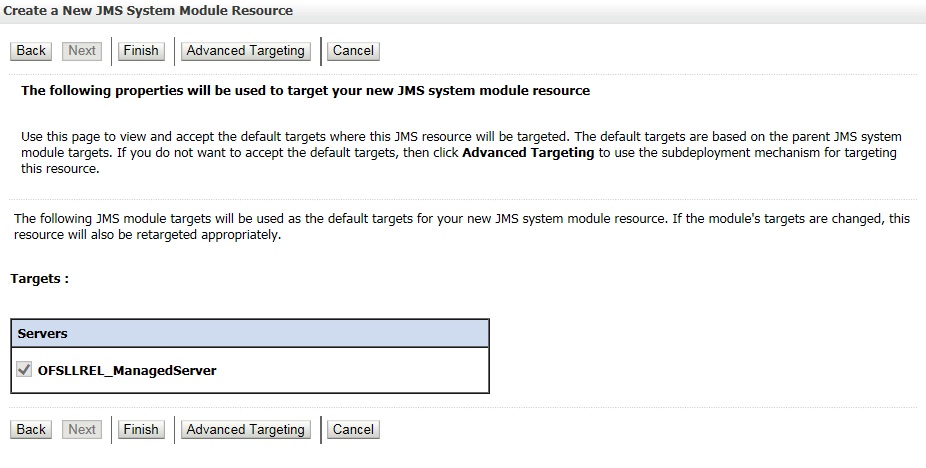
- Click ‘Finish’
and activate the changes. The following window is displayed.
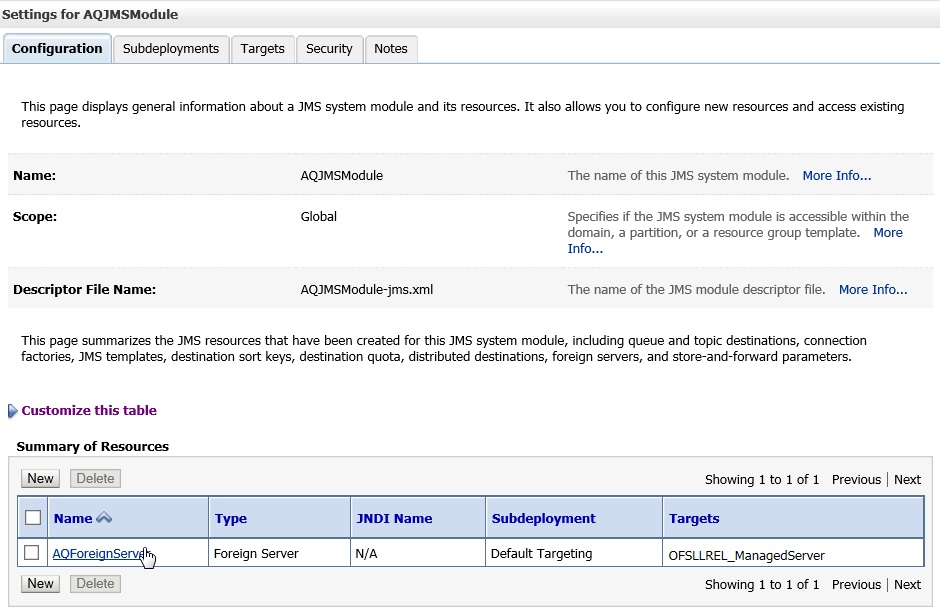
- Click on the Foreign
Server that you created. The following window is displayed.
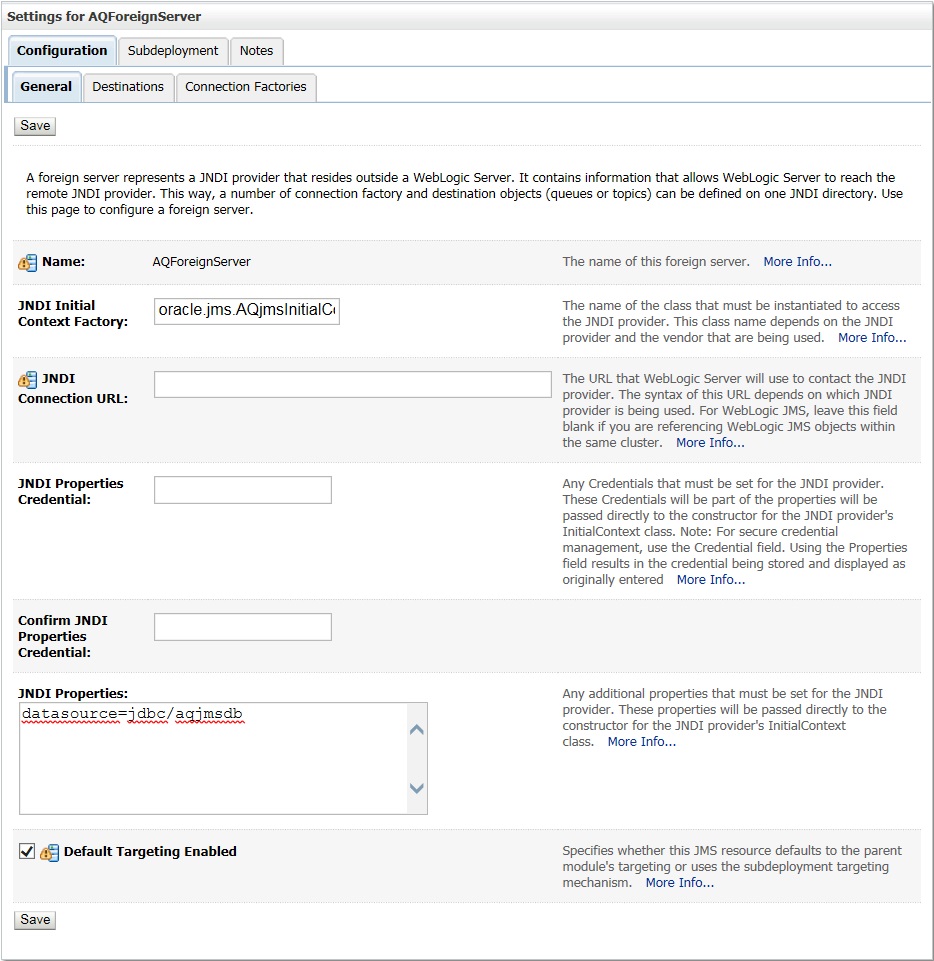
- Specify the following details:
- Enter JNDI Initial Context Factory as ‘oracle.jms.AQjmsInitialContextFactory’.
- JNDI Properties as ‘datasource=jdbc/aqjmsdb’.
- Ensure ‘Default Targetting Enabled’ option is selected.
- Click ‘Save’.
- Select ‘Destinations’ Tab and click ‘New’
to create new destination. The following window is displayed.
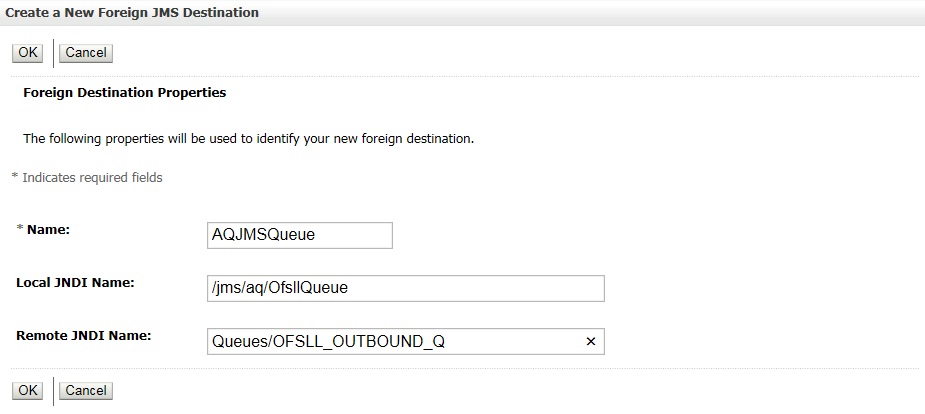
- Specify the following details:
- Name: AQJMSQueue
- LocalJNDI Name: /jms/aq/OfsllQueue
- Remote JNDI Name: Queues/OFSLL_OUTBOUND_Q
- Click ‘OK’ and save the changes.
- Select ‘Connection Factories’ Tab and click
‘New’ to add new connection factory. The following window
is displayed.
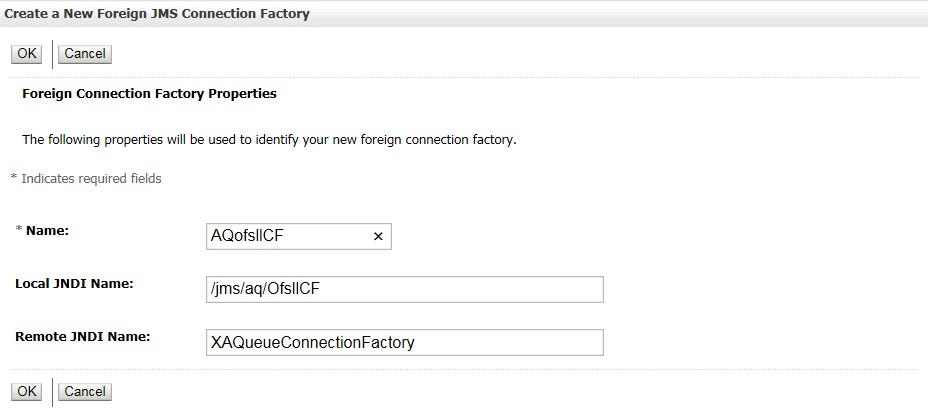
- Specify the following details:
- Name: AQofsllCF
- Local JNDI Name: /jms/aq/OfsllCF
- Remote JNDI Name: XAQueueConnectionFactory
- Click ‘OK’ and save the changes.
7.3 Create Credentials and System Policies
In order Configure MDB flow, you need to create credentials and system policies. The credentials are accessed through CSF framework which is managed by Oracle Weblogic Server. The keys are managed by Maps and Maps need to be given with Permissions.
- Login to Oracle Enterprise Manager (http://hostname:port/em).
- On the left panel, right click on OFSLL_domain and select
Security > System Policies > Credentials. The following window
is displayed.
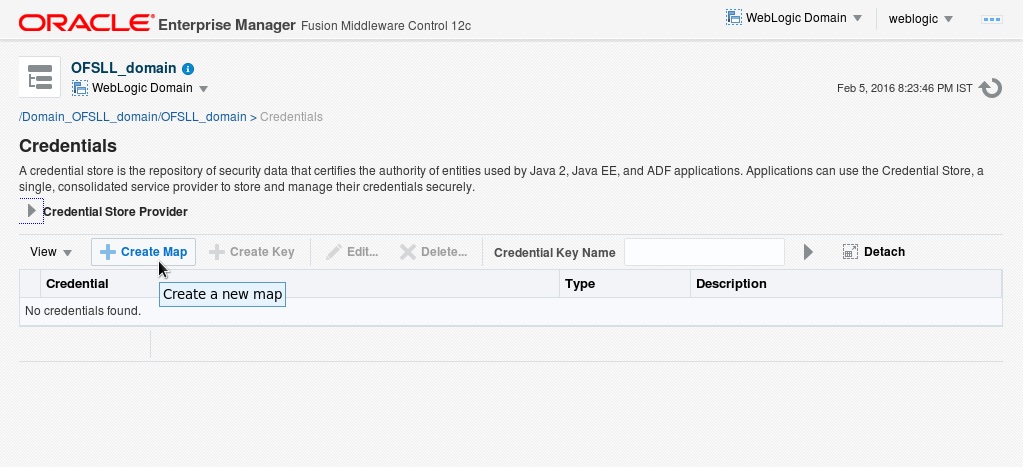
- Click ‘Create
Map’. The following window is displayed.

- Enter Map Name as ‘ofsll.int.bureau’ and click ‘OK’.
- Click ‘Create Key’. The following window is
displayed.
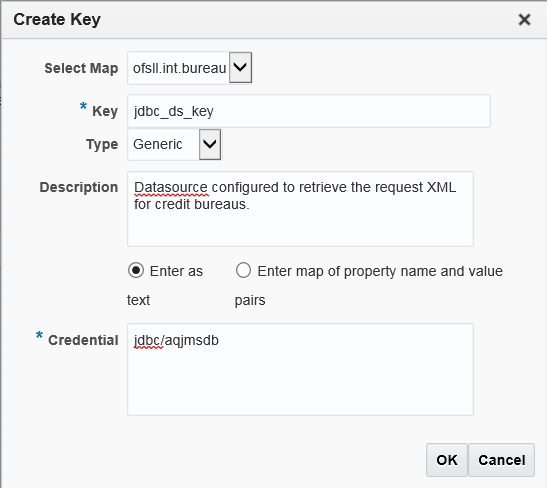
- Specify the following details:
- Select Map as ‘ofsll.int.bureau’ from the drop down list.
- Specify Key as ‘jdbc_ds_key’
- Select Type as ‘Generic’ from the drop down list.
- Specify the Credential as ‘jdbc/aqjmsdb’
- Click ‘OK’.
- Similarly you need to create the following Maps and corresponding
keys as indicated in following table.
Maps
Keys
Description
ofsll.int.bureau
This map is used to setup keys for all credit bureau interfaces
ProxyServer
Name of the proxyServer to be configured
ProxyPort
Port to which ProxyServer is running.
ExpEcalsURL
The Experian Connection URL to be configured.
ExpDirectExperianEnabled
If you set value as true, then you would be setting ecals response URL. Else, the Ecals request URL
ExpCertPath
The location of .jks file which contains the valid certificate for Experian Credit Bureau.
ExpBusUserNamePassword
Login Credentials to be configured for Experian Business reports.
ExpConUserNamePassword
Login Credentials to be configured for Experian Consumer reports.
EfxURL
The Equifax Connection URL to be configured.
EfxCertPath
The location of .jks file which contains the valid certificate for Equifax Credit Bureau.
EfxUserNamePassword
Login credentials to be configured for accessing Equifax Reports.
TucCertPath
The location of .p12 file which contains valid certificate for Transunion Bureau .
TucCertPassword
The password that requires to read the valid .p12 certificate for the Transunion Bureau.
TucUserNamePassword
Login credentials to be configured for accessing Transunion reports
TucConnectionURL
The Transunion URL to be configured.
ofsll.int.outbound
This map is used to setup keys for the RouteOne and Dealer track call back from OFSLL.
roUserNamePassword
Login Credentials used at the time of call back from OFSLL to RouteOne Interface.
dtUsernamePassword
Login Credentials used at the time of Call back from OFSLL to Dealer Track Interface.
ofsll.int.bip
This Map is used to setup all the Keys required to setup interface with BIP to generate reports.
local_top_dir
Define the path of the local BIP server where you would like place the generated BIP reports.
email_from_addr
Define the From Email address to be used while sending email for the generated BIP reports.
emailBodyContentPath
The path for ‘file.properties’ file that contains the content of the subject and body required while sending letter, report or correspondence as mail to the applicant or producer.
For example; /tmp/file.properties
*Refer to note below for details on ‘file.properties’ file creation for email configuration.
fax_server
Configure the name of Fax server to be used to fax the generated BIP reports.
ofsll.int.filetransfer
This map is used to setup keys for all credit bureau interfaces
sftp_key
Credentials to login to SFTP server(Username/Password)
sftp_top_dir
Top root directory for SFFTP server
sftp_servers
SFTP server names
ofsll.int.security
bip_key
This is BIP login credentials
* A new file(file.properties) needs to be created and copied to the application server in the same path as mentioned in the value corresponding to the key 'emailBodyContentPath' under the map 'ofsll.int.bip'. The file should have the following contents:
- letter_subject='Text that is configurable and would be the subject of the mail'
- letter_body='Text that is configurable and would be the body of the mail'
- correspondence_subject='Text that is configurable and would be the subject of the mail'
- correspondence_body='Text that is configurable and would be the body of the mail'
- report_subject='Text that is configurable and would be the subject of the mail'
- report_body='Text that is configurable and would be the body of the mail'
- On the left panel, right click on OFSLL_domain and select
Security > System Policies. The following window is displayed.
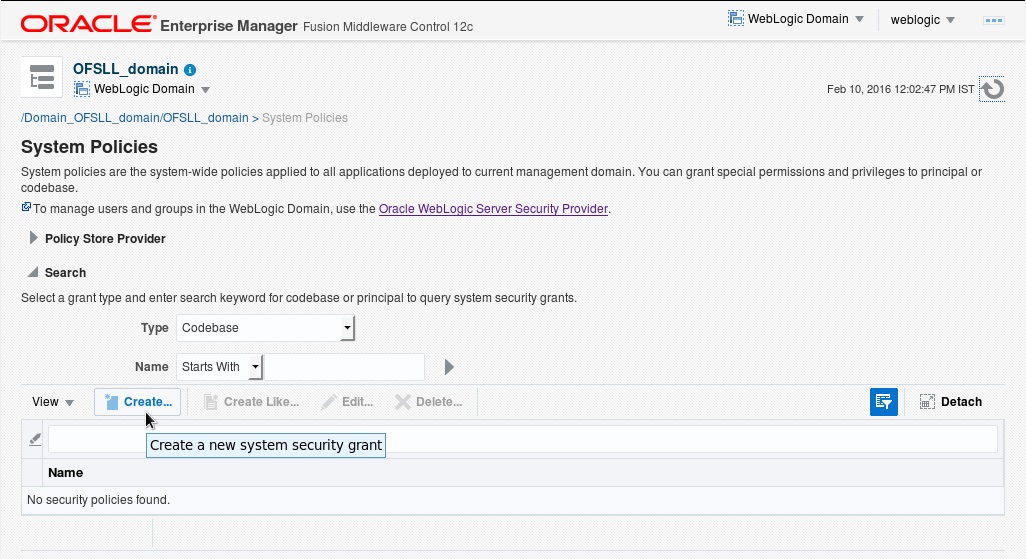
- Click ‘Create’.
The following window is displayed.
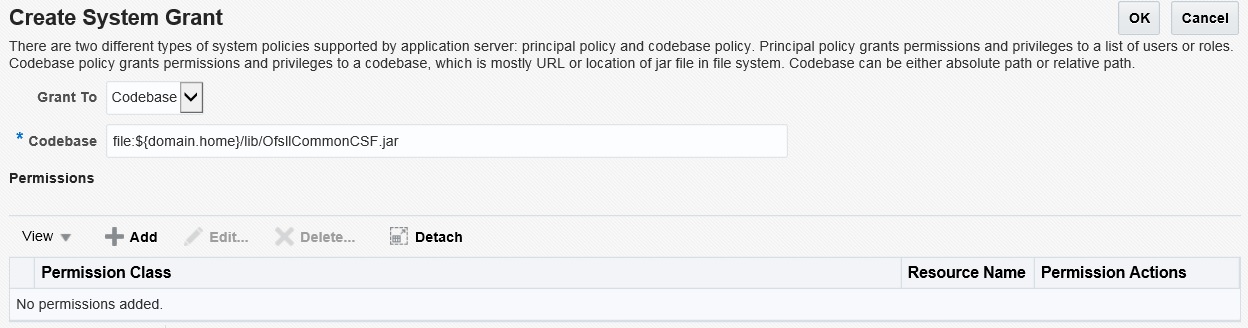
- Enter the codebase as ‘file:${domain.home}/lib/OfsllCommonCSF.jar’
- Click ‘Add’. The following window is displayed.
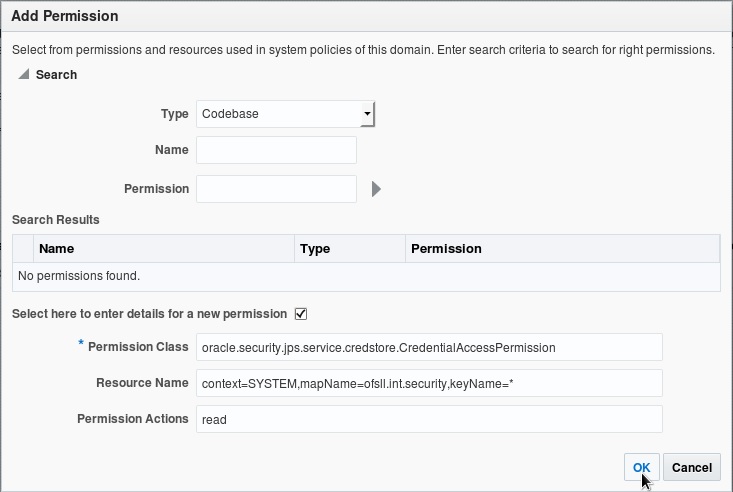
- Select the check box 'Select here to enter details for a new permission'.
- Specify the following details as the first permission
class.
Permission Class
Resource Name
Permission Actions
oracle.security.jps.service.credstore.CredentialAccessPermission
context=SYSTEM,mapName= ofsll.int.bureau,keyName=*
read
oracle.security.jps.service.credstore.CredentialAccessPermission
context=SYSTEM,mapName= ofsll.int.filetransfer,keyName=*
read
oracle.security.jps.service.credstore.CredentialAccessPermission
context=SYSTEM,mapName= ofsll.int.outbound,keyName=*
read
oracle.security.jps.service.credstore.CredentialAccessPermission
context=SYSTEM,mapName= ofsll.int.bip,keyName=*
read
oracle.security.jps.service.credstore.CredentialAccessPermission
context=SYSTEM,mapName=ofsll.http.listener.jndi,keyName=*
read
- Click ‘OK’.
7.4 Deploy MDB EJB
- Login to Web Logic application server enterprise manager
(e.g.:http://hostname:port/em)
- Enter valid login credentials. The following window is displayed.
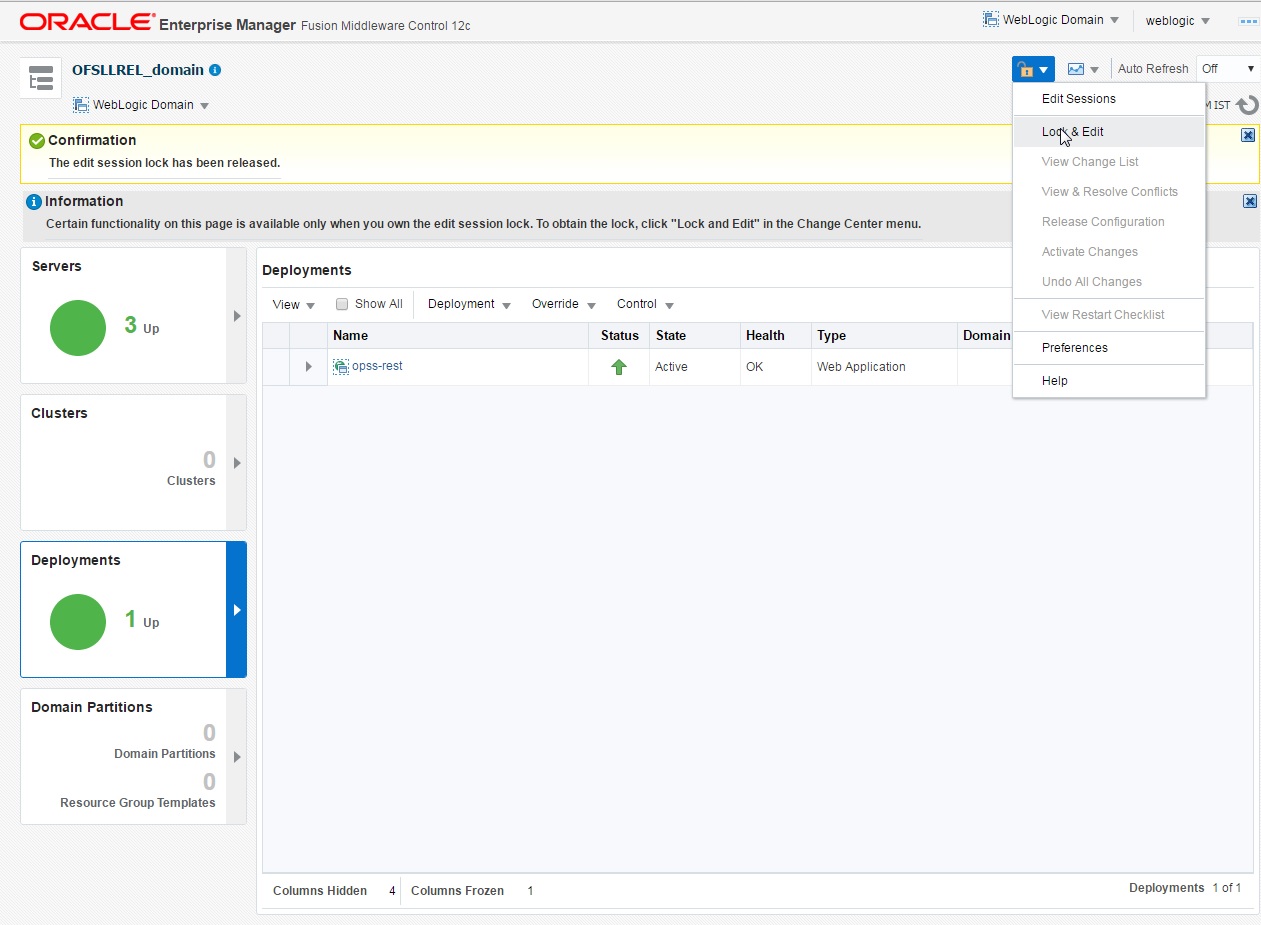
- Click ‘Deployment’ in the left panel.
- Select ‘Lock & Edit’ option in the lock
drop-down list available in the header. The following window is displayed.
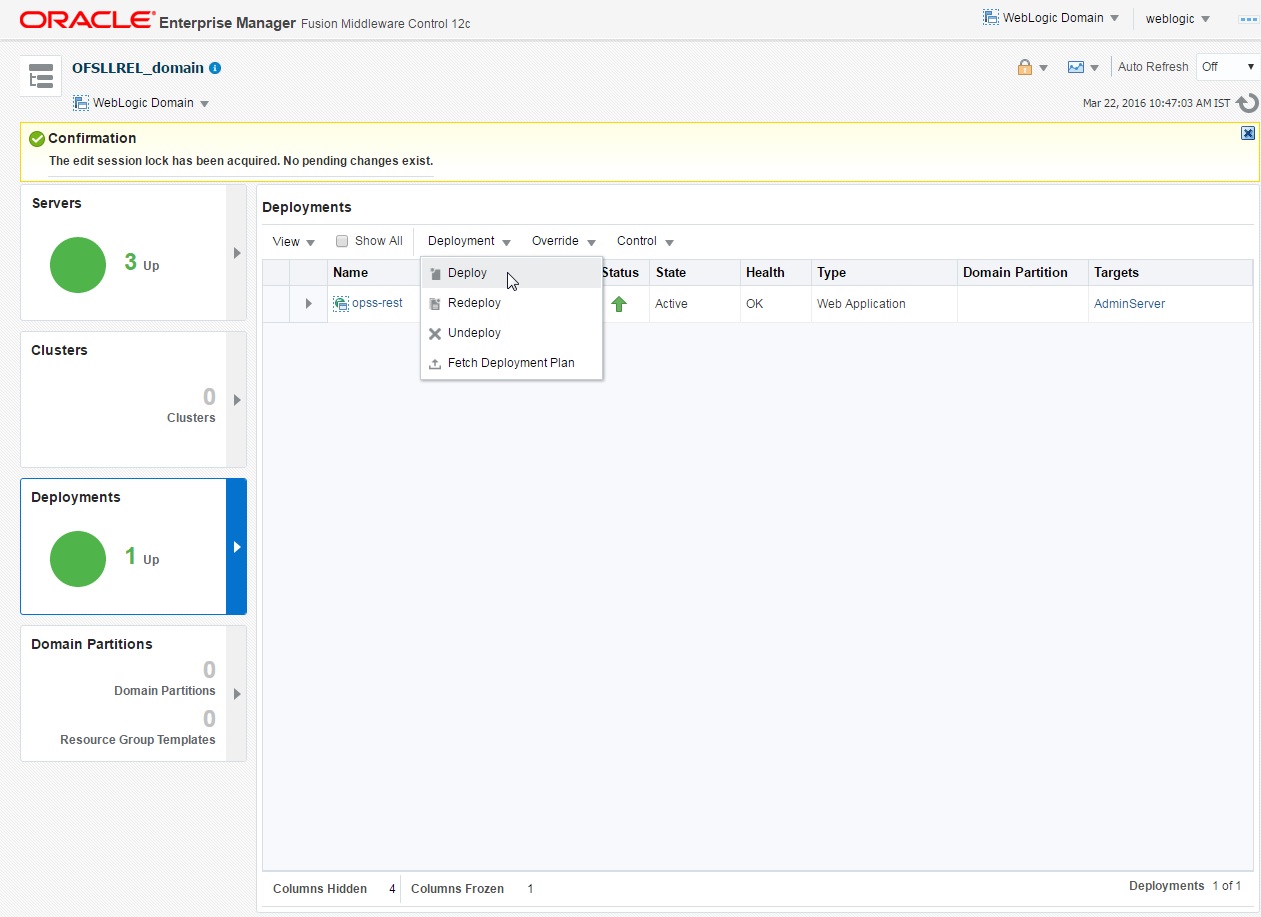
- Select ‘Deploy’ from the Deployment drop-down list.
The following window is displayed.
- The following window is displayed.
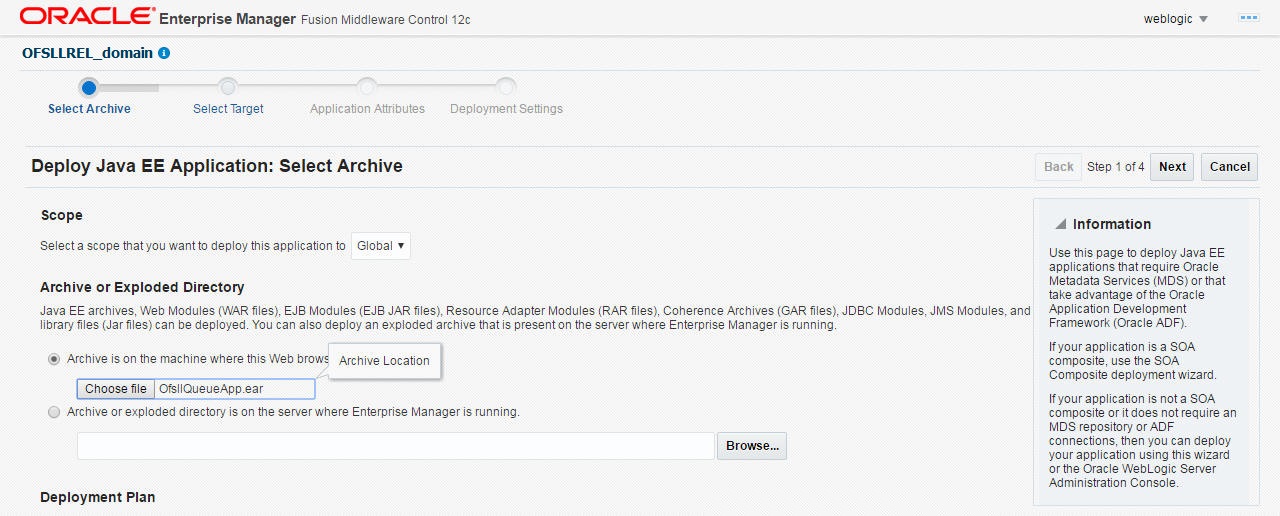
- Browse to the folder containing the MDB EJB. Eg: C:/OfsllQueueApp.ear
- Click ‘Next’. The following window is displayed.
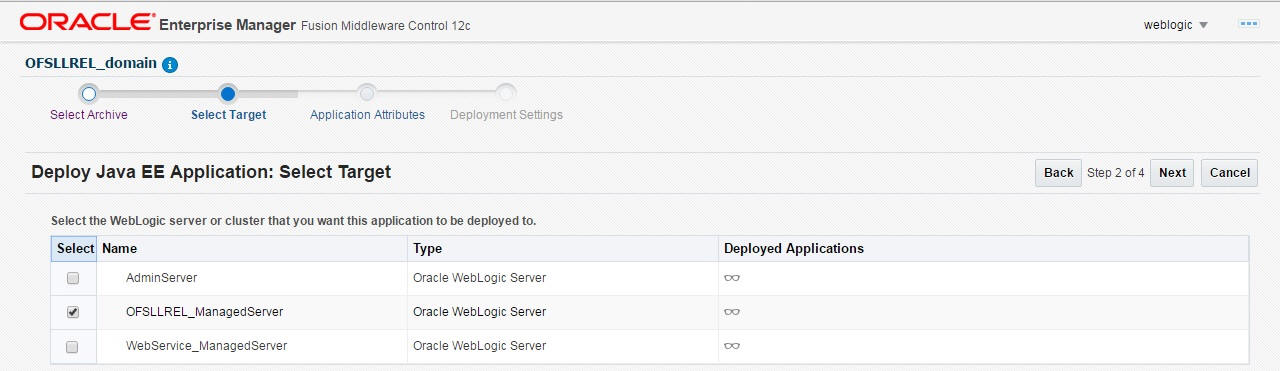
- Select the server on which the MDB EJB needs to be deployed.
- Click ‘Next’. The following window is displayed.
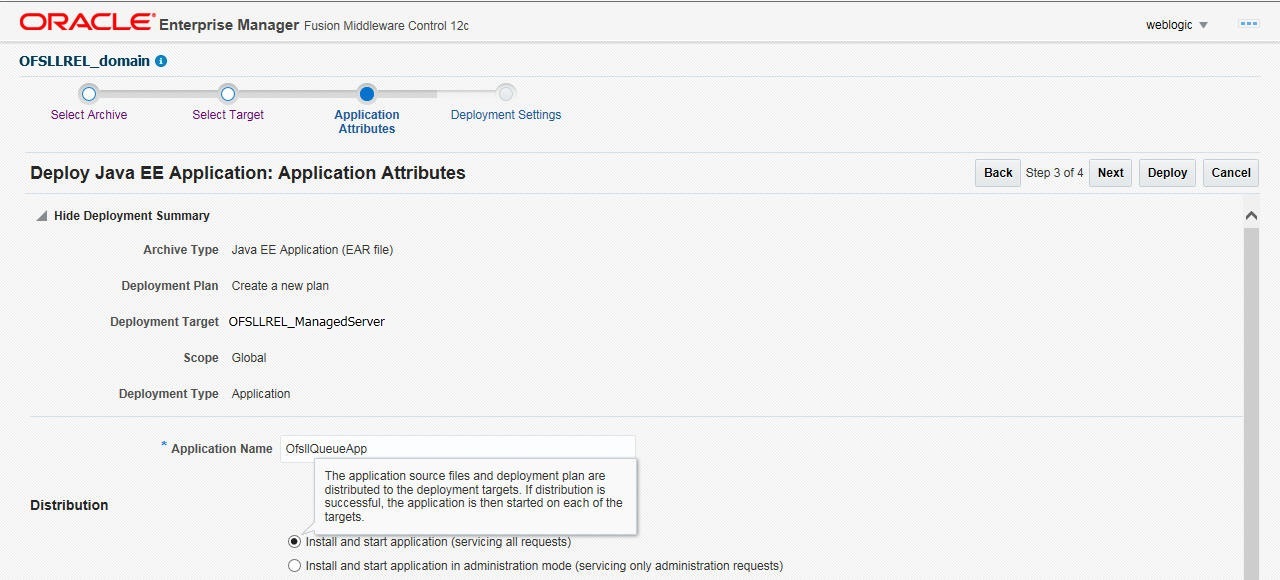
- Select the option ‘Install and start application (servicing all requests)’.
- Check the context root and click ‘Next’.The
following window is displayed.

- Click ‘Deploy’.
On successful deployment, the following window is displayed.
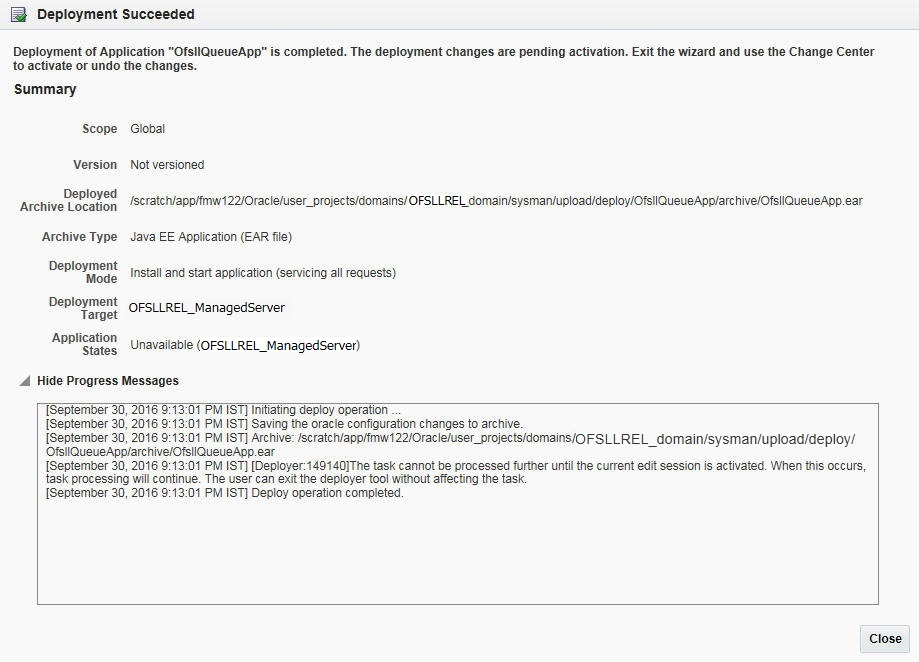
- Click ‘Close’. Post deployment, you need to activate the changes by selecting ‘Active Changes’ option from ‘Edit Session’ drop-down list as indicated in step 4 above.
Note
While starting the ‘OFSLLREL_ManagedServer’, always start with option ‘-DUseSunHttpHandler=true’ to enforce the weblogic server to uses SUN SSL implementation.