| Oracle® Retail Merchandising Foundation Cloud Service Recent Transfers Mobile User Guide Release 22.1.401.0 F72970-01 |
|

 Previous |
| Oracle® Retail Merchandising Foundation Cloud Service Recent Transfers Mobile User Guide Release 22.1.401.0 F72970-01 |
|
Previous |
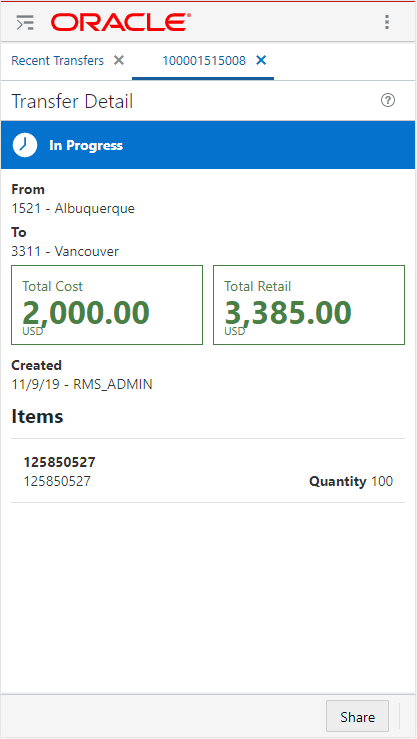
The Recent Transfers Detail screen displays the Transfer details based on your selection from the Recent Transfers screen. To access the Transfer details, tap on any transfer in the transfers area. The Transfer Detail screen appears.
Tap any transfer from the list of available transfers. The Transfer Detail screen appears.
| Field | Description |
|---|---|
| Status | Status types include:
|
| From/To | Lists the From Site and then the To Site. |
| Total Cost | The total cost of the transfer in order based on the from location currency.
Example: 10,000.00 USD |
| Total Retail | The total retail for the transfer based on the from location currency. |
| Delivery | The Delivery Date field represents the earliest date that the transfer can be delivered to the store. |
| Create By | The Create By field represents the Created By identifier. It is the user's Merchandising user ID. |
| Created Date | The Created Date field represents the date the transfer was created. |
| Items Area | This area represents the item(s) on the Transfer. The Item description and number are displayed. The Quantity field displays the number of units transferred at the item level.
A Load More Rows button located at the end of the item list allows you to scroll to see more items, if applicable. |
| Actions Area | The Approve button, if enabled, allows you to approve the transfer. Applies only to transfers in Input or Submitted status.
The Reject button, if enabled, allows you to reject the Transfer. Applies only to transfers in Submitted status. The Share icon enables you to clarify information about the transfer or provide an explanation for why it cannot be approved in its current state, via SMS or e-mail to a contact. |
| Transfer Status | User Privilege | Available Actions |
|---|---|---|
| Input | View Transfers | Share |
| Input | Maintain Transfers | Share |
| Input | Approve Transfers | Approve, Share |
| Submitted | View Transfers | Share |
| Submitted | Maintain Transfers | Reject, Share |
| Submitted | Approve Transfers | Approve, Reject, or Share |
| Approved | All Privileges | Share |
| In Progress | All Privileges | Share |
To approve a transfer, tap Approve. A notification appears confirming the approval.
To reject a transfer, tap Reject. A notification appears confirming the rejection.
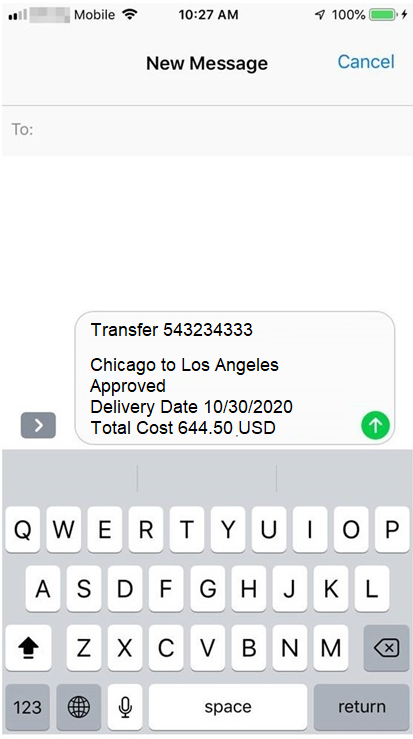
The share button located in the bottom toolbar will enable you to send a summarized view of the selected transfers on this screen via SMS, or e-mail, to a contact. This will allow you to clarify information about the Transfer or provide an explanation for why it cannot be approved in its current state. To share a Transfer:
Login to the application.
Tap the Share button.
Tap either the SMS icon or the E-mail icon.
For SMS, enter the mobile number. For E-mail, enter the e-mail address.
Tap Send.