3. Reference Information for Loan Syndication
Before you can set up products for Loan Syndication contracts, or process Loan Syndication contracts, you need to maintain certain basic reference information that you might need in order to set up products and process contracts.
In the context of Loan Syndication, for instance, you may need to identify administrators among the officers of your bank to whom you could assign the administration of each Loan Syndication contract. You may also need to define certain events that need to be processed for syndication contracts, messages to be sent to the required parties, and so on.
This chapter explains the maintenance of such reference information for the modules used for Loan Syndication contracts.
Reference information relating to the following needs to be maintained for Loan Syndication:
- Administrators
- Parties
- Diary Events
- Messages
- User-defined fields
- Ad-hoc fee components
This chapter contains the following sections:
- Section 3.1, "Maintaining Administrators"
- Section 3.2, "Maintaining Self Participants "
- Section 3.3, "Maintaining Party Types"
- Section 3.4, "Maintaining Diary Events"
- Section 3.5, "Maintaining Message Types for Module"
- Section 3.6, "Indicating Branch Parameters for Loan Syndication"
- Section 3.7, "Mapping LS and CL Products and Components"
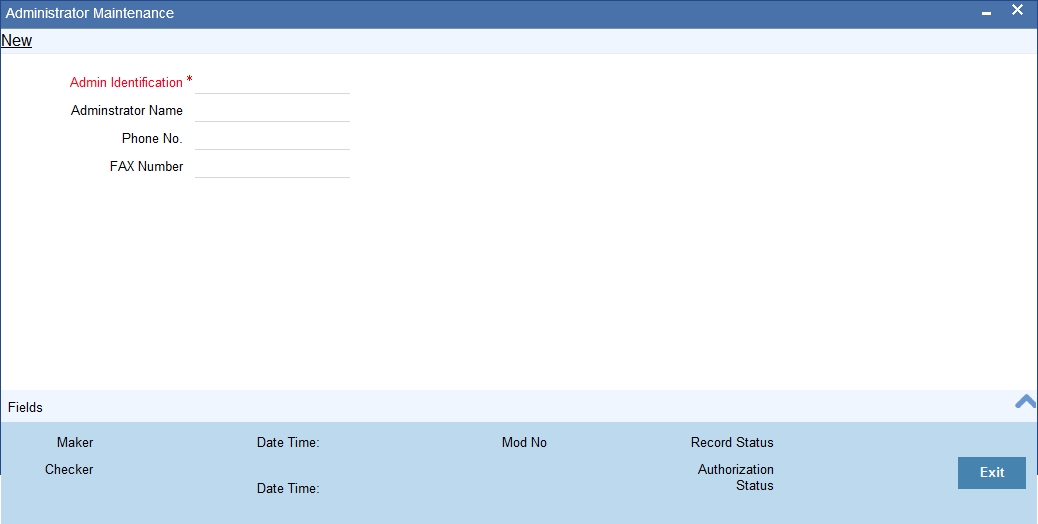
3.1 Maintaining Administrators
Your bank may wish to assign appropriate administrators to Loan Syndication contracts. You can maintain such administrators (also called as ‘Agents’) in the system, in the ‘Administrator Details’ screen, by assigning a unique ID to the name of each administrator. You can invoke this screen by typing ‘CSDXADMN’ in the field at the top right corner of the Application tool bar and clicking on the adjoining arrow button.
3.2 Maintaining Self Participants
When the lead bank participates in the syndication by contributing funds it is called ‘Self Participation’. You can maintain the lead bank as a self participant using the ‘Self Participant Maintenance’ screen. You can invoke this screen by typing ‘LLDSPMNT’ in the field at the top right corner of the Application tool bar and clicking on the adjoining arrow button.
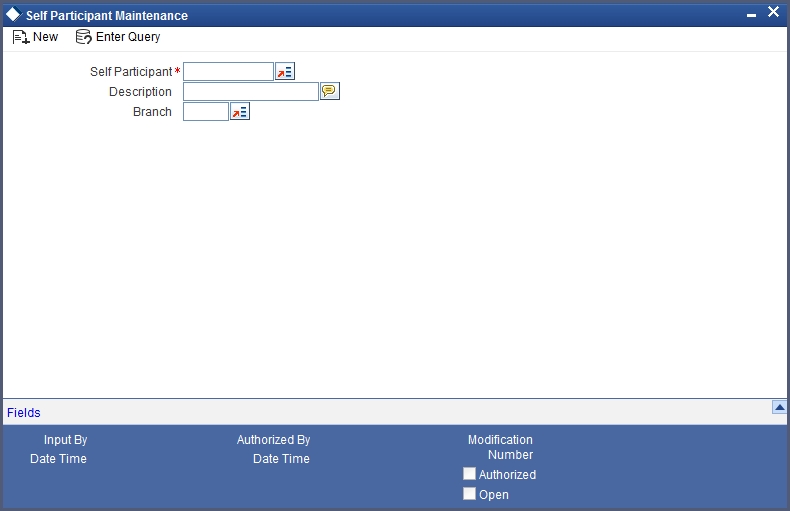
The following details are captured here:
Self Participant
Select the code of the bank from the option list. The codes of all valid customers maintained are available in this list.
Description
Based on the bank code selected the description is defaulted here.
Branch
Select the branch that has to be designated as the transaction branch for the participant i.e. the system creates the corresponding commitment/loan contract in this branch.
3.3 Maintaining Party Types
You can identify the different types of entities or parties involved in Loan Syndication contracts, in the system, in the ‘Party Type Definition’ screen. You can invoke this screen by typing ‘CSDPARDF’ in the field at the top right corner of the Application tool bar and clicking on the adjoining arrow button.
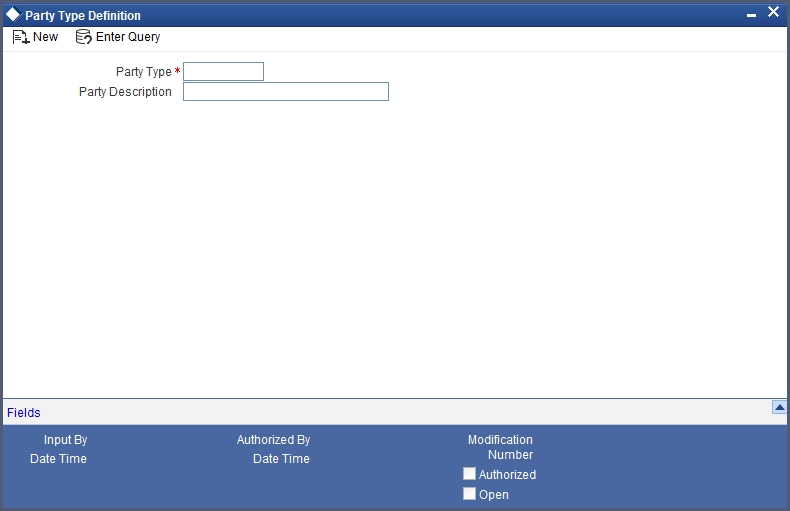
The different types of entities that you might want to define could include:
- Originator
- Arranger
- Borrower
- Participant
For each party type, you must specify an appropriate and typical description.
3.4 Maintaining Diary Events
You can define the diary events to be associated with each of the Loan Syndication modules in the ‘Diary Event Maintenance’ screen. A diary event signifies occurrences (other than accounting entries being passed) in the life cycle of a contract, at which appropriate messages would need to be generated. You can invoke this screen by typing ‘CSDXDAEV’ in the field at the top right corner of the Application tool bar and clicking on the adjoining arrow button.
After you have identified the diary events in the ‘Diary Event Maintenance’ screen, you must also:
- Define the message types and message formats to be available for the module
- For each module, associate the appropriate message type to be generated at the occurrence of each diary event. You can do this in the ‘Diary Event Messages’ screen, discussed later in this chapter.
In the ‘Diary Event Maintenance’ screen, you must first specify the module to which the diary events you are defining, will apply.
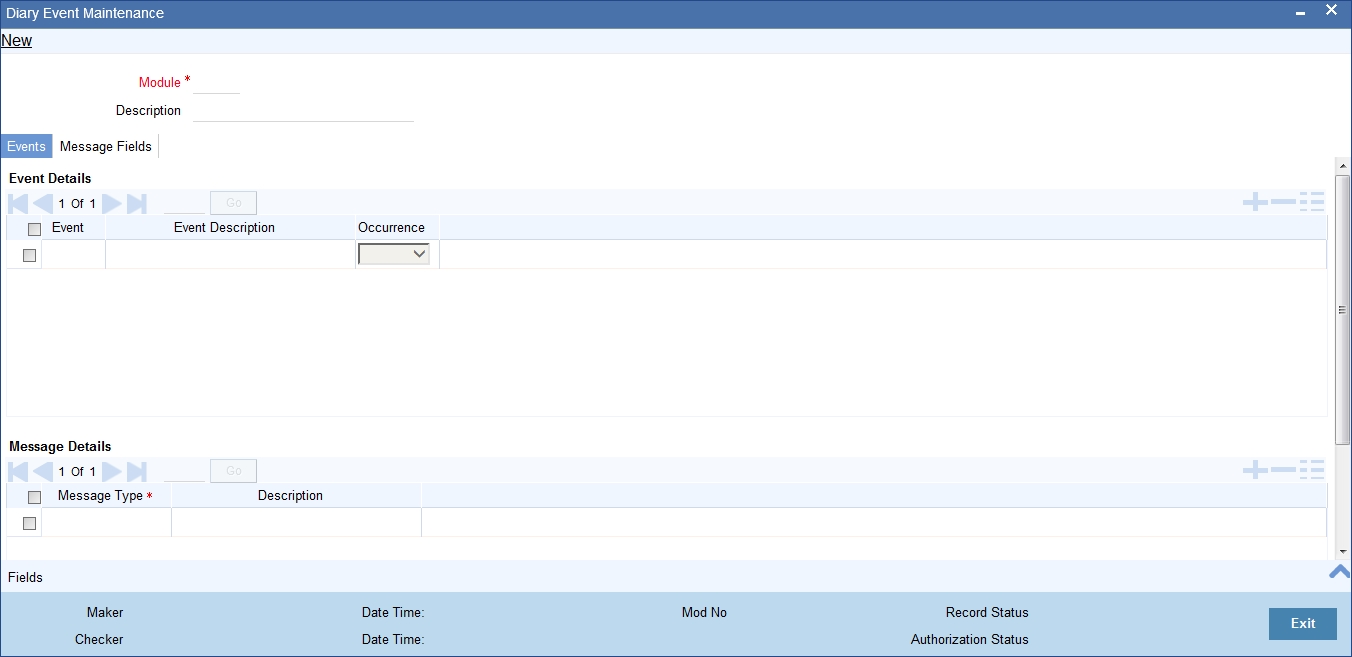
For each diary event, you specify the following details:
- Name and description
- Whether the event occurs once or multiple times in the life cycle of a contract
3.5 Maintaining Message Types for Module
You can maintain the message types that are to be available for generation at the occurrence of a diary event, for each Loan Syndication module, in the ‘Diary Event Maintenance’ screen.
When you make the appropriate message types available for each module in this manner, you can associate the available message type with the appropriate diary event applicable to a contract using the module, in the ‘Diary Event Messages’ screen, discussed later in this chapter.
In the Messages section in the Events tab of the ‘Diary Event Maintenance’ screen, you can specify the type of message that is to be available, along with a description of the message type.
You can also maintain the desired format for each of the message types that are available for a module, by specifying the appropriate field tags. Click on the ‘Message Fields’ tab in the ‘Diary Event Maintenance’ screen. You can specify up to 30 field tags.
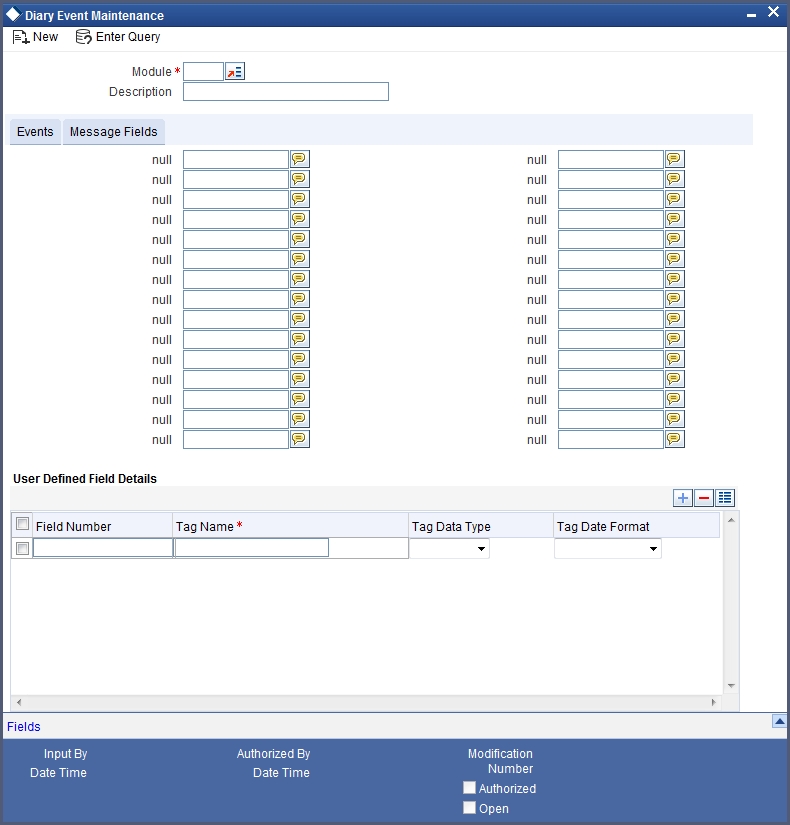
You can maintain field tags for user-defined information, to be available for each Loan Syndication module, in the ‘Diary Event Maintenance’ screen. Up to 10 different such tags can be maintained in the User Defined Fields section in the Message Fields tab in the ‘Diary Event Maintenance’ screen.
For each field tag, you must specify:
- A serial field number and tag name, which forms the identification for the user-defined field
- The type of data that can be entered in the user-defined field, as well as the date format, if it is a date type field
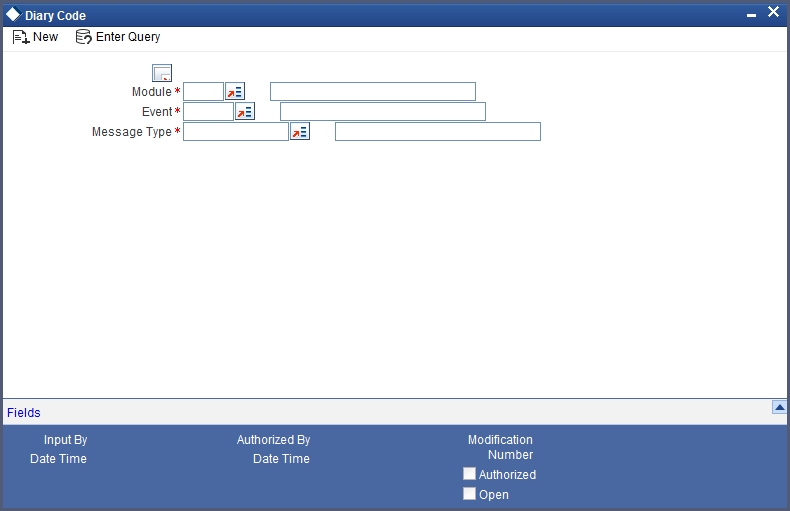
After you have defined the diary events to be applicable for a module, and also made available the requisite message types (in the Diary Event Maintenance) you can associate the type message to be used to generate messages for each diary event, in the ‘Diary Event Message Linkage’ screen. A message type can be added to more than one event.
You can invoke this screen by typing ‘CSDDRYMS’ in the field at the top right corner of the Application tool bar and clicking on the adjoining arrow button..
3.6 Indicating Branch Parameters for Loan Syndication
In the ‘Loan Syndication Branch Parameters’ screen, you can define Loan Syndication details to be applicable for your branch such as the reporting currency for syndication contracts and the exchange rate that would be used to convert outstanding contract balances to reporting currency equivalent.
You can also indicate the participant to whom the rounding difference between amounts collected and amounts disbursed, must be routed.
You can invoke this screen by typing ‘LSDBRMNT’ in the field at the top right corner of the Application tool bar and clicking on the adjoining arrow button.

Branch Code/Name
You have to indicate the code of the branch for which the parameters have to be maintained. The codes of the various branches of your bank are available in the option list provided.
When you select the code, the branch name is also displayed alongside.
Process Till Next Working Day – 1
This specification will determine the day on which automatic events such accrual, liquidation etc. falling due on a holiday, should be processed. If you select this option, events scheduled for a holiday will be processed on the last working day before the holiday.
For example, if the current system date is 15 May, and 16 May and 17 May are holidays. on selecting ‘Process Till Next Working Day – 1’, during execution of the batch program at EOD on 15 May, the events due on 16 May and 17 May will also be processed.
If you do not select this option, processing will be done upto the system date i.e. the current date. The automatic events due on a holiday will be processed as part of the batch program run at BOD on the next working day after the holiday.
Consider the example discussed above, if you do not check this option, the events due on 16th and 17th will be processed as part of BOD operations on 18th May, which the next working day after the holidays.
Netting
Here, you need to indicate the netting preference for posting entries during accrual, liquidation and status change.
If you opt to net, the system will post a single consolidated entry for a GL and Currency combination. If you do not select this option, entries are posted individually for each account.
The GL netting status change option can also be used to indicate installment level status change.
The Netting of Notices across Accounts can be used to indicate that for or all accounts for which the payments falls due on a particular date, the requests for invoice generation should be consolidated.
The loan accounts for which the reminder or demand note should be sent is tracked based on the status of the account. The SDE ‘Next Schedule Date’ is set up to arrive at how many no. of days in advance the payment notice should be generated. Based on the status of the loan account the corresponding payment invoice format is set up.
The Auto allocate part payment option can be used if you want to do a partial payment through auto allocation. For accounts which are marked for manual allocation of partial amount the payment can be done in bulk using the ‘Consumer Lending – Bulk Payments’ screen.
For more details on Bulk payments refer section ‘Bulk Payments’ in the ‘Operations’ chapter of Retail lending module.
Settlement
The settlement accounts for processing lending transactions have to be specified here. You have to specify the Bridge GL/Account to be used for the settlement of the debit and credit legs of transactions that would be processed at your branch. You can select the accounts from the option lists provided for the same.
Intraday Jobs
Typically, accruals are processed either at BOD or EOD. However, you have the option to facilitate accruals any time during the day i.e. during the normal transaction input itself. You have to check the ‘Intraday Accrual’ option to avail this feature. If you opt for intraday accrual, you also have to specify the following:
- Intraday Job Interval: This is the interval (in hrs) at which the Intraday Job should be executed during the day.
- Num Parallel Jobs: This indicates the actual number of jobs to be processed at the same time when the Intraday Job is executed. For example, if the number of parallel jobs is 5, the system will group the accounts into 5 different jobs to be processed simultaneously by the Intraday Job. The system automatically groups the accounts based on the number of parallel jobs maintained.
Account Auto Generated
You can select this option for automatic generation of account numbers. The system generates the account numbers automatically when you create customer accounts through the ‘Account Details’ screen. If this option is not checked, you have to capture the account number yourself.
For details on creating an account, refer the ‘Account Creation’ chapter of this User Manual.
Accounting Mask Required and Account Mask
To maintain uniformity in the account numbers generated/captured across a branch, you can specify a format/mask for account numbers. If you specify that account numbers should conform to a specific format, you have to specify the mask in the ‘Account Mask’ field.
For example, you may want the account numbers of your branch to be a combination of:
- Branch Code (3 Characters)
- Product (4 Characters)
- Currency (3 Character currency code)
- 5 digit running sequence number
The account mask in this case would be: @ (BRN)@(PROD)@(CCY)@(SEQ:5)
An example of an account number conforming to the above mask would be DOC3ROLUSD60021.
If you opt for auto generation of account numbers but do not specify a mask, the generated number will, by default, conform to the following format:
- 3 character Branch Code
- 4 character Product Code
- Date in Julian format (YYDDD)
- 4 digit running sequence number
An example of an account conforming to the above format is ‘DOCVSIM040960021’ where:
- ‘DOC’ is the Branch Code
- ‘VSIM’ is the Product Code
- ‘04096’ is the date equivalent to 5th April 2004 (04 – Year and 096 is the number of days that have elapsed in the year).
- ‘0021’ is the running sequence number.
Also, if you maintain an account mask but do not opt to auto generate the account numbers, then, during account capture you have to conform to the account mask maintained for the branch. If the account is not as per the mask, the following error message is displayed:
“Account number entered is not conforming to the account mask.”
User Ref no in Msgs
Check this box to indicate that the User Reference Number provided in the account screen has to be used in Tag 20 of MT103 and Tag 21 of MT202. If the box is unchecked, the loan account number will be used instead of the User Ref no.
Auto Gen User ref
Check this box to indicate that system should auto generate user ref no during account creation.
IRR Processing
Check this option to trigger the YACR (Yield Accrual) event for the branch batch.
Accrual Entries on Holidays
This option will determine whether the accrual entries due on the holidays should be passed as of the holiday itself or as on the working day before the holiday(s)/after the holiday(s) depending on the ‘Process Till Next Working Day -1’ option.
For example, assume that the current system date is 15th May ’05. Further, 16th and 17th are holidays. If you do not select ‘Process Till Next Working Day – 1’, the EOD process for 15th May will accrue only for that day. Accruals due on 16th and 17th will be done on the next working day, 18th May ’05. The EOD process of 18th May will accrue for all the three days i.e. 16th, 17th and 18th. If you select ‘Process Till Next Working Day – 1’, then the EOD process of 15th May will take care of accruals due on the 16th and 17th as well. If you do not opt for ‘Accrual Entries on Holidays’, the booking date of the entries will be the working day (15th or 18th in this example) on which the accrual is processed. The accrual entries are passed with the value date as of the working day.
If the ‘Accrual Entries on Holidays’ option is selected, the processing will continue to be on the working day before or after the holidays, depending on your preference. However, the value date of the entries will be as of the corresponding holiday date i.e. 16th and 17th May respectively.
Reporting currency
Specify the currency that will be displayed in the syndication contracts. This is the currency in which the principal contract amount outstanding balance of tranches and draw downs is expressed.
Reporting rate type
This is the exchange rate type, which will be used to convert the principal amount, and outstanding balance in case the syndication contract currency is different from the reporting currency that you have specified in the previous field.
Choose the exchange rate type from the option list given.
Rounding participant
The system creates a new participant contract to route the rounding difference amount that was created due to rounding difference between the amount collected and the amount disbursed.
When the amount collected from the borrower is disbursed to the participants, you could encounter rounding differences. You need to choose the rounding participant from the option list to indicate that the participant to whom the rounding difference between amounts collected is to be routed.
Participant process
Select the mode in which the participation propagation process has to be done. You can opt to do it in either of the two modes:
- Job
- Online
When you ‘BOOK’ a borrower contract (Facility/Tranche/Drawdown), the system will create the related participant contracts. It will pick up the participant product linked to the borrower product (in the ‘Facility/Tranche/Drawdown Product Preferences’ screen) and the participant details maintained for the borrower contract to create the corresponding participant contract.
This processing of participant contracts depends on the ‘Participant Process’ mode, whether ‘Job’ or ‘Online’, set for your branch. You have to specify this as part of defining parameters for your branch in the ‘Branch Parameters – LS Detailed’ screen.
Schedule Structure
This option is used to indicate if the schedule definitions should honor the end dates or honor the frequencies when the two contradict. The options are:
- Frequency Based
- Non-Frequency Based (the end dates contradict each other)
For example, you can define payment schedules for a product based on the value date of the loan and/or based on the calendar date. Assume that you have a housing loan product ‘HOME’ with the following payment schedule details:
- Unit – Monthly
- Frequency – 1
- Schedule Basis – Value Date
- Tenor – 12 months
Case 1: Schedule structure is frequency based
A housing loan is initiated on 4th April 2004. As per the above details, the following schedule dates are defaulted:
- First Due Date: 4th May 2004 (one month after the disbursement date)
- End Date: 4th Mar 2005 (in between schedules being 4th June, 4th July and so on for 11 months)
- The last schedule is always a ‘Bullet’ schedule.
Note that the schedule dates are driven by the value date of the loan. At the account level, you can, however, change the defaulted schedules. But the end dates should not contradict for the schedules.
For instance, you cannot define schedules with the following details:
| First Due Date | No of Schedules | Frequency | End Date | ||||
|---|---|---|---|---|---|---|---|
| 04-MAY-2004 | 5 | Monthly | 04-SEPT-2004 | ||||
| 01-OCT-2004 | 5 | Monthly | 01-FEB-2005 | ||||
| 04-APR-2005 | 1 | Bullet | 04-APR-2005 |
Note that for the first and second schedules, the end dates are contradicting (4th Sep and 1st Feb respectively). This is not allowed if the schedule structure is ‘Frequency Based’. The following error message is displayed:
“Input for component is not as per schedule frequency.”
Case 2: Schedule structure is non-frequency based
If the schedule structure is non-frequency based, you can define schedules with contradicting end dates (refer the schedule structure given in Case 1 above).
First Payment Schedule Gap Treatment
Here, you have to specify the manner in which you would like to treat the period/gap between the loan disbursement date and the first payment. The options are:
- Treat as Payment
- Treat as Moratorium
For example, assume that you make a disbursement on 1st January and the first payment is due on 1st March. This means that there is a gap of two months between the disbursement and the first payment schedule. You can treat this gap either as a ‘Payment’ schedule or a ‘Moratorium’ schedule. If you opt to treat it as a ‘Payment’ schedule, then, during product creation, you should define the payment schedule with the ‘Schedule Flag’ being ‘Normal’. You should also specify a separate formula for this schedule. This is also done at the product level.
Similarly, if the gap is treated as a ‘Moratorium’, you should define a schedule with type ‘Moratorium’ and also define a moratorium formula for the schedule.
Intermediate Schedule Gap Treatment
Here, you have to specify the manner in which the system should handle gaps between two schedules. The available options are:
- Create New Schedule
- Advance current schedule
- Extend previous schedule
For example. assume that the following are the two payment schedules for a loan:
- 1st May to 25th May
- 5th June to 25th June
Therefore, the gap between the two schedules is 10 i.e. from 26th May to 4th June. To handle this gap, you can instruct the system to do any one of the following:
- Create a new schedule in which case a new schedule is defined for the gap period i.e. 10 days.
- Advance the current schedule, wherein the second schedule will start from 26th May instead of 5th June and go upto 25th June.
- Extend the previous schedule in which case the first schedule goes upto the 4th of June instead of 25th May.
After setting up the branch parameters, you have to save the details. Click on save icon to save the details in the system. However, the parameters take effect only after your supervisor authorizes the same.
Refer the Procedures User Manual for details on common operations like authorization, deletion, closure etc.
3.7 Mapping LS and CL Products and Components
If Syndication bank is also one of the participants (called as Self participant), then a contract is created in Consumer lending (CL) module for the participation share of Self Participant. LS – CL mapping is used to define the mapping of Drawdown product components to the CL product components. This would facilitate automatic creation and subsequent processing of CL contract during corresponding operation on the Drawdown contract.However, this self participant CL account will follow a normal CL account lifecycle processing and is independent of the LS borrower contract events processed. Similar creation and processing for borrower tranche contract happens where a corresponding CL commitment account is created for every borrower tranche contract.
The Drawdown products that you create are mapped to the Consumer Lending product and its components through the ‘LS-CL Product and Component Mapping’ screen. You can invoke this screen by typing ‘LSDPCMAP’ in the field at the top right corner of the Application tool bar and clicking on the adjoining arrow button.L
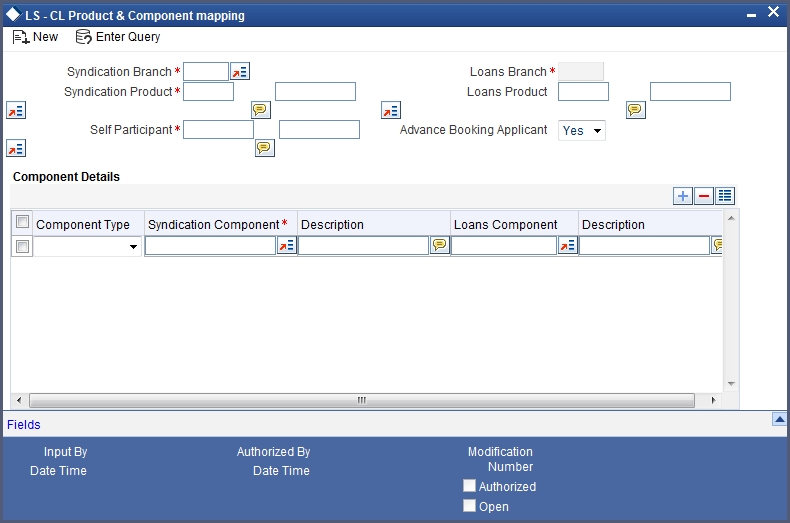
The following details need to be captured here:
Syndication Branch
Select the transaction branch for initiating the LS contract on the agency side.
Syndication Product
Select the drawdown product to be used for creating the drawdown contract. All valid drawdown products defined in the system are displayed in the option list provided.
Self Participant
Select the self participant from the option list. All self participants maintained in the ‘Self Participant Maintenance’ screen are displayed in the option list. Self participant branch is displayed by the system. Self Participant can be chosen as ‘ALL’ in case of a generic maintenance.
Loans Product
Select a CL product from the option list.
Advance Booking Applicant
Select ‘YES’ to if the corresponding CL contract needs to be processed in advance for future dated draw downs. The default value is ‘YES’. If you select ‘No’, the system creates the CL contract only after the Initiation event is triggered for the corresponding drawdown.
Component Details
The following details are captured here:
Component Type
Select the type of component for the mapping from the drop-down list. The options in the drop-down list are:
- Interest
- Charge
- Margin
- Ad hoc Charges
Syndication Component
Select the syndication component from the option list. The components associated with the selected ‘Syndication Product’ are displayed in the option list.
Description
The description of the selected syndication component is displayed here.
Loans Component
Select the loans component from the option list. System displays the components associated with the selected ‘CL Product’ in the option list.
Description
The description of the selected loan component is displayed here.