5. Deploying Application
5.1 Deploying Application
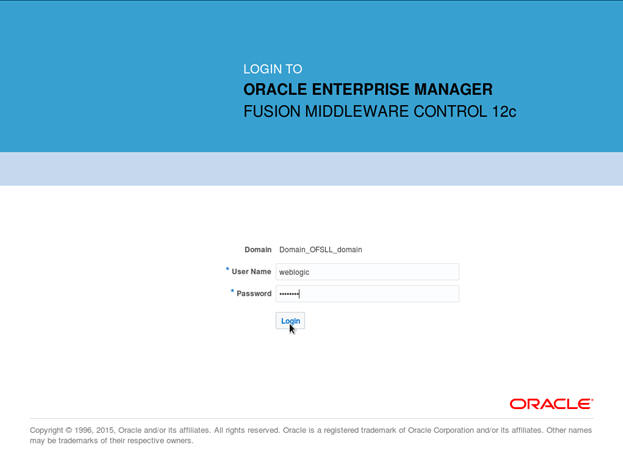
- Login to the Oracle Enterprise Manager 12c console . (i.e.
http://hostname:port/em)
- Click
on ‘Lock and Edit’ as shown below.
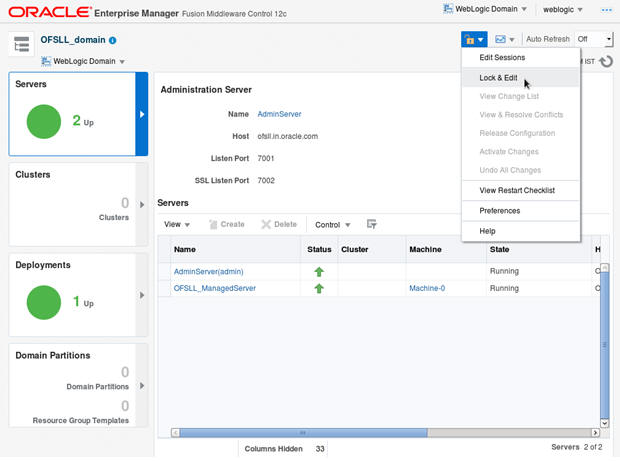
- The
following window is displayed.
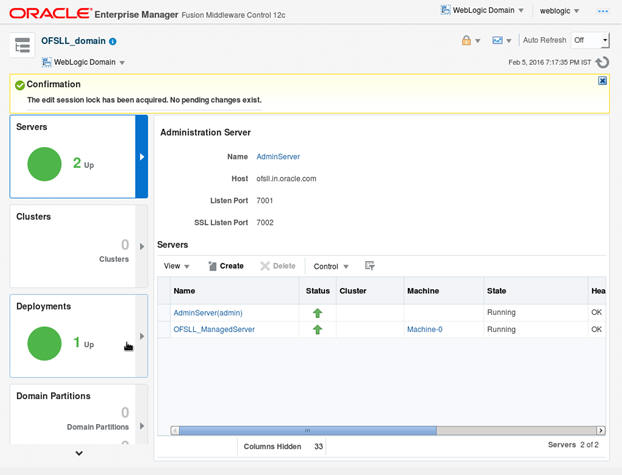
- Click
on Deployments in the left panel. To deploy go to Deployments option
in the menu as shown below.
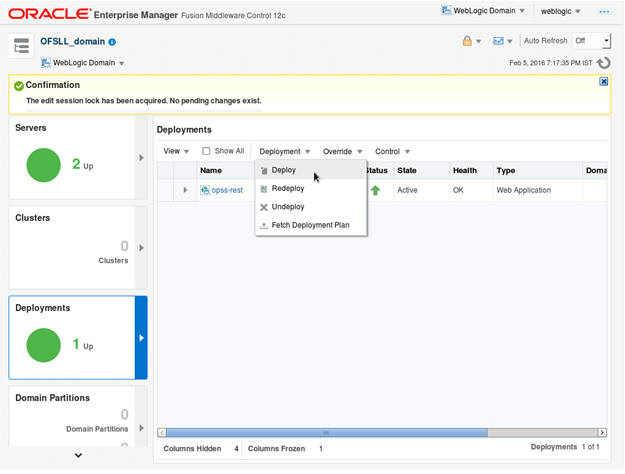
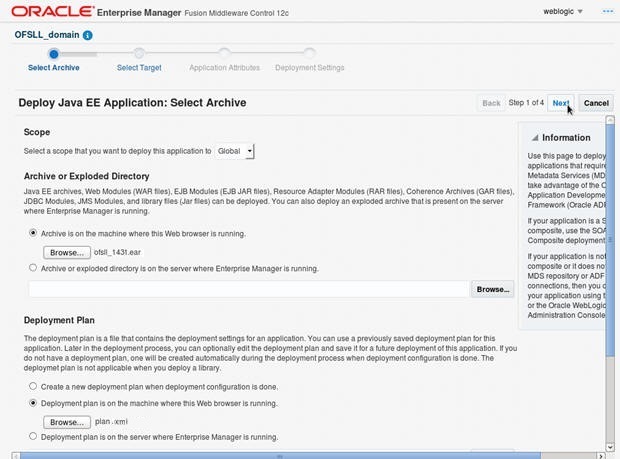
- Click
‘Choose File’ button and select OFSLL application archive
file i.e. ofsll_1431.ear. Choose the ‘Deployment Plan’ (if
any).
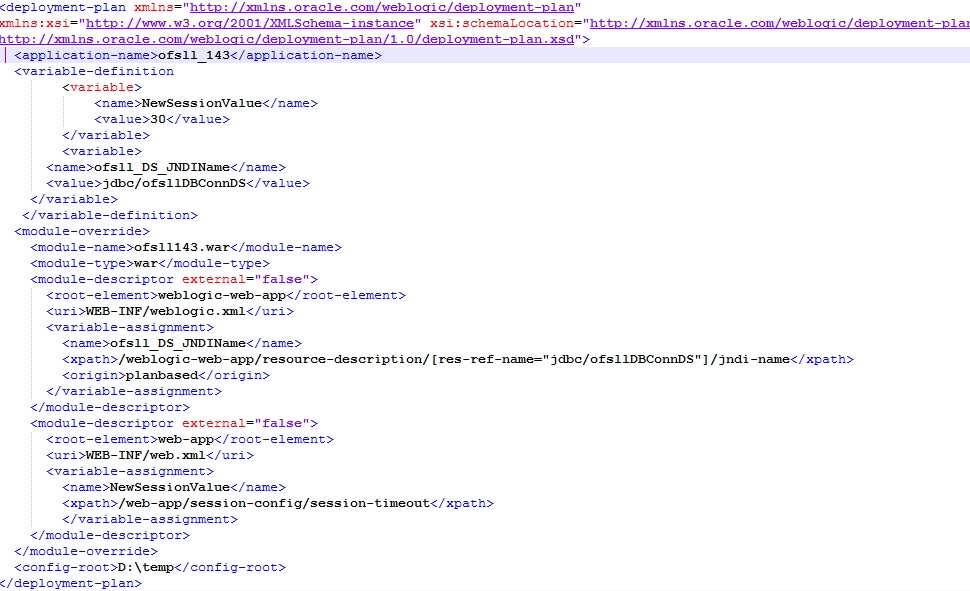
Note
A deployment plan can be used to easily change an application's WebLogic Server configuration for a specific environment without modifying existing deployment descriptors.
Sample plan.xml
- Click ‘Next’. The following window is displayed.
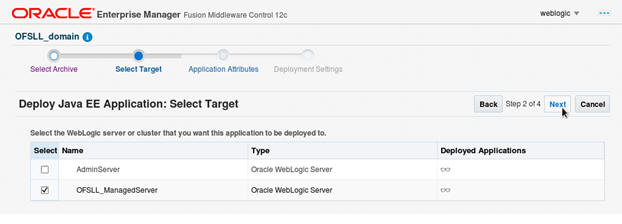
- Check
target server as per the requirement ‘OFSLL_ManagedServer’
and click ‘Next’. The following window is displayed.
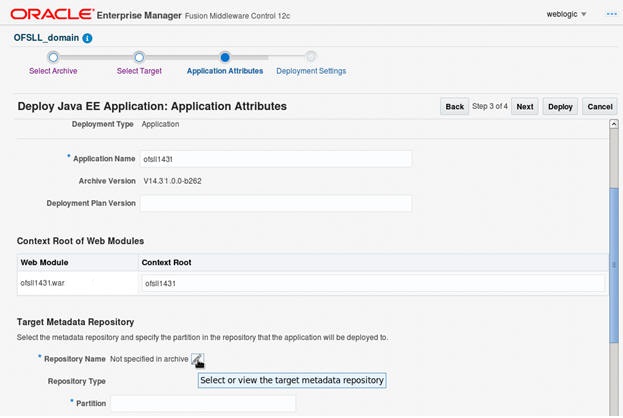
- Click
 button to select Repository Name. The following
window is displayed.
button to select Repository Name. The following
window is displayed.
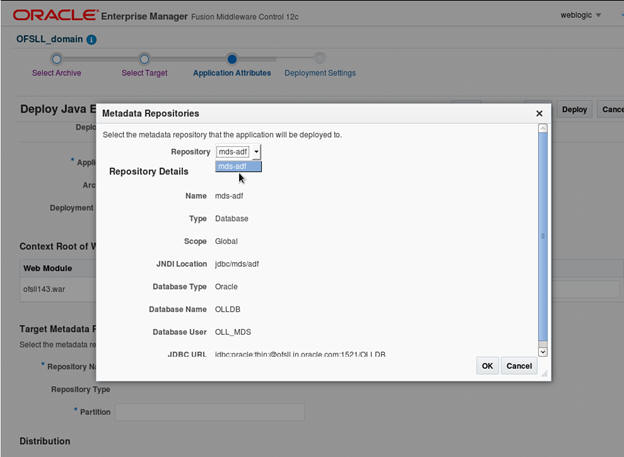
- Select
Repository as per requirement and click ‘OK’.
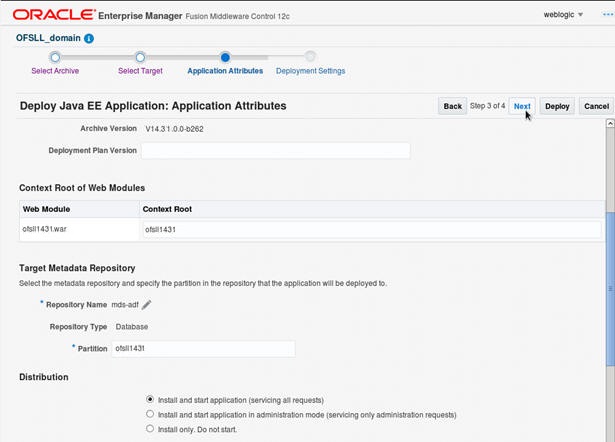
- Enter
Partition name as per the requirement and click ‘Next’.
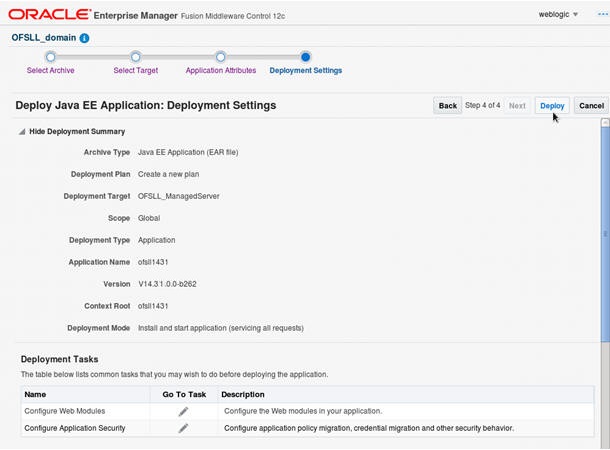
- Click
‘Deploy’. The following window is displayed
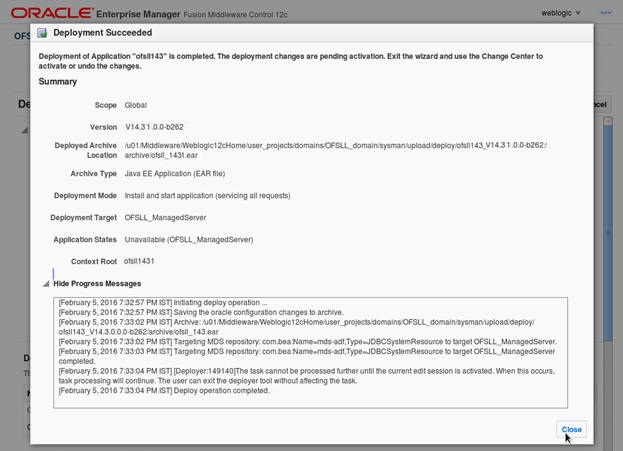
- Click Close once the message ‘Deploy operation completed’ is displayed.