5. Creating BI Publisher Datasource
To create BI Publisher Datasource, do the following:
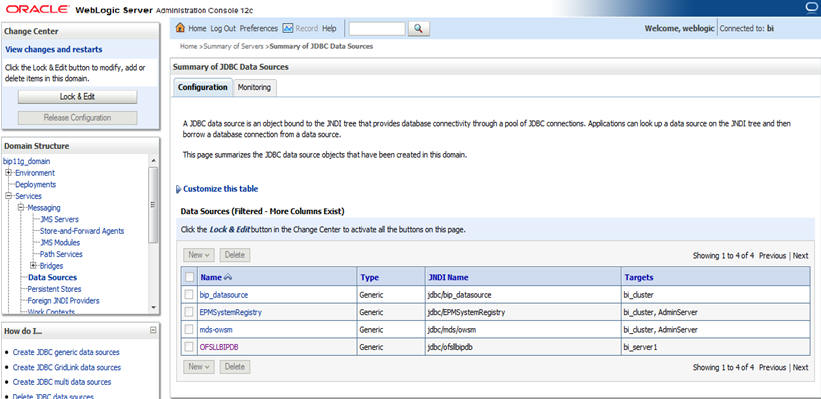
- Create Data Source with JNDI as ‘jdbc/ofsllbipdb’ on BI Publisher Domain
- Target the datasources to ‘bi_server1’
- Access the weblogic console URL using http://hostname:port/console.
- Launch http://hostname:port/xmlpserver.
The following window is displayed.
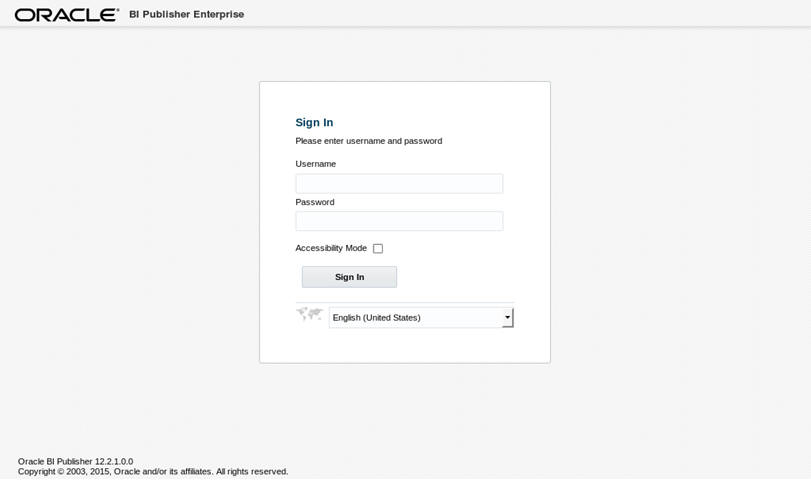
- Login using
the same credentials used for ‘WebLogic administration’ console
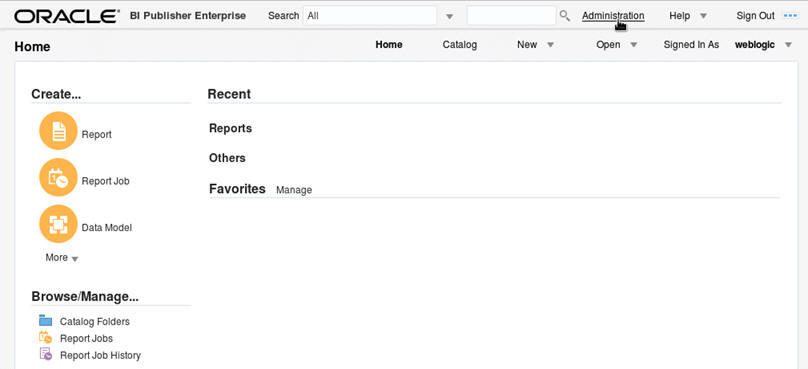
login. The following window is displayed.

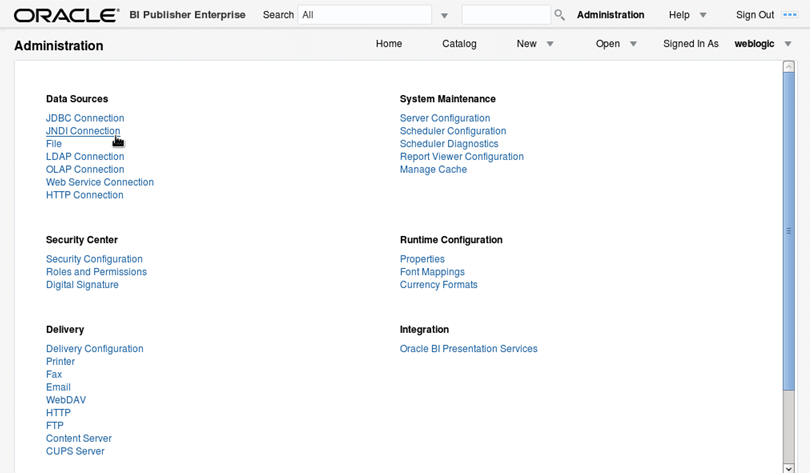
- Click ‘Administration’
in the header section. The following window is displayed.
- Click ‘JNDI
Connection’. The following window is displayed.
- Add Data Source ‘FLLReportsPool’ with JNDI as ‘jdbc/ofsllbipdb’.
- Under ‘Security’ section, select ‘BI Author Role’ and ‘BI Consumer Role’ from Available Roles and assign them as Allowed Roles.
Note
If “BI Author” and “BI Consumer” roles are not displayed in the ‘Available Roles’ section, you need to create the roles as explained in following ‘Creating Roles’ section.
5.1 Creating Roles
The following section details the steps to be followed to create “BI Author” and “BI Consumer” roles which are used to define security roles while creating Data Source on BI Publisher Domain.
To create WebLogic Application Role
- Login to Enterprise Manager using the URL - http://hostname:port/em.
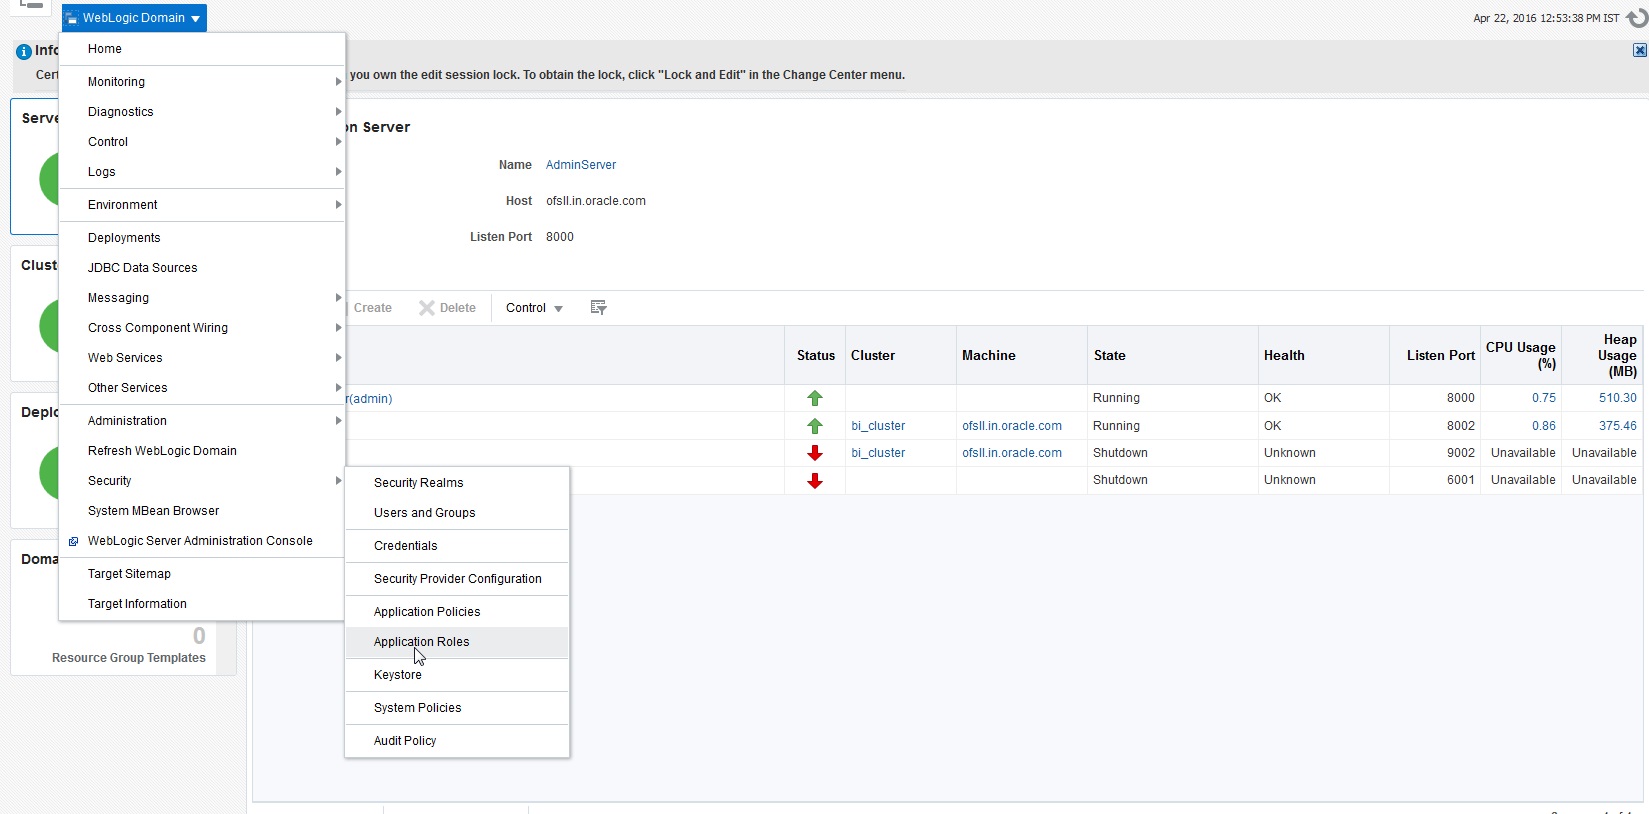
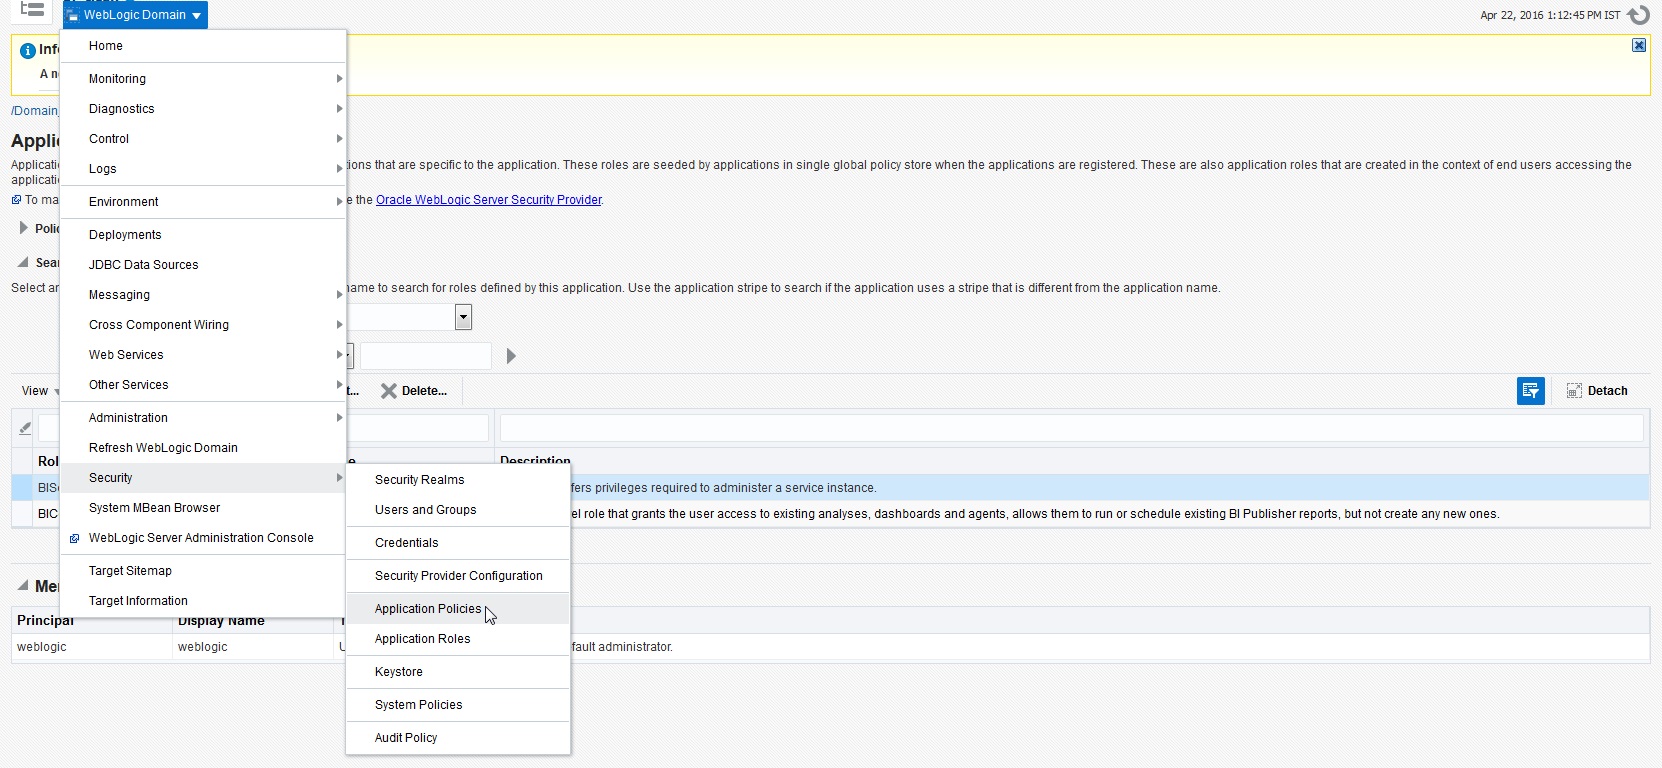
- Select Weblogic Domain > Security > Application Roles
as indicated in the following screen.
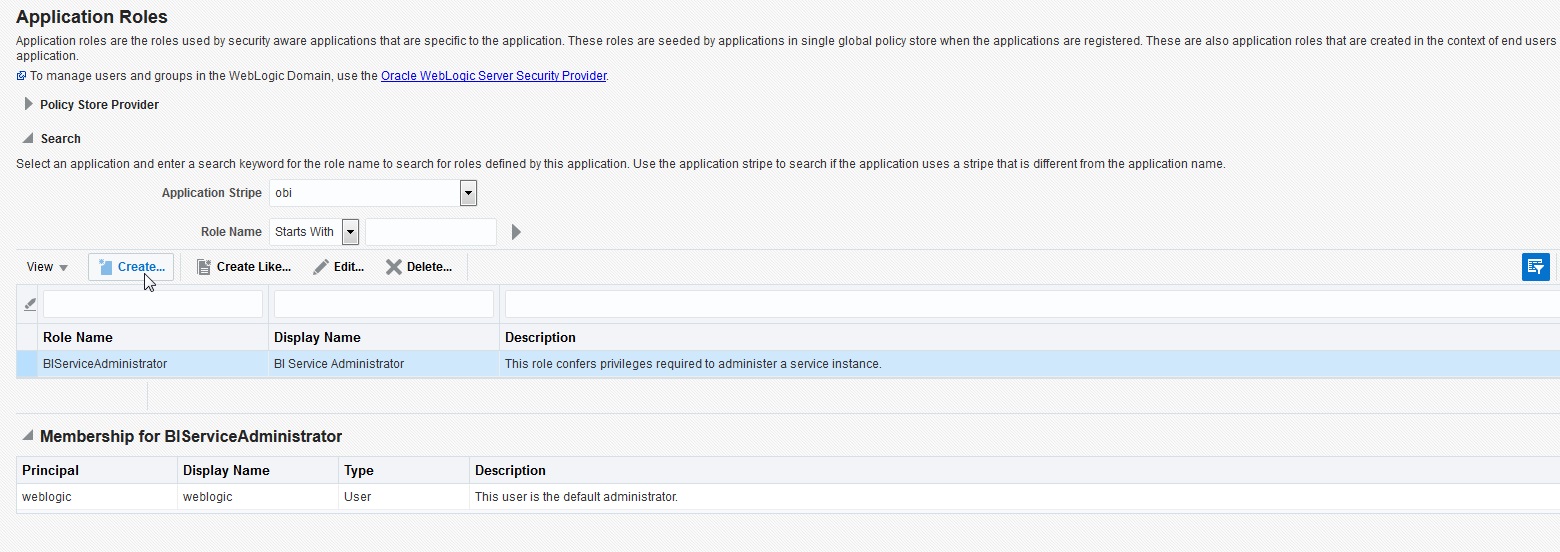
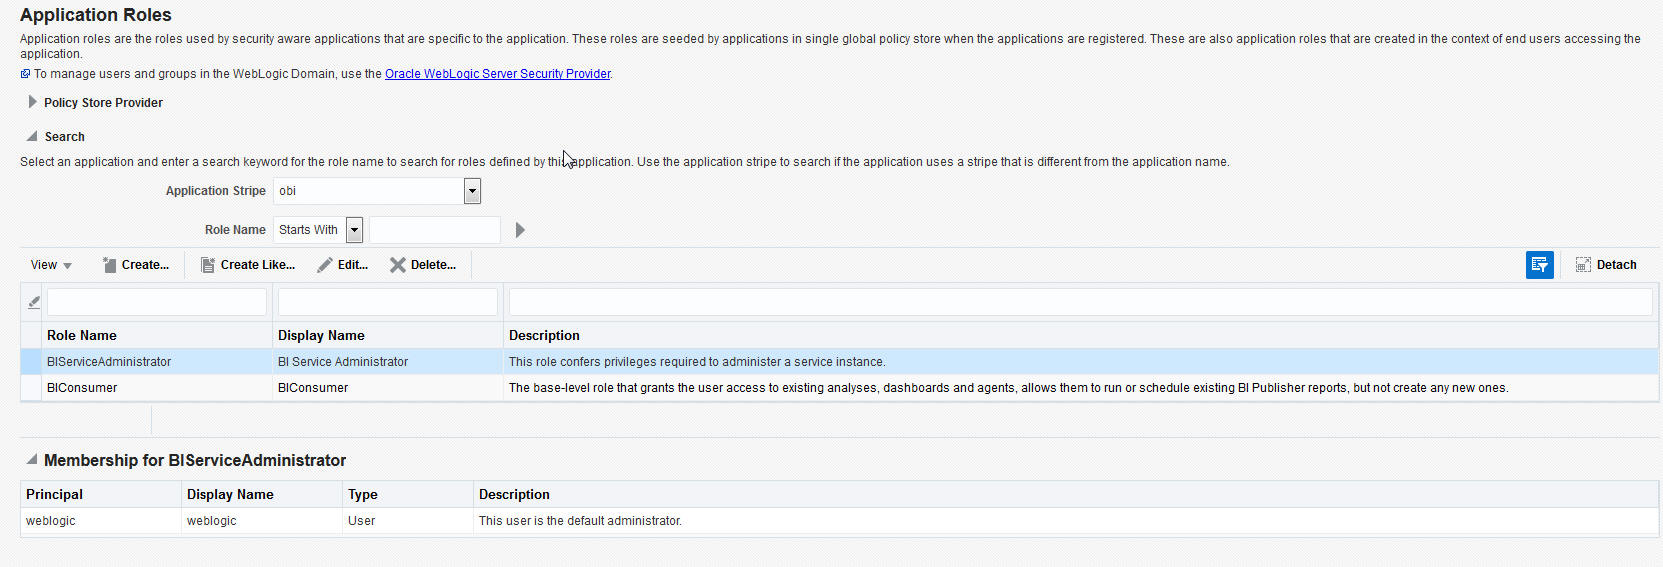
- In the Application
Stripe field, select ‘obi’ from the drop-down list. The option
‘BIServiceAdministrator’ is added by default. Click ‘Create’.
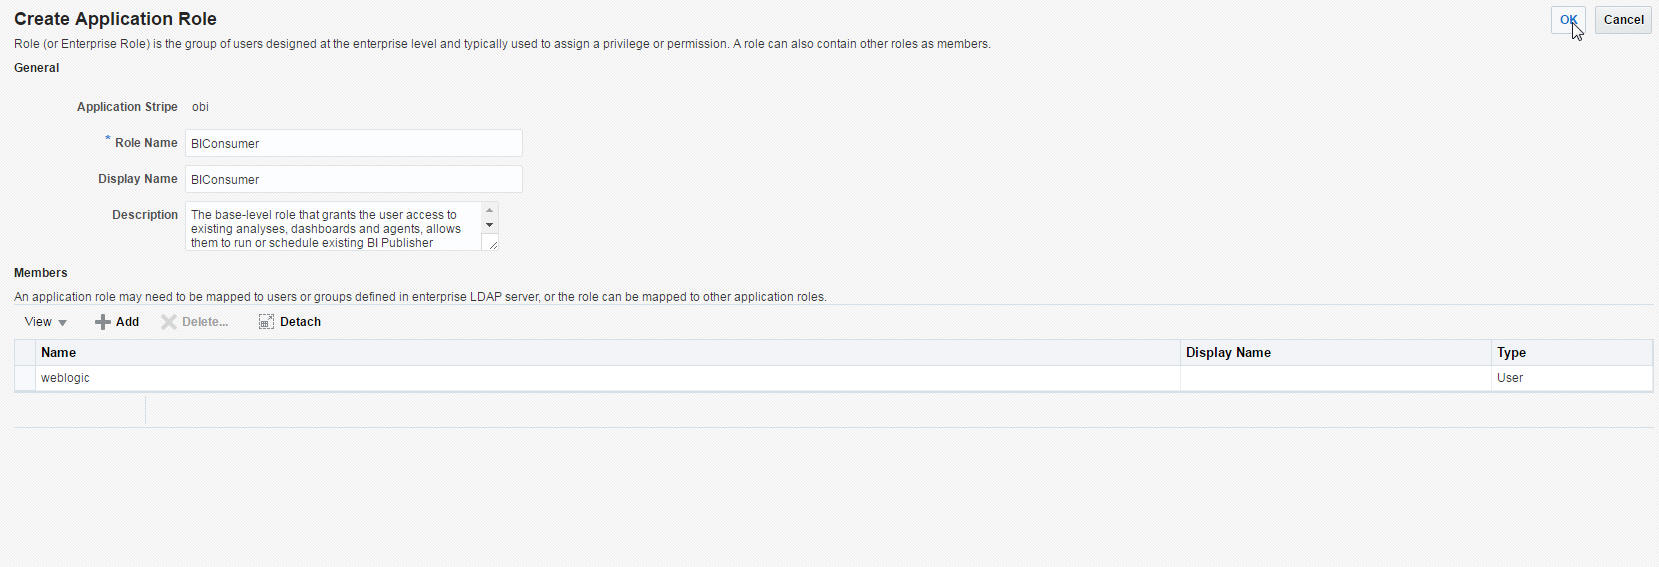
- Specify the following details:
- Role Name
- Display Name
- Description
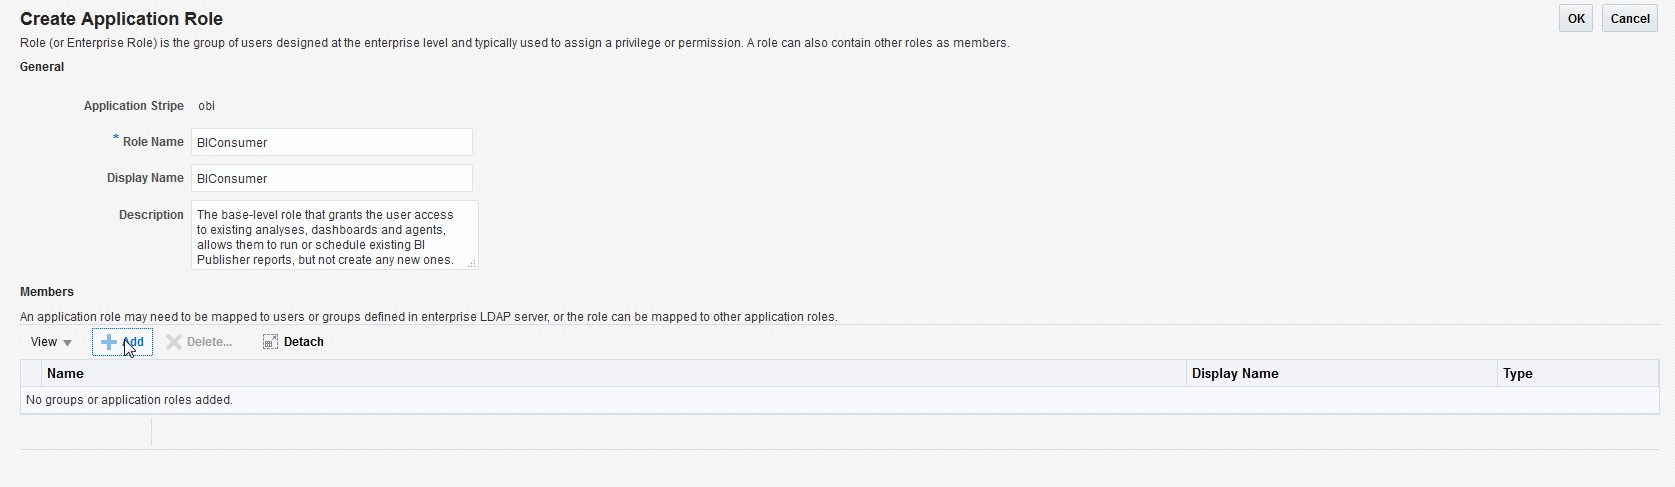
- Click ‘Add’ to add the application role to
the members family. The same can later be mapped to required Users or
Groups defined in Enterprise LDAP server, or the role can be mapped to
other application roles.
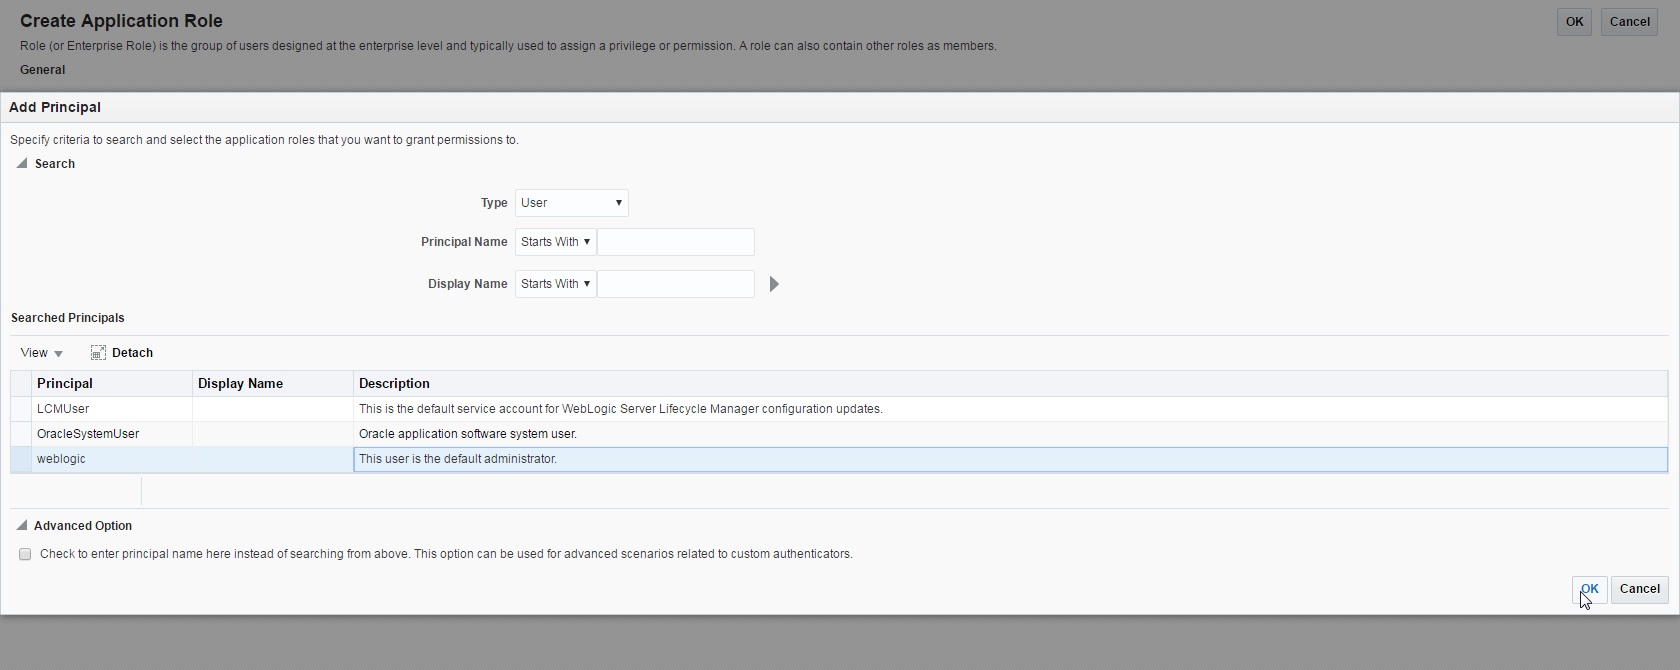
- Add the Weblogic
User by selecting “weblogic” in the ‘Searched Principals’
section and click ‘OK’. The Weblogic User is added to the
application role.
- Click ‘OK’.
The new role is added to the list of application roles.
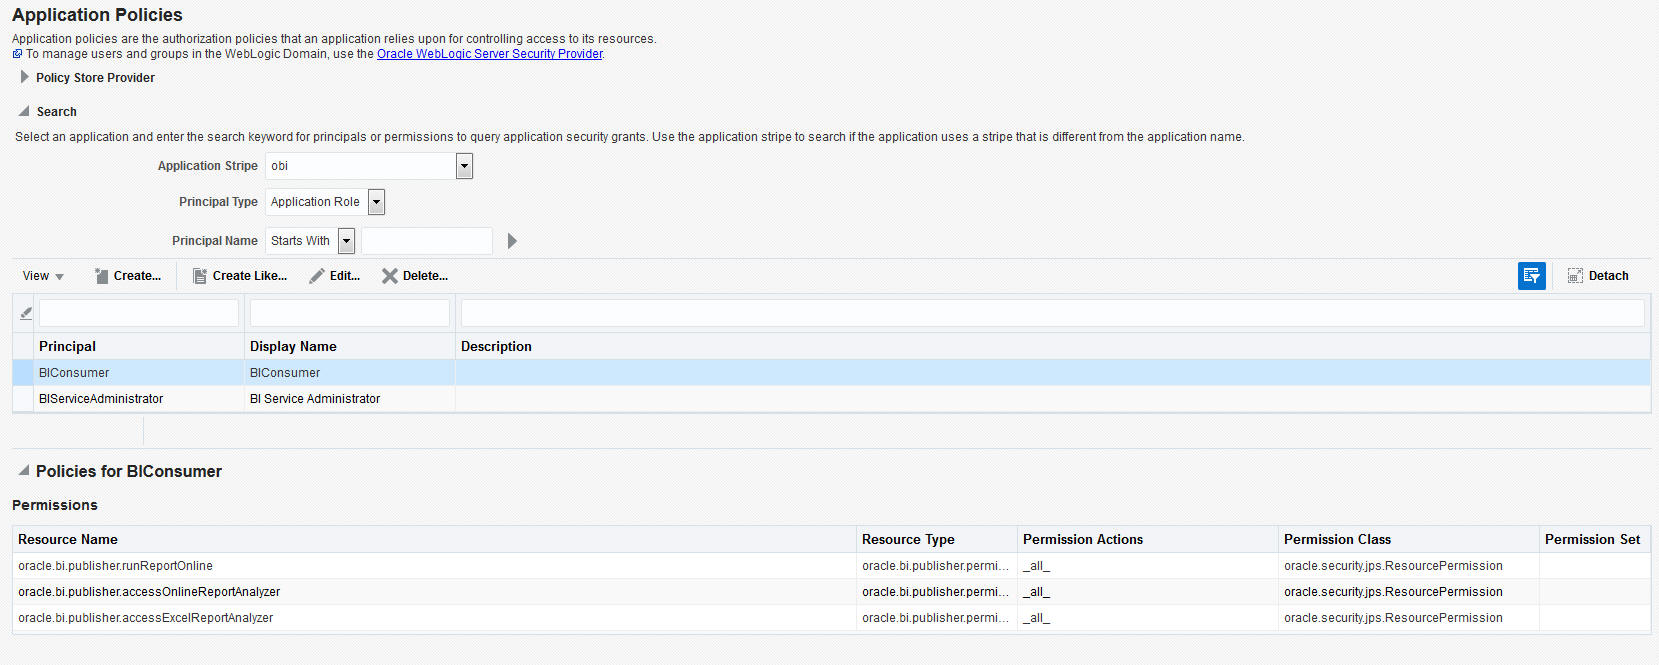
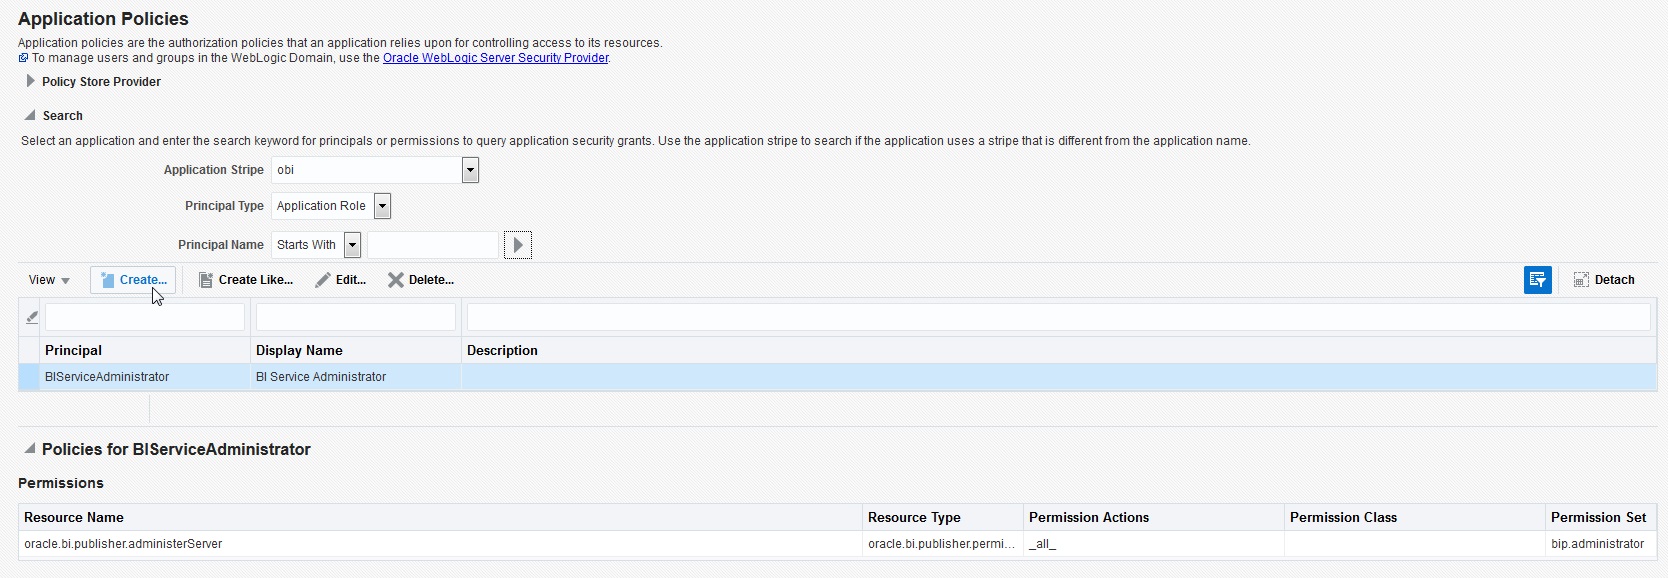
To Create WebLogic Application Policies
- Login to Enterprise Manager using the URL - http://hostname:port/em.
- Select Weblogic Domain > Security > Application Policies
as indicated in the following screen:
- In the Application
Stripe field, select ‘obi’ from the drop-down list. Click
‘Create’.
- In ‘Create
Application Grant’ screen, under the Grantee section, click ‘Add’.
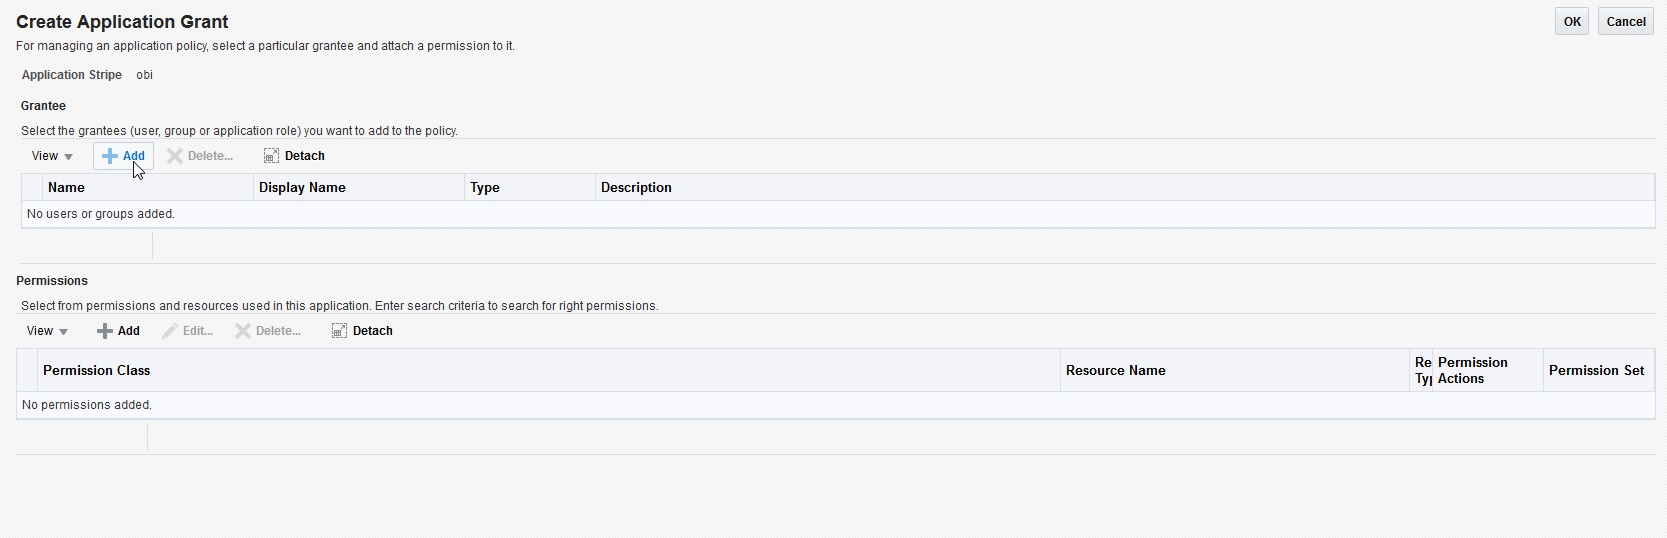
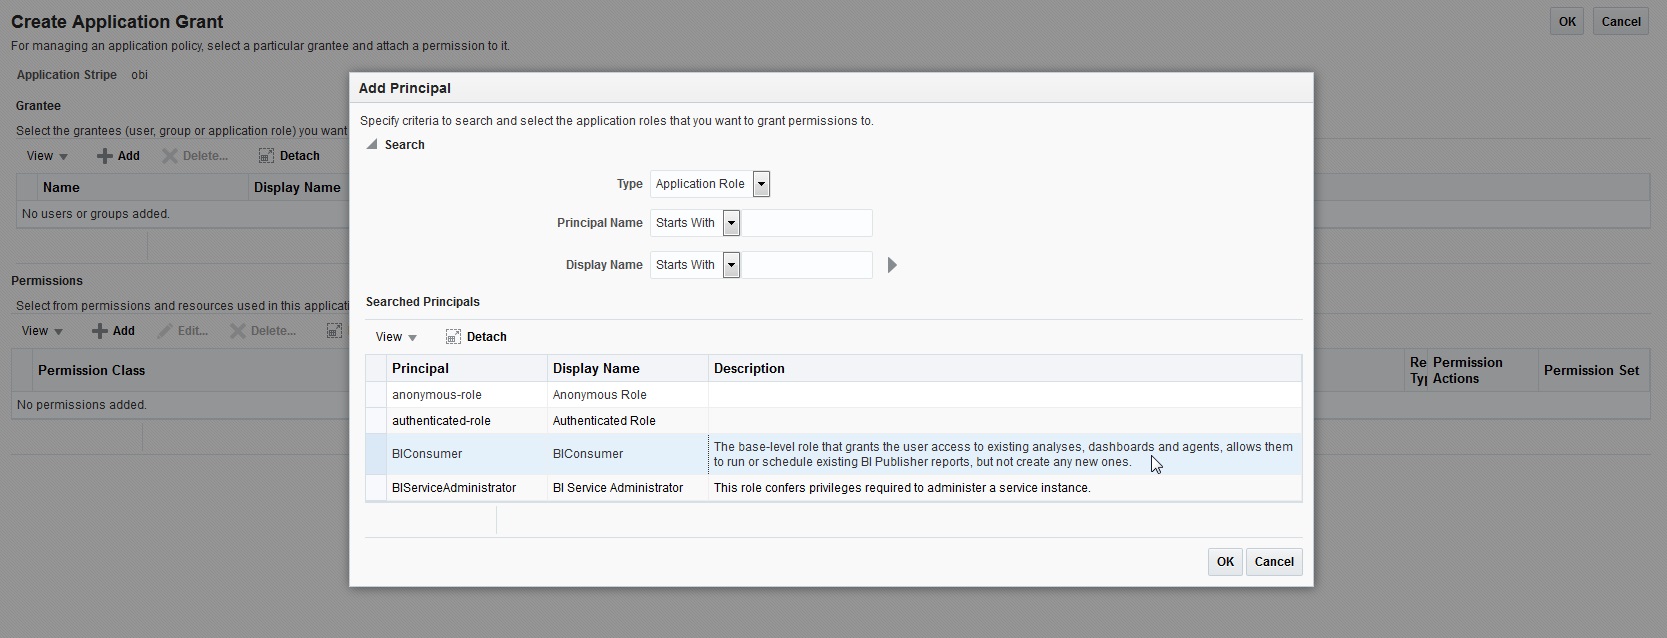
- Select the
newly created application role from the list and click ‘OK’.
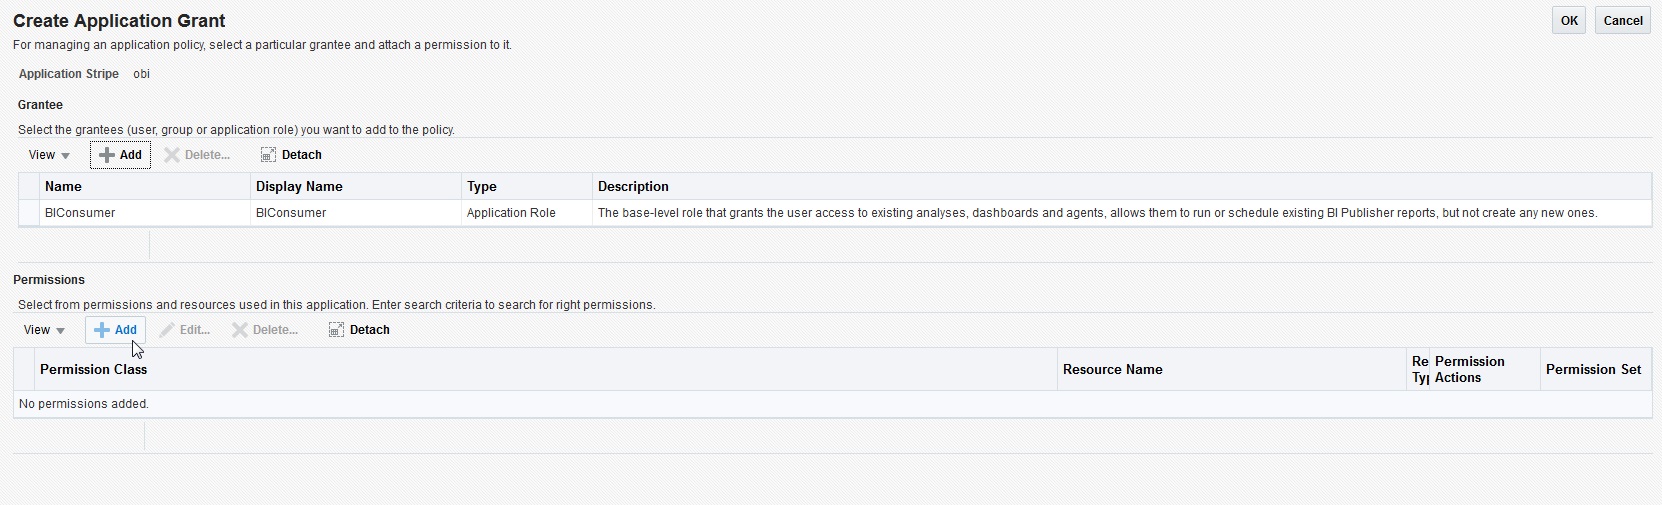
The new role is added to the list.
- In the ‘Permissions’
section, click ‘Add’.
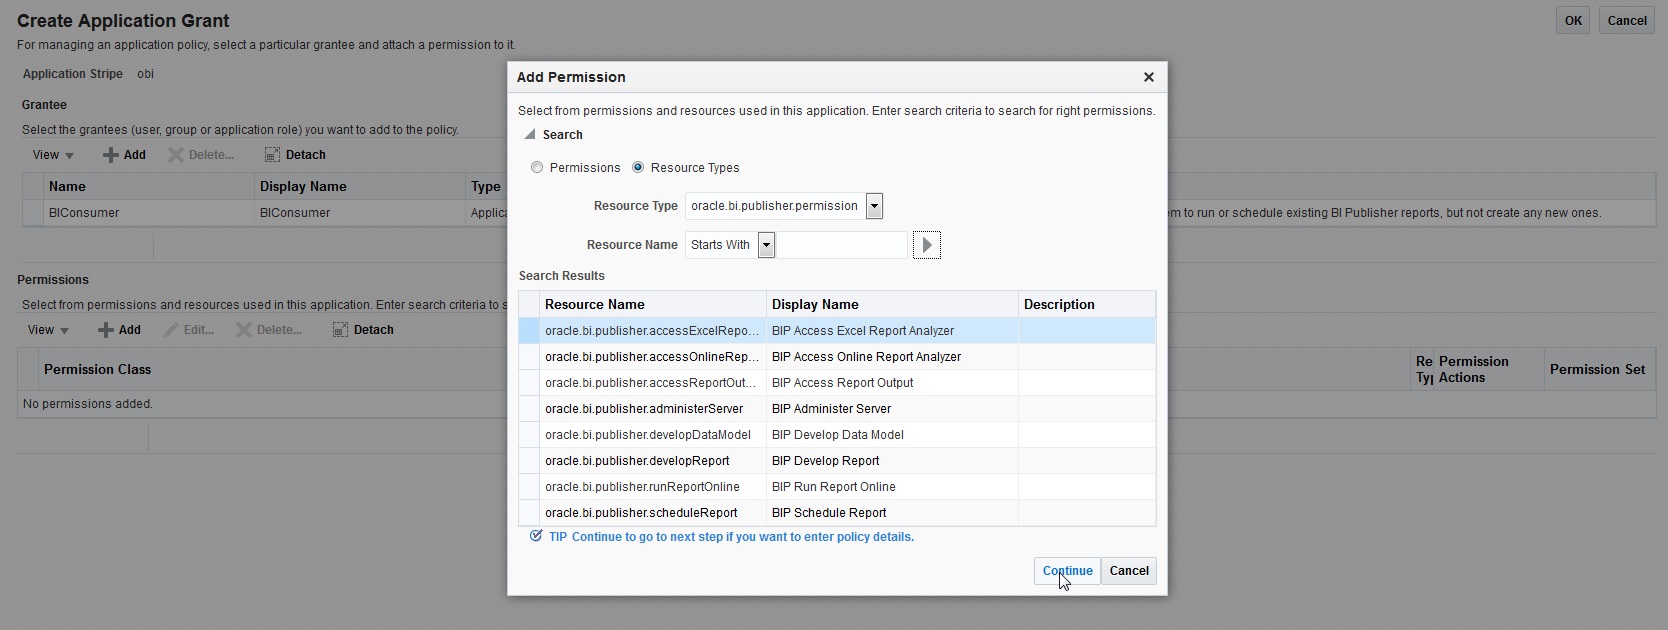
- In the search
criteria, select ‘Resource Type’ and select the resource
type from the drop-down list. Select the required resource from the search
results and click ‘Continue’.
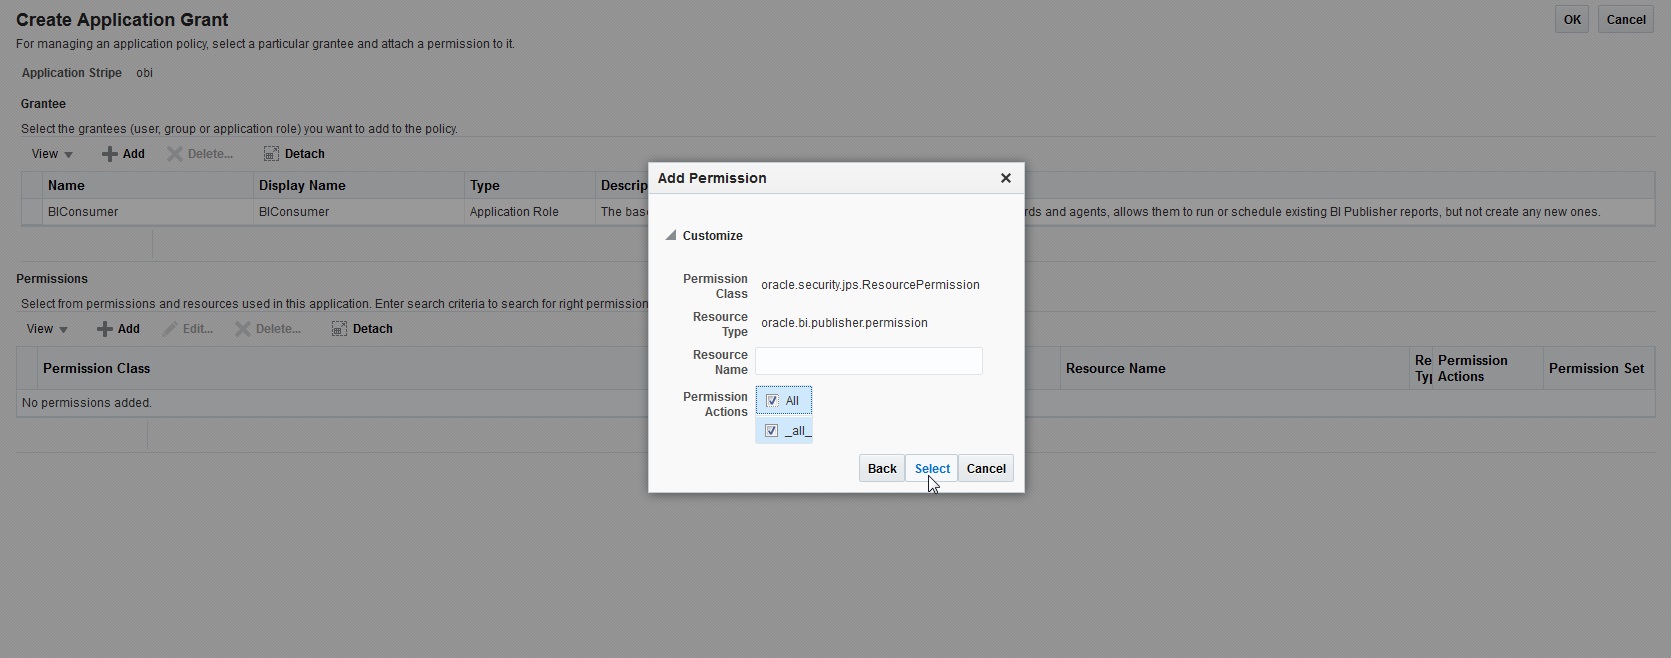
- Define the
required permission(s) for the application role by selecting the appropriate
Permission Class and Permissions Actions check box. Click ‘Select’.
- The selected
permissions are defined to the application role. Similarly you can define
the required permissions for other application roles.
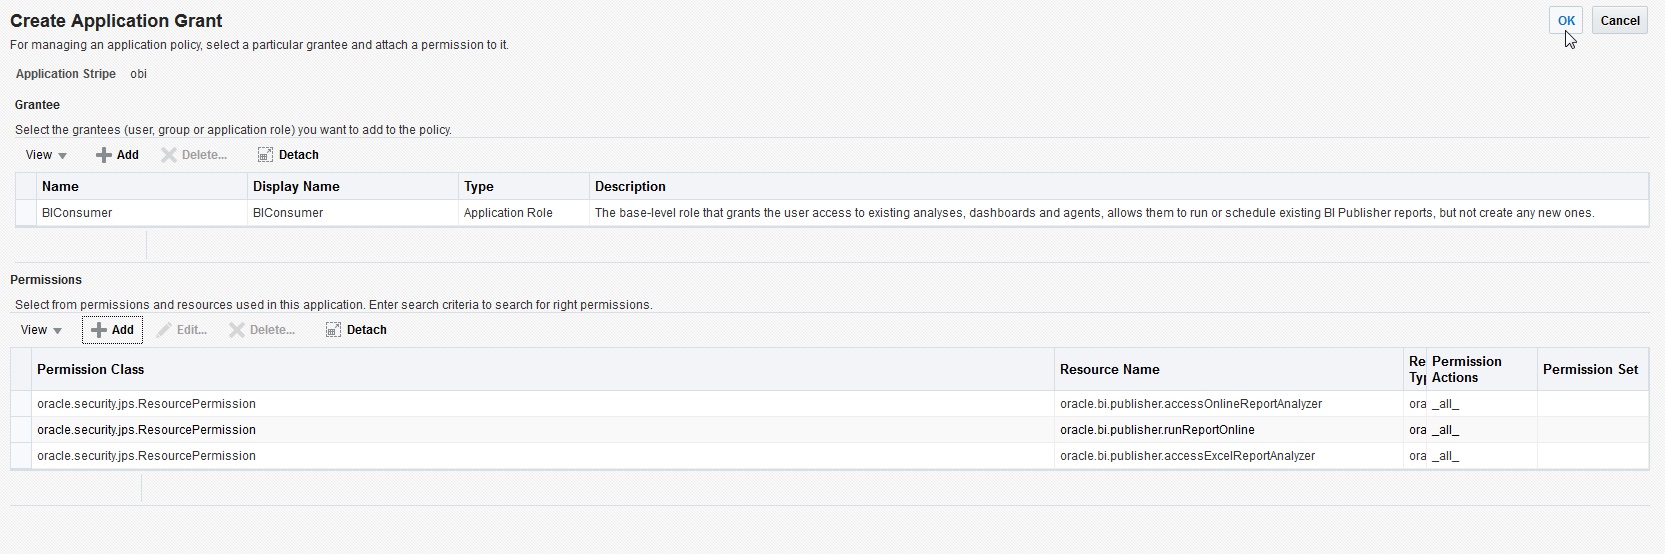
- Once done,
click ‘OK’.