11. Simulation of Liquidity Structures
11.1 Introduction
Banks/Customers can simulate the structure, perform the sweep and check the balances using the sample data for a specific period of time. If the results are satisfactory, this structure can be saved for real time use. Simulation structure provides the following benefits:
- Check post sweeping balances using historical data
- Make account level changes and simulate to observe changes in balances
- Create new structures based on user requirements and simulate with user input data
- Convert simulated structures to real structure
- Copy the interest rates and terms & conditions while converting the simulated structure into real structure and redefine if required
11.2 Simulation with New Data
You can use the Simulator screen to simulate new data and generate structures.Click on Simulator Tab and select Simulator New link to open screen..
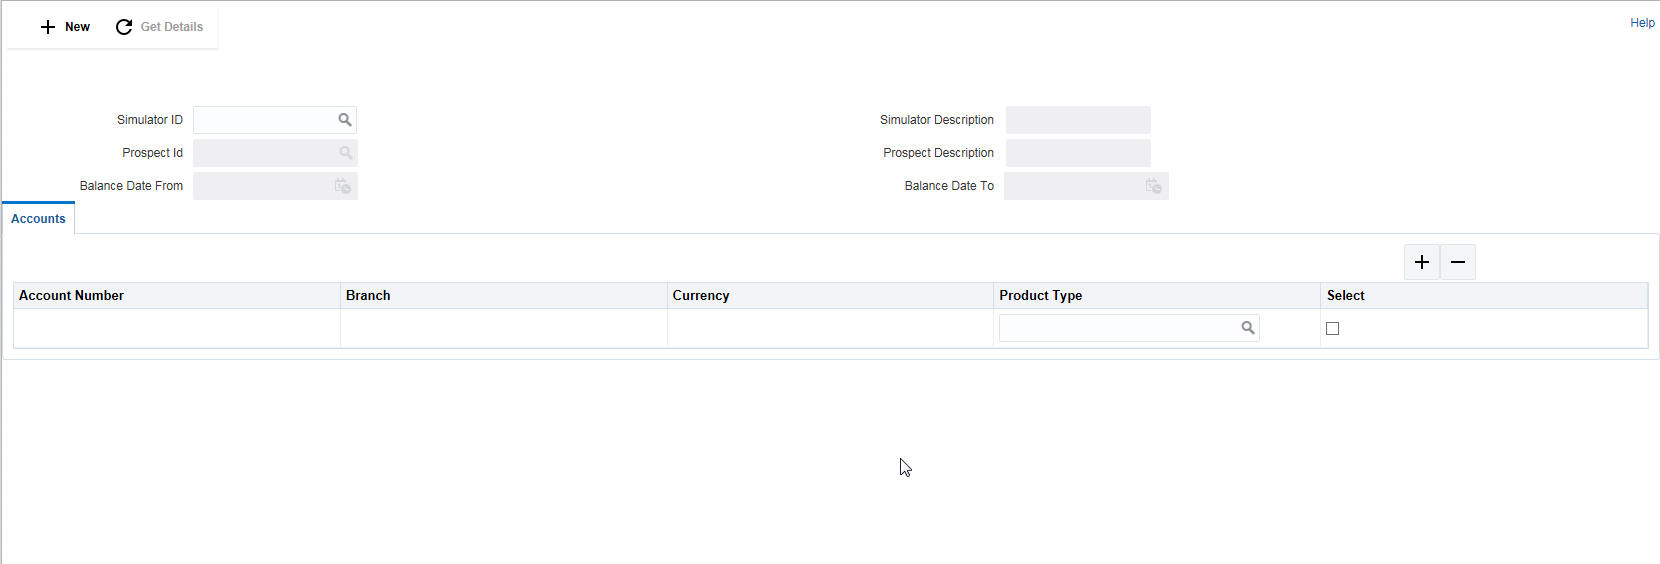
Click New button to start a new simulation. You can specify the following details here:
Simulator ID
The system displays the simulator ID that is auto generated.
Simulator Description
Specify a description for the simulator ID.
Prospect ID
The system displays the auto generated prospect ID.
Prospect Description
Specify a description for the prospective customer.
Balance Date From
Specify the start date for the simulation.
Balance Date To
Specify the closing date for the simulation. The To date should be more than the From date.
11.2.1 Adding Accounts for the Structure
To add accounts click on Sample File button to download the excel file from the system. You can enter the account details and Click Upload button to upload the file.
Product Type
Specify the product from the pick list. All the accounts uploaded will be assigned this product type.
Click on ‘+’ button to add accounts. All the uploaded accounts will be listed here. You can select the accounts and click ‘ADD’.
Click ‘Next’ button to start creating the structure.The liquidity structure can be designed and the balances can be viewed in as in the normal structure maintenance.
For more information on ‘Structure Maintenance’ screen refer to the section ‘“Maintaining a Structure” on page 7’ in this User Manual.
Once the structure is designed and parameters are set, you can click on ‘Simulate’ button. The structure will be saved and sweeps will be executed.
Note
The simulation will be executed only if the balances uploaded are for the period in which the simulation is executed.
You will be directed to the Reports screen. ,
Click on ‘Submit for Approval’ or ‘Discard’.
11.3 Simulation with Existing Data
You can use the Simulator screen to simulate existing data and generate structures.Click on ‘Simulator’ Tab and select ‘Simulator Existing’ link to open screen..
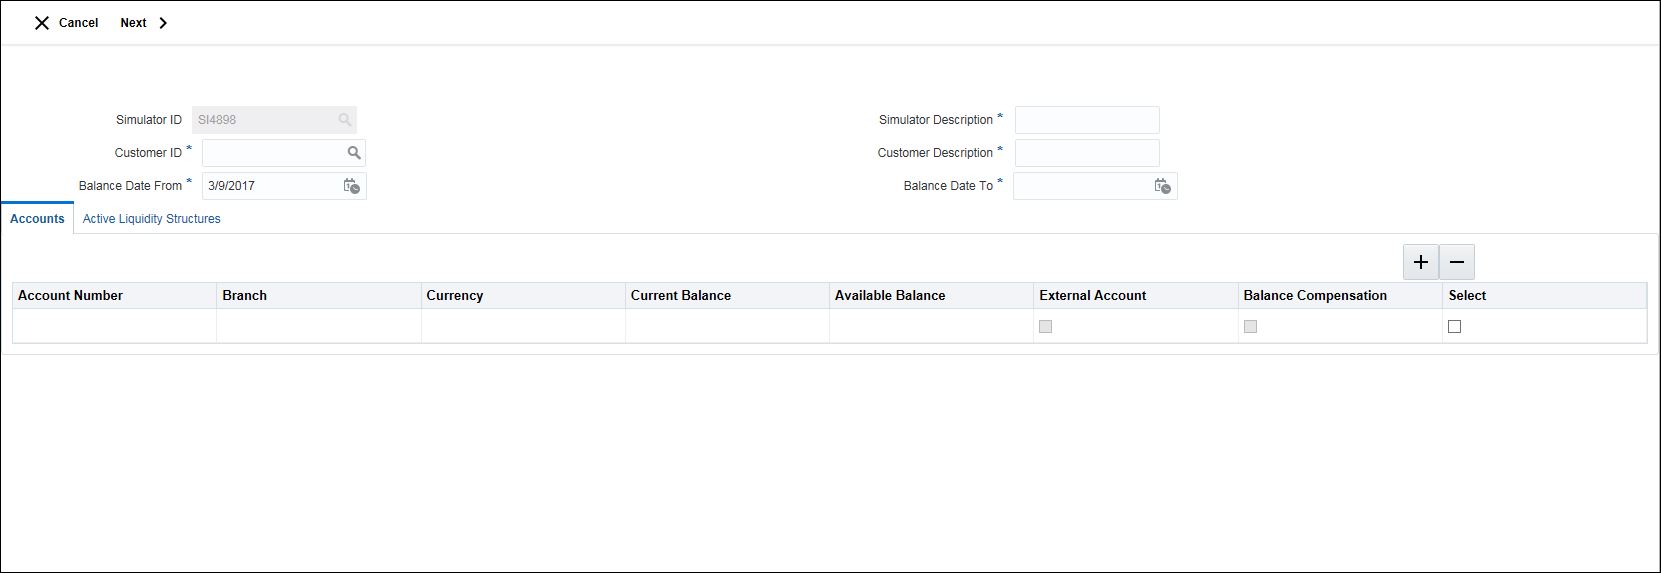
Click New button to start a new simulation. You can specify the following details here:
Simulator ID
The system displays the simulator ID that is auto generated.
Simulator Description
Specify a description for the simulator ID.
Customer ID
Specify the customer ID. You can select the customer ID from the option list. The list displays all the customer IDs maintained in the system.
Customer Description
Specify a description for the prospective customer.
Balance Date From
Specify the start date for the simulation.
Balance Date To
Specify the closing date for the simulation. The To date should be more than the from date.
11.3.0.1 Simulating with Active Structure
For simulating an existing active structure, click on ‘Active Liquidity Structure’ tab.
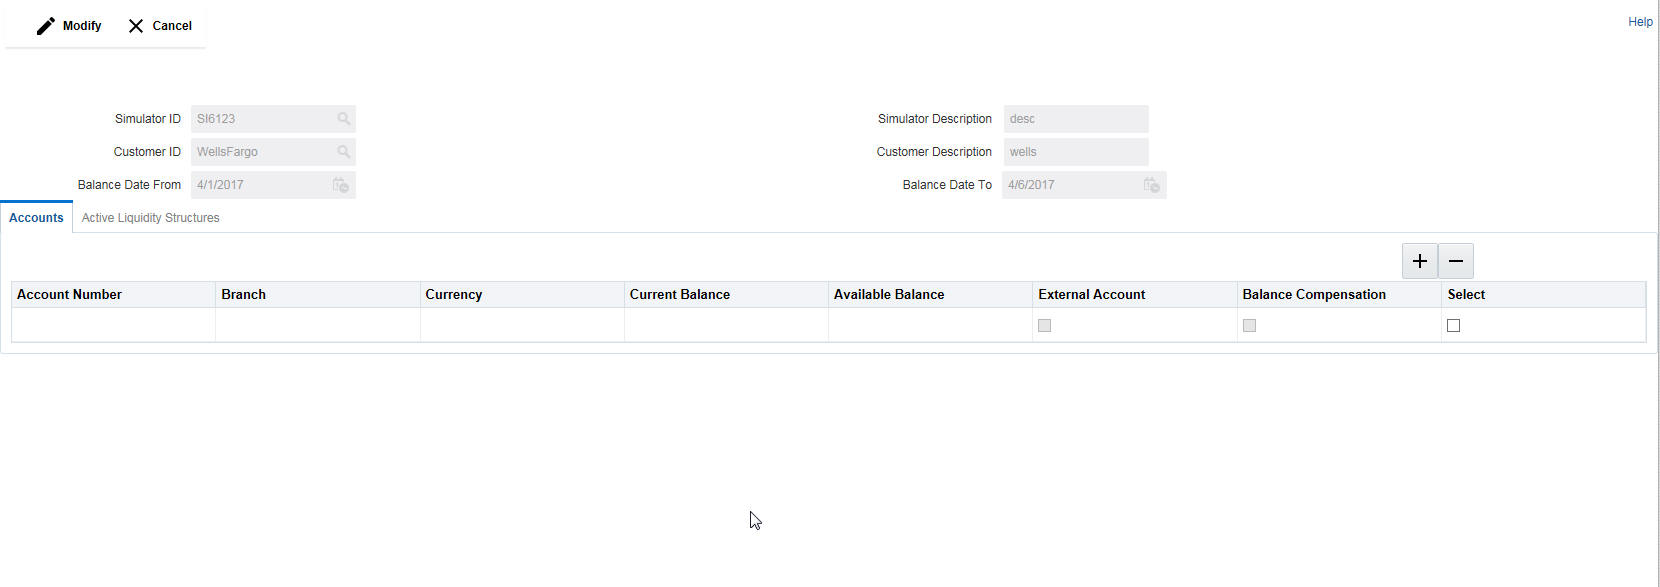
Click on + button to view all the active structures listed out. Select the structure required and click ‘ADD’.
You can add new accounts for the selected structure if required. Click on ‘Account’ tab to open it. Click on ‘+’ button to add accounts. All the uploaded accounts will be listed here. You can select the accounts and click ‘ADD’.
After the structure selection (also if required account selection) click ‘Next’ button to go to the next screen. Here you can view the structure selected and the new accounts selected. Now you can start adding account to the structure.The liquidity structure can be designed and the balances can be viewed in as in the normal structure maintenance.
For more information on ‘Structure Maintenance’ screen refer to the section ‘“Maintaining Accounts in the Structure” on page 5’ in this User Manual.
Click on ‘Simulate’ button to save the simulation structure. Sweeps will get executed and you will be directed to reports screen.
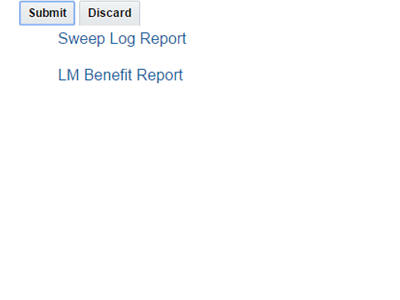
Click on ‘Submit for Approval’ or ‘Discard’.