2. EMS Maintenances
2.1 Introduction
This chapter contains the following sections:
- Section 2.2, "Message Media Control Maintenance"
- Section 2.3, "Media Maintenance"
- Section 2.4, "Message Queues Mapping Maintenance"
- Section 2.5, "Message Queue Maintenance"
- Section 2.6, "SWIFT Message Notification Browser"
- Section 2.7, "SWIFT Net Service Definition"
- Section 2.8, "Mapping Rule Group"
- Section 2.9, "Defining Rule Group"
- Section 2.10, "Routing Rule Definition"
- Section 2.11, "Defining Protocol Parameter"
- Section 2.12, "File Transfer Adapter Connector Configuration"
- Section 2.13, "Distinguished Name Definition"
- Section 2.14, "Defining Debulk Rule"
- Section 2.15, "Connectivity Operation Manager"
- Section 2.18, "Defining Bulk Preference"
2.2 Message Media Control Maintenance
The messages that are sent from and delivered to your bank are transmitted and received over sources that are external to Oracle FLEXCUBE. We shall call these external sources Media Control Systems (MCS).
In a distributed environment, the database of a branch is located in a node or server. The MCS of the messages are also installed in a node. Thus, while defining an MCS, you also need to indicate the node in which it is installed.
An MCS can handle only one media, hence you need to set up several media control systems for the various media types maintained for your bank. Apart from indicating the media type for an MCS, you can indicate separate directories from which Oracle FLEXCUBE should read and write incoming and outgoing messages for a given media.
You can maintain MCS details in the ‘Message Media Control Maintenance’ screen. The details that you specify in this screen control the medium of delivery and reception of messages.
This section contains the following topic:
- Section 2.2.1, "Maintaining Message Media Control"
- Section 2.2.2, "Specifying File Prefix"
- Section 2.2.3, "Saving Message Media Control Details"
2.2.1 Maintaining Message Media Control
You can invoke ‘Message Media Control Maintenance’ screen by typing ‘MSDMGMCS’ in the field at the top right corner of the Application tool bar and clicking on the adjoining arrow button.
If you are maintaining details of a new media control system click the ‘New’ button on the Application toolbar. The ‘Message Media Control Maintenance’ screen is displayed without any details.
If you are calling an MCS record that has already been defined, double-click a record of your choice from the summary screen. In the ‘Summary’ screen, all the media control system records that you have entered will be displayed in a tabular form.
The screen is as shown below:
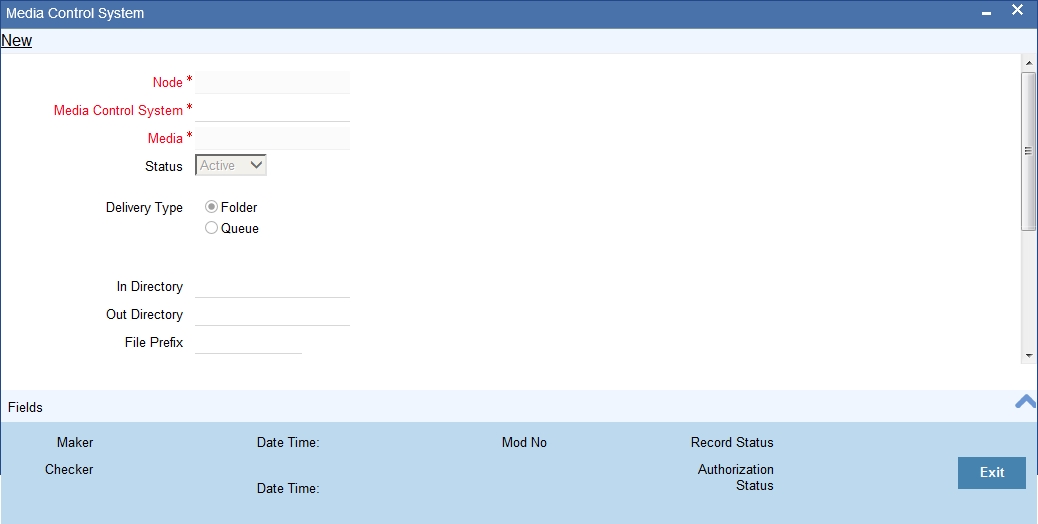
You can capture the following details on this screen.
Delivery Type
You can specify the delivery type here. Oracle FLEXCUBE gives you two options viz. Folder and Queue. Depending on the selection you make, you must specify the details in the corresponding fields as follows.
- Folder – If you choose ‘Folder’ as the delivery type, you must specify the In Directory and the Out Directory. Further, after selecting ‘Folder’, if you check the option ‘Unix Swift Server’ for a UNIX SWIFT server, then you must specify the Unix In-Directory and the Unix Out-Directory. For a Windows Server the In-Directory and Out-Directory must be maintained.
- Queue – If you select ‘Queue’ as the delivery type, you must specify In Queue, Out Queue and the type of queue – i.e. ‘Microsoft Message Queue’ or WebSphere Messaging Queue’.
Media Control System
In Oracle FLEXCUBE, each media control system that you maintain is identified by a 15-character code called an MCS code. You can follow your own convention for devising this code.
The code that you assign an MCS should be unique as it is used to identify the external source.
Node
A node is the Database instance on which Oracle FLEXCUBE is installed. On assigning a code to an MCS, you can indicate the node or server at which the MCS is located. A branch’s database is located in a node and an MCS is also installed in a node. Thus, while defining an MCS, you need to indicate the node at which it has been installed.
Media
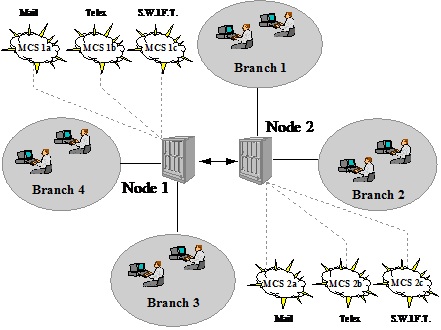
You need to also specify the media for which your bank is using the MCS. For example, if you set up an MCS say ‘MCSSWIFT’ and indicate the media type as SWIFT, it indicates that Oracle FLEXCUBE can receive and transmit SWIFT messages through the MCS ‘MCSSWIFT’.
The following diagram illustrates a typical MCS setup:I
Status
You need to indicate the status of an MCS. The status options available are:
- Active and
- Passive
It is only when an MCS is active that messages will be directed to it. If, for instance, an MCS located at the node in which your branch operates malfunctions, you can indicate that the MCS is passive. In this case, Oracle FLEXCUBE will not write into or read from the directories on the node. No message will be routed through a passive MCS.
In Directory and Out Directory
If the Delivery Type is ‘Folder' and the SWIFT server is a Windows server then apart from indicating the node on which an MCS is located, you should specify the full path of the directories from which Oracle FLEXCUBE should read and write incoming and outgoing messages respectively.
File Prefix
For the MCS you are maintaining, you should identify the outgoing message files generated in a different media with unique prefixes. Enter the unique identifier in this field.
In Queue
If the Delivery type is Queue then you should enter the full path of the queue in the node or server into which the MCS should store the incoming message hand-off file. Oracle FLEXCUBE, by default, will pickup and read all incoming messages transmitted through the specified media from this queue.
Out Queue
Enter the full path of the queue in the node or server into which the message hand-off file from Oracle FLEXCUBE for the specified media should be stored. The MCS, which is also, located on the same node, will by default store the outgoing messages in this queue.
Unix Swift Server
At your bank, if the SWIFT server is on UNIX, check this option. Subsequently, in this screen, you should specify the default In and Out Directories for the SWIFT message hand-off files.
To continue with your normal banking operations you can connect to another node and indicate the directory on that node from which Oracle FLEXCUBE should read from and write into.
SWIFT Server on UNIX
If the SWIFT server at your bank is on UNIX, you should indicate it in this screen. Subsequently, you should specify the default In and Out Directories for the SWIFT message hand-off files.
Specifying the UNIX In-Directory
You can specify the full path of the directory on the SWIFT server where you would like to store incoming SWIFT message files. Oracle FLEXCUBE will pickup and process all incoming SWIFT message files from this directory.
Specifying the UNIX Out-Directory
In this screen, you can also specify the directory on the SWIFT server where you would like to store outgoing SWIFT message hand-off files.
2.2.2 Specifying File Prefix
For the MCS you are maintaining, you should identify outgoing message files generated in the media with unique prefixes. Oracle FLEXCUBE will automatically prefix outgoing message hand-off files for the MCS with the prefix that you specify.
2.2.3 Saving Message Media Control Details
After you have made the mandatory entries, save the record. An MCS record that you have created should be authorized by a user, bearing a different Login ID, before the End of Day process (EOD) is run.
2.3 Media Maintenance
This section contains the following topic:
2.3.1 Maintaining Message Media Details
You can invoke the ‘Message Media Maintenance’ screen by typing ‘MSDMEDMT’ in the field at the top right corner of the Application tool bar and clicking on the adjoining arrow button.
If you are maintaining details of a new media type, select ‘New’ from the Actions Menu, or click new icon on the toolbar. The ‘Message Media Maintenance’ screen is displayed without any details.
If you are calling a Message Media Maintenance record that has already been defined, double-click a record from the summary screen. In the ‘Summary’ screen, all the media maintenance records that you have entered will be displayed in a tabular form.
The screen is as shown below:
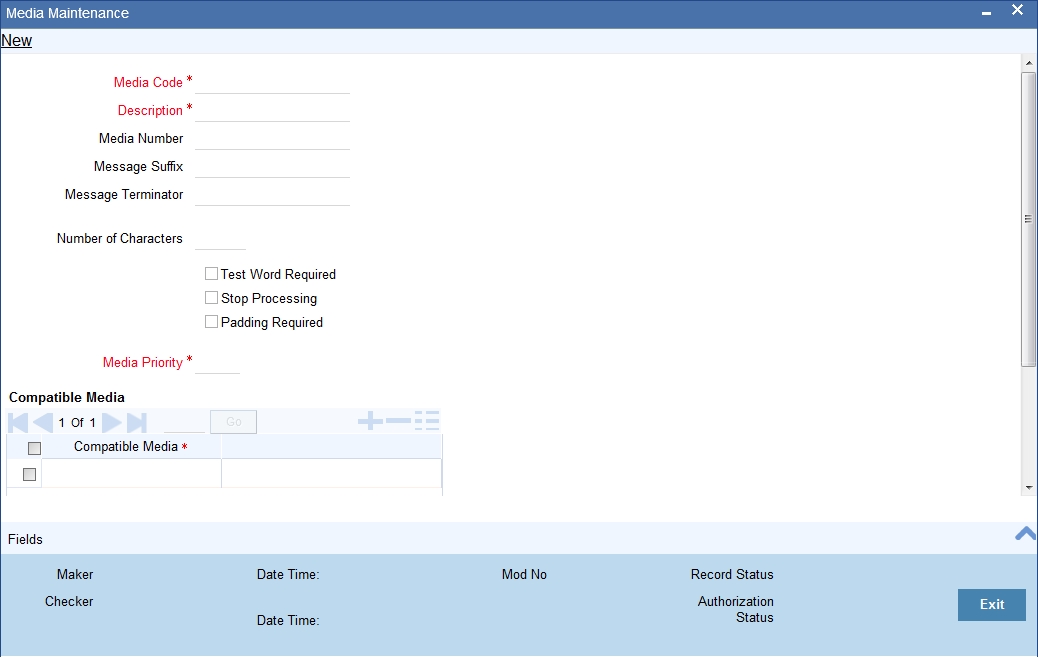
In this screen, you can maintain the following:
- The media types that can be used to transmit messages from and to your bank, and
- The compatible media for the media type you are maintaining.
For each media type that you maintain, you should indicate the following parameters:
Indicating a Code to Identify a Media Type
In Oracle FLEXCUBE, each media type that you maintain is identified with a fifteen-character code called ‘Media Code’. You can follow your own convention for devising this code. A Media Type could be SWIFT, Mail, Telex, ISO etc.
The code that you assign a media type should be unique as it is used to identify the media. When you need to indicate that a message should be transmitted through a particular media type, you just need to specify the code assigned to the media type. The message will be routed automatically through the media.
You can enter a short description of the media type that you are maintaining. The description will help you identify the code that it represents.
Opting for Message Markers
You can opt to append end-message markers to outgoing messages generated in a media. These markers are referred to as “Padding Characters” in Oracle FLEXCUBE. Padding characters would, typically, be a standard set of characters, probably repeated. The padding characters that you specify will be inserted, automatically, at the end of every outgoing message in the media. You can indicate the padding characters that mark the end of an outgoing message (in a specific media) in the Message Suffix field.
When defining a media, you can also capture the padding characters that mark the end of incoming messages in the media. The system identifies the end of an incoming message, in a file containing several messages, when it encounters the padding characters you have captured for a media type. Enter the padded characters that mark the end of incoming messages in a media in the Message Terminator field.
Note
For Message suffix to be used for Outgoing messages, the ‘Padding Required’ option should be selected.
Repeating a Set of Padding Characters
If you opted to suffix an outgoing message with a set of padding characters, indicate in the ‘Number of Characters’ field the number of times the set should be repeated.
The padding characters will be suffixed to every outgoing message in the media as many times as you specify.
Halting the Processing of Messages
At any time, you can opt to halt the processing of messages in a specific media. To halt the processing of incoming and outgoing messages in a media, invoke this screen and navigate to the maintenance record for the media, and choose the ‘Stop Processing’ option. When you save your changes to the record, Oracle FLEXCUBE will stop processing messages in the media.
Indicating the Compatible Media for a Media Type
For each media type that you maintain, you can also indicate other media that are compatible. The format of compatible media should be similar.
For example, you are maintaining details for the media type 'mail'. You have indicated media type 'Fax' as compatible media.
In this case, whenever a message is faxed, it will be in the mail format defined for the message in the ‘Advice Format File Maintenance’ screen.
You can indicate compatible media by selecting the relevant media codes from the picklist available. To add compatible media for a media type, select the code that identifies the compatible media, and click add icon. To delete compatible media, select the codes that identify the media, and click delete icon.
Note
The compatible media that you indicate for a media type should have already been maintained as a media type.
Setting the Priority
While maintaining media types, you can set the usage priority for each media type that you maintain. Consequently, when dispatching messages to customers, the media type used for sending the message will be the one that is higher on the priority rating. For instance, let us assume that the following are the types of media that you bank uses to send advices to customers:
- SWIFT
- Telex
- Fax
- ISO
You have assigned the following priority to each of these media types:
Media Type |
Media Priority |
SWIFT |
2 |
1 |
|
Telex |
4 |
Fax |
3 |
ISO |
5 |
When dispatching messages to customers, the system will, by default, select the media type in the ascending order of the priority that you have specified.
Note
The rating that you specify can be anything between 1 and 99. A rating of one would indicate that the usage of the particular media type is highest on the priority list; whereas, a rating of 99 indicates that the usage or the particular media type is of lowest priority.
Saving the Record
After you have made mandatory entries, save the record. A media maintenance record that you have created should be authorized by a user, bearing a different Login ID, before the End of Day processes are triggered. Click ‘Exit’ or ‘Cancel’ button to return to the application.
2.4 Message Queues Mapping Maintenance
This section contains the following topic:
2.4.1 Invoking Message Queue Mapping Maintenance Screen
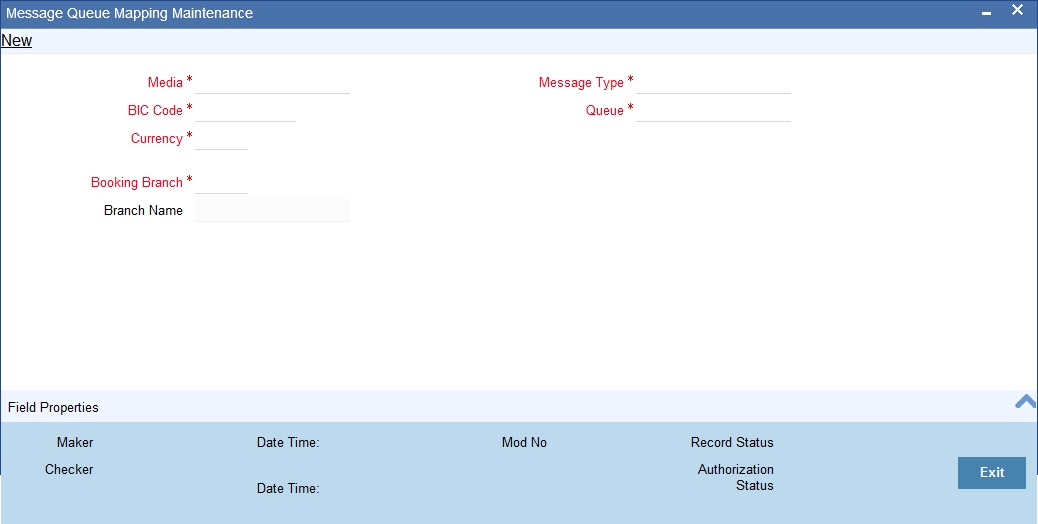
For a combination of the following, you can specify the branch (queue) to which the message is to be routed:
- Media – represents the delivery media. Typically, your entry would be SWIFT.
- BIC Code - represents the receiver’s BIC for which a message is to be routed to a specific queue in a particular branch. You can choose to specify the wildcard ALL entry in this field.
- Message Type - indicates the message type for which routing procedure is required. You can choose to specify the wildcard ALL option as well.
- Currency – indicates the currency of the incoming message. For example in an MT103 it would be from tag 32A. This is an additional parameter to determine the booking branch and queue. You can also choose to maintain the wildcard ALL entry.
- Booking Branch - indicates the branch in which incoming messages are routed. A set of all the branches having the same SWIFT BIC as that mentioned in the BIC code field is displayed in the option list.
This maintenance can be performed through the ‘Message Queue Mapping Maintenance’ screen. To invoke this screen, type ‘MSDQMAP’ in the field at the top right corner of the Application tool bar and click the adjoining arrow button.
While processing MT700 and MT701 messages the System ensures the following:
- MT700 and MT701 are routed to the branch using the Incoming Routing specifications maintained in this screen
- For MT700, in case the branch of the corresponding MT701 is different from that of the MT700 it is re-aligned to the branch of the MT700
- MT701 messages are processed only after the receipt of MT 700
Note
You can maintain the same BIC for the main branch as well as the sub-branch.
2.5 Message Queue Maintenance
This section contains the following topic:
2.5.1 Maintaining Message Queues
All Incoming SWIFT and Non Swift Messages are routed through a messaging queue. You need to maintain different user queues to which incoming messages are directed. Users with appropriate rights are allowed to access a particular queue.
You can invoke the ‘Message Queue Maintenance’ screen by typing ‘MSDQMNT’ in the field at the top right corner of the Application tool bar and clicking the adjoining arrow button.
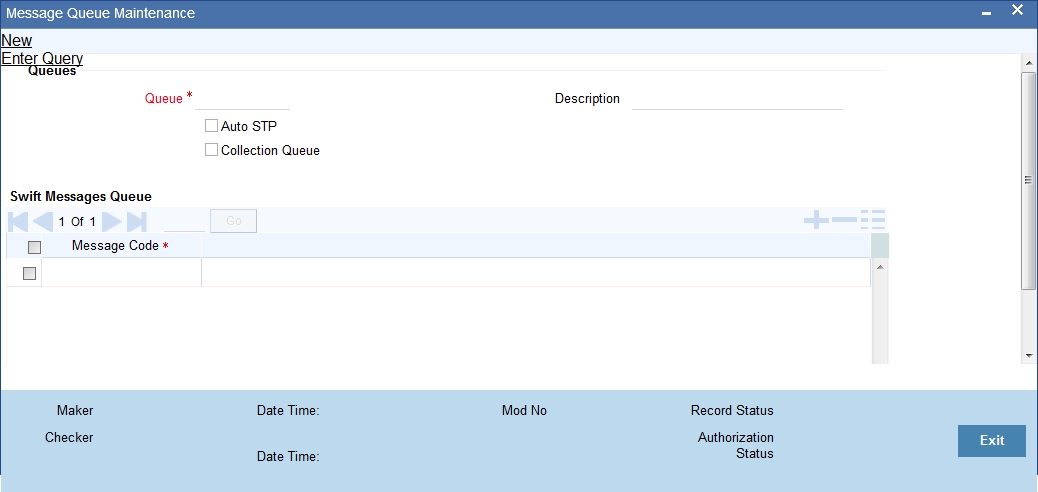
In this screen you can capture the following details for a queue:
- A name to identify the queue uniquely throughout the system.
- A short description of the queue
- The codes of various SWIFT and Non SWIFT messages that would be routed to this queue.
- Select collection queue flag if the unique queue you are maintaining here is a collection Queue.
Note
The codes of various SWIFT and Non SWIFT messages list in the grid is not applicable for the collection queue.
You can assign a message to more than one messaging queue. At the time of maintaining rules for a message (discussed in the subsequent sections of this document), you can select the appropriate queue for each rule from the list of queues to which the message is linked.
Select ‘Add’ from the Actions menu in the Application tool bar or click add icon to add a message to the queue being defined. To remove a message from the queue, Select ‘Delete’ from the Actions menu in the Application tool bar or click delete icon.
2.6 SWIFT Message Notification Browser
This section contains the following topic:
2.6.1 Viewing SWIFT Notification Messages
SWIFT provides the following two types of notification messages to Oracle FLEXCUBE:
- ACK/NACK acknowledgement messages indicating whether the message has been successfully delivered to SWIFTNet FIN service, from where it gets forwarded to the receiving system
- Delivery notification messages indicating whether the message was successfully delivered to the receiving system
You can access these notifications messages using ‘SWIFT Message Notification Browser’ screen. You can invoke this screen by screen by typing ‘MSSNOTIB’ in the field at the top right corner of the Application tool bar and clicking on the adjoining arrow button. The screen is as shown below:
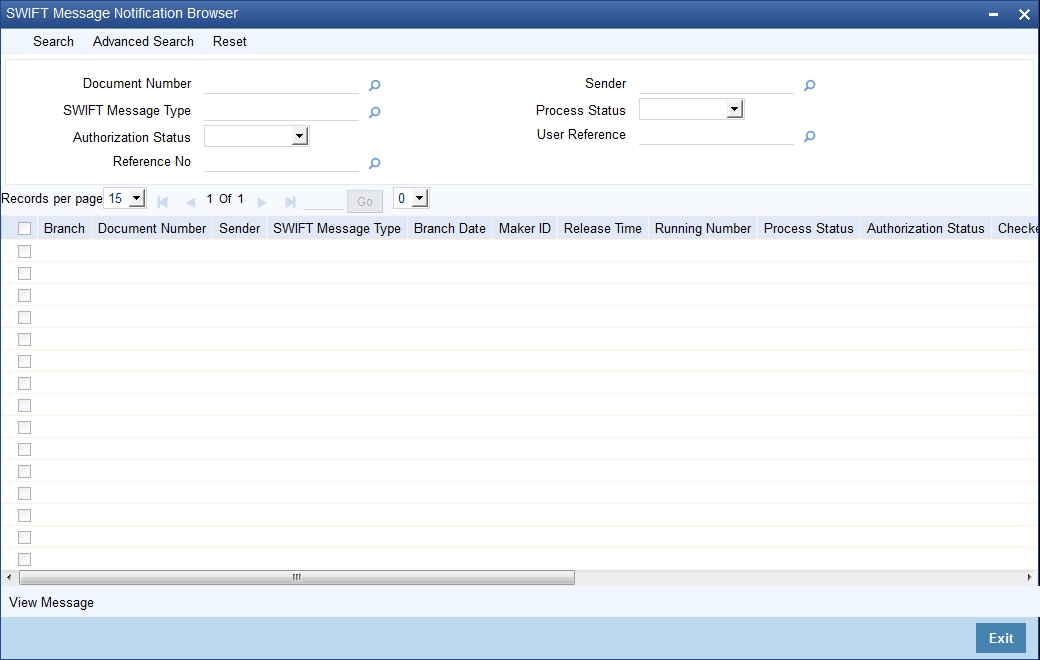
In the above screen, you can base your queries on any or all of the following parameters and fetch records:
- Document Number
- Sender
- Swift Message Type
- Process Status
- Auth Status
- User Reference
- Reference Number
Select any or all of the above parameters for a query and click ‘Search’ button. The records meeting the selected criteria are displayed.
System displays the following details pertaining to the fetched records:
- Branch
- Document Number
- Sender
- Swift Message Type
- Branch Date
- Maker ID
- Maker Date
- Repair Reason
- Running Number
- Process Status
- Auth Status
- Checker DT Stamp
- Checker ID
- Message Reference
- Receiver
- User Reference
- Mod Number
- reference Number
A back-ground job running on this browser updates the outgoing browser with the ACK/NAK and the delivery status of the message. The sender MUR from SWIFT is used to match the corresponding outgoing browser record.
2.7 SWIFT Net Service Definition
This section contains the following topic:
- Section 2.7.1, "Invoking SWIFTNet Service Definition Screen"
- Section 2.7.2, "Viewing SWIFTNet Service Summary"
2.7.1 Invoking SWIFTNet Service Definition Screen
You can invoke ‘SWIFTNet Service Definition’ screen by typing ‘MSDSWTSR’ in the field at the top right corner of the Application tool bar and clicking on the adjoining arrow button...
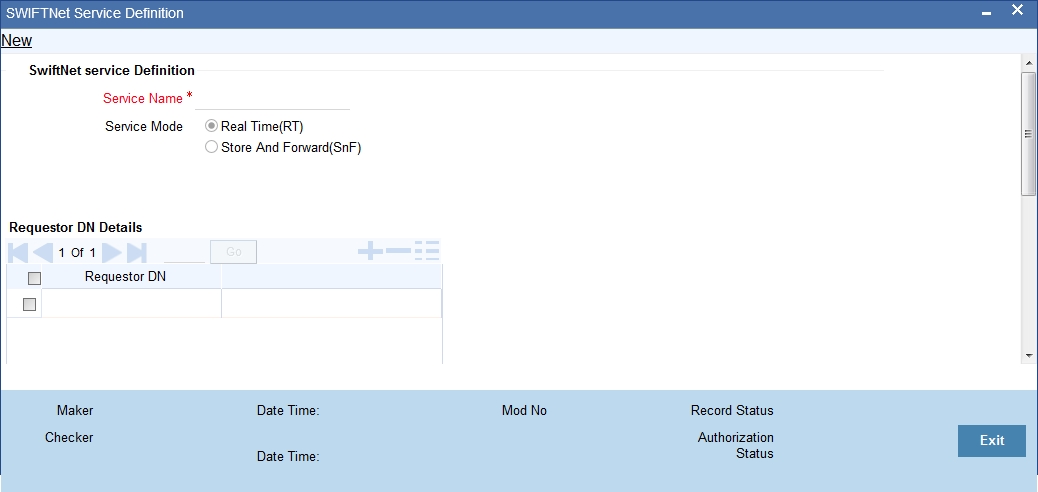
You can specify the following fields:
Service Name
Specify the SWIFTnet Service name.
Service Mode
Select any one of the service modes.
- Real Time- Choose this button to send and receive messages real-time. Real Time option is selected by default.
- Store and Forward - Choose this button to send and receive messages by storing them in a location and then forwarding them accordingly.
Request for DN
Specify the DN that send request to the service. You must provide at least one DN.
Responder DN
Specify the DN that responds request to the service. You must provide at least one DN.
2.7.2 Viewing SWIFTNet Service Summary
You can invoke ‘SWIFTNet Service Summary’ screen by typing ‘MSSSWTSR’ in the field at the top right corner of the Application tool bar and clicking on the adjoining arrow button.
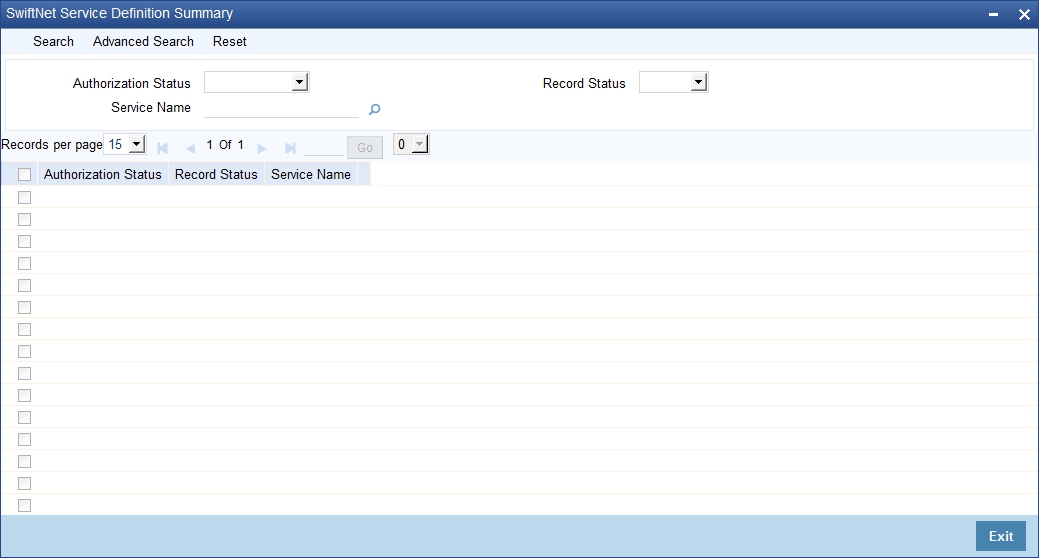
You can search using one or more of the following parameters:
- Service Name
- Authorization Status
- Record Status
Once you have specified the search parameters, click ‘Search’ button. The system displays the records that match the search criteria for the following
- Service Name
- Authorization Status
- Record Status
2.8 Mapping Rule Group
This section contains the following topic:
- Section 2.8.1, "Invoking Rule Group Mapping Screen"
- Section 2.8.2, "Viewing Rule Group Mapping Summary"
2.8.1 Invoking Rule Group Mapping Screen
You can invoke ‘Rule Group Mapping’ screen by typing ‘MSDRLMAP’ in the field at the top right corner of the Application tool bar and clicking on the adjoining arrow button..
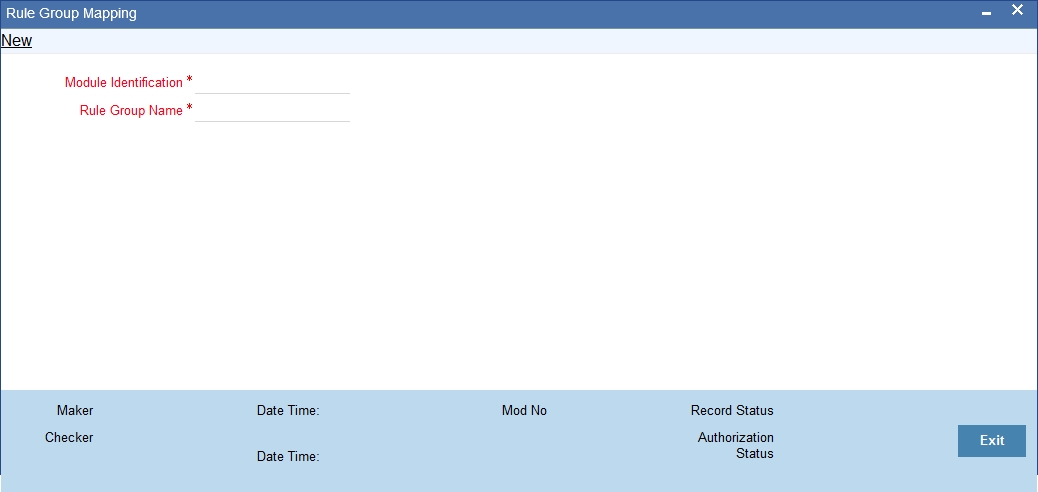
You can specify the following fields:
Rule Group Name
Specify the unique rule group name.
Module ID
Specify the module that needs to be mapped to the created rule group.
2.8.2 Viewing Rule Group Mapping Summary
You can invoke “Rule Group Mapping Summary” screen by typing ‘MSSRLMAP’ in the field at the top right corner of the Application tool bar and clicking on the adjoining arrow button.
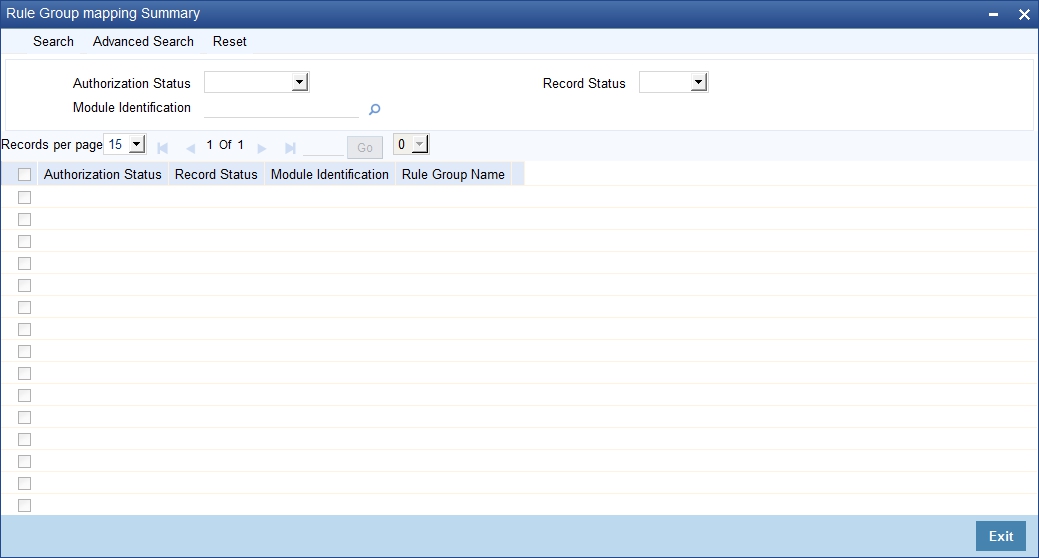
You can search using one or more of the following parameters:
- Authorization Status
- Record Status
- Module ID
Once you have specified the search parameters, click ‘Search’ button. The system displays the records that match the search criteria for the following
- Authorization Status
- Record Status
- Rule Group Name
- Description
2.9 Defining Rule Group
This section contains the following topic:
2.9.1 Invoking Rule Group Definition Screen
You can invoke ‘Rule Group Definition’ screen by typing ‘MSDRLGRP’ in the field at the top right corner of the Application tool bar and clicking on the adjoining arrow button..
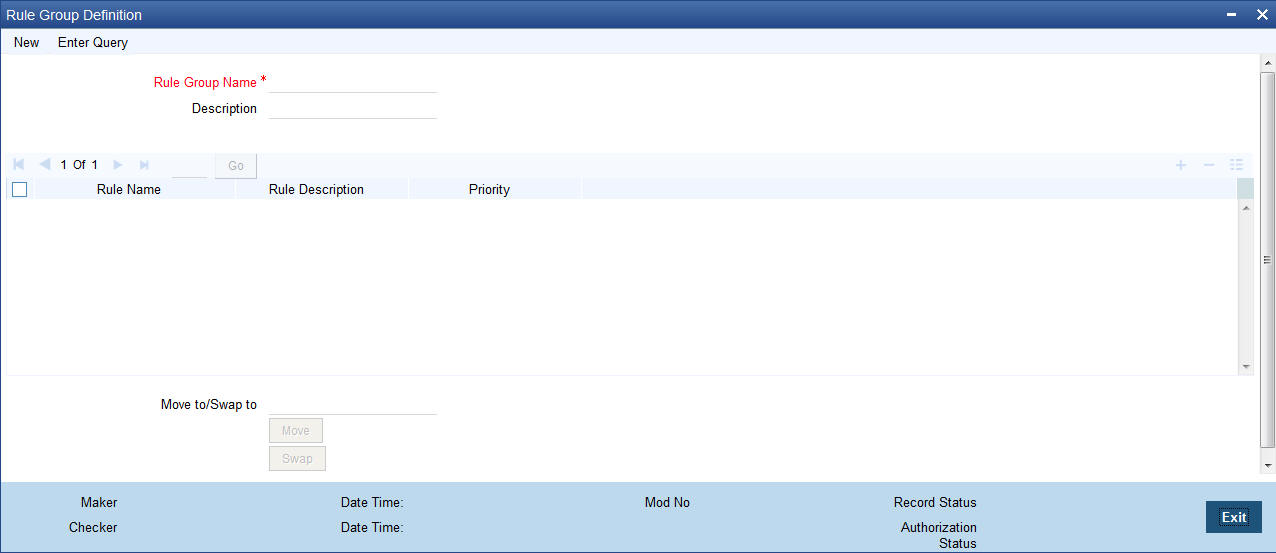
You can specify the following fields:
Rule Group Name
Specify the unique rule group name.
Description
Enter a brief description of the rule group.
Rule Name
Specify the rule name from the rule definition screen.
Rule Priority
Specify the priority of the rule name.
Move To/ Swap
Specify whether the priority must be swapped or moved.
Move
Click the Move button to move the priority record.
Swap
Click the Swap button to swap the priority record.
2.9.2 Viewing Rule Group Summary
You can invoke “Rule Group Summary” screen by typing ‘MSSRLGRP’ in the field at the top right corner of the Application tool bar and clicking on the adjoining arrow button.
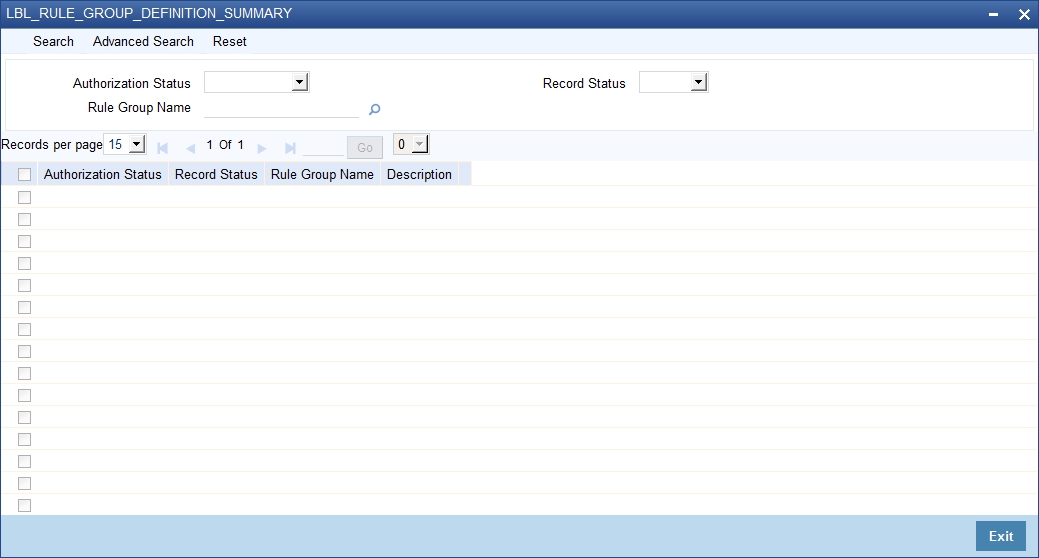
You can search using one or more of the following parameters:
- Authorization Status
- Record Status
- Rule Group
Once you have specified the search parameters, click ‘Search’ button. The system displays the records that match the search criteria for the following
- Authorization Status
- Record Status
- Rule Group Name
- Description
2.10 Routing Rule Definition
This section contains the following topic:
- Section 2.10.1, "Invoking Routing Rule Definition Screen"
- Section 2.10.2, "Viewing Rule Definition Summary"
2.10.1 Invoking Routing Rule Definition Screen
You can invoke ‘Rule Definition’ screen by typing ‘MSDRLDFN’ in the field at the top right corner of the Application tool bar and clicking on the adjoining arrow button..
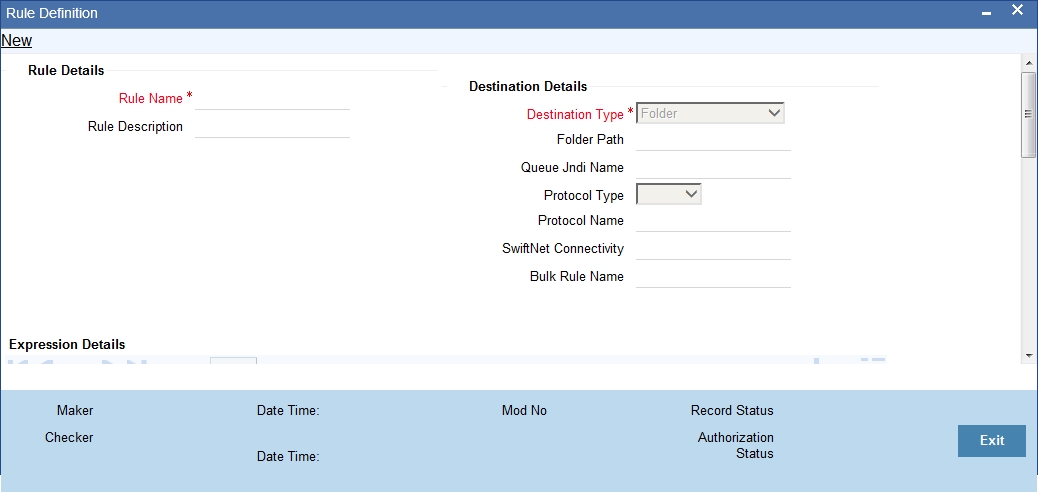
You can specify the following fields:
Rule Name
Specify the unique rule name.
Description
Enter a brief description of the rule name.
Destination Type
Specify the type of destination to which the messages matching the rule criteria is being sent. Select any of the options given below:
- SWIFT connector
- Bulker
- Folder
- Queue
Folder Path
Specify the folder path if the destination is folder.
Queue JNDI Name
Specify JNDI name of the Queue. This is mandatory if the destination type is Queue.
Protocol Type
Specify the type of Protocol. Select from the following option:
- FTA
Note
This is mandatory if the destination is SWIFTNet.
Protocol Name
Specify the required protocol for the selected protocol.
SWIFTNet Connectivity
Specify the name of the connector if the destination type is SWIFTNet.
Bulk Rule Name
Specify the bulk rule name. Alternatively, you can select the bulk rule name from the option list. The list displays all valid values.
Expression Section
Specify the expression section
Scope
Specify the scope.
Left Operand Type
Select the left operand type.
Left Operand Data Type
Select the left operand data type.
Left Operand
Specify the left operand. Alternatively, select the left operand from the option list. The list displays all valid values.
Operator
Select the operator.
Right Operand Type
Select the right operand type.
Right Operand Data Type
Select the right operand data type.
Right Operand
Specify the right operand. Alternatively, select the right operand from the option list. The list displays all valid values.
Scope
Specify the scope.
Logical Operators
Select the logical operators from the drop-down list.
Pre Defined Functions
Select the pre defined functions from the drop-down list.
Parameter Name
Specify the parameter name.
Parameter Value
Specify the value of the parameter.
Parameter Type
Specify the parameter type.
Expression For
Select the expression from the drop-down list.
Final Expression
Specify the final expression.
Build Expression
Click Build Expression to build the expression.
2.10.2 Viewing Rule Definition Summary
You can invoke “Rule Definition Summary” screen by typing ‘MSSRLDFN’ in the field at the top right corner of the Application tool bar and clicking on the adjoining arrow button.
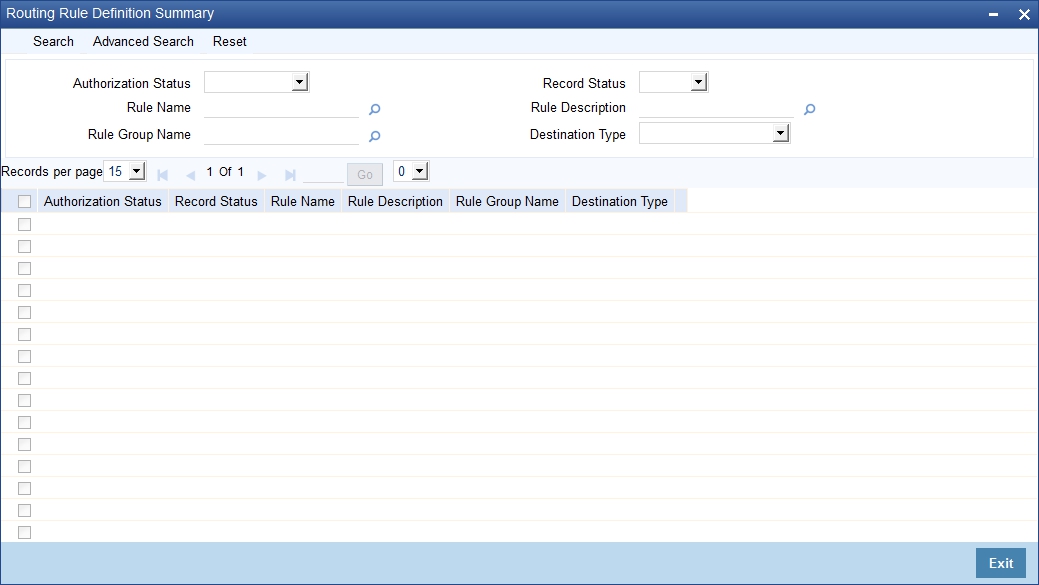
You can search using one or more of the following parameters:
- Authorization Status
- Record Status
- Rule Name
- Rule Description
- Rule Group Name
- Destination Name
Once you have specified the search parameters, click ‘Search’ button. The system displays the records that match the search criteria for the following
- Authorization Status
- Record Status
- Rule Name
- Rule Description
- Rule Group Name
- Destination Type
2.11 Defining Protocol Parameter
This section contains the following topic:
- Section 2.11.1, "Invoking Protocol Parameter Definition Screen"
- Section 2.11.2, "Viewing Protocol Parameter Definition Summary"
2.11.1 Invoking Protocol Parameter Definition Screen
You can invoke ‘Protocol Parameter Definition’ screen by typing ‘MSDPTPRM’ in the field at the top right corner of the Application tool bar and clicking on the adjoining arrow button...
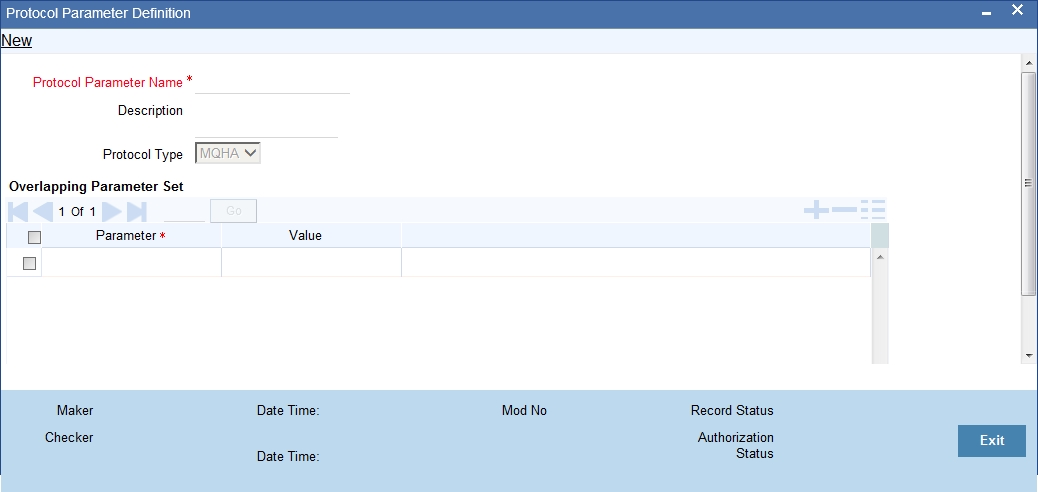
You can specify the following fields:
Protocol Parameter Name
Specify the name of the Protocol Parameter.
Description
Specify the description of the Protocol Parameter set.
Protocol Type Mode
The name of the protocol for which parameter list is defined. Select any of the option given below:
- FTA
Parameters
Specify the parameters for the protocol.
Value
Specify the value of the parameter.
2.11.2 Viewing Protocol Parameter Definition Summary
You can invoke “Protocol Parameter Definition Summary” screen by typing ‘MSSPTPRM’ in the field at the top right corner of the Application tool bar and clicking on the adjoining arrow button.
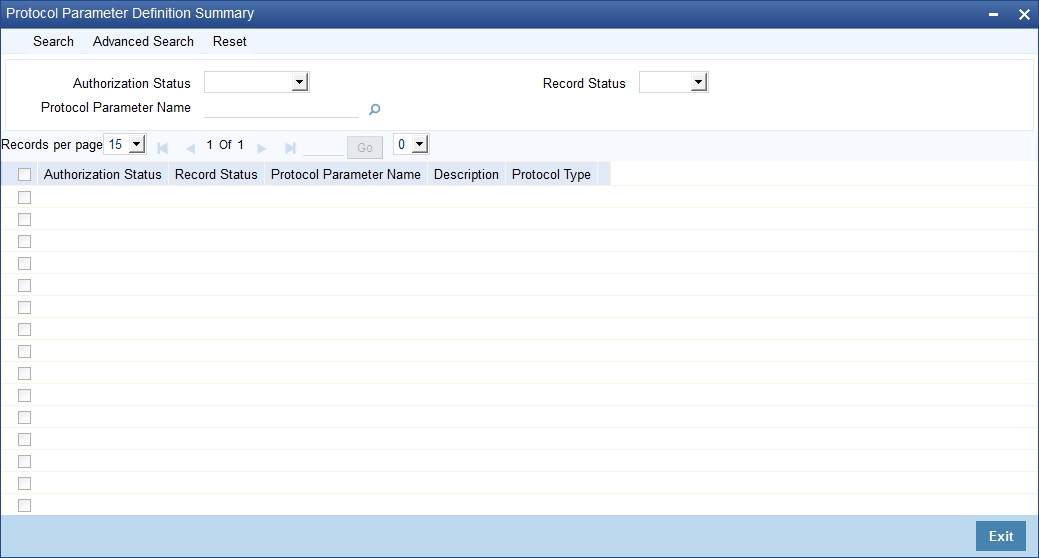
You can search using one or more of the following parameters:
- Protocol Parameter Name
- Authorization Status
- Record Status
Once you have specified the search parameters, click ‘Search’ button. The system displays the records that match the search criteria for the following
- Protocol Parameter Name
- Description
- Authorization Status
- Record Status
2.12 File Transfer Adapter Connector Configuration
You have to create below folder structure for the Swiftnet connectivity:
- Create a application base directory as per the path mentioned in the mstm_ems_system_parameters (APP_BASE_DIR)
- Create below folder structure in the application base directory:
- payload\EMS_OUT
- xsl
- In the Xsl folder copy all the xsl required for message transformation
This section contains the following topic:
- Section 2.12.1, "Invoking File Transfer Adapter Connector Configuration Screen"
- Section 2.12.2, "Viewing File Transfer Adapter Connector Configuration Summary"
2.12.1 Invoking File Transfer Adapter Connector Configuration Screen
You can invoke ‘File Transfer Adapter Connector Configuration’ screen by typing ‘MSDFTACN’ in the field at the top right corner of the Application tool bar and clicking on the adjoining arrow button...
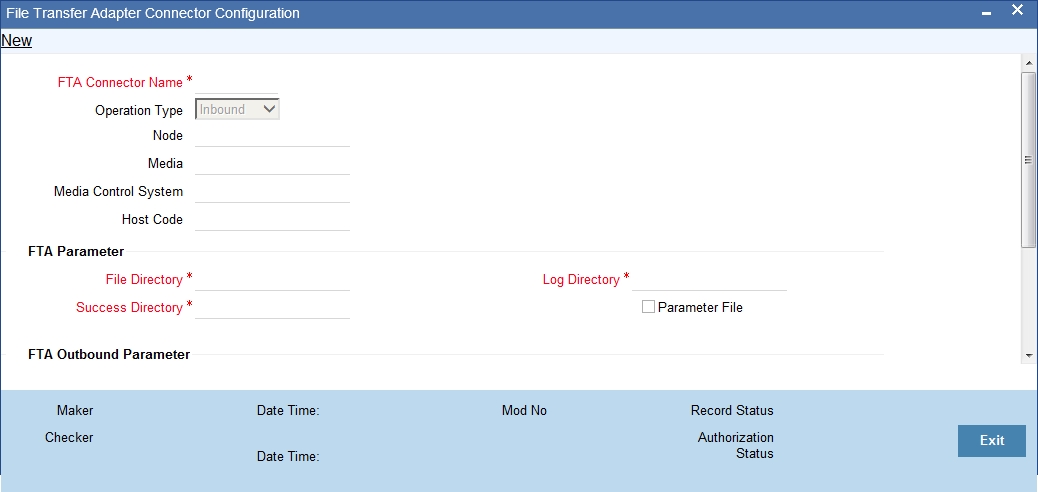
You can specify the following fields:
Operation Type
Select the type of connectivity. Choose between Inbound and Outbound.
Host Code
Specify the host code.
Parameter File Required
Check this box if FCM creates or receives a Parameter File corresponding to each and every data file in configured file directory along with data file.
Data file LAU
Check this box if FCM calculates the LAU of Data File and puts the calculated value in parameter file.
Parameter File LAU
Check this box if parameters defined at emission profile of SAG side are overridden by information in companion file.
Allow Overriding on SAG Profile
Check this box if parameters defined at the emission profile of SAG side will be overridden by information in Companion file.
File Directory
Specifies store details of emission directory for outbound connectivity and reception directory for inbound flow.
Log Directory
Specifies the responses from SAG.
Success Directory
For Outbound connectivity, Delivery notification response related to file transfer status from the SAG are placed in this directory. For inbound connectivity file transfer, success status files are placed in this folder.
Debulk Required
Check this box, if debulk is required for inbound messages.
Debulk Rule Name
Specifies the debulk rule name.
Node
Specifies the node details. This is mandatory for inbound.
Media
Specifies the media details. This is mandatory for inbound.
Media Control System
Specifies the media control system. This is mandatory for inbound.
2.12.2 Viewing File Transfer Adapter Connector Configuration Summary
You can invoke “File Transfer Connector Configuration Summary” screen by typing ‘MSSFTACN’ in the field at the top right corner of the Application tool bar and clicking on the adjoining arrow button.
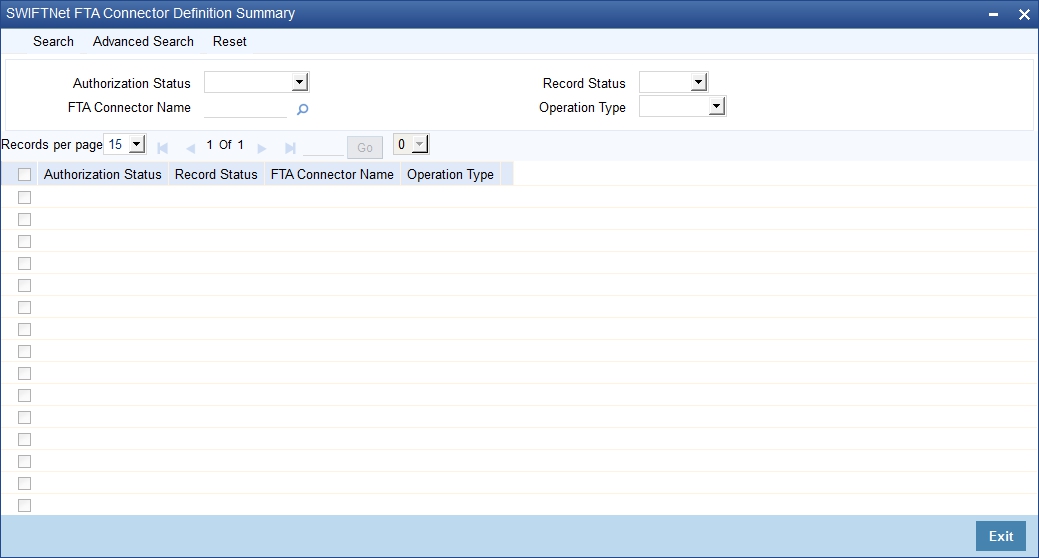
You can search using one or more of the following parameters:
- FTA Connector Name
- Operation Mode
- Auth Status
- Record Status
Once you have specified the search parameters, click ‘Search’ button. The system displays the records that match the search criteria for the following:
- FTA Connector Name
- Operation Mode
- Auth Status
- Record Status
2.13 Distinguished Name Definition
This section contains the following topic:
- Section 2.13.1, "Invoking Distinguished Name Definition Screen"
- Section 2.13.2, "Viewing Distinguished Name Summary"
2.13.1 Invoking Distinguished Name Definition Screen
You can invoke ‘Distinguished Name Definition’ screen by typing ‘MSDDSTNM’ in the field at the top right corner of the Application tool bar and clicking on the adjoining arrow button...
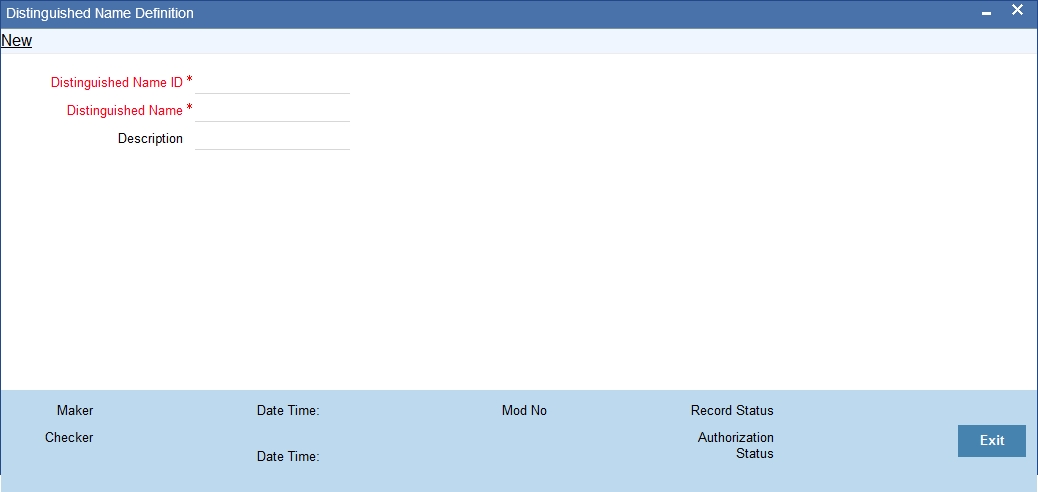
You can specify the following fields:
Distinguished Name ID
Specify the unique identification of the distinguished name.
Distinguished Name
Specify the distinguished name to identify the entity that sends or gets messages.
Description
Specify the description of the distinguished name.
2.13.2 Viewing Distinguished Name Summary
You can invoke “Distinguished Name Summary” screen by typing ‘MSSDSTNM’ in the field at the top right corner of the Application tool bar and clicking on the adjoining arrow button.
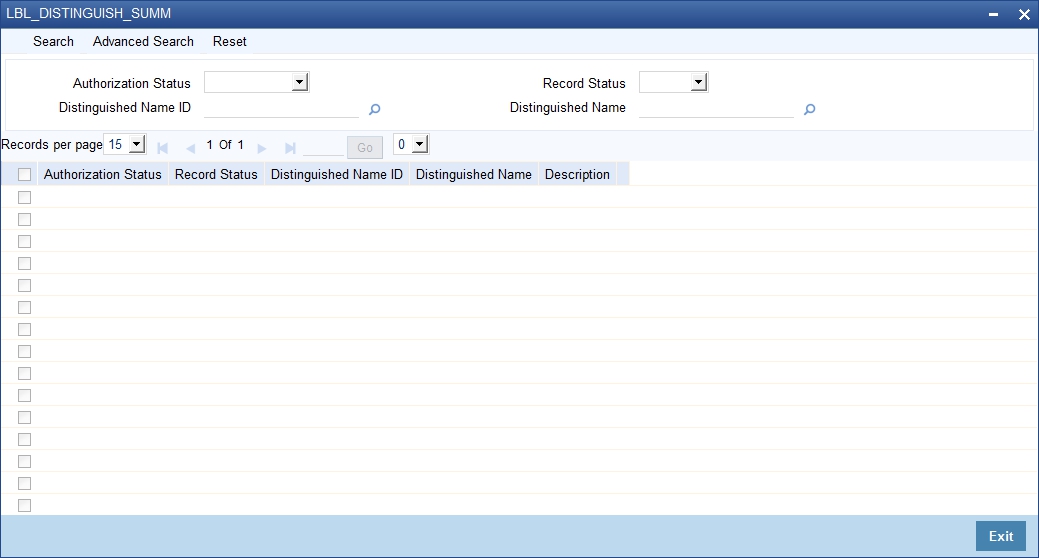
You can search using one or more of the following parameters:
- Distinguished Name Id
- Distinguished Name
- Authorization Status
- Record Status
Once you have specified the search parameters, click ‘Search’ button. The system displays the records that match the search criteria for the following:
- Distinguished Name Id
- Distinguished Name
- Description
- Authorization Status
- Record Status
2.14 Defining Debulk Rule
This section contains the following topic:
- Section 2.14.1, "Invoking Debulk Rule Definition Screen"
- Section 2.14.2, "Viewing Debulk Rule Summary"
2.14.1 Invoking Debulk Rule Definition Screen
You can invoke ‘Debulk Rule Definition’ screen by typing MSDDEBRL’ in the field at the top right corner of the Application tool bar and clicking on the adjoining arrow button...
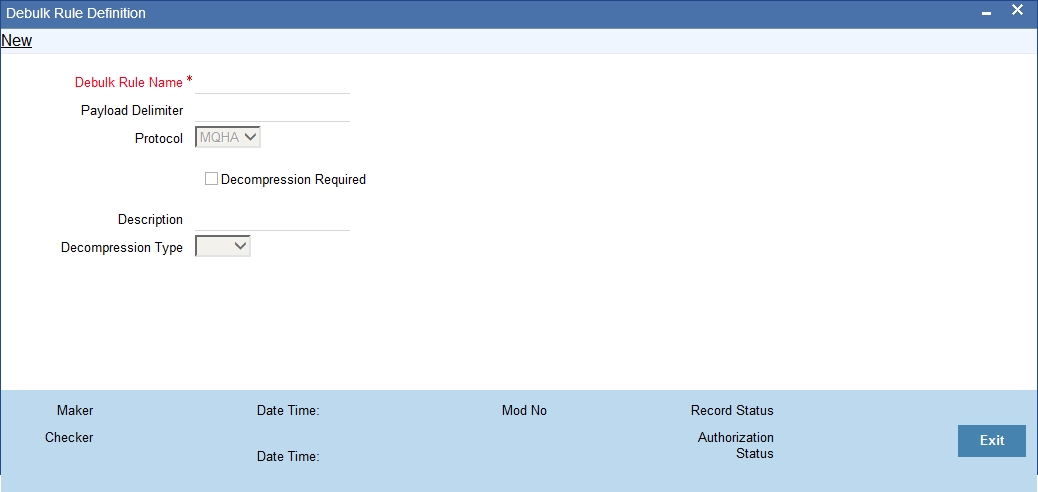
You can specify the following fields:
De bulk Rule Name
Specify the name of the debulk file.
Payload Delimiter
Specify the delimiter between payloads.
Protocol
Select the type of protocol.
Decompression Required
Check this box if debulk processing requires decompression.
Decompression Type
Select the type of decompression. Choose among the following:
- ZIP
- GZIP
2.14.2 Viewing Debulk Rule Summary
You can invoke “Debulk Rule Summary” screen by typing ‘MSSDEBRL’ in the field at the top right corner of the Application tool bar and clicking on the adjoining arrow button.
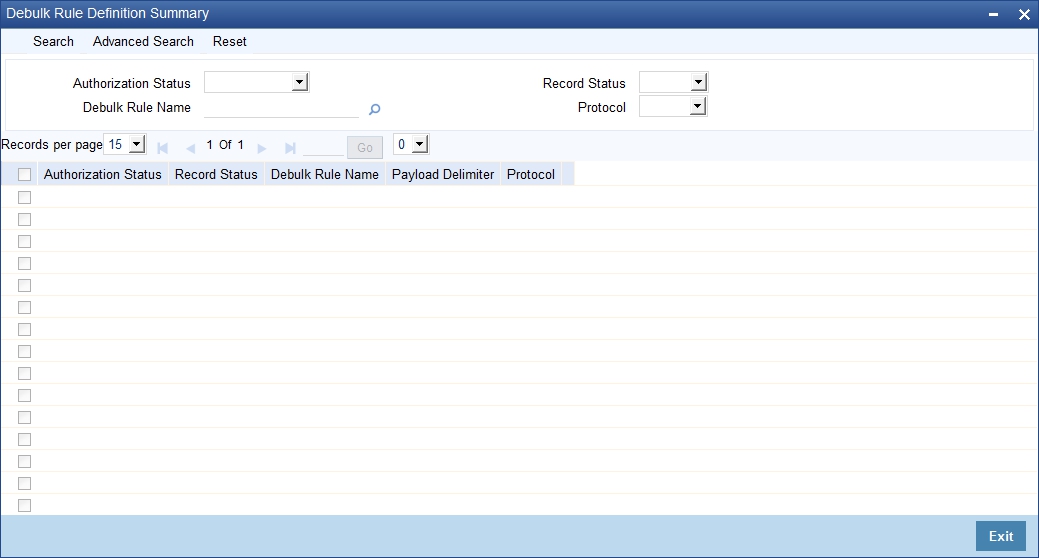
You can search using one or more of the following parameters:
- Authorization Status
- Record Status
- Debulk Rule Name
Once you have specified the search parameters, click ‘Search’ button. The system displays the records that match the search criteria for the following:
- Authorization Status
- Record Status
- Debulk Rule Name
- Payload Delimiter
- Debulk File Type
2.15 Connectivity Operation Manager
This section contains the following topic:
2.15.1 Invoking Connectivity Operation Manager Screen
You can invoke ‘Connectivity Operation Manager’ screen by typing ‘MSDCNMGR’ in the field at the top right corner of the Application tool bar and clicking on the adjoining arrow button...
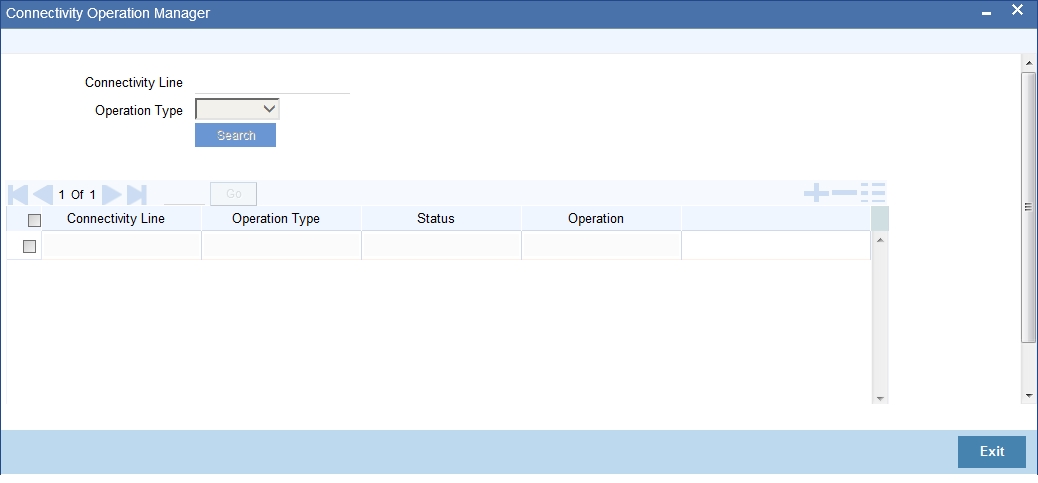
You can specify the following fields:
Connectivity
Specify the required connectivity line.
Operation Type
Select the type of operation.
Status
Specify the display line status.
Start
Click the Start button to start the connectivity line.
Stop
Click the Stop button to start the connectivity line.
2.16 Outbound File Browser
You can use the outbound file browser for searching and viewing the outbound files. To invoke the screen, type 'MSSFLBRW' in the field at the top right corner of the application toolbar and click the adjoining arrow button.

You can search for the records based on one or more of the following parameters:
- File name of the bulked file
- Bulk reference number
- Generated date
- Status
- Bulk preference
Once you have specified the above details, click 'Execute Query' button. The system displays the records that match the search criteria. You can double-click a record to view the details in the 'Outbound File Browser Details' (MSDFLBRW) screen.
You can view the following details in this screen.
- File name
- Bulk reference number
- File ID
- Generated date
- Generated time
- Status
- Bulk preference
- Number of transactions
- File size
You can resend the selected file from this screen using the 'Resend' button.
2.17 Inbound File Browser
You can use the inbound file browser for searching and viewing the inbound files. To invoke the screen, type 'MSSIFBRW' in the field at the top right corner of the application toolbar and click the adjoining arrow button.
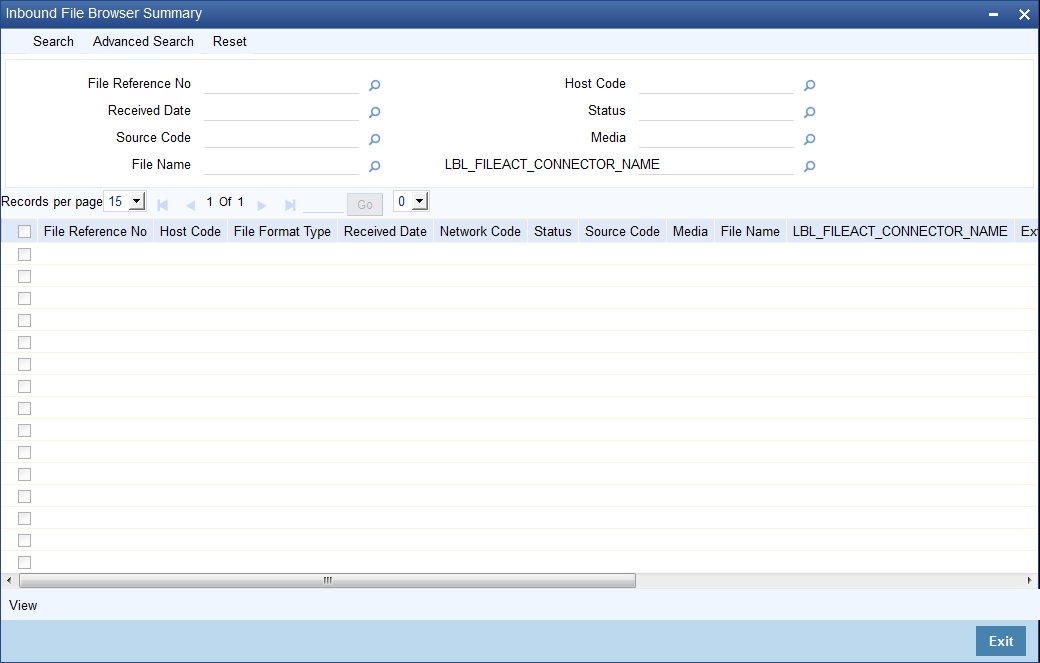
You can search for the records based on one or more of the following parameters:
- File name
- Received date
- Status
- Logical file name
- Transaction ID
- File Act connector name
Once you have specified the above details, click 'Execute Query' button. The system displays the following details of records that match the search criteria.
- File name
- Received Date
- Received Time
- Status
- File Size
- Logical File Name
- Transaction Id
- FileAct Connector Name
- Error Code
- Error Parameter
- Error Description
2.18 Defining Bulk Preference
This section contains the following topic:
- Section 2.18.1, "Invoking Bulk Preference Definition Screen"
- Section 2.18.2, "Viewing Bulking Preference Definition Summary"
2.18.1 Invoking Bulk Preference Definition Screen
You can invoke ‘Bulk Preference Definition’ screen by typing ‘MSDBLKRL’ in the field at the top right corner of the Application tool bar and clicking on the adjoining arrow button...

You can specify the following fields:
Bulk Preference Name
Specify the name used for storing the Bulk Preference.
Volume Based Trigger
Check this box to configure volume based bulking.
Maximum number of messages
Specify the maximum number of messages that can be stored in a bulk file.
Minimum number of messages
Specify the maximum number of messages that can be stored in a bulk file.
Maximum size in KB
Specify the distinguished name to identify the entity that sends or gets messages.
Minimum size in KB
Specify the distinguished name to identify the entity that sends or gets messages.
Size based Trigger
Check this field to configure size based bulking.
Scheduler Type
Select the type of scheduler. Choose any one of the following:
- Time Based
- Frequency
Start Time
Specify the Start Time of the trigger. Enter the format in HH:MM format.
End Time
Specify the Start Time of the trigger. Enter the format in HH:MM format.
Time Interval in Min
Specify the interval of the repeat in MM format.
Scheduling No
Specify the scheduling sequence.
Start Hour
Specify the start hour of the scheduling sequence.
Start Min
Specify the start minute for frequency based scheduler.
Bulk File Name Prefix
Specify the prefix to indicate the name of the bulk file.
Maximum size of a file of KB
Specify the maximum size of a bulk file in KB.
Payload Delimiter
Specify the delimiter while bulking messages.
Maximum settlement amount for a file
Specify the maximum settlement for a file that must be considered while bulking messages.
File Format
Select the file that must be used while bulking messages.
File Type
Select the file type that must be used while bulking messages.
Compression Required
Check this box to indicate that file compression is required.
Compression Type
Specify the required type of compression.
Destination Type
Specify the type of destination.
- Folder
- Queue
- SwiftNet Connectivity
If destination is Swiftnet connectivity then a field swiftnet connectivity needs to be selected from LOV which gives the list of connectivity lines.
Folder Path
Specify the user defined destination folder path.
Queue JNDI Name
Specify JNDI name of the Queue if the destination type is Queue.
SwiftNet Connectivity
Select the swiftnet connectivity from the option list.
Protocol Type
Select the type of Protocol.
- FTA
Protocol Name
Specify the protocol name required for FTA protocol.
2.18.2 Viewing Bulking Preference Definition Summary
You can invoke “Bulking Preference Definition Summary” screen by typing ‘MSSBLKRL’ in the field at the top right corner of the Application tool bar and clicking on the adjoining arrow button.

You can search using one or more of the following parameters:
- Bulking Preference Name
- Bulk Initiated
- Auth Initiated
- Record Status
Once you have specified the search parameters, click ‘Search’ button. The system displays the records that match the search criteria for the following:
- Bulking Preference Name
- Frequency
- Max Number of Messages
- Size (in KB)
- File Format
- Bulk Filename Prefix
- Maximum size of bulk file (in KB)
- Bulk Initiated
- Destination Type
- Auth Status
- Record Status
2.19 Bulk Monitor
You can monitor the messages and executions in bulk using 'Bulk Monitor' screen. To invoke this screen, type 'MSSBLKMN' in the field at the top right corner of the application toolbar and click the adjoining arrow button.
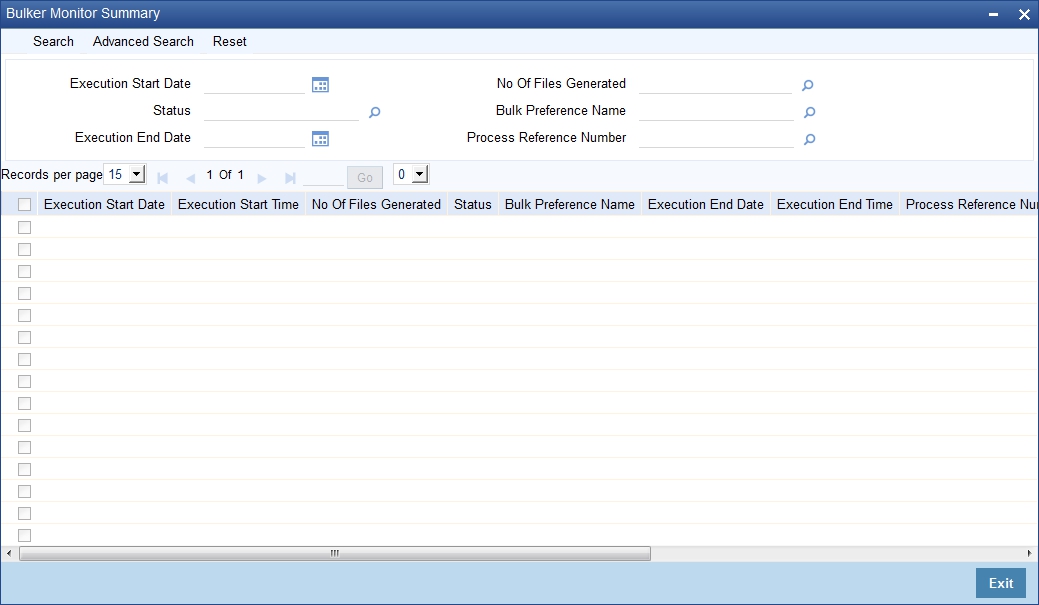
You can search for the records based on one or more of the following parameters.
- Execution start time
- Execution end time
- Bulk preference
- Status
- Number of files generated
Once you have specified the search parameters, click 'Execute Query' button. The system displays the following details of the records that match the filter criteria.
You can view the details of each record in the results. Double-click a record from the results to view the details in 'Bulk Monitor Detail' (MSDBLKMN) screen.

This screen displays the following details of the record.
- Process reference number
- Execution start date
- Execution start time
- Execution end date
- Execution end time
- Status
- Bulk preference name
- Number of files generated
- Error code
- Error parameter
- Error description
You can regenerate the files by clicking 'Regenerate' button. You can also bulk a selected bulk preference ad-hoc using 'Initiate Adhoc Bulking' button.