25. Other Maintenances
In order to improve the performance of the system during online or batch processes, you can install some features on need basis on the system. This chapter explains the process of installing features.
This chapter contains the following sections:
- Section 25.1, "Feature ID Maintenance"
- Section 25.3, "Category Maintenance"
- Section 25.4, "Exposure Type Maintenance"
- Section 25.5, "Group Maintenance"
- Section 25.6, "Haircut Maintenance"
- Section 25.7, "Location Maintenance"
- Section 25.8, "Static Type Maintenance"
- Section 25.9, "Unique Identifier Maintenance"
- Section 25.10, "Replication Mode Maintenance"
- Section 25.11, "Local Collateral Maintenance"
25.1 Feature ID Maintenance
This section contains the following topics:
- Section 25.1.1, "Maintaining Feature ID"
- Section 25.1.2, "Fields Button"
- Section 25.1.3, "Viewing Feature ID Summary"
25.1.1 Maintaining Feature ID
You can maintain required features using the ‘Feature ID Maintenance’ screen. You can invoke this screen by typing ‘ ‘CSDFEMNT’in the field at the top right corner of the Application tool bar and clicking the adjoining arrow button.
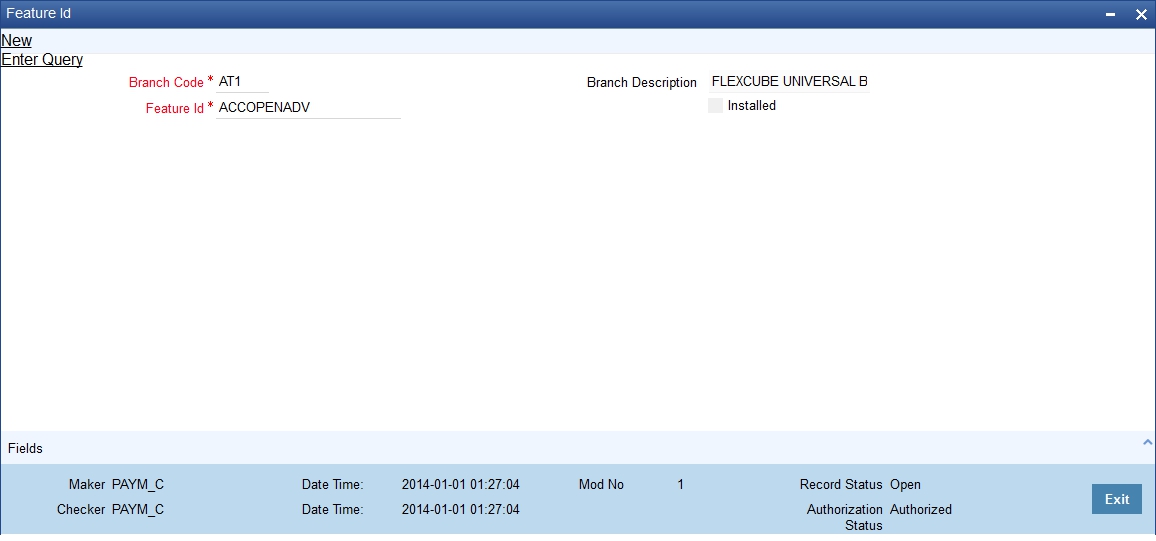
You can specify the following details:
Branch Code
Specify the branch where the feature needs to be installed. The adjoining option list displays all valid branch codes maintained in the system. You can select the appropriate one.
Branch Name
The branch name is displayed here based on the chosen branch code.
Feature Id
Specify the feature that should be installed in the branch. You can also choose any of the following values from the adjoining option list:
Feature Id |
Description |
Mode - |
ACCRESTR |
Account Restriction feature which need to be enabled for replace amounts in overrides with wild char (*) |
Online |
ACSTHAND |
Account Statement Handoff during EOD |
Batch |
APY |
Movement of Annual Percentage Yield to history |
Batch |
CCYPOS |
CCY position entries updation during EOD |
Batch |
CUSTMIS |
building of Customer MIS details Transaction/Composite/Fund |
Online |
DDRECLOG |
During Demand Draft creation - update of record log and field log |
Online |
DEFERLIQ |
IC Deferred Liquidation |
Batch |
DORMUPD |
Dormancy update during EOD |
Batch |
DRINTDUE |
Dr. Interest Due |
Batch |
FCTDSTATS |
Financial cycle wise account statistics update |
Batch |
GLCUSTSTATS |
Period/Financial cycle wise customer GLs statistics update |
Batch |
GLFCTDSTATS |
Financial cycle wise GL statistics update |
Batch |
GLPTDSTATS |
Period wise GL statistics |
Batch |
ICINTSTMT |
IC Interest Statement generation |
Batch |
ICRATECHG |
Rate change Advice |
Batch |
IRASTMT |
IRA Statement generation during EOD |
Batch |
LDSTMT |
Loan Statements generation during EOD |
Batch |
LINKSTMTAC |
Update of Previous Statement Date and No during statement generation |
Batch |
PRODTXNREST |
Product and Transaction code restrictions applicability |
Batch |
PTDSTATS |
Period wise account statistics update |
Batch |
RAC |
Account entry serial number derivation logic when multiple FCUBS instances exists |
Online/Batch |
REGCC |
Regulatory CC update for customer account during EOD |
Batch |
TRACKACCRINT |
Tracking of Accrued interest |
Batch |
USREGCHGS |
US Regulatory changes |
Batch |
VDBALINIC |
VD balance update. This is equivalent to flag at bank parameters level |
Online |
PARTCHKPAY |
Partial cheque payment feature |
Online |
Installed
Check this box to indicate that the feature should be installed in the branch.
Click save icon in the Application tool bar to save the changes.
25.1.2 Fields Button
All User Defined Fields (UDFs) linked to the function ID ‘CSDFEMNT’ are displayed in the ‘User Defined Fields’ screen. Invoke this screen by clicking ‘Fields’ button on the ‘Feature ID Maintenance’ screen.
The screen is as shown below:
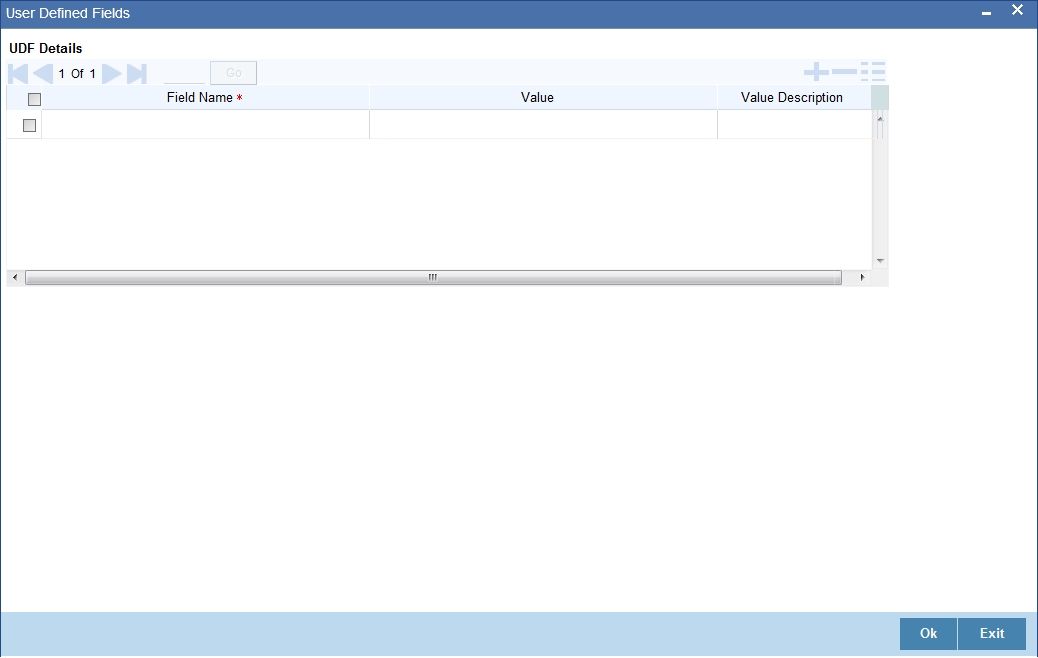
Here you can specify values for each UDF.
Refer the User Manual titled ‘User Defined Field’ for details about defining UDFs.
25.1.3 Viewing Feature ID Summary
You can view summary of all feature IDs installed across branches, using the ‘Feature ID Summary’ screen. To invoke this screen, type ‘CSSFEMNT’ in the field at the top right corner of the Application tool bar and click the adjoining arrow button.
The screen is as shown below:
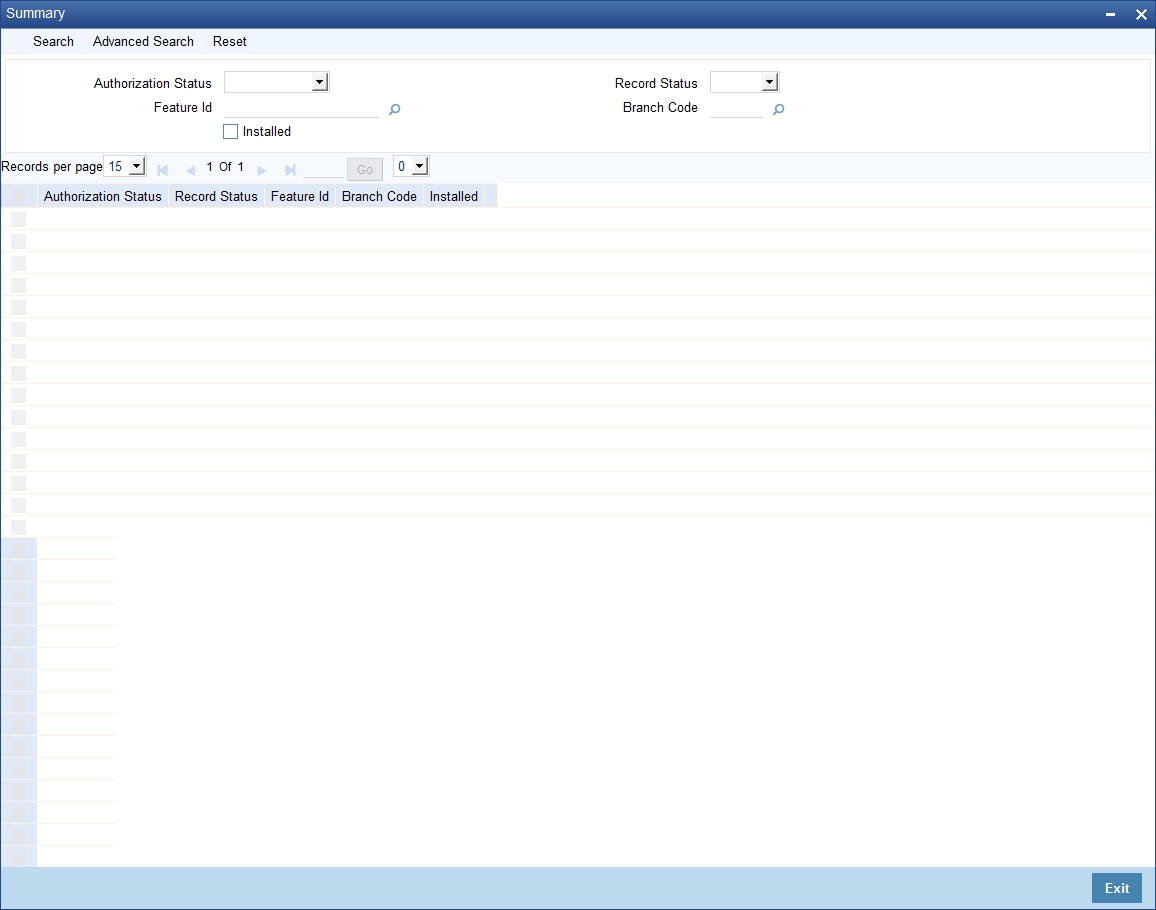
You can query on records based on any one or all of the following criteria:
- Authorization Status
- Record Status
- Branch Code
- Feature ID
- Installed
Click ‘Search’ button. The system identifies all records satisfying the specified criteria and displays the following details for each one of them:
- Authorization Status
- Record Status
- Branch Code
- Feature ID
- Installed
Double click on a record to invoke the detailed screen for that record.
25.2 Feature Maintenance
This section contains the below topic:
25.2.1 Maintaining Feature
You can maintain required features using the ‘Feature Maintenance’ screen. You can invoke this screen by typing ‘CSDFTRMN’ in the field at the top right corner of the Application tool bar and clicking the adjoining arrow button.
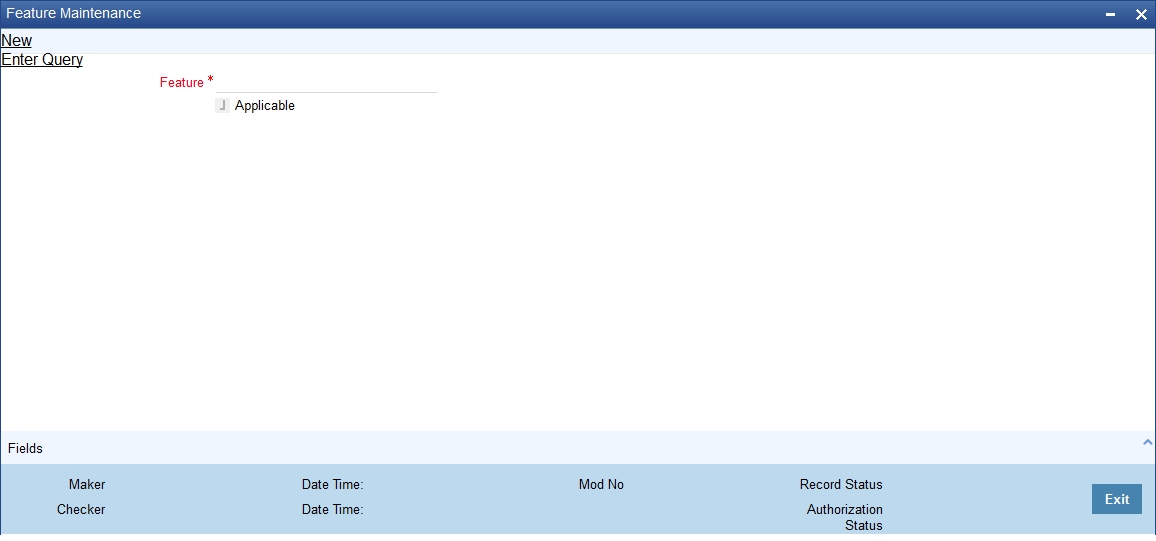
Specify the following details:
Feature
Specify the feature that you need to query.
Applicable
The system defaults this check box when you execute the query with the feature name.
25.2.2 Fields Button
All User Defined Fields (UDFs) linked to the function ID ‘CSDFTRMN’ are displayed in the ‘User Defined Fields’ screen. Invoke this screen by clicking ‘Fields’ button on the ‘Feature Maintenance’ screen.
For more information on UDF refer to the ‘User Defined Field’ User manual
25.3 Category Maintenance
You can maintain categories using the ‘Category Maintenance’ screen. You can invoke this screen by typing ‘CODCATGY’ in the field at the top right corner of the Application tool bar and clicking on the adjoining arrow button.
The ‘Category Maintenance’ screen is shown below:

You can specify the following here:
Category Name
Specify the category name.
Description
Enter a brief description of the category.
After entering the details, click the ’Save’ button.
25.4 Exposure Type Maintenance
You can maintain exposure types using the ‘Exposure Type Maintenance’ screen. You can invoke this screen by typing ‘CODEXPTY’ in the field at the top right corner of the Application tool bar and clicking on the adjoining arrow button.
The ‘Exposure Type Maintenance’ screen is shown below:

You can specify the following here:
Exposure Name
Specify the exposure name.
Description
Enter a brief description for the expsoure.
After entering the details, click the ’Save’ button.
25.5 Group Maintenance
You can invoke the ‘Group Maintenance’ screen by typing ‘CODGROUP’ in the field at the top right corner of the Application tool bar and clicking on the adjoining arrow button.
The ‘Group Maintenance’ screen is shown below:

You can specify the following here:
Type Name
Specify the type name.
Type Value
Specify the type value.
After entering the details, click the ’Save’ button.
25.6 Haircut Maintenance
You can invoke the ‘Haircut Maintenance’ screen by typing ‘CODHCUTT’ in the field at the top right corner of the Application tool bar and clicking on the adjoining arrow button.
The ‘Haircut Maintenance’ screen is shown below:

You can specify the following here:
HairCut Name
Specify the haircut name.
Description
Enter a brief description for the haircut.
After entering the details, click the ’Save’ button.
25.7 Location Maintenance
You can maintain the location details using the ‘Location Maintenance’ screen. You can invoke this screen by typing ‘CODLOCCD’ in the field at the top right corner of the Application tool bar and clicking on the adjoining arrow button.
The ‘Location Maintenance’ screen is shown below:

You can specify the following here:
Location Code
Specify the location code.
Description
Enter a brief description for the location.
After entering the details, click the ’Save’ button.
25.8 Static Type Maintenance
You can maintain different type of channels in the ‘Static Type Maintenance’ screen. You can invoke the ‘Static Type Maintenance’ screen by typing ‘CODTYPES’ in the field at the top right corner of the Application tool bar and clicking on the adjoining arrow button.
The ‘Static Type Maintenance’ screen is shown below:

You can specify the following here:
Type
Specify the static type.
Type Name
Specify the type name.
Type Value
Specify the type value.
After entering the details, click the ’Save’ button.
25.9 Unique Identifier Maintenance
You can maintain the unique identifier details in the ‘Unique Identifier Maintenance’ screen. You can invoke this screen by typing ‘CODUIDN’ in the field at the top right corner of the Application tool bar and clicking on the adjoining arrow button.
The ‘Unique Identifier Maintenance’ screen is shown below:
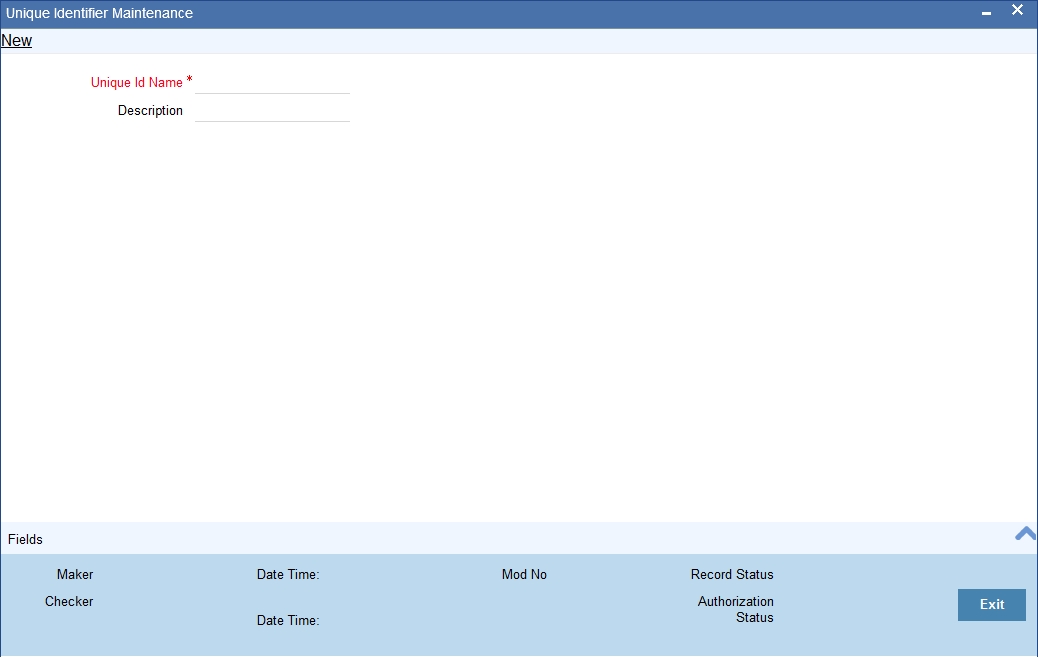
You can specify the following here:
Unique ID Name
Specify the Unique ID name.
Description
Enter a brief description for the Unique ID.
After entering the details, click the ’Save’ button.
25.10 Replication Mode Maintenance
You can invoke the ‘Replication Mode Maintenance’ screen by typing ‘CODELREP’ in the field at the top right corner of the Application tool bar and clicking on the adjoining arrow button.
The ‘Replication Mode Maintenance’ screen is shown below:

Click the Enter Query button to enter the following query criteria.
Source Code
Specify the source code for which you are maintaining the replication mode. Select the appropriate one from the option list
Replication Type
Select the replication type. Select one of the following:
- Synchronous
- Asynchronous
Replication URL
Specify the replication URL.
Replication Queue
Specify the replication queue.
Remarks
Enter the remarks, if any.
25.11 Local Collateral Maintenance
You can maintain local collateral details in ‘Local Collateral Maintenance’ screen. You can invoke this screen by typing ‘STDCOLAT’ in the top right corner of the Application toolbar and clicking the adjoining arrow button.
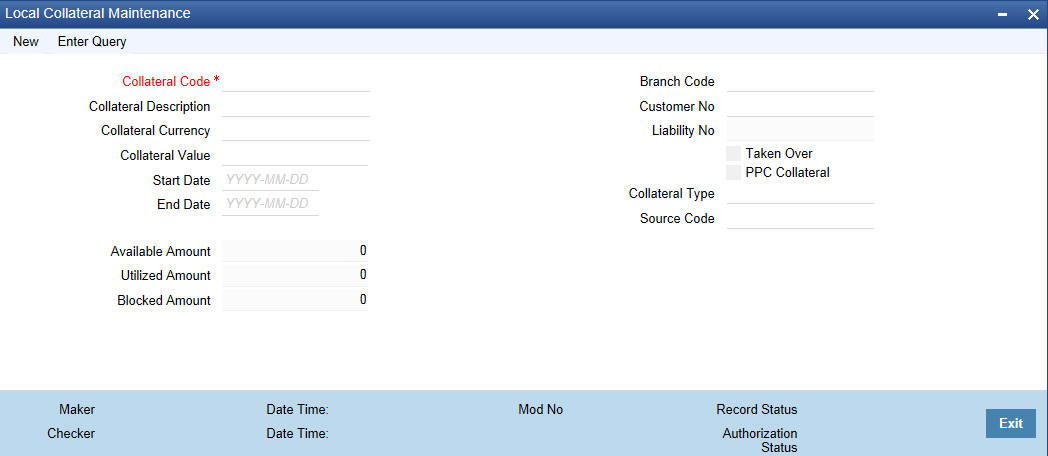
You can specify the following details in this screen:
Collateral Code
Specify the collateral code.
Collateral Description
Give a brief description of the collateral here.
Collateral Currency
Specify the currency in which the Collateral has to be maintained. Once authorized you cannot change this entry.
Collateral Value
Collateral Value
The collateral value depends on whether the security is Market Value based or Non-Market Value based.
If it is market value based then the collateral value is calculated as shown in the following examples.
Example
Input in case of a nominal quoted security:
Nominal Amount |
Price Code |
Market Price |
Collateral Value [(Market price/100) * Nominal Amount] |
10,00,000 |
BOM1 |
65 |
(65/100) * 10,00,000=650000 |
5,00,000 |
BOM2 |
70 |
(70/100) * 5,00,000= 350000 |
7,00,000 |
BOM3 |
80 |
(80/100) * 7,00,000= 560000 |
Input in case of a unit quoted security:
Number of Units |
Price Code |
Market Price |
Collateral Value (Number of Units x Market price) |
65 |
BOM1 |
120 |
7800 |
70 |
BOM2 |
130 |
9100 |
40 |
CAL1 |
95 |
3800 |
If it is Non-Market Value based then the user has to enter the collateral value manually.
Start Date and End Date
Specify the tenor of the collateral using the Start Date and End Date fields. The collateral is considered effective only during this period.
Branch Code
The system displays the branch code.
Customer No
Specify the customer number. Alternatively, you can select the customer number from the option list. The list displays all valid values.
Liability No
Collaterals issued have to be linked to a liability. Specify the liability Number for which the collateral is linked.
Taken Over
Taken Over collateral is checked if the collateral linked to CI/CL account is taken over.
PPC Collateral
Check this box to link the collateral to project finance.
Collateral Type
Indicate the type of collateral - Market Based Type, Guarantee Type or Normal Type.
Source Code
Specify the source code. Alternatively, you can select the source code from the option list. The list displays all valid values.
Available Amount
The system defaults the available amount for the collateral, on save of the collateral record.
Utilized Amount
The system displays the utilized amount.
Block Amount
When the collateral is linked to the collateral pool, the system computes and displays the amount to be blocked. The blocked amount is computed based on the linked percentage or linked amount specified when a collateral is linked to a Collateral Pool.