7. Making Availment
7.1 Introduction
On receipt of the bills or on notification from the negotiating bank, you can record an availment under an LC. The availment on an LC can be made only up to the Maximum LC amount, specified in the Contract Main screen.
Once an availment is recorded, the current availability under the LC will be reduced and the outstanding liability updated automatically. It will be reduced by the availment amount. When an availment is recorded and there is cash collateral outstanding against the LC, invoke the cash collateral screen and specify the amount of cash collateral to be released.
This chapter contains the following details:
7.2 Availment Details
This section contains the following details:
- Section 7.2.1, "Capturing Availment Details"
- Section 7.2.2, "Reversing LC Liability "
- Section 7.2.3, "Viewing Event Details"
- Section 7.2.4, "Specifying Collateral Details "
- Section 7.2.5, "Maintaining Settlement Instructions "
- Section 7.2.6, "Viewing Advice Details"
- Section 7.2.7, "Specifying Charge Details"
- Section 7.2.8, "Specifying Commission Details"
- Section 7.2.9, "Specifying Tax Details"
- Section 7.2.11, "Authorizing Availment"
7.2.1 Capturing Availment Details
You can invoke the ‘Letters of Credit Availment Input’ screen by typing ‘LCDAVMNT’ in the field at the top right corner of the Application tool bar and clicking on the adjoining arrow button. Click new icon in the toolbar. The ‘Letters of Credit Availment Input’ screen with no values in the fields is displayed.
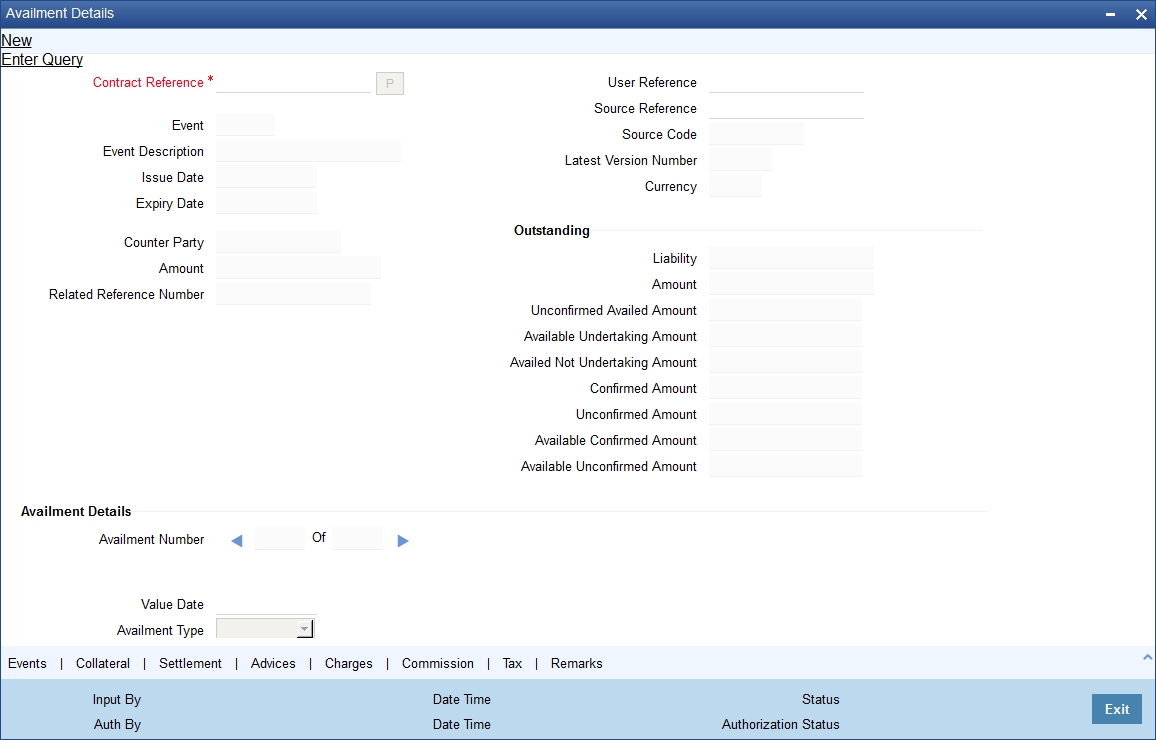
Specify the following details:
Contract Reference
Specify or select the contract reference number from the option list provided.
You can fetch the transactions of all branches by choosing either contract reference number or branch from this option list.
Click ‘P’ button.
The following contract details will be displayed:
- Event
- Description
- Issue Date
- Expiry Date
- User ref No
- Version No
- Currency
- Counterparty
- Related Reference Number
- Amount
- Liability
- Outstanding Amount
- Available Confirmed Amount
- Availed Unconfirmed Amount
- Undertaking Amount
- Availed Not Undertaking Amount
Note
The system will not display ‘LC with Pre-advice’ operation contract in the adjoining option list.
Availment Details
Specify the following details.
Availment Amount
You can specify the amount being availed under the LC, in this screen. The availment amount that you specify cannot be greater than the Outstanding LC Amount displayed in this screen. Partial amounts can be availed against an LC. The availment thus need not always be the amount available under the LC.
After an availment is made on an LC, the LC amount is automatically reduced. The LC amount after the availment is displayed in the Outstanding LC Amount field of the ‘LC Contract Main’ screen.
If the LC is linked to an open insurance policy for which the option ‘Update utilization Automatically’ is checked, the system will decrease the utilization on the policy with the LC availment amount. Similarly, if the availment is reversed or a reversal is deleted, then the utilization amount will be increased or decreased respectively to the extent of the availment amount.
On saving the transaction after entering all the required details in the system, the system validates the value of the availed amount against the following:
- Product transaction limit
- User Input limit
If the transaction currency and the limit currency are different, then the system converts the amount financed to limit currency and checks if the same is in excess of the product transaction limit and user input limit. If this holds true, the system indicates the same with below override/error messages:
- Number of levels required for authorizing the transaction
- Transaction amount is in excess of the input limit of the user
Value Date
An availment can be made either as of a date in the past or today. By default, the system displays the current date. You can change it to a date in the past.
Availment Type
Specify the type of availment to be recorded under the LC. Click the adjoining drop-down list and select one of the following values:
- Payment
- Acceptance
- Negotiation
If the entry to this field does not adhere to the conditions specified above you will be prompted for an override.
Liability Amount
The Liability Amount refers to the customer’s liability to the bank. For an availment you can specify the amount that should be reduced, from the Outstanding Liability amount.
The Outstanding Liability amount can be reduced by an amount that is greater or less than the amount currently being availed. By default, the availment amount specified in the Availment Amount field will be defaulted here.
Note
The liability amount that you specify should not result in the Outstanding Liability Amount being less than the Outstanding LC Amount. If the values entered as the Availment Amount and the Liability Amount result in the liability amount being less than the LC amount, an error message will be flashed. The message will prompt you to re-enter values to the relevant fields.
Remarks
Click the adjoining icon and enter information about the availment in the window that pops up. This information is intended for the internal reference of your bank. These remarks will be displayed when the details of the availment are retrieved or printed.
Outstanding
Specify the following details:
Liability
On clicking ‘P’ button after specifying the contract reference number, the system displays the current liability amount.
Amount
On clicking ‘P’ button after specifying the contract reference number, the system displays the current outstanding amount.
Confirmed Amount
On clicking ‘P’ button after specifying the contract reference number, the system displays the current confirmed amount.
Unconfirmed Amount
On clicking ‘P’ button after specifying the contract reference number, the system displays the current unconfirmed amount.
Available Confirmed Amount
On clicking ‘P’ button after specifying the contract reference number, the system displays the current available confirmed amount.
Available Unconfirmed Amount
On clicking ‘P’ button after specifying the contract reference number, the system displays the current available unconfirmed amount.
7.2.2 Reversing LC Liability
When an LC is availed using a Bill (or using the Availment function from the Browser), the Availment Amount and the Liability Percentage specified for the underlying LC contract, will be used in computing the default Liability Amount. The default value that is displayed can be changed.
Note
During availment, the Positive Tolerance Percentage specified for the LC is not taken into account to compute the default value of the Liability Amount.
The LC availment screen displays buttons that invoke the various functions necessary to make an availment on an LC. The buttons have been briefly described below:
Icons |
Description |
Advices |
Click this button to define the advices that will be generated for the availment. |
Commission |
This button invokes the Charges, Commissions, or Fees service. The chapter titled Processing Charges on LCs details the procedure of maintaining charge rules. It also deals with the application of the scheme on an availment. |
Tax |
This button invokes the availment tax services. The tax details applicable for the availment will be shown and you can choose to waive it, if necessary. The chapter titled Processing Tax for LCs details the procedure of maintaining tax rules and schemes. It also deals with the linking and application of the scheme on an availment. |
Settlement |
Click on this button to invoke the Settlement screens. You can specify settlement details for the availment like: the accounts to be used for the availment message details and party details Based on the details that you enter in the settlement screens, the availment will be settled. The details of these screens have been discussed under the head Maintaining Settlement Instructions in this chapter. |
Collateral |
In the screen corresponding to this button, you can specify the adjustments that you want to make, on the cash collected as collateral. |
Event |
Click this button to view the details of the events and accounting entries that an availment entails. This icon also gives the details of other events on the LC. |
Charge |
Click this button to capture charge details. |
Remarks |
Click this button to view the ‘History of Remarks’ screen. |
Enter valid inputs into all the mandatory fields before you save the availment. Save the contract by either clicking save in the toolbar. On saving the availment, your User Id will be displayed in the Entry By field at the bottom of the screen. The date and time at which you saved the record will be displayed in the Date/Time field. A user bearing a different User ID should authorise an availment that you have entered, before the EOD is run. The ID of the user who authorised the availment will be displayed in the Auth By field. The date and time at which the availment has been authorised will be displayed in the Date/Time field. The current status of the LC contract on which you are processing the availment, is also displayed in the field Contract Status. The field will display one of the following:
- Active
- Closed
- Reversed
- Cancelled
- Hold
7.2.3 Viewing Event Details
Click ‘Events’ button in the ‘LC Availment’ screen, to go to the ‘Events’ screen. The details of events that have taken place on the contract including the last availment, that you are have just entered will be displayed.
The date on which the event took place will also be displayed.
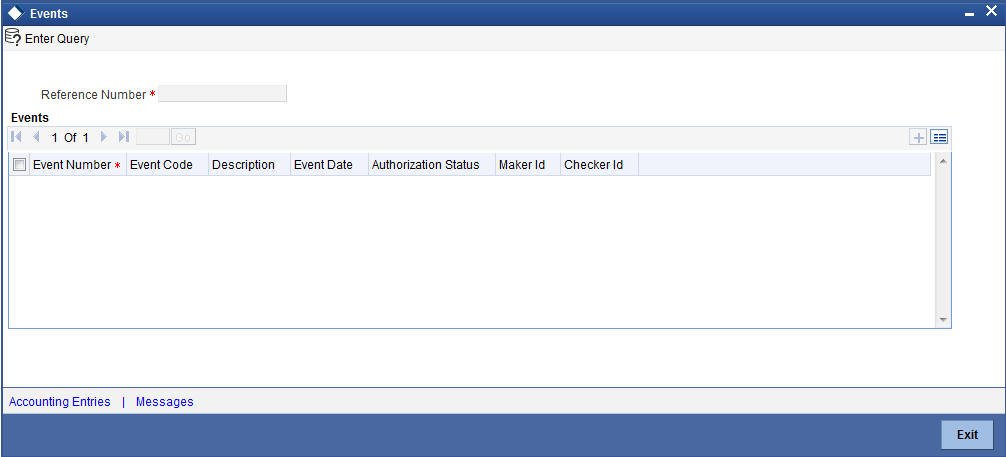
Click ‘Exit’ or ‘Cancel’ button to go back to the main screen.
7.2.3.1 Viewing Accounting Entries
From the ‘View Events’ screen, click ‘Accounting Entries’ button to view the Accounting Entries for the event. You can view the details of the accounting entries that were passed only for the event displayed in the availment – ‘View Events’ screen.
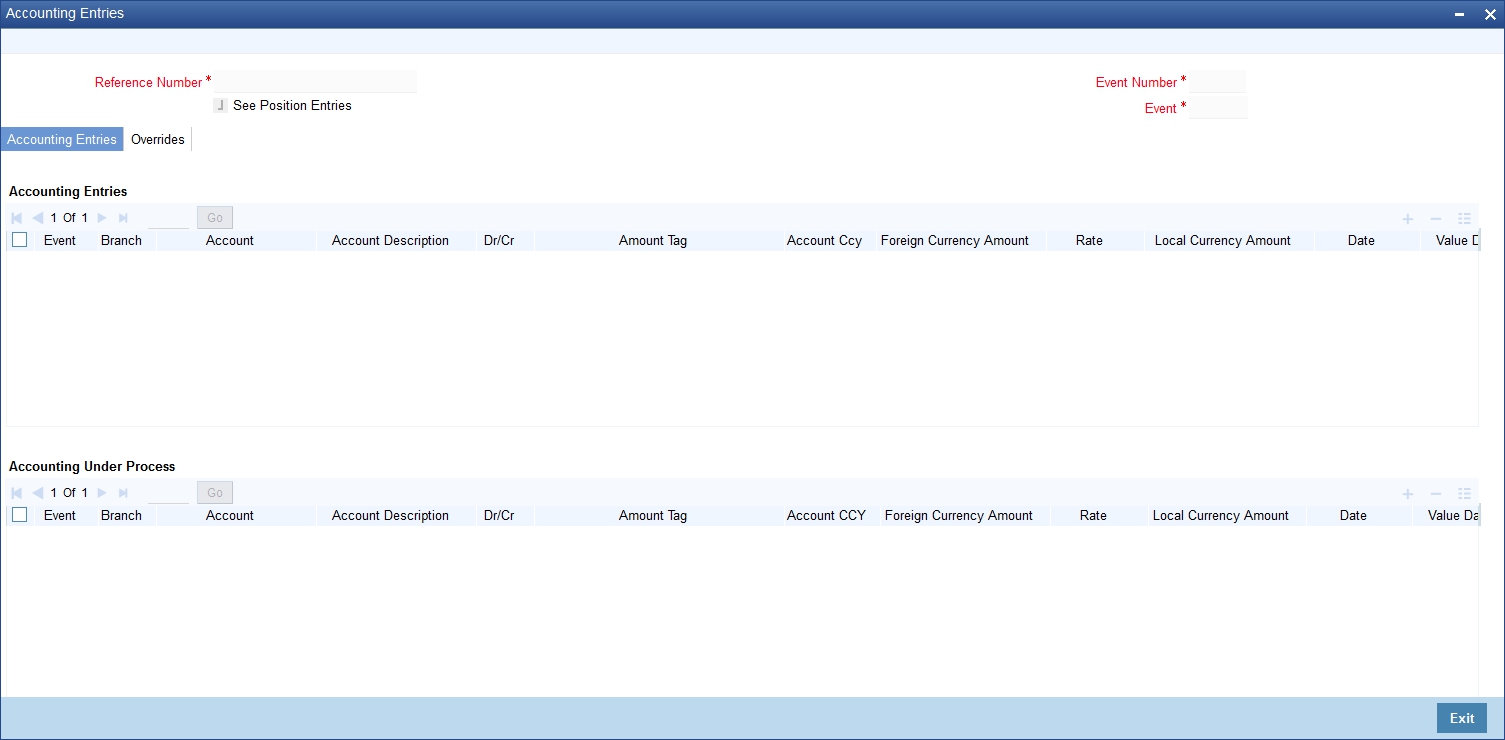
The following information is provided for each event:
- Branch
- Account
- Transaction Code
- Booking Date
- Value Date
- Dr/Cr indicator
- Currency
- CCY (Currency)
- Amount in contract CCY
- Amount in local currency.
All the overrides that were allowed for an event will also be displayed
Click ‘Exit’ or ‘Cancel’ button to return to the screen from where you invoked the ‘Accounting Entries’ screen.
Note
The system will display an override message if the date when the availment is made i.e. the value date of the availment falls after the expiry date for the LC issued. You may use your discretion to proceed or cancel the contract. You can also have this override configured as an error message in which case, the system will not allow you to proceed until you make the necessary changes.
7.2.3.2 Reversal of Availment
When a BC contract under an LC contract is reversed, the system will automatically reverse the corresponding availment on the LC contract. When a Reversal of availment (RAVL) event is triggered on the LC contract, LC outstanding amount and the LC Liability amount is updated.
For example,
LC Amount: $4000
Tolerance: Nil
Partial Shipment: Allowed
First bill under the LC booked for: $2500 and availment is triggered on LC during BC booking
After availment, the LC Outstanding Amount = $1500
Second bill is lodged under the LC for $1000 and availment is triggered on the LC during BC booking
After the second availment, the LC Outstanding Amount = $500
At this stage, the first bill is reversed and the linked availment is also reversed.
After reversal, the LC Outstanding Amount = $3000
You can manually reverse the availment made under LC. All availments made on the LC will be displayed. You can select an availment for reversal in the availment screen.The system will not allow the manual reversal of availments, triggered by BC contract from the availment screen.
To reverse the details of an availment under LC, click reverse icon in the toolbar. On reversing an availment on an LC, the system passes reversal entries for the availment.
When a bill booked under an LC is partially or fully liquidated and the BC is reversed, the system will reverse the corresponding availment automatically and update the LC outstanding and liability amounts.
When a BC contract is booked under LC’s that are revolving by time and are non cumulative is reversed after the reinstatement of the LC, the system will not reverse the availment. Similarly for LCs revolving by value, the system will not reverse availment if the BC contract is reversed after reinstatement of the LC.
Reversal of LC Liability
When an LC is availed using a Bill (or using the Availment function from the browser), the Availment Amount and the Liability Percentage specified for the underlying LC contract will be used in computing the default Liability Amount. This default value can be changed.
Note
Note that during availment, the Positive Tolerance Percentage specified for the LC is not taken into account to compute the default value of the Liability Amount.
7.2.4 Specifying Collateral Details
If the LC that you are processing has been backed by cash collateral, you can specify the cash collateral to be released as a result of the availment.
By default, the collateral amount proportional to the amount availed will be adjusted automatically. This default amount can be reduced or increased.
Click ‘Collateral’ button in the LC availment screen.
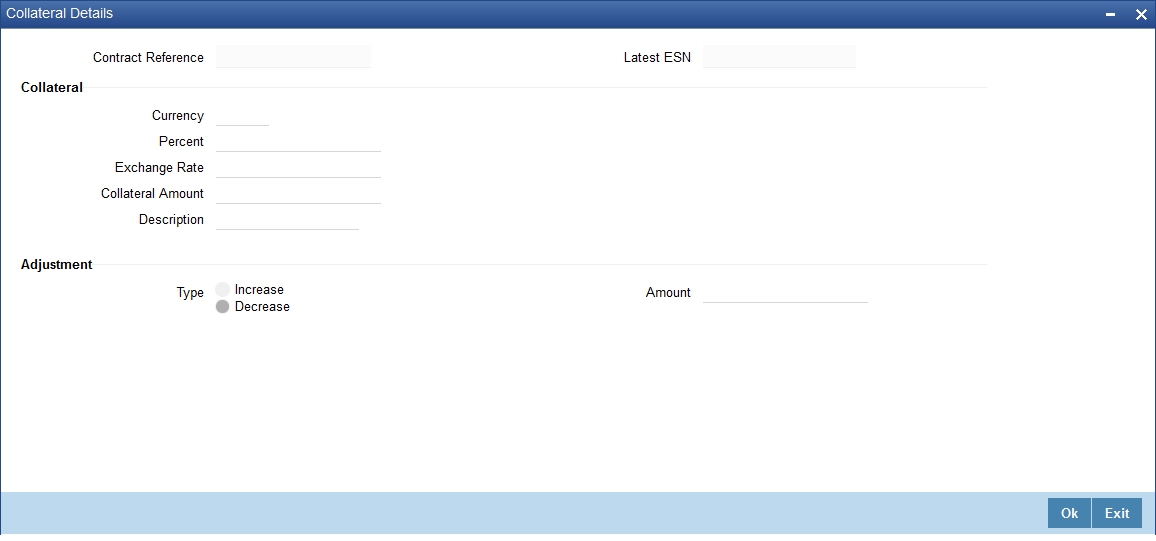
Specify the following details:
Contract Reference
The system displays the contract reference number.
Latest Even Sequence Number
The system displays the latest even sequence number.
7.2.4.1 Specifying collateral details
Collateral Currency
The currency of the collateral is displayed here.
Percent
The system displays the percentage of LC amount that should be considered for the collateral amount.
Exchange Rate
The exchange rate to be used in the conversion is displayed here. The value of the collateral is determined based on this exchange rate.
Amount
The collateral amount is displayed here.
Description
A brief description of the collateral is displayed here.
7.2.4.2 Specifying Adjustment details
Specify the following details.
Type
You can increase the collateral amount that is calculated by default. Choose ‘Increase’ option and enter the amount by which the cash collateral should be increased. Choose the ‘Decrease’ option
Amount
Specify the amount by which the cash collateral should be increased or decreased.
If you are adjusting the collateral against an availment, you should have defined the appropriate accounting entries for the event code AVAL.
Not invoking the ‘Collateral’ screen during the availment session will mean that you do not want to adjust the collateral. This would be so even if you have defined the accounting entries for availment reduction. An override to this effect will be displayed when you save the availment.
7.2.5 Maintaining Settlement Instructions
Apart from the details of the accounts involved in the availment, you may have to capture party details for messaging requirements. The default settlement instructions for the customer will be shown in the ‘Settlement Details’ screen. You can modify them. The accounts involved could be the settlement account for the availment amount, charges and tax, if they are applicable.
Click ‘Settlement’ button in the ‘LC Availment’ screen and invoke the ‘Settlement Details’ screen.
Here you can specify the following details.
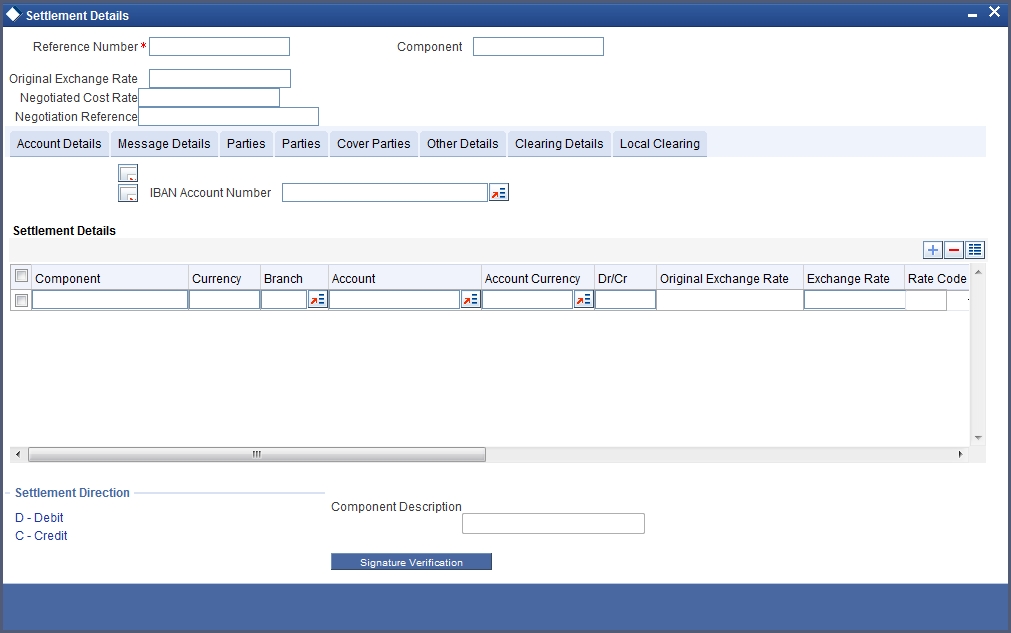
7.2.5.1 Account Details Tab
Click ‘Account Details’ tab to specify the details of the accounts involved in the availment. The accounts and amount involved in the Debit and Credit legs of the accounting entry, for the availment amount will be displayed in the ‘Account Details’ screen. These details cannot be changed here. If a change is necessary, the same would have to be specified in the ‘LC Availment’ screen.
The other details shown in this screen are the:
- Component and its currency
- Payment account and its currency
- Branch of your bank to which the account belongs
- Original Exchange rate (in case the component currency is different from the account currency)
- Exchange rate, which is the customer specific exchange rate derived by adding the original exchange rate and the customer spread (applicable for Relationship Pricing customers). If Relationship Pricing is not applicable, the Exchange rate will be the same as the Original Exchange rate.
- ERI Amount (Euro Related Information)
- ERI Currency
- Rate code
- Spread definition
- Customer spread
For more details on customer specific exchange rates, refer the section titled ‘Specifying Pricing Benefit Details’ in Relationship Pricing user manual.
Note
When settling charges for an LC or a guarantee, you can use a Receivable Account instead of a Customer Account. In such a case, you can send a charge claim advice to the customer.
ERI Currency and Amount
SWIFT messages (MT 100/MT 202) generated towards settlement, can furnish the value of the settlement amount in the settlement account currency and in the ERI currency.
If you choose to furnish the ERI value of the amount, you have to enter the following in the ‘Settlement Message Details’ screen:
- The ERI currency
- The ERI Amount
The system defaults to the ERI currency specified for the customer and currency combination. The default ERI currency can be changed. The ERI amount will be validated against the Tolerance Limit, specified for the ERI currency.
Note
On 1 January 1999, eleven countries that are part of the European Union embarked on the first phase of economic integration, called the ‘Economic and Monetary Union’ (EMU). The EMU ushered in a new, single European currency: the Euro (EUR). The Euro, in Oracle FLEXCUBE, can be handled by capturing information such as the ERI details, in this screen.
Generate Message
Settlement messages, defined for components that fall due, will be generated automatically when you the Settlement Generation function at the End of Day. To suppress the generation of the settlement message defined for a component, uncheck the Gen Message field of the ‘Contract Settlement Message Details’ screen.
Debit/Credit Indicator
The default settlement instructions for the customer will be shown in the Settlement Accounts screen. The default can be modified.
The direction of settlement indicates whether the account being shown, will be debited or credited:
- P - Indicates Pay, meaning that the account should be credited
- R - Indicates Receive, meaning that the account should be debited
Netting
Check this box to indicate that you would like to enable the Netting option for the various components (Amount Tags) involved in the transaction. These components could be commission, interest, tax, charges etc.
Component Description
Give a brief description for the chosen component.
7.2.5.2 Verifying Signatures
Click ‘Signature Verification’ button to verify signatures for the transaction.
7.2.5.3 Message Details Tab
A Letter of Credit can be settled either in the form of an instrument or a Message (a SWIFT, TELEX or Mail message to be sent to the concerned party). The details regarding the instrument or message have to be specified in the ‘Message Details’ screen. The message details that you specify in this screen are applicable only for SWIFT. The type of SWIFT message that is generated depends on the parties involved in the LC.
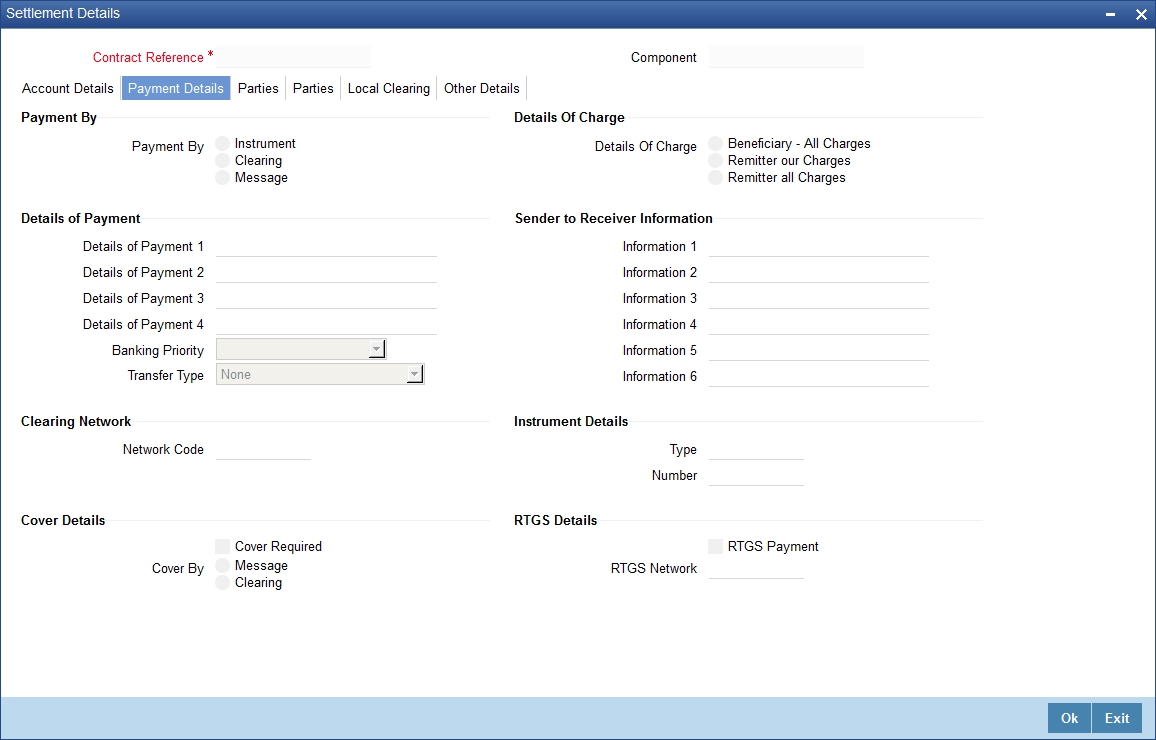
Based on the method of settling the LC, you should input either Instrument or Message details.
Instrument Details
Specify the following details.
Instrument Type
If the payment is through an instrument, indicate the type of instrument. It could be Manager’s Check, Check or a Demand Draft.
Number
Specify the number that will identify the instrument. This number will be printed on the instrument. If the settlement is through an instrument, the party details cannot be specified for the transfer.
Typically, an LC availment entails the debiting or crediting of the customer account, for the settlement amount. If the customer is being credited (in the case of your customer being the beneficiary, of the availment,) you may want to generate an instrument.
Details of Charges
Specify who should bear charges for the message. Choose one of the following options:
- Remitter all Charges
- Beneficiary all Charges
- Remitter our Charges
Message Details
For a SWIFT message, you have to specify the following.
Cover Required
Check this box to indicate that a Cover has to be sent to the Reimbursement Bank, along with the payment message to the receiver.
Details of Payment 1 to 4
Specify bank to bank payment details (these can be in the form of instructions or additional information to any of the parties involved in the transfer).
Sender to Receiver Information 1 to 6
Tag 72 will be used to specify the sender to receiver information. This tag is applicable to MT740 message type.
RTGS Payment
Check this box to indicate the payment mode is RTGS.
RTGS Network
Specify the RTGS Network used for the transaction.
Transfer Type
Specify the type of transfer. It can be any one of the following:
- Bank Transfer
- Customer Transfer
- Bank Transfer for own A/c
- Direct Debit Advice
- MCK
- None
Banking Priority
Indicate the priority for the payment. Choose any one of the following options:
- Highly Urgent Payments
- Urgent Payment
- Normal Payment
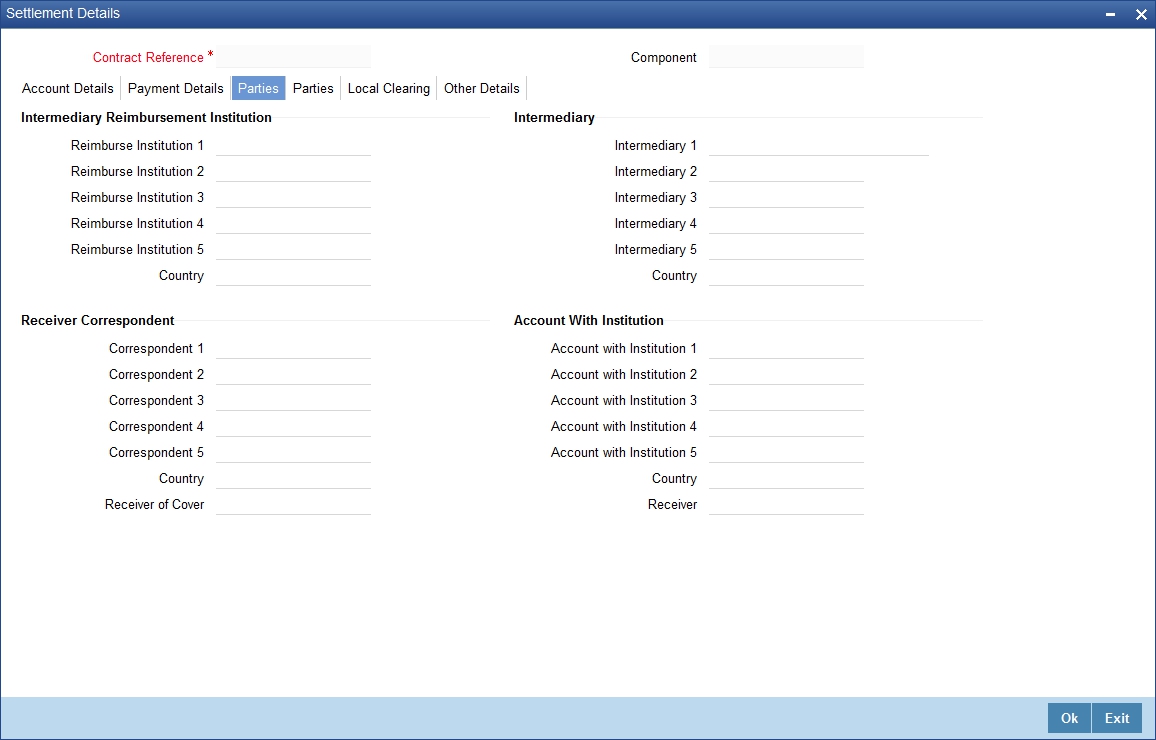
7.2.5.4 Parties Tab-1
To process an availment on an LC, the funds may have to pass through a series of banks, before it actually reaches the Ultimate Beneficiary. Through the Parties screen you can capture details of all the parties that are involved in the transfer of funds.
The details you enter in these screens depend on the type of LC being processed.
An Intermediary Reimbursement Institution is the financial institution between the Sender’s Correspondent and the Receiver’s Correspondence.
Reimburse Institution 1 to 5
Specify the institution through which reimbursement of the funds should take place.
Intermediary 1 to 5
The Intermediary in a LC refers to the financial institution, between the Receiver and the Account With Institution through which the funds must pass.
The Intermediary may be a branch or affiliate of the Receiver or the account with Institution or an altogether different financial institution. This field corresponds to field 56a of S.W.I.F.T. Here you can enter either the:
- ISO Bank Identifier Code of the bank
- Name and address of the bank
Receiver’s Correspondent 1 to 5
The Receiver’s Correspondent is the branch of the Receiver or another financial institution, at which the funds will be made available to the Receiver. This field corresponds to field 54a of SWIFT. You can enter one of the following:
- ISO Bank Identifier Code of the bank
- The branch of the Receiver’s Correspondent
- Name and address of the Receiver’s Correspondent
Account With Institution 1 to 5
An Account With Institution refers to the financial institution at which the ordering party requests the Beneficiary to be paid. The ‘Account With Institution’ may be a branch or affiliate of the Receiver, or of the Intermediary, or of the Beneficiary Institution, or an entirely different financial institution. This field corresponds to field 57a of SWIFT.
Receiver of Cover
You can enter one of the following:
- ISO Bank Identifier Code of the bank
- The branch of the Receiver’s Correspondent
- Name and address of the Receiver’s Correspondent
- Other identification codes (for example, account number)
Receiver
The ID of the receiver in the transaction will be displayed. You can change the same.
7.2.5.5 Parties Tab-2
Click ‘Parties’ tab to capture party details.
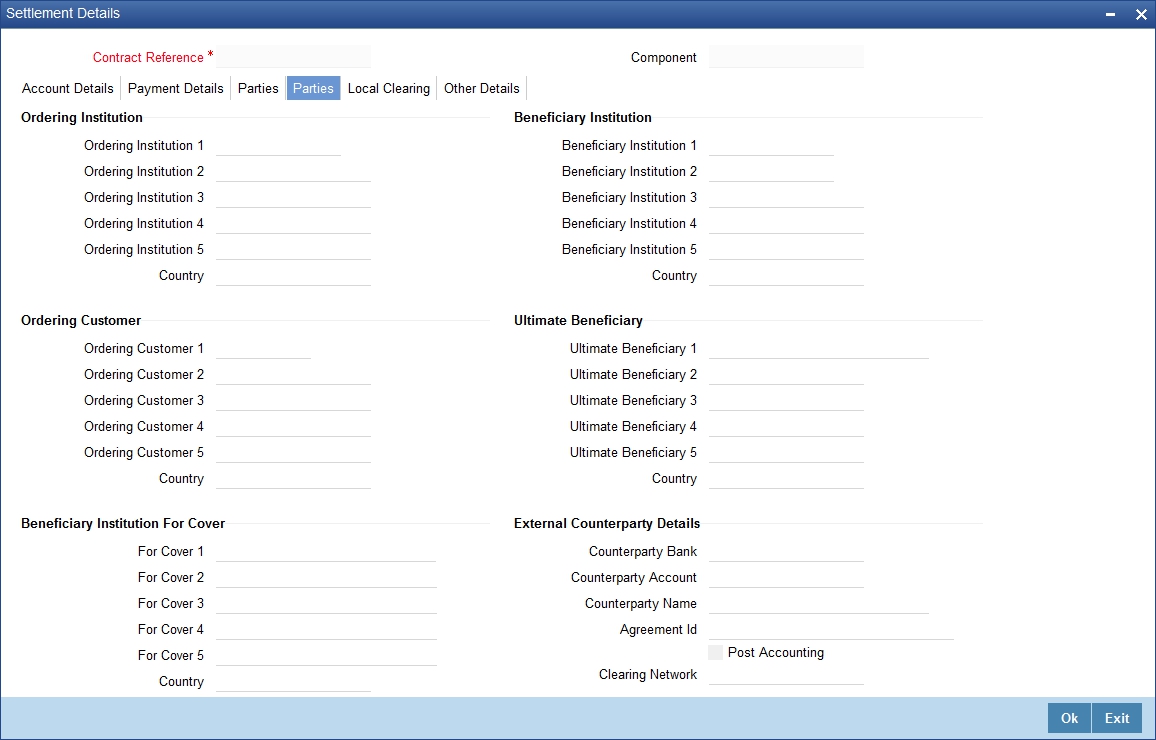
You can capture the following details.
Ordering Institution 1 to 5
The Ordering Institution is the financial Institution that is acting on behalf of itself, or a customer, to initiate the transaction. This field corresponds to 52a of SWIFT.
In this field, you can enter one of the following:
- The ISO Bank Identifier Code of the Ordering Institution
- The branch or city of the Ordering Institution
- The Name and address of the Bank
Ordering Customer 1 to 5
The Ordering Customer refers to the customer ordering the transfer. Here you can enter the name and address or the account number of the Customer, ordering the transaction. This field corresponds to field 50 of SWIFT. You will be allowed to enter details in this field only if you have initiated a customer transfer (MT 100 and MT 102).
Beneficiary Institution 1 to 5
In this field you can enter details of the institution in favour of which the payment is made. It is in reality the bank that services the account of the Ultimate Beneficiary. This field corresponds to field 58a of SWIFT.
Entries into this field are permitted only for Bank Transfers (when the remitter and beneficiary of the transfer are financial institutions - MT 100 or MT 202). Here you can enter either of the following:
- The ISO Bank Identifier Code of the Beneficiary Institution
- The Name and Address of the Beneficiary Institution
Ultimate Beneficiary 1 to 5
The Ultimate Beneficiary refers to the Customer to whom the availment amount is to be paid. This field refers to field 59 of SWIFT. Entries into this field are permitted only for a customer transfer (MT 100 and MT 202). The number of banks involved in the transfer would therefore depend on the following:
- Relationships and arrangements between the sending and receiving banks
- Customer instructions
- Location of parties
- The banking regulations of a country
Beneficiary Institution For Cover 1 to 5
Select the institution in favor of which the payment is made, from the option list. If you click on the adjoining button, a notepad editor emerges. You can specify further details about the institution here..
Counterparty Bank
The clearing bank code here gets populated with the value specified in the contract screen. However you can change it. Select the relevant clearing bank code from the adjoining option list.
Counterparty Account
Specify the counterparty account. All the counterparty accounts pertaining to the selected Counterparty Bank will appear for selection in the adjoining option list. On selecting the Counterparty Account, the system will default the Counterparty Name as maintained for that account.
If at the time of selecting Counterparty Account, Counterparty Bank is Null, then the Counterparty Bank will also appear by default.
Counterparty Name
Specify the name of the counterparty.
Agreement Identification
For processing direct debits on transactions you will also need to capture the Agreement ID of the counterparty in order to facilitate a cross-referencing between the contract payment and the direct debit instruction when a reversal of payment is carried out due to rejection of the outbound DD.
Specify the Agreement ID in this field. Typically, you will need to specify this only for the Receive leg. This field is disabled for the Pay leg.
Clearing Network
Specify a clearing network during settlement instruction maintenance for the Pay Leg.
Post Accounting
Check this option to indicate that accounting entries maintained for the product should be posted.
7.2.5.6 Clearing Details Tab
Click ‘Clearing Details’ tab to invoke the following screen.
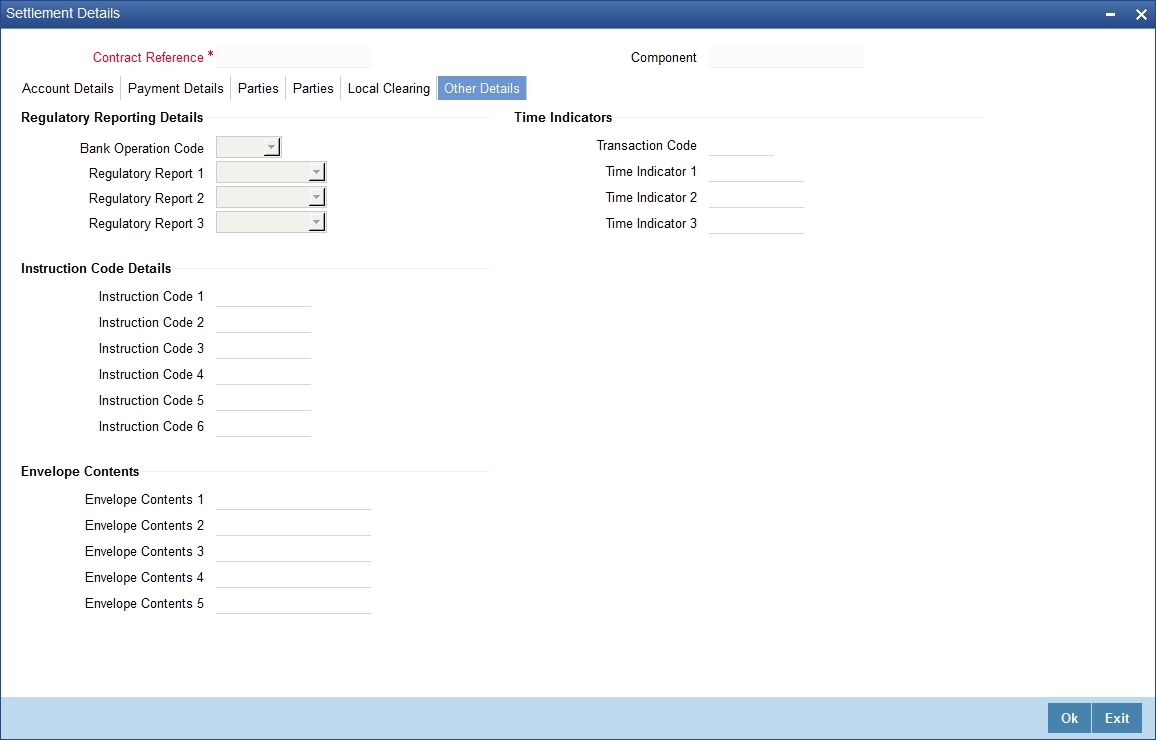
Specify the following details.
Bank Operation Code
Select the bank operation code that should be inserted in field 23B of an MT103 message, from the adjoining drop-down list. The list contains the following codes:
- SPRI
- SSTD
- SPAY
- CRED
This specification is defaulted from the settlement instructions maintained for the customer, currency, product, branch and module combination. However, you can change it.
Transaction Code
The transaction code maintained in the settlement instructions is defaulted here. However, you can change the code.
Regulatory Report 1 to 3
Select the Regulatory Reporting Details from the drop-down list displaying the following values:
- /BENEFRES/
- /ORDERRES/
Time Indicator 1 to 3
Time Indication, specifies one or several time indication(s) related to the processing of the payment instruction. Select the time indication code from the following values available in the option list:
- /CLSTIME/ - Time by which funding payment must be credited, with confirmation, to the CLS Bank's account at the central bank, expressed in CET.
- /RNCTIME/ - Time at which a TARGET payment has been credited at the receiving central bank, expressed in CET
- /SNDTIME/ - Time at which a TARGET payment has been debited at the sending central bank, expressed in CET
Instruction Code 1 to 5
Select the instruction code that should be inserted in field 23E of an MT103 message involving the customer of the contract, from the adjoining drop-down list. This list contains the following codes:
- CHQB
- TELE
- PHON
- PHOI
- REPA
- INTC
- TELI
- SDVA
- PHOB
- TELB
- HOLD
- CORT
- BONL
This specification is defaulted from the settlement instructions maintained for the customer, currency, product, branch and module combination. However, you can change it.
Description
Specify additional information that should be inserted to qualify the Instruction Code in field 23E of an MT103 message involving the customer of the contract. For instance, if the Instruction Code is REPA and the description is "Repayment" then the text ‘REPA/Repayment’ will be inserted in Field 23E. You can give a description for the following instruction codes only:
- PHON
- PHOB
- PHOI
- TELE
- TELB
- TELI
- HOLD
- REPA
This specification is defaulted from the settlement instructions maintained for the customer, currency, product branch and module combination. However, you can change it.
Envelope Contents 1 to 5
Specify details of envelope contents, if required.
7.2.5.7 Local Clearing Tab
Click ‘Local Clearing’ tab to invoke the following screen.
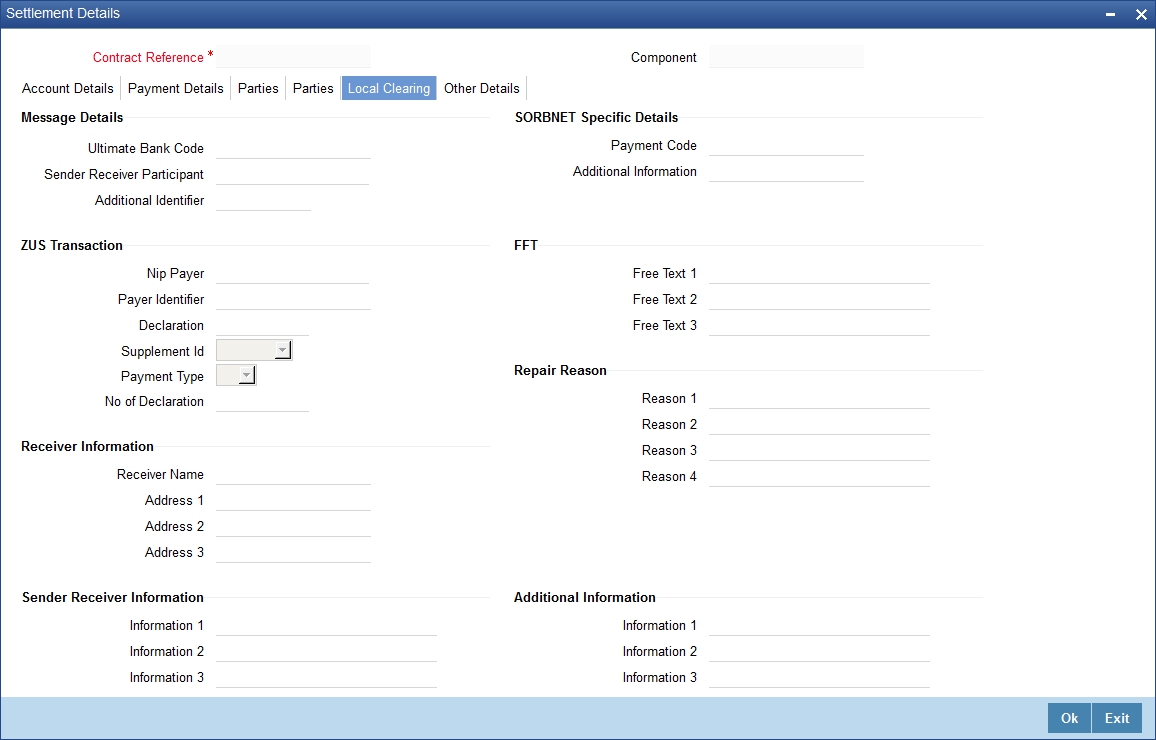
Specify the following details:
Message Details
Specify the following details.
Ultimate Bank Code
Specify the bank code where the ultimate beneficiary account rests.
Sender Receiver Participant
Specify the sender receiver participant name.
Additional Identifier
Specify the additional identifier.
Sorbnet Specific Details
Specify the following details.
Payment Code
Specify the Sorbnet payment code.
Additional Information
Specify additional information if required.
ZUS Transaction
Specify the following details.
Nip Payer
Specify the Nip payer.
Payer Identifier
Specify the payer identifier.
Declaration
Give a declaration for the payment.
Supplement Identification
Select the supplement identification from the adjoining drop-down list.
Payment Type
Select the payment type from the drop-down list.
Number of Declaration
Specify the number of declaration.
Sender Receiver Information 1 to 6
Include any message that the sender wishes to pass on to the receiver as part of the funds transfer.
Free Text 1 to 3
Specify the free text for settlement messages.
Additional Information 1 to 4
Specify additional information for settlement messages.
Receiver Information
Specify the following details.
Receiver Name
Specify the name of the receiver.
Address 1 to 3
Specify the receiver’s address.
Repair Reason 1 to 4
Specify the repair reason.
7.2.6 Viewing Advice Details
Click ‘Advices’ button and invoke the ‘Advice Details’ screen.
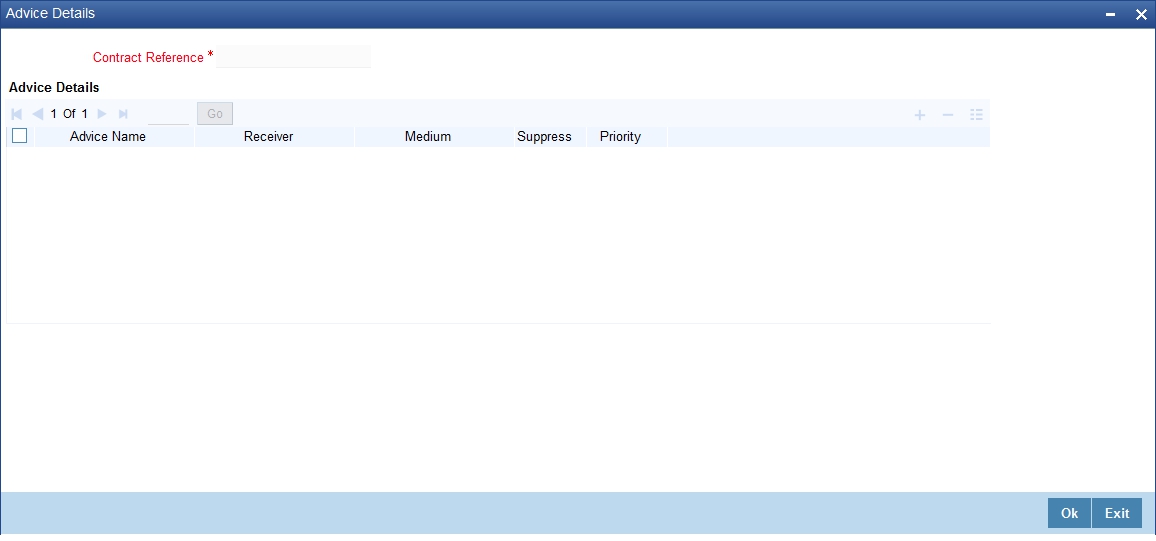
You can view advices generated for the contract during availment.
7.2.7 Specifying Charge Details
Click ‘Charges’ button and invoke the ‘Charge Detail’ screen.
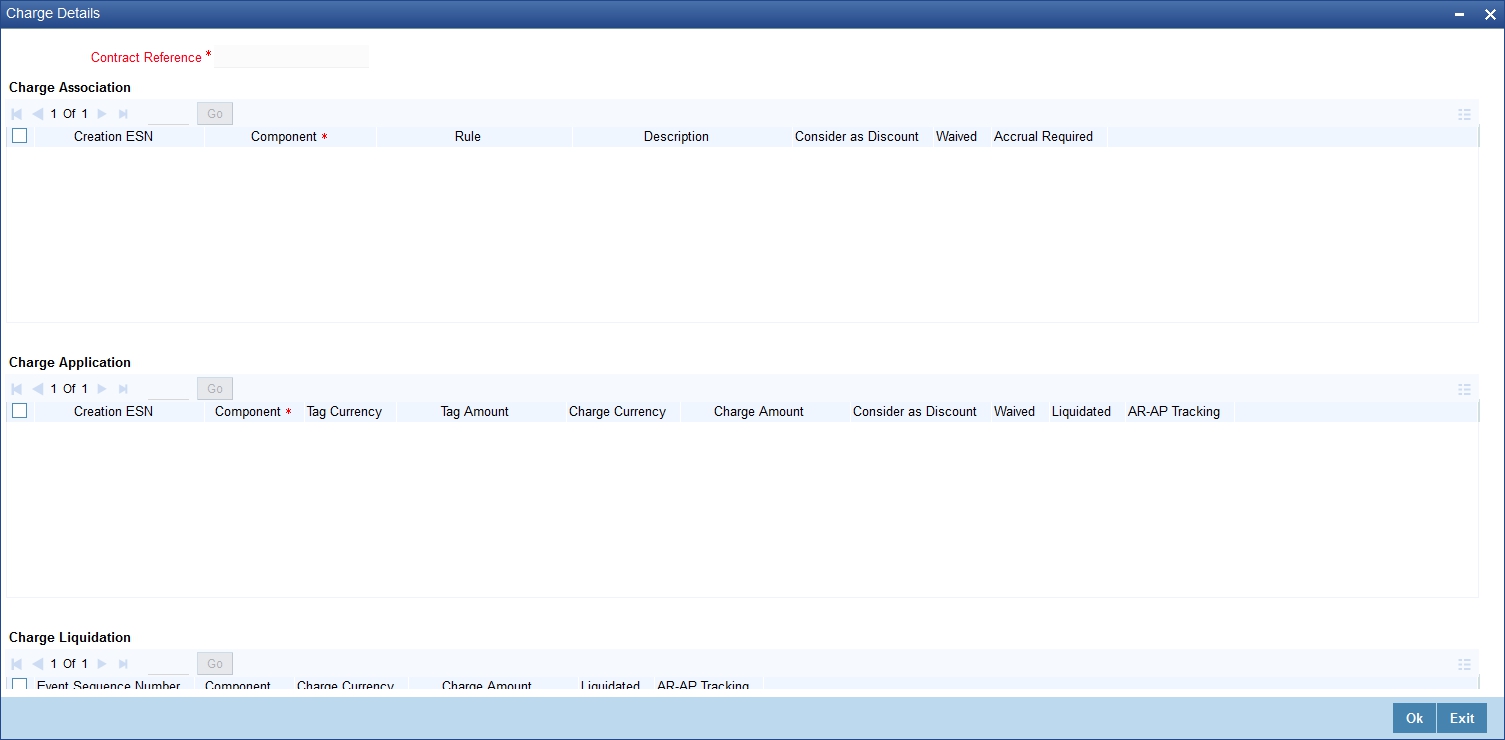
Refer the Charges and Fees User Manual under Modularity for further details about charge maintenance.
7.2.8 Specifying Commission Details
Click ‘Commission’ button and invoke the ‘Commission Details’ screen.
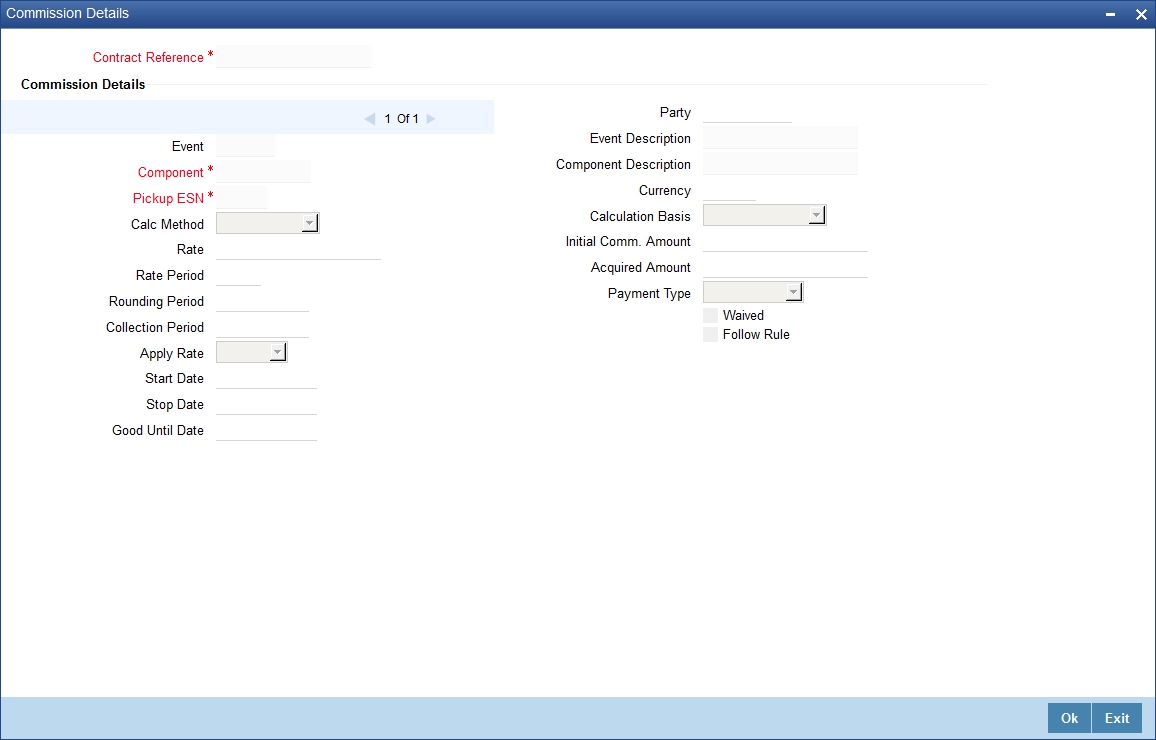
Refer the Commission User Manual under Modularity for further details about commissions processing.
7.2.9 Specifying Tax Details
Click ‘Tax’ button and invoke the ‘Tax Details’ screen.
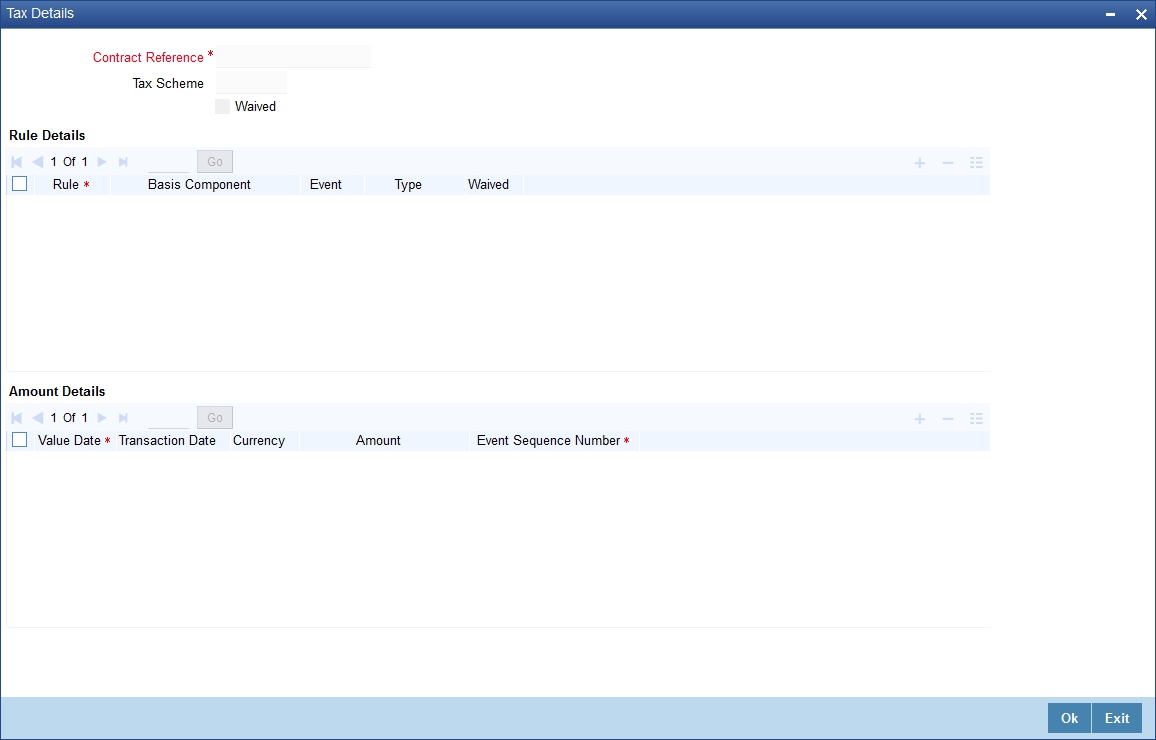
Refer the Tax User Manual under Modularity for further details about tax processing.
7.2.10 Remarks
Click Remarks button to view all the instructions captured on every transaction of the contract in ‘History of Remarks’ screen.
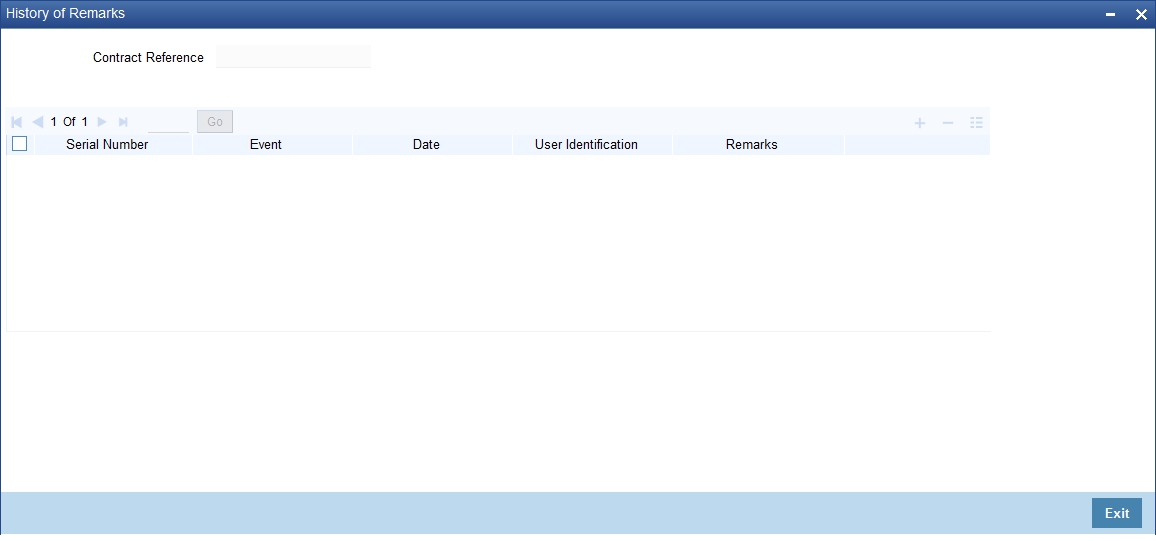
For more details on this screen refer the Section 6.21, "Remarks" in this user manual.
7.2.11 Authorizing Availment
An availment that you have entered should be authorized before the EOD is run. You can authorize the same by clicking the ‘Authorize’ icon on the Application toolbar.
Note
You cannot authorise an availment from the ‘Letters of Credit Availment Input’ screen in the following cases:
- the contract has multilevel of authorization pending, the same will be done using the ‘Multilevel Authorization Detailed’ screen
- the level of authorization is greater than or equal to ‘N’
- the ‘Nth’ or the final level of the users authorisation limit is less than the difference between amount financed and sum of the limits of all the users involved in authorizing a transaction, this case holds good when the ‘Cumulative’ field is checked in the ‘Product Transaction Limits Maintenance’ screen
- the transaction amount is greater than the authoriser’s authorisation limit if the ‘Cumulative’ field is unchecked in the ‘Product Transaction Limits Maintenance’ screen
7.3 Viewing LC Availed
You can view the LC availed using ‘Letters of Credit Contract Summary’ screen. To invoke this screen, type ‘LCSAVMNT’ in the field at the top right corner of the Application tool bar and click the adjoining arrow button.
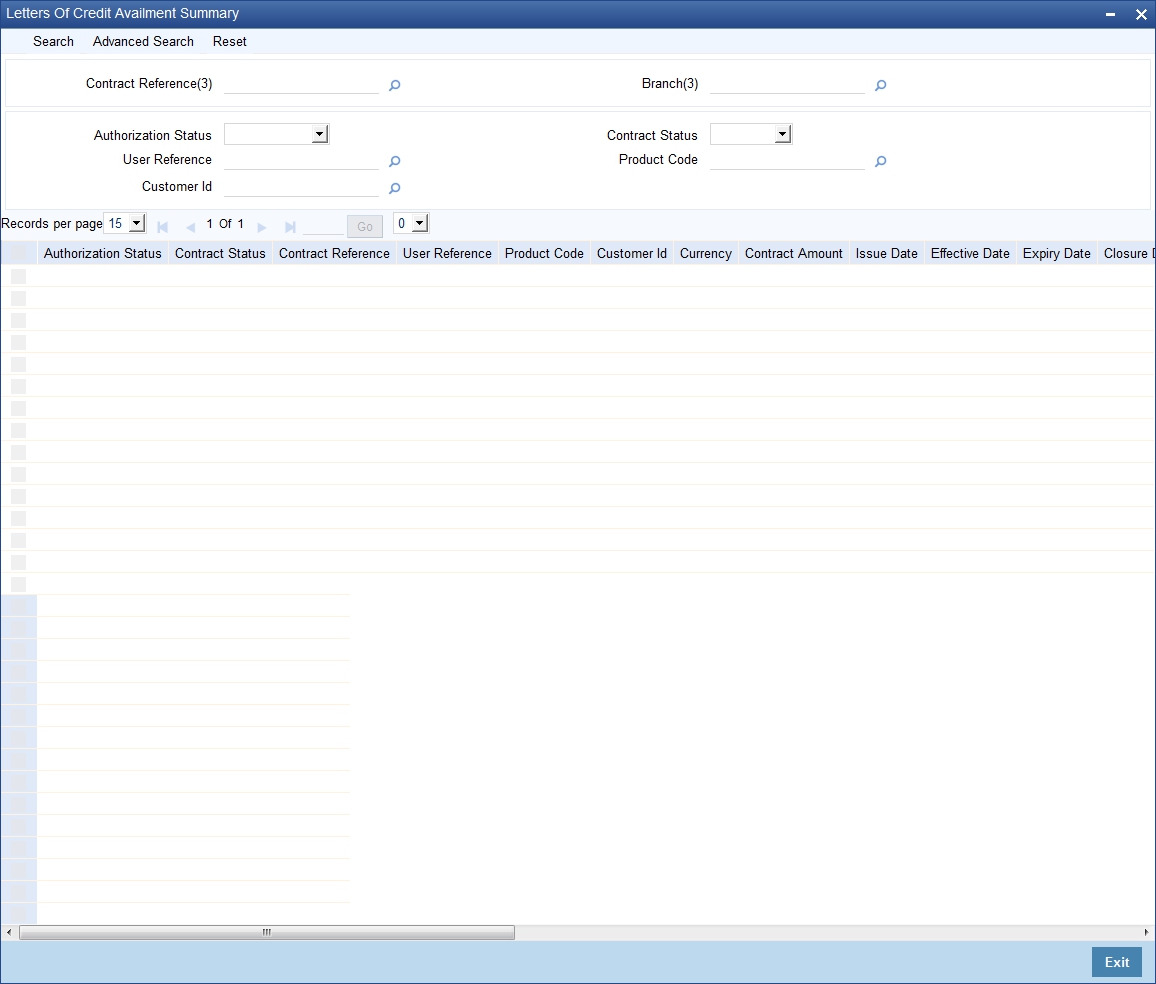
You can click ‘Search’ button to view all the pending functions. However, you can to filter your search based on any of the following criteria:
Authorized
Select the authorization status of the contract from the drop-down list.
Contract Reference
Select the contract reference number from the option list.
Product Code
Select the product code from the option list.
Branch
Select the branch code for which you want to check the contract from the option list.
Contract Status
Select the status of the contract for which you want to check the pending function from the drop-down list.
User Reference
Select the user reference number from the option list..
Customer Identification
Select the customer identification number from the option list..
When you click ‘Search’ button the records matching the specified search criteria are displayed. For each record fetched by the system based on your query criteria, the following details are displayed:
- Authorized
- Contract Status
- Contract Reference
- Product Code
- Currency
- Contract Amount
- User Reference
- Source Reference
- Date
- Party Type
- Issue Date
- Expiry Date
- Branch
Click ‘Advanced Search’ button to query a contract based on any of the following details:
- Currency
- Contract Amount
- Issue Date
- Effective Date
- Expiry Date
- Closure Date
- Customer Type
- Customer Reference
- Customer Reference Date
- Max Amount
- Liability Amount
- Amount
- Outstanding Amount
- Settlement Method
- Latest Shipment Date
- External Reference Number
- Branch