| Oracle Agile Engineering Data Management Client Installation Guide on Windows Release e6.2.1.0 E69175-01 |
|

 Previous |
 Next |
| Oracle Agile Engineering Data Management Client Installation Guide on Windows Release e6.2.1.0 E69175-01 |
|
Previous |
Next |
The Agile e6 Installer, version 6.2, facilitates the installation of the Agile e6 Client Set, which comprises of the following components:
Java Client
|
Note: The Java Client requires a 32-bit JRE. |
AutoVue Integration
|
Note: The AutoVue Integration requires an additional 64-bit JRE. |
Office Suite
To install the Agile e6 Client set:
Extract the downloaded installation file.
Start the command shell with "Run as administrator".
Set Java Home path.
|
Note: The GUI Installer needs a 32bit JDK to install the client set. |
set JAVA_HOME=C:\Program Files (x86)\Java\jdk1.8.0_<update_number>
Change to the installer directory …\installer.
Execute gui.cmd.
The Installation Sets screen opens.
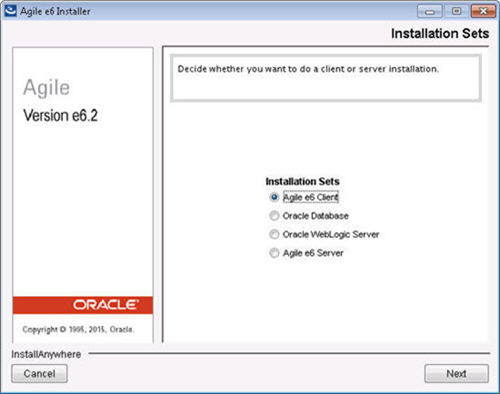
Select the Agile e6 Client installation Set and click Next.
The Installation Destination screen opens.
Enter the Destination path where the Agile e6 Client set will be installed (e.g. c:\Program Files (x86)\Agile_e6 and click Next.
|
Note: The installation destination is the root path to install the Agile e6 Client set. This has to be either a non existing path or an empty directory. For every component of the Agile e6 Client set, a separate subdirectory is created under this path. |
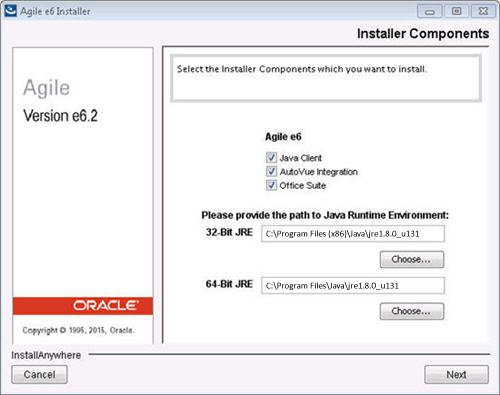
The Installer Components screen is opened.
|
Note: Only a user with Administrator rights can install the Agile e6 Office Suite. |
Select the Agile e6 components to be installed and click Next.
For the Java Client installation, enter the home directory for 32-bit JRE Version 8.
For the AutoVue Integration installation, enter the home directory for the 64-bit JRE Version 8
|
Note: De-selecting the AutoVue Integration component is also disabling the 64-bit JRE option.De-selecting the Agile e6 Java Client is also disabling the 32-bit JRE option, and the Agile e6 AutoVue Integration component and its 64-bit JRE option. |
Click Next.
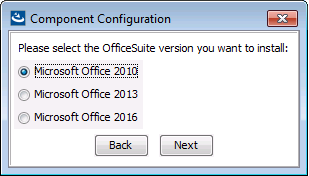
For the Agile e6 Office Suite, the Component Configuration window is opened.
Select the Microsoft Office version for which you want to install the Office Suite.
The following sample screen shows some failed checks, too. This implies that some prerequisites for installing the Office Suite are not met.
|
Note: All General checks have to pass for a successful installation. The Additional checks are not mandatory and reflect the Office products which are found on the system and for which the Office Suite will be enabled. |
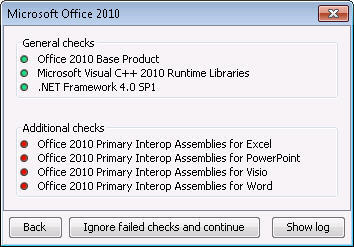
a) If you notice any failed checks (see example below - displayed with Red markings), click the Back button to stop the installer.
|
Note: If any of the prerequisites are missing, you are required to stop the installation, install the missing prerequisites and then start the installation process again. |
b) If you wish to fix the failed checks after the installation, click Ignore failed checks and continue.
|
WARNING: It may not be possible to fix the failed checks afterwards. |
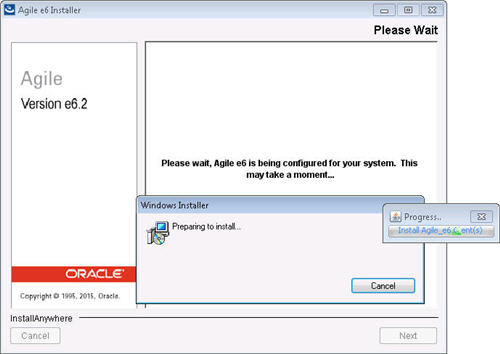
The system will be installed.
The Install Complete screen appears.
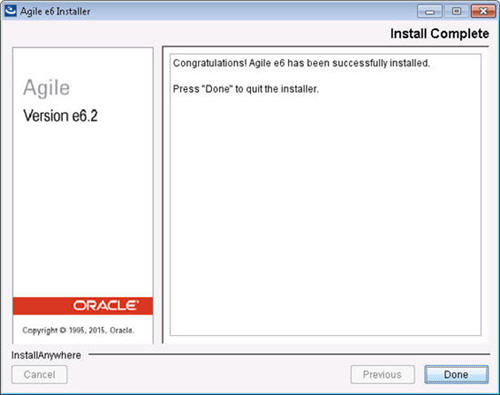
Click Done to exit the installer.
