| Agile Engineering Data Management Patch Upgrade Guide for Windows and UNIX Release 6.2.1.0 E69177-01 |
|

 Previous |
 Next |
| Agile Engineering Data Management Patch Upgrade Guide for Windows and UNIX Release 6.2.1.0 E69177-01 |
|
Previous |
Next |
Depending on your requirements, refer to the topics:
Dump Upgrade of all Applications
During the patch upgrade with the gui installer, all applications associated to your installation will be updated.
Dump Upgrade of a Single Application
Performs a patch upgrade for only one single application.
This section describes how to patch upgrade all application of a single installation with the Installer.
Open a command shell and change the directory to <installation-media-path>/installer/.
Execute the following in the cmd (Windows) or csh (UNIX) shell:
| Windows | UNIX |
|---|---|
| set JAVA_HOME=<Java_64bit_home> | setenv JAVA_HOME <Java_64bit_home> |
| set ORACLE_HOME=<ORACLE_HOME> | setenv ORACLE_HOME <ORACLE_HOME> |
To start the installer, execute:
| Windows | UNIX |
| gui.cmd | ./gui.csh |
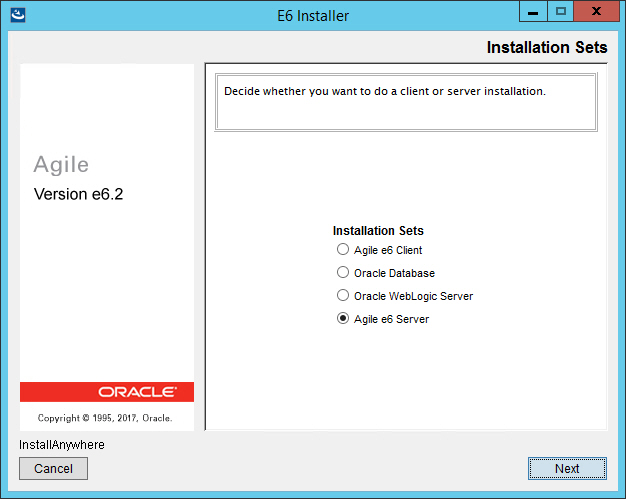
The Installation Sets mask is opened.
Select Agile e6 Server and click Next
The Installation Mode mask is opened.
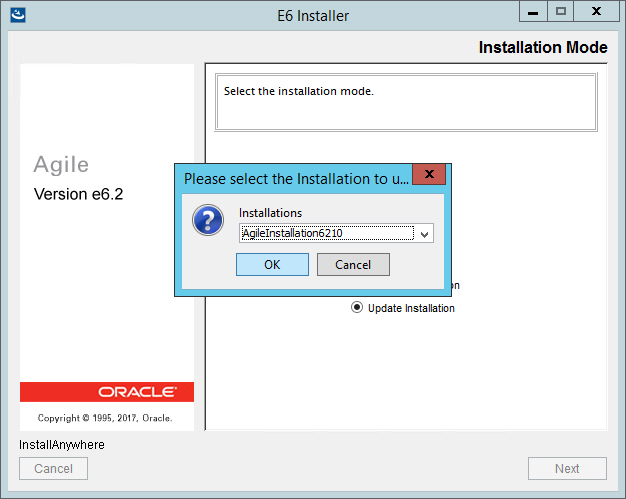
Select Update Installation and click Next.
The Please select the Installation to update window is opened.
Select the Installation name of the installation you want to apply the upgrade patch to.
By default there is only one installation.
Click OK.
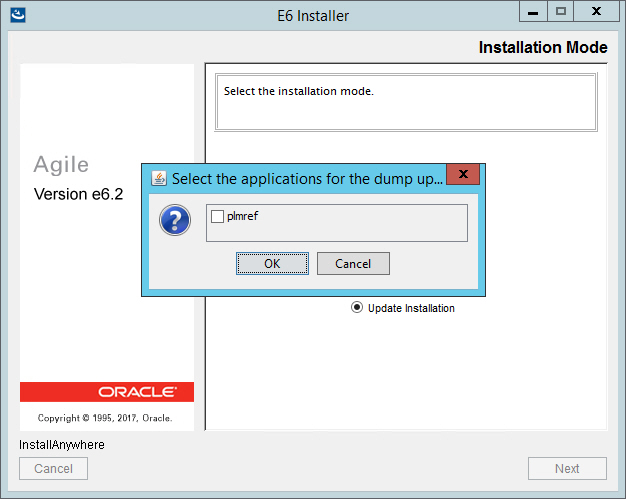
The Select the applications for the dump upgrade window is opened.
Select the application(s) for which you want to perform a dump upgrade.
|
Note: The dump upgrade can be executed manually. For further information, please refer to the chapter Dump Upgrade of a Single Application. |
After the dump upgrade has been performed for the selected application, please check the log files for possible conflicts. For more information on these log files please refer to the chapter Appendix.
Click OK.
The patch upgrade is started.
Once the patch upgrade process finished, check the log files (see Appendix).
|
Note: Skip the next topic and go to Agile e6.2.1.0 Client Update. |
This section describes how to carry out the patch upgrade on a single application.
During the patch upgrade with the gui installer, a selected application associated to your installation can be upgraded.
|
Note: The upgrade with the gui installer can only be started once for an installation. No further dump upgrades can be performed with the gui installer. |
With the patch upgrade of a single application only one database schema will be changed. No software changes will be performed. This can be used to test the upgrade of a specific application for possible errors during the database patch upgrade.
Open a command shell and change to the following directory:
| Windows | UNIX |
| <installation-media-path>\installer\tools\dumpupgrade6210\cmd | <installation-media-path>/installer/tools/dumpupgrade6210/scripts |
Execute in command shell:
| Windows | UNIX |
| set JAVA_HOME=<Java8_64bit_home> | setenv JAVA_HOME <Java8_64bit_home> |
| set ORACLE_HOME=<ORACLE_HOME> | setenv ORACLE_HOME <ORACLE_HOME> |
patchupgrade.cmd(.sh) <ep_root> <application> <server wallet dir> > patchupgrade.log
Examples:
| Windows | UNIX |
| patchupgrade.cmd c:\plm plmref c:\plm\init\wallet\private\server > patchupgrade.log | ./patchupgrade.sh /app/plm621 plmref /app/plm621/init/wallet/private/server > patchupgrade.log |
After the patch upgrade, check the log files (see Appendix).