Using Input File Projects
This section describes using Input File projects and describes how to:
Create Input File project types.
Add header information to input file projects.
Create and add input files to input file projects.
Post the input file projects to a web server.
The first step to using an input file project is creating the Input File project type. Information about how to complete this task is provided earlier in the Send Master product documentation.
Input header information for input files can be added as a query string in the URL or entered in the Header area.
To insert header information in the Header area:
In the Header Name column double-click a cell and enter a header name.
In the Header Value column double-click a cell and enter a header value.
Repeat these steps to enter additional headers and their associated values.
This table lists the header properties:
|
Header |
Description |
|---|---|
|
Authorization: |
Optional. When testing REST provider services that require basic authentication use this header to specify an encoded authentication string. See the section after this table for additional information about generating encoded authentication strings for this header type. |
|
Content-type: |
Identifies the content type for the service operation. |
|
From: |
Required. Identifies the node sending the service operation. |
|
OperationName: |
Required. Identifies the external service operation, including version. This must match the external operation in the routing definition. |
|
OperationType: |
Required. Identifies the operation type sync, async, or ping. |
|
OrigTimeStamp: |
Optional. Identifies a timestamp for this service operation. |
|
NonRepudiation |
Optional. Identifies if nonrepudiation is enabled (True or False). |
|
SOAPAction: |
Optional. Identifies a SOAP action for this service operation. |
|
To: |
Optional. Identifies the receiving node. If this header is not entered, it defaults to the default application server specified on the gateway. |
Generating and Setting Encoded Authentication Strings for Authorization Headers
When testing REST provider services that require basic authentication use the Authorization header to specify an encoded authentication string.
Send Master enables you apply Base64 encoding to authentication credentials and then enter those credentials as a header value.
Use the Base64 Encoder dialog box to encode the authentication credentials. To access the dialog box, on the Send Master main menu select
Image: Base64Encoder dialog box
This example illustrates the Base64Encoder dialog box.
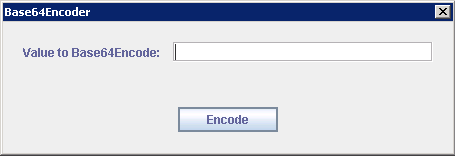
To generate an encoded authentication string, in the Value to Base64Encode field enter the username and password to encode. Separate the two values with a colon punctuation mark. The following example shows the format to use:
username:password
After you enter the values to encode, click the Encode button. The system displays the encoded authentication string in the Value to Base64Encode field.
Image: Base64Encoder dialog box
This example shows the Base64Encoder dialog box after the system has generated an encoded authentication string.
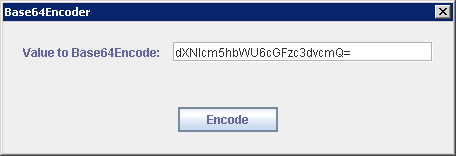
Cut the string and paste it into the appropriate header value cell. When you enter the value the term “Basic” must precede the encoded string. For example:
Basic dXNlcm5hbWU6cGFzc3dvcmQ=
Image: Headers grid
This example illustrates the Headers grid. The second row shows a sample entry for an authorization header and value.

To generate and set an encoded authentication string for a header value:
From the Utilities menu, select Base64 Encode.
The Base64Encode dialog box appears.
In the Value to Base64Encode field enter the username and password to encode. Separate the values with a colon punctuation mark. For example:
username:passwordClick the Encode button.
An encoded authentication string appears in the Base64Encode field.
Copy the encoded authentication string to the clipboard or to a text file and close the Base64Encoder dialog box.
In the headers grid, double-click in a cell in the Header Name column and enter the header name Authorization.
In the Header Value column, double-click the cell to the left of the Authorization header you just entered and do the following:
Enter the term Basic.
Enter a space.
Paste the encoded authentication string.
Information about creating and adding an input file to a project is provided earlier in the Send Master product documentation.
After you create the Input File project type, add the input file to the project, and then click the Post button to post the file to the server.
Any server response to the service operation that you post appears in the Output Information section.