Adding and Modifying Blob Properties
This topic describes how to add and modify blob properties.
Understanding Adding and Modifying Blob Properties
Consider the following CSS3 properties that you could define for, say, a standard icon in a template:
display: inline-block;
overflow: visible;
position: relative;
You can define these as a single selector property, called a blob property.
Adding and Modifying Blobs as Selector Properties
Use the Selector Properties Blob page (IB_DOCTPLBLOB_SEC) to add and modify blob properties.
Image: Selector Properties Blob page
This example illustrates the fields and controls on the Selector Properties Blob page. You can find definitions for the fields and controls later on this page.
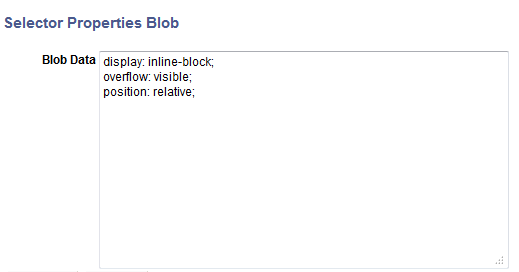
In the Blob Data long edit box, enter selector properties.
After you define and save a block of styles as a blob, the blob appears as a single property/value pair in the Selector Properties grid in the Template Designer – Containers page (IB_DOCTPLBLOB_SEC).
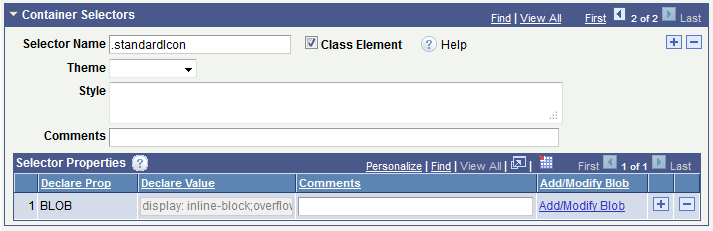
Image: Selector Properties grid
In this example, the Selector Properties grid shows a blob defined as a selector property. The Declare Value field shows the individual properties that comprise the blob.
To add and modify blob properties:
Access the Template Designer – Containers page. (Select PeopleTools, Mobile Application Platform, Template Designer and click the Containers tab.)
In the Selector Properties grid click the Add/Modify Blob link.
The Selector Properties Blob page appears.
In the Blob Data field enter and/or modify the properties in standard CSS3 format.
Click the OK button.
The Containers page appears.
In the Selector Properties grid, enter comments about the blob property and its values in the Comments field.
Click the Save button.
Click the Add a Row button (+) to add a row and define additional properties.