MULTI ENTITY
To add entity to existing OBDX with supported host system follow below steps.
- Add entity using OBDX Web application, using User Manual Oracle Banking Digital Experience System Configuration
- Run OBDX installer
Ensure that managed server should be down and admin server should be running.
Ensure ORACLE_HOME, JAVA_HOME variable are set and their binaries are available in PATH variable before proceeding.
Login with OS user which was used to perform OBDX software installation (or has ownership on Oracle Weblogic home directory)
Ensure OBDX Installation home and filestore path maintained in installer.properties exists and user running the installer has read-write permissions.
- From your terminal navigate to <OBDX INSTALLER DIR>
- Enter the following command
python runInstaller.py
Select installation type as ‘New Entity Creation’
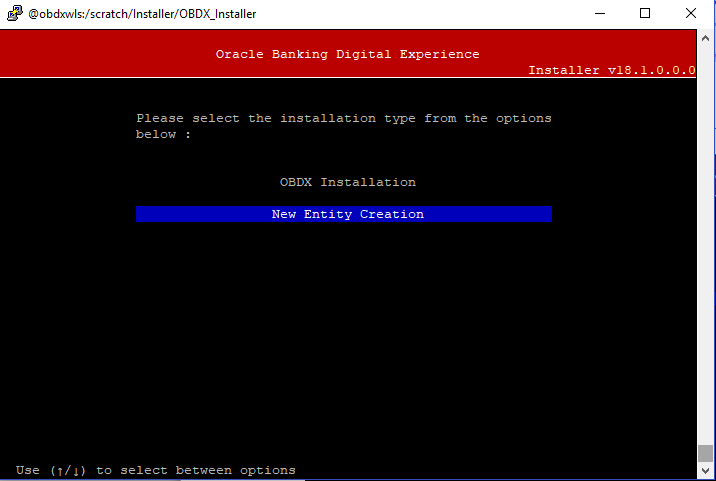
Below screen will appear after selecting add entity
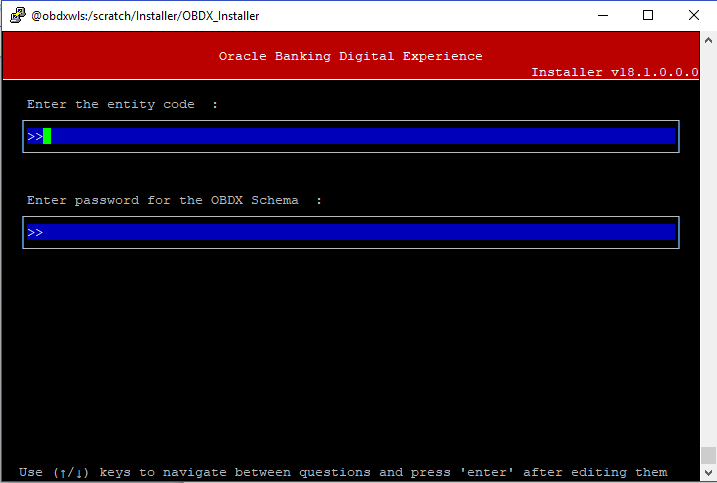
Enter below information:
- Entity code which has been added from screen
- OBDX schema password
If an entity code belongs to UBS host following screen will appear:
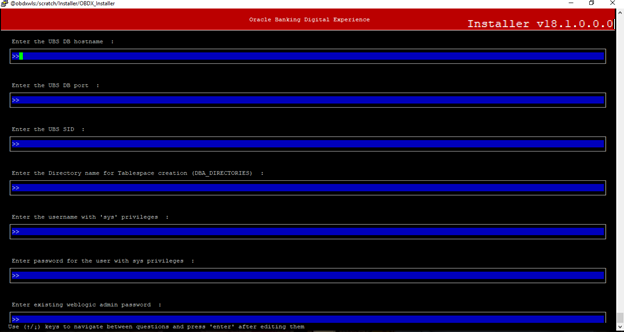
Enter below details:
- Hostname of the UBS database host server
- Port of the UBS database host server
- UBS Host database Service Name
- Oracle directory name in which you want the database datafile (dbf) to be created. Enter only the name NOT the path.
- Username with 'sys' privileges
- SYS privilege user password where UBS schema would be created
- Weblogic console administrator user password
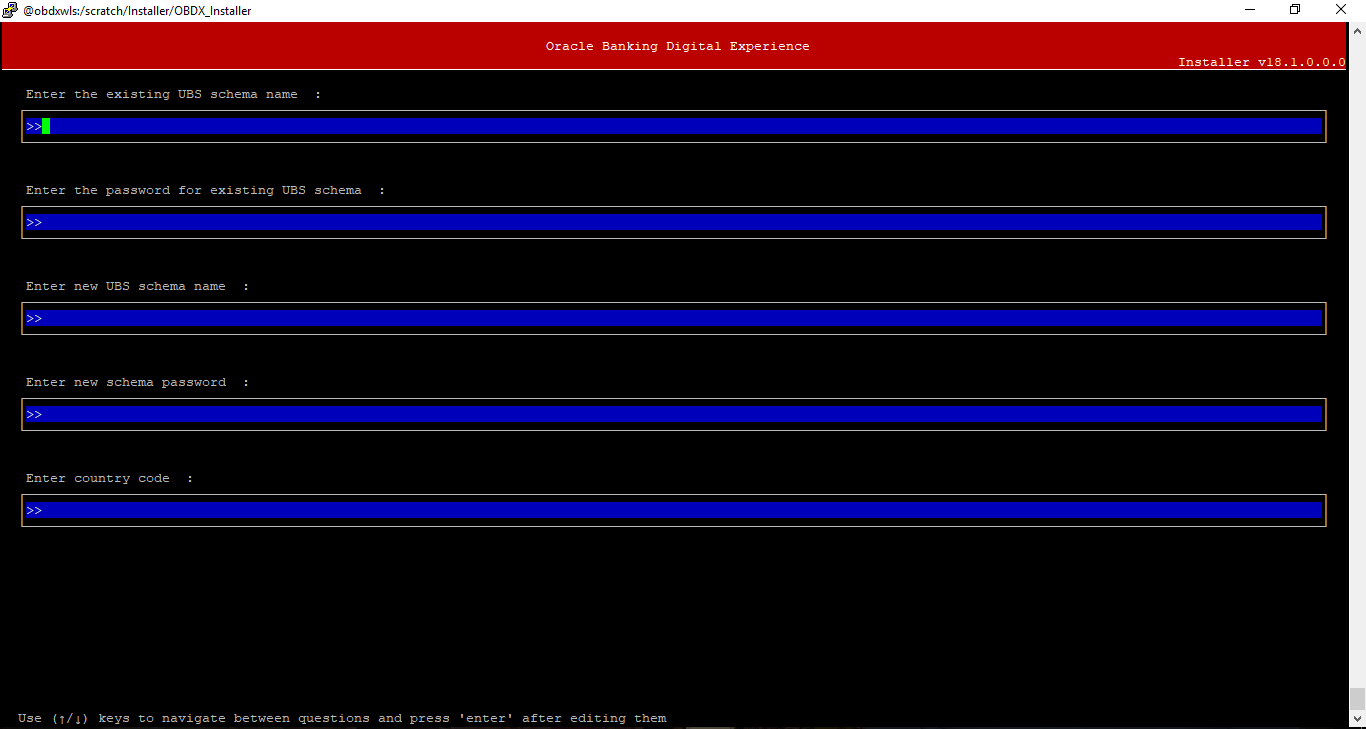

Enter below details:
- EXISTING UBS Host schema name
- Password for EXISTING UBS schema
- Complete UBS B1A1 (HostInterface) schema name you want installer to create as new schema
- Password for New UBS schema
- Country Code of entity branch
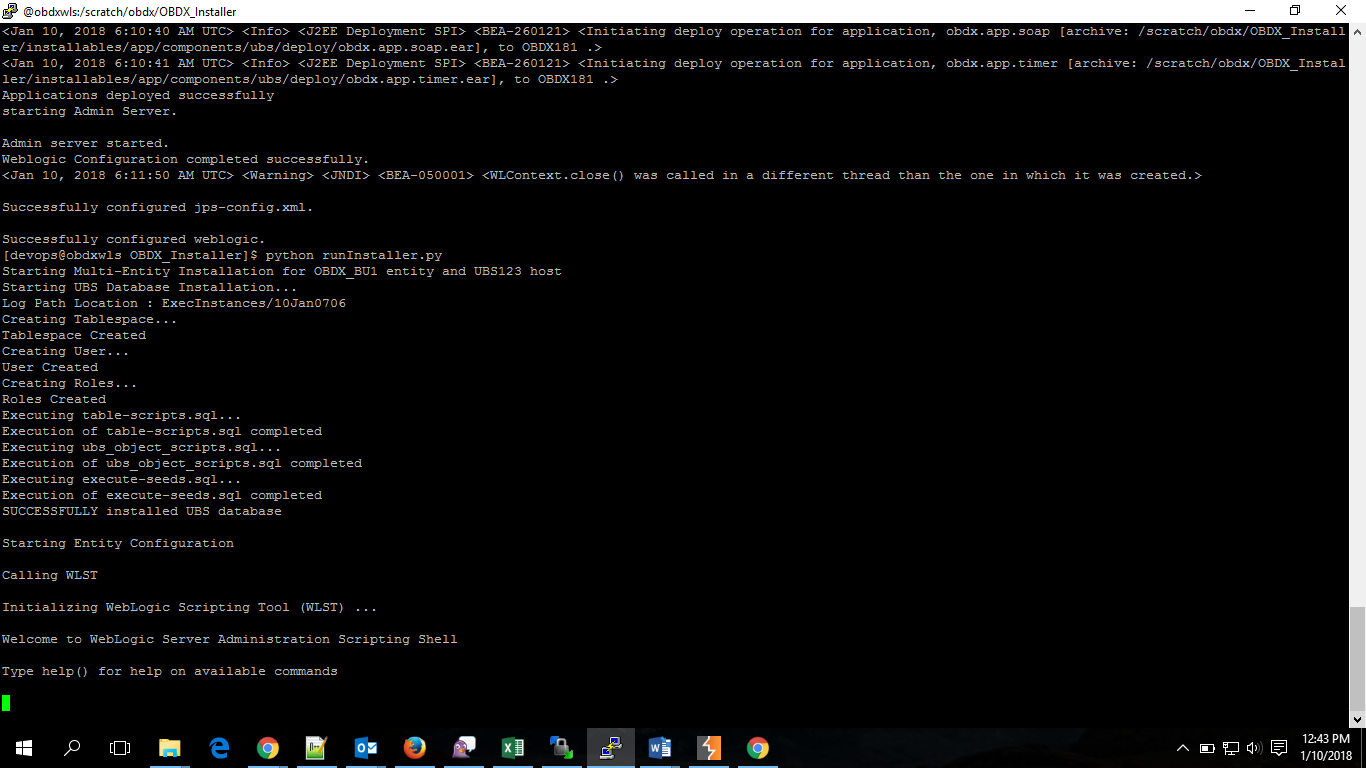
Installation Status in case of UBS
After entering all required details, the status is displayed (as shown below) on the terminal to indicate the progress of the installation.

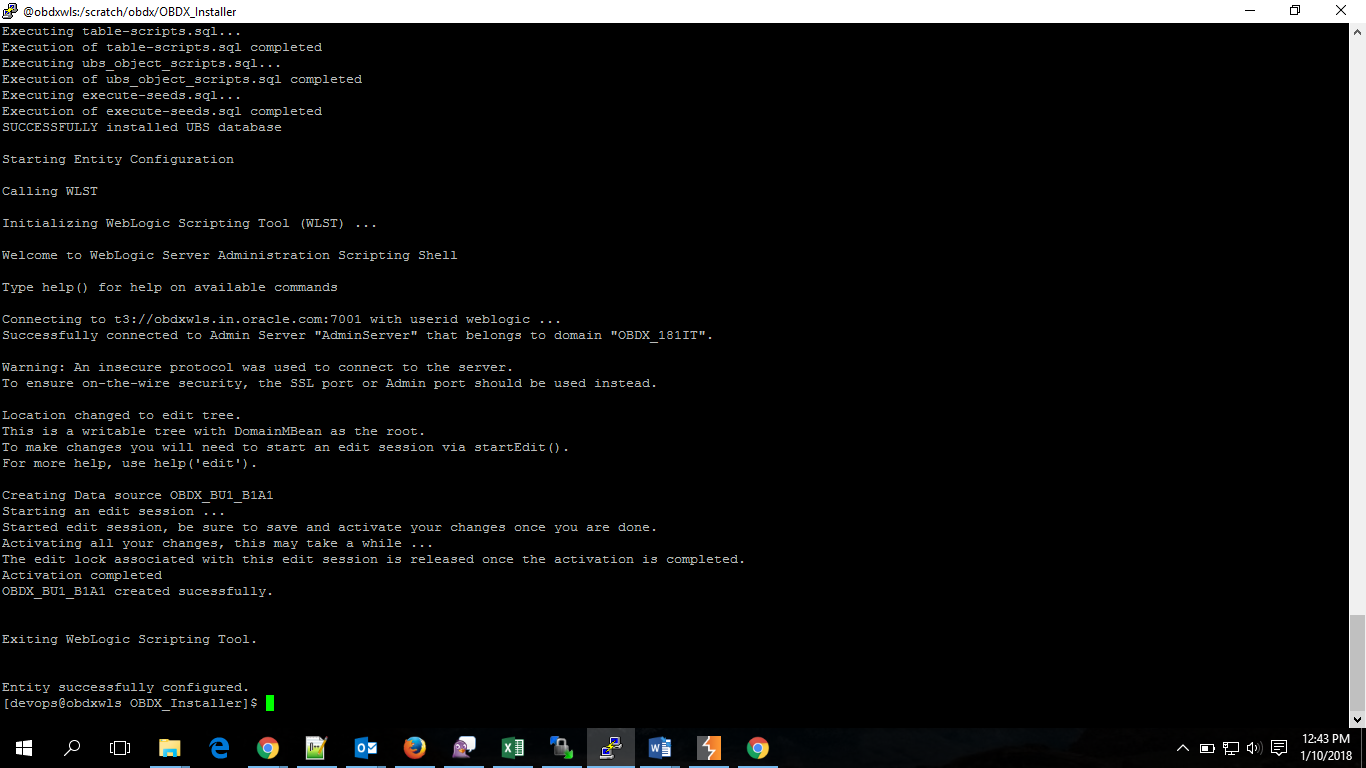
When the installation completes, the below message is displayed
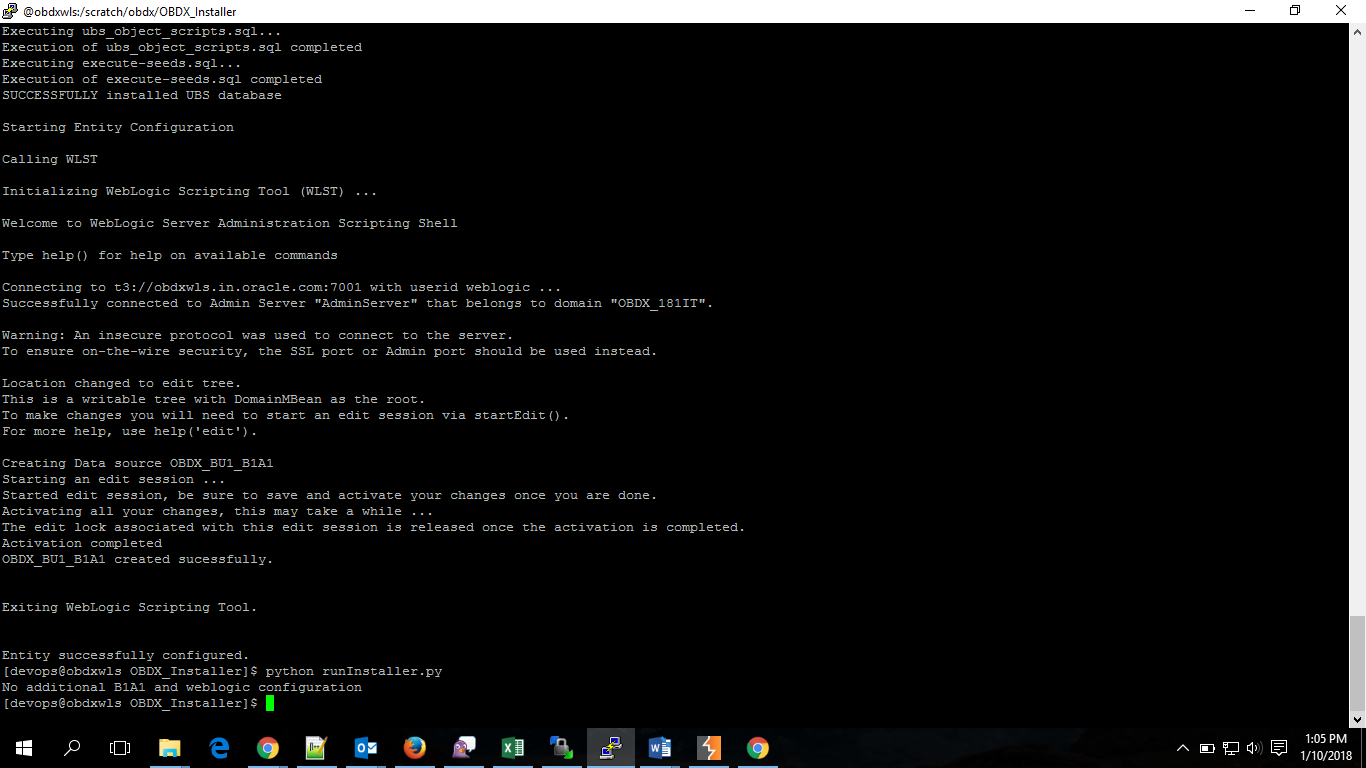
Installation Status in case of other hosts
After entering all required details (Entity code and OBDX schema password), the status is displayed (as shown below) on the terminal to indicate the progress of the installation.
Multi-entity installation In Silent Mode
This chapter describes how to run the OBDX installer for add entity in silent mode.
Ensure that managed server should be down and admin server should be running.
Ensure ORACLE_HOME, JAVA_HOME variable are set and their binaries are available in PATH variable before proceeding.
Login with OS user which was used to perform OBDX software installation (or has ownership on Oracle Weblogic home directory)
Steps for Silent-Mode Installation
- Set the environment variables

Below parameters should be set in environment variables
|
|
Parameter |
Dsecription |
|---|---|---|
|
Add entity with UBS (Installation with Universal Banking Solution) |
Entity_Code |
Entity code which has been entered from screen |
|
SCHEMA_PASS |
Password for existing schema on OBDX database |
|
|
ENTITY_UBS_HOSTNAME |
Hostname of the UBS database host server |
|
|
ENTITY_UBS_PORT |
Port of the UBS database host server |
|
|
ENTITY_UBS_SID |
UBS Host database SID or Service Name |
|
|
ENTITY_DIRECTORY_NAME_UBS |
Oracle Directory name in which you want the UBS B1A1 (HostInterface) schema datafile (dbf). Enter only the name and NOT the path |
|
|
ENTITY_SYS_USER |
username with 'sys' privileges |
|
|
ENTITY_SYS_PASS |
|
|
|
ENTITY_NEW_SCHEMA_NAME |
Complete UBS B1A1 (HostInterface) schema name you want installer to create as new schema. |
|
|
ENTITY_NEW_SCHEMA_PASS |
Password for new B1A1 schema on UBS database |
|
|
ENTITY_UBS_SCHEMA |
EXISTING UBS Host schema name |
|
|
ENTITY_UBS_SCHEMA_PASS |
Password of existing HOST UBS schema (Existing) |
|
|
ENTITY_DomainPassword |
Password for weblogic admin console |
|
|
ENTITY_UBS_CCY |
Country Code for entity home branch |
|
|
Add entity with other hosts |
Entity_Code |
Entity code which has been entered from screen |
|
SCHEMA_PASS |
Password for existing schema on OBDX database |
- Run the runInstaller.py file with ‘--silent ’ argument along with '--addEntity'.

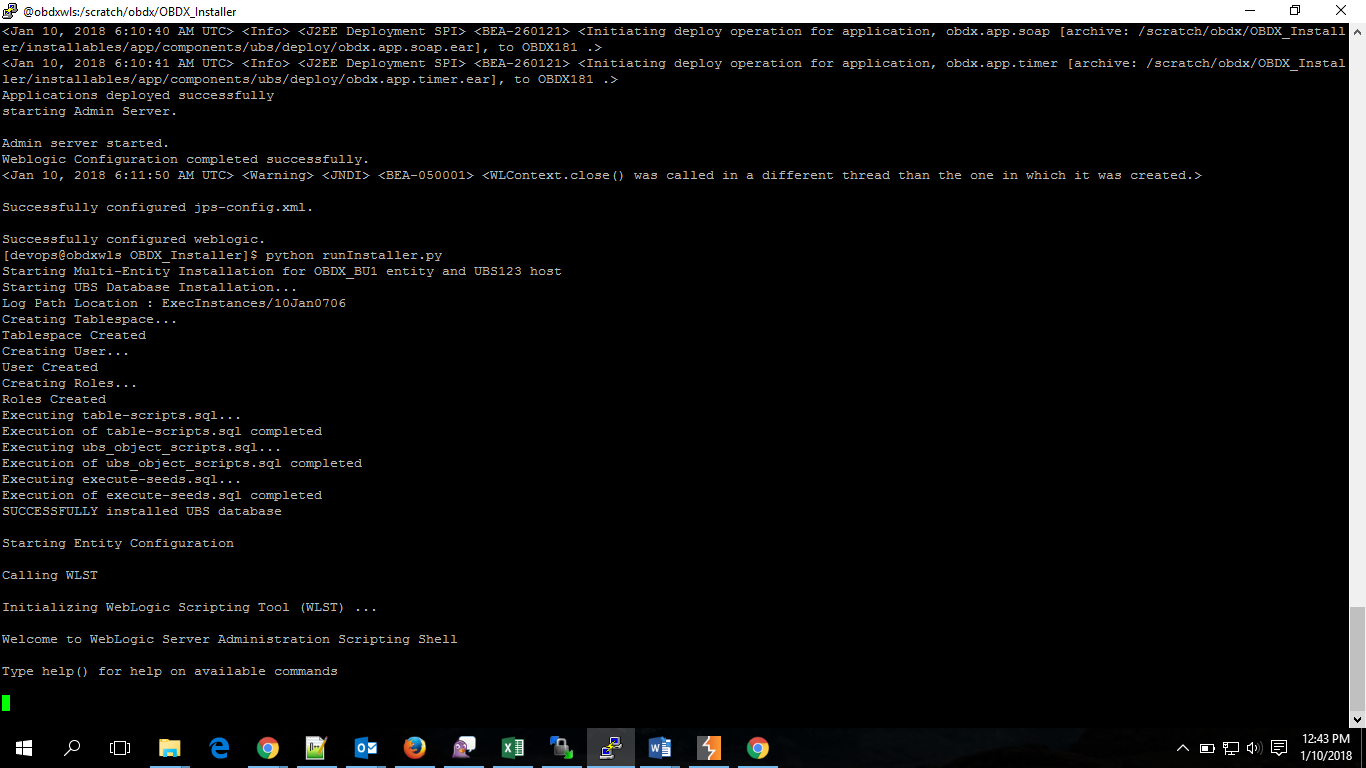
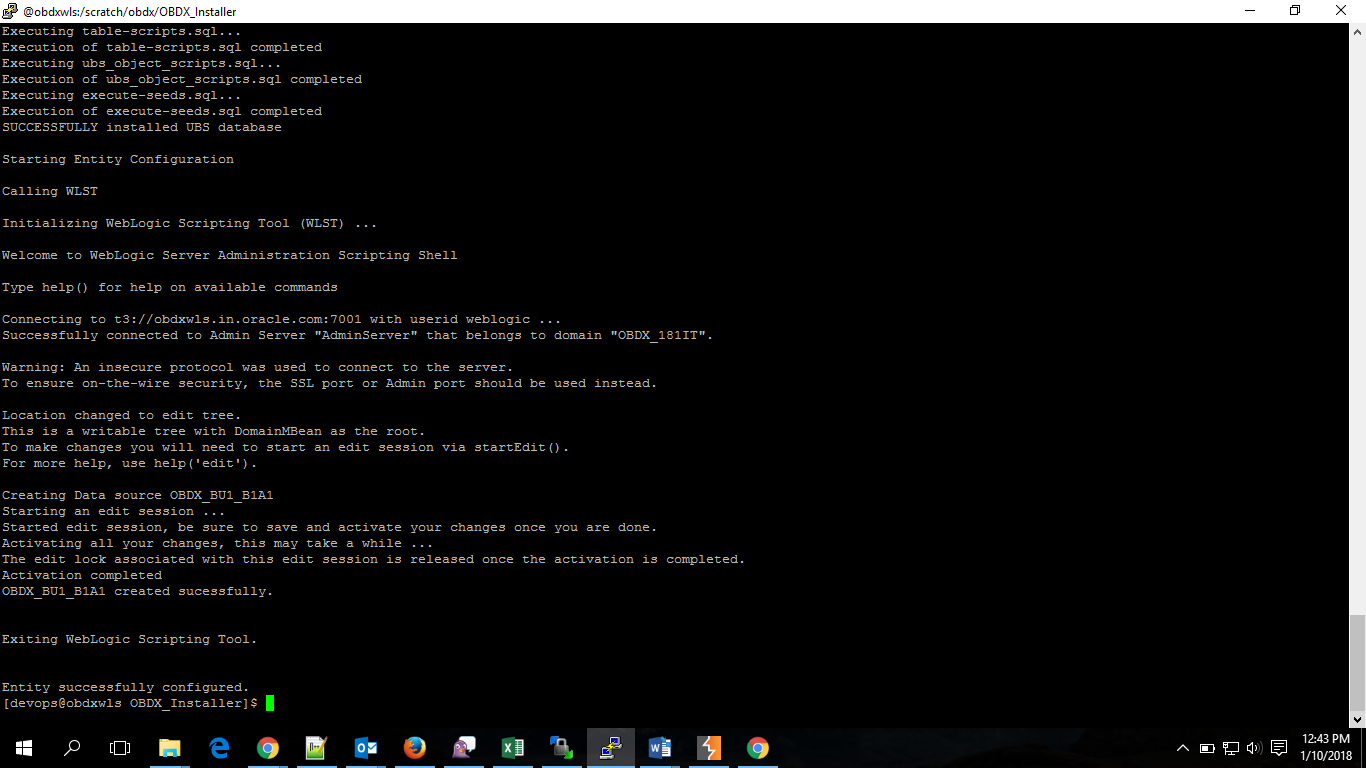
Installation Status in case of UBS
After entering all required details, the status is displayed (as shown below) on the terminal to indicate the progress of the installation.
When the installation completes, the below message is displayed.
Installation Status in case of other hosts
After entering all required details, the status is displayed (as shown below) on the terminal to indicate the progress of the installation.
