INSTALLING AND CONFIGURING WEBLOGIC 12C WITH JRF
This chapter describes the steps for installing the Weblogic Server version 12.2.1.2.0 along with the components of Java Required Files (JRF) in the following sections respectively:
Installing Stand-alone Weblogic
Oracle WebLogic Server is a scalable, enterprise-ready Java Platform, Enterprise Edition (Java EE) application server. The WebLogic Server infrastructure supports the deployment of many types of distributed applications
This chapter describes the installation tasks which contains the following sections:
Pre-requisite - Installing Java 1.8
- Obtain the Java tarball pack from the Oracle Java Downloads. Download jdk-8u131-linux-x64.tar.gz file to a directory.
- Change the directory in which you want to install,
- cd <Directory_Path>
- Unpack the tarball and install Java using the following command:
- tar zxvf <Path>/jdk-8u131-linux-x64.tar.gz
Note: You must enter the absolute path of the folder where the TAR file is located.
- Now, set the path and environment variable for Java as:
- export JAVA_HOME=<Java_Install_Path>/jdk1.8.0_131
- export PATH=$JAVA_HOME/bin:$PATH
Installing Weblogic
- Obtain Weblogic 12.2.1.2.0 JAR from the Oracle Fusion Middleware Downloads. Download fmw_12.2.1.2.0_wls.jar file to a directory.
- Now to start the installer, go to the directory where you downloaded the file.
- Start the installer from the same directory using the below command:
- java –jar <Path>/fmw_12.2.1.2.0_wls.jar
Note: You must enter the absolute path of the folder where the JAR file is located.
If you are installing on a UNIX system, and if this is the first time any Oracle product is being installed on your system with the Oracle Universal Installer, you will are asked to provide the location of an inventory directory. This is where the installer sets up subdirectories and maintains inventory data for each Oracle product that is installed on this system.
Installation Inventory Setup Screen

Specify the Oracle inventory directory and group permissions for that directory. The group must have write permissions to the Oracle inventory directory.
Click OK to continue.
Welcome Screen
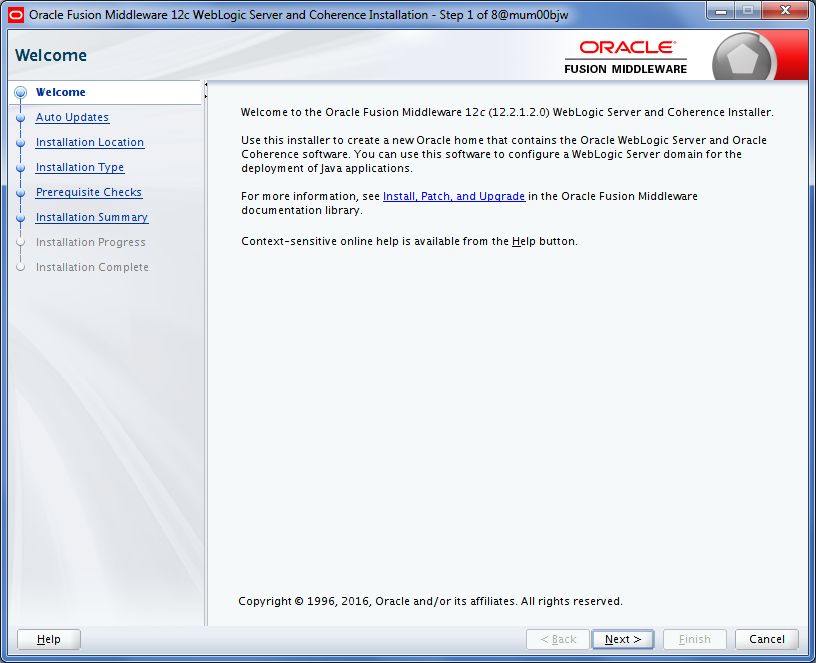
The Welcome screen is displayed each time you start the installer.
Click Next to continue.
Auto Updates Screen
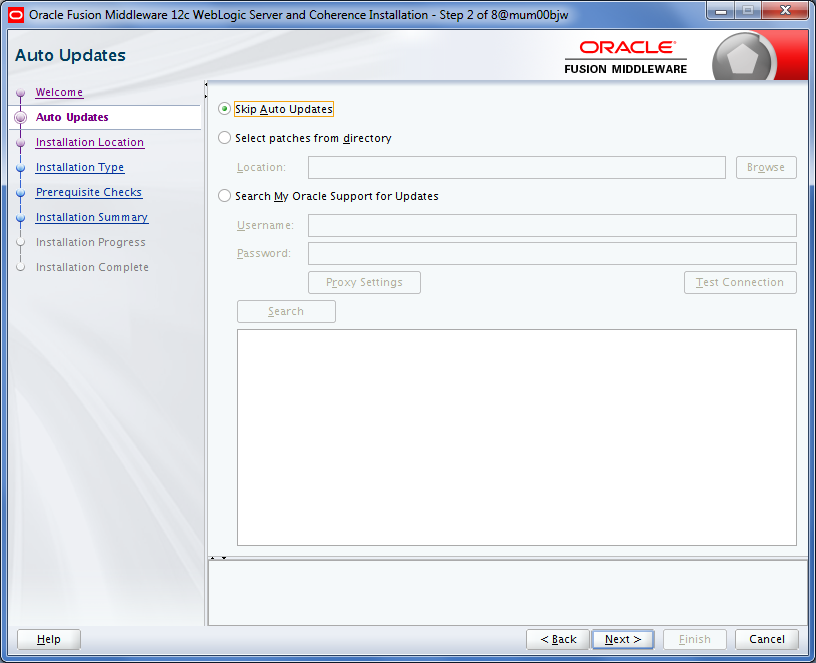
Select “Skip Auto Updates” option and click Next to continue. (Kindly follow recommended practices regarding updates depending on the setup requirements or usage.)
Specify Installation Location Screen
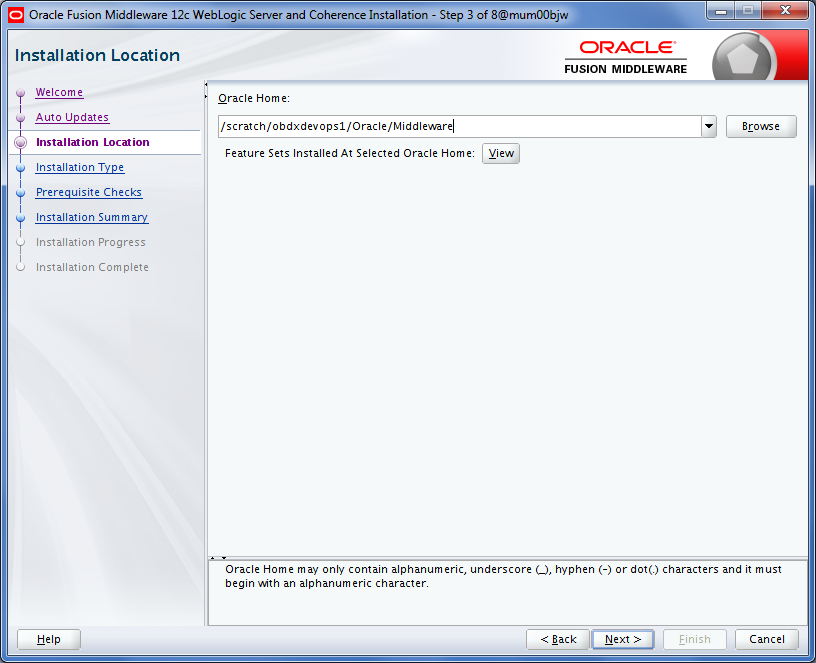
Specify the following installation locations:
- Oracle Middleware Home
This is the absolute path to the directory where the WebLogic Server will be installed.
Click Next to continue.
Specify Installation Type Screen
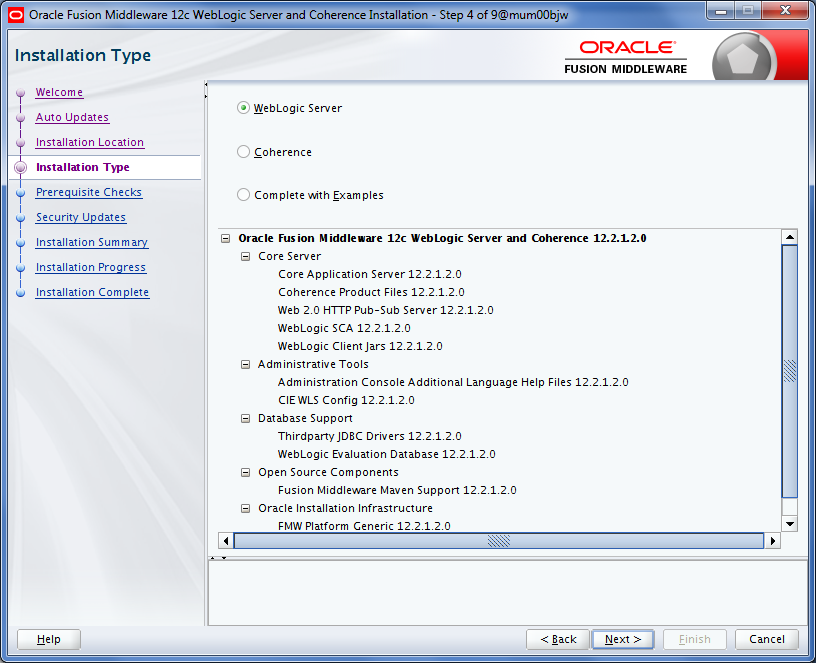
Following are the installation types:
- Weblogic Server
- Coherence
- Complete with Examples
Select Weblogic server and Click Next to continue.
Prerequisite Checks Screen
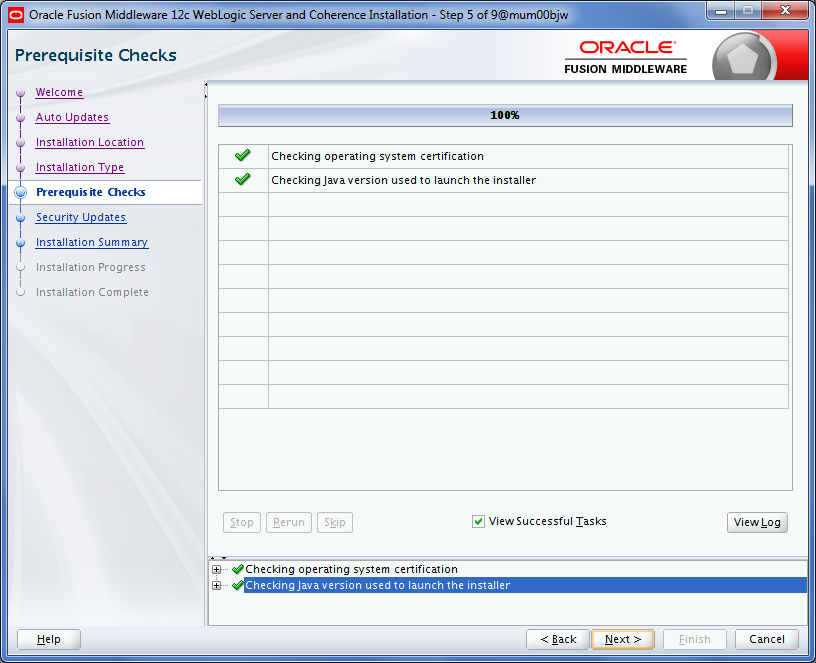
This screen shows whether the system requirements are met in order to install the software.
If there is a problem, a short error message appears in the bottom portion of the screen. Fix the error, and click Retry to try again.
If you want to ignore the error or warning messages and continue with the installation, click Continue.
To stop prerequisite checking for all components, click Abort.
Click Next to continue.
Specify Security Updates Screen
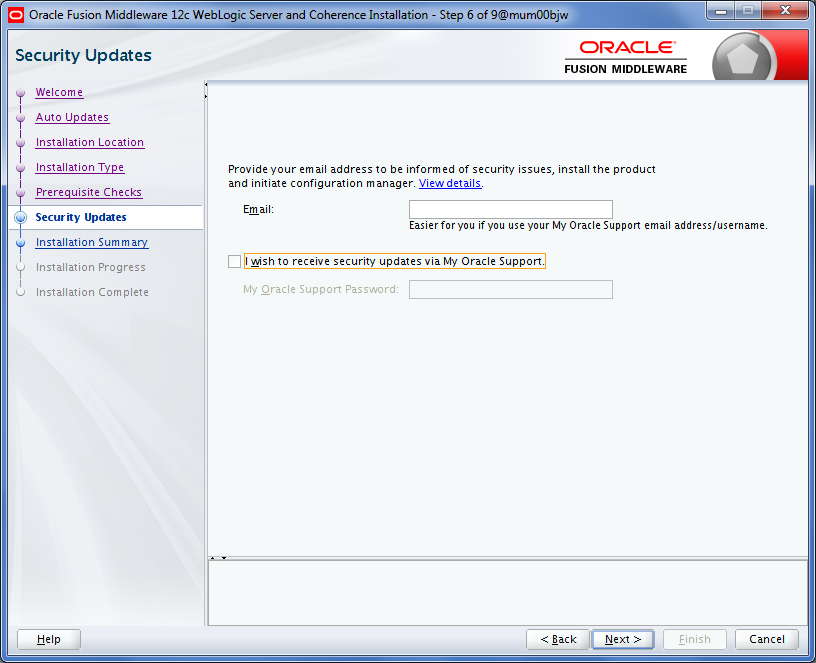
Uncheck the box stating “I wish to receive security updates via My Oracle Support”. (Kindly follow recommended practices regarding updates depending on the setup requirements or usage.)
Click Next.
Specify Security Updates Screen

The user will now be prompted “Do you wish remain uninformed of critical security issues in your configuration?”
Select Yes and Click on Next to proceed.
Installation Summary Screen
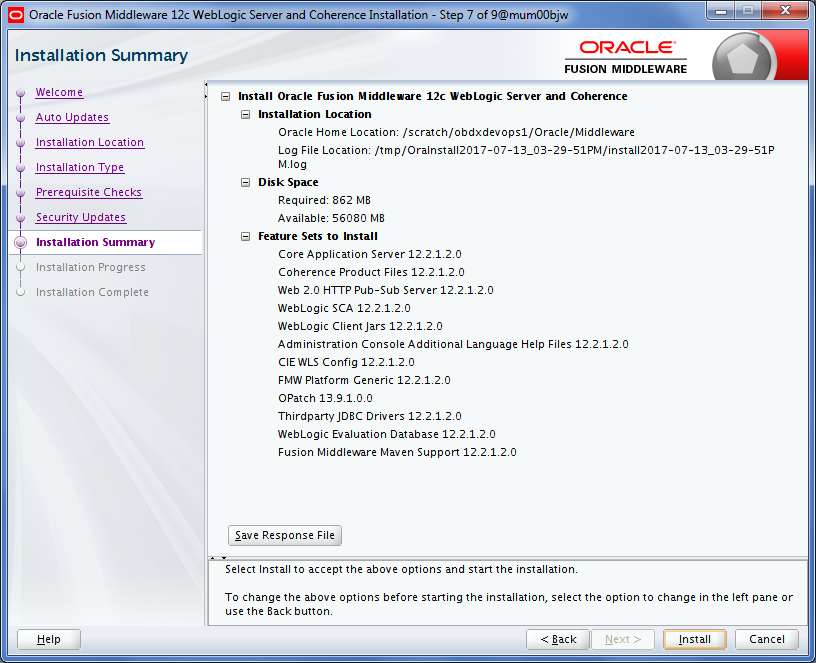
Review the information on this screen. The operations summarized on this page will be performed when you click Install.
If you want to make any changes to the configuration before starting the installation, use the navigation pane, and select the topic you want to edit.
If you want to save this configuration to a text file (called a response file), click Save. You will be prompted for the location of name of the file you want to create (for example, silent_install.rsp). This file can be used later if you choose to perform the same installation from the command line.
Click Install.
Then screen shows the progress of the installation.
Installation Progress Screen
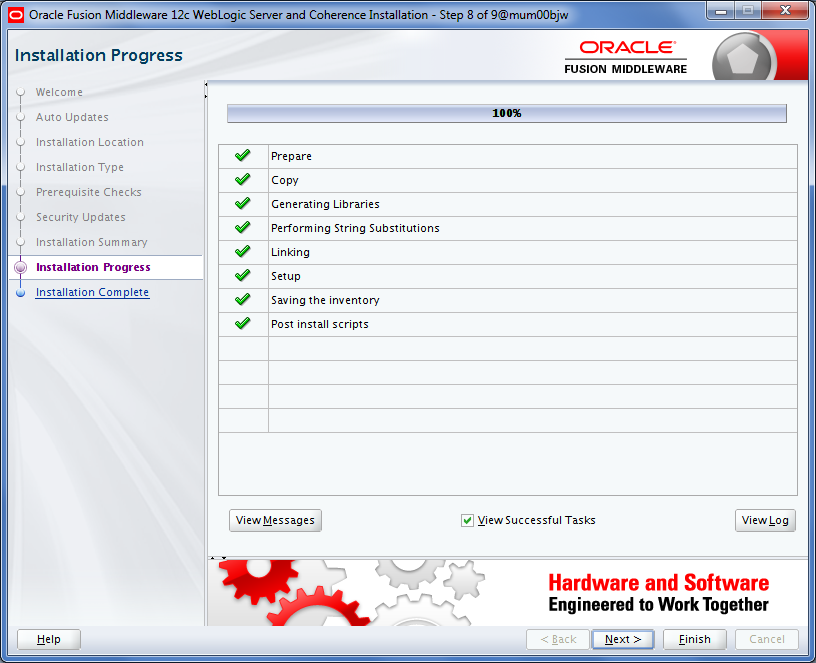
This screen shows the progress of the installation.
If you want to quit before the installation is completed, click Cancel. Doing so will result in a partial installation; the portion of the software that was installed on your system before you click Cancel will remain on your system, and you will have to remove it manually.
Installation Complete Screen
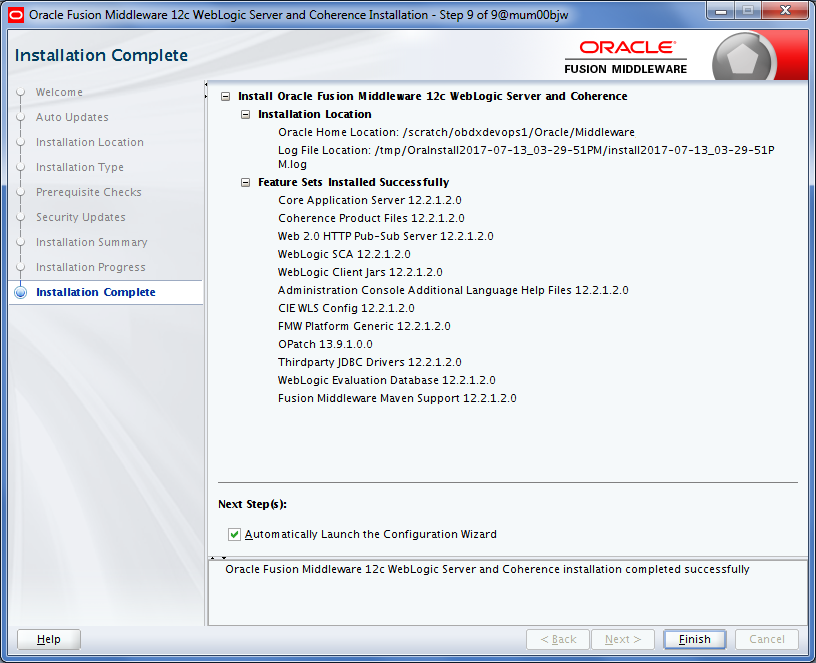
Uncheck the “Automatically Launch the Configuration Wizard” option, since we do not require domain configuration.
This screen summarizes the installation that was just completed.
At the end of the summary information, there is a section called Installation Location which states the Oracle Home Location & the Log File Location along with the list of features installed.
Click Finish to dismiss the screen.
Verifying the Installation
You can perform the following tasks to verify that your installation was successful:
- Verifying the Installation Logs: Check for the presence of installation log files in logs directory. The location of the file is shown at the end of installation in the Installation Complete Screen.
- Verifying the Installation Directory: Check if Oracle Home directory is exists or not.
Extending the Weblogic environment with JRF
Java Required Files (JRF) consists of those components not included in the WebLogic Server installation that provide common functionality for Oracle business applications and application frameworks. It consists of a number of independently developed libraries and applications that are deployed into a common location.
This chapter describes the installation tasks which contains the following sections:
- Section 3.2.1, "Installing JRF components"
- Section 3.2.2, "Verifying the Installation"
Installing JRF Components
Obtain FMW 12.2.1.2.0 Infrastructure JAR from the Oracle Fusion Middleware Downloads. Download fmw_12.2.1.2.0_infrastructure.jar file to a directory.
Now to start the installer, go to the directory where you downloaded the file and execute the below command:
java –jar <Path>/fmw_12.2.1.2.0_infrastructure.jar
Note: You must enter the absolute path of the folder where the JAR file is located.
If you are installing on a UNIX system, and if this is the first time any Oracle product is being installed on your system with the Oracle Universal Installer, you will are asked to provide the location of an inventory directory. This is where the installer sets up subdirectories and maintains inventory data for each Oracle product that is installed on this system.
Installation Inventory Setup Screen
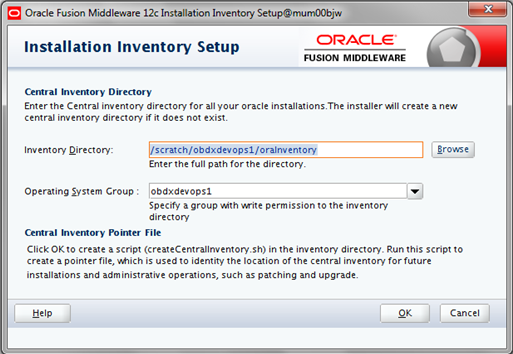
Specify the Oracle inventory directory and group permissions for that directory. The group must have write permissions to the Oracle inventory directory.
Click OK to continue.
Welcome Screen
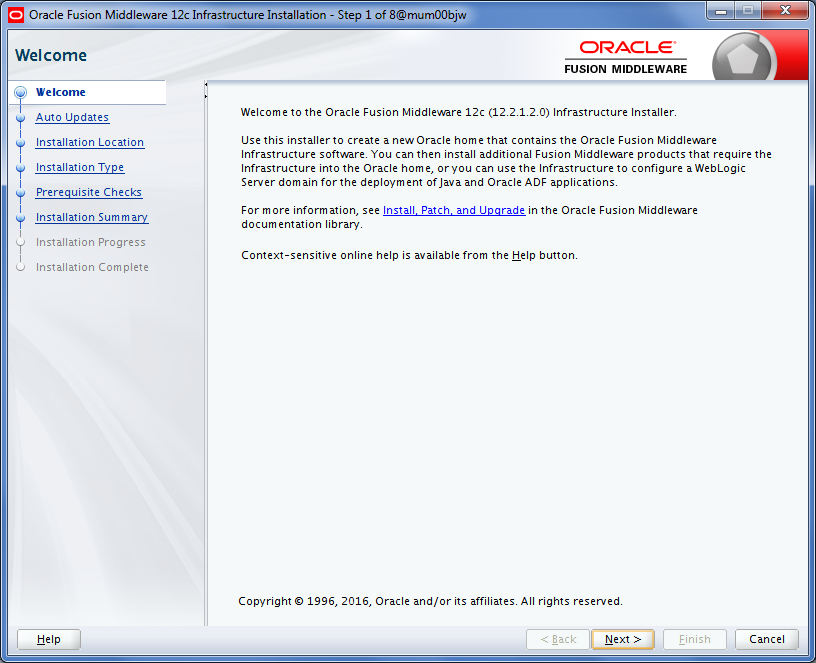
The Welcome screen is displayed each time you start the installer.
Click Next to continue.
Auto Updates Screen
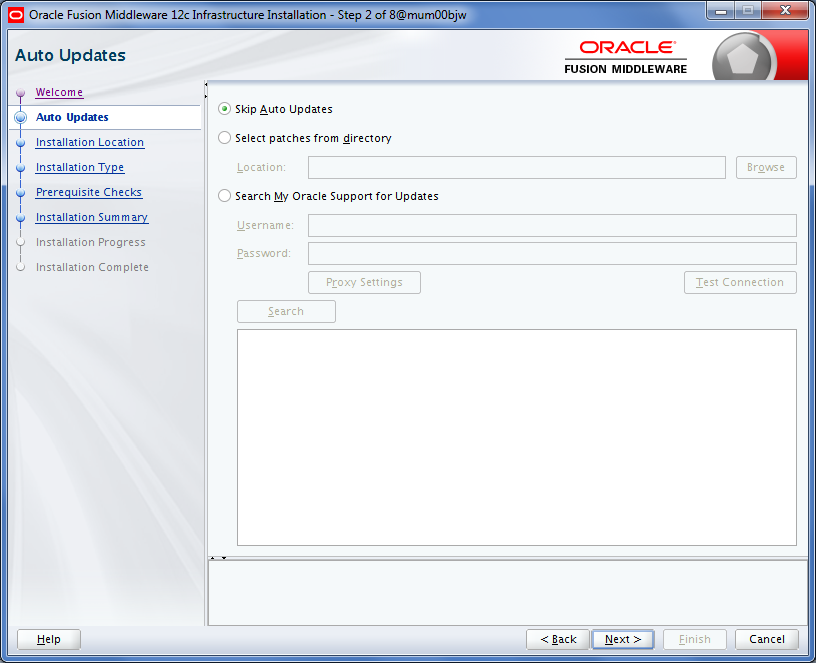
Select “Skip Auto Updates” option and click Next to continue.
Specify Installation Location Screen
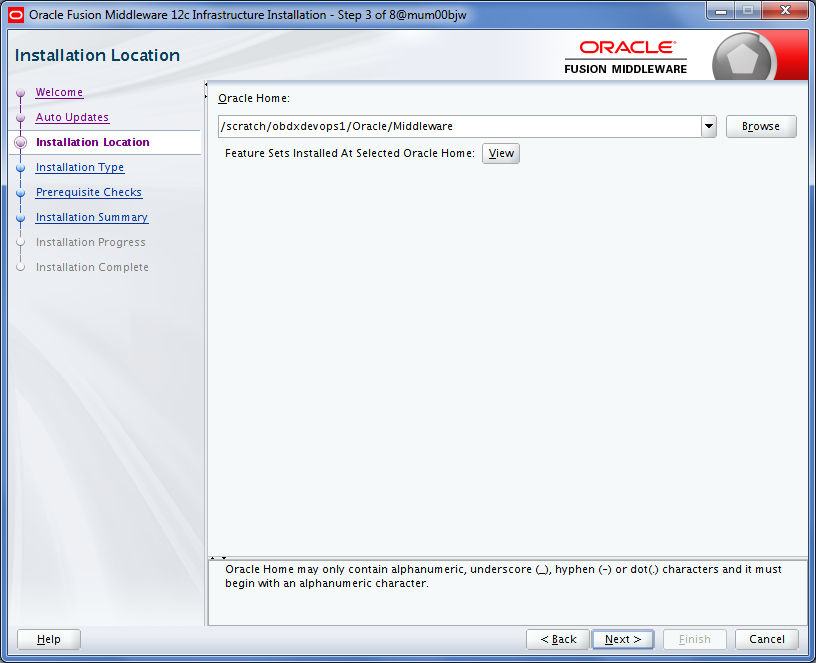
Specify the following installation locations:
- Oracle Middleware Home
The absolute path to the directory where WebLogic Server is already installed
Click Next to continue.
Specify Installation Type Screen
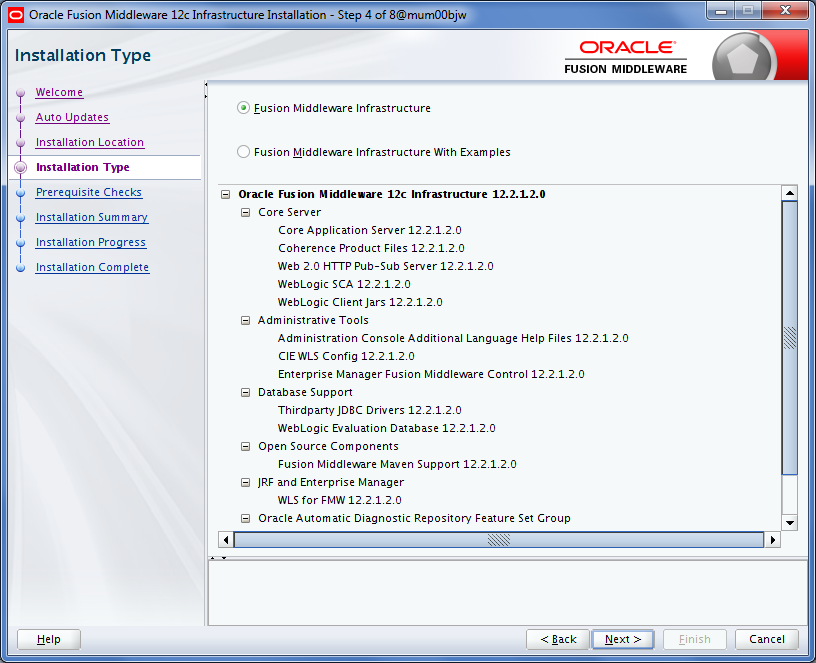
Following are the installation types:
- Fusion Middleware Infrastructure
- Fusion Middleware Infrastructure with Examples
Select Fusion Middleware Infrastructure and Click Next to continue.
Prerequisite Checks Screen
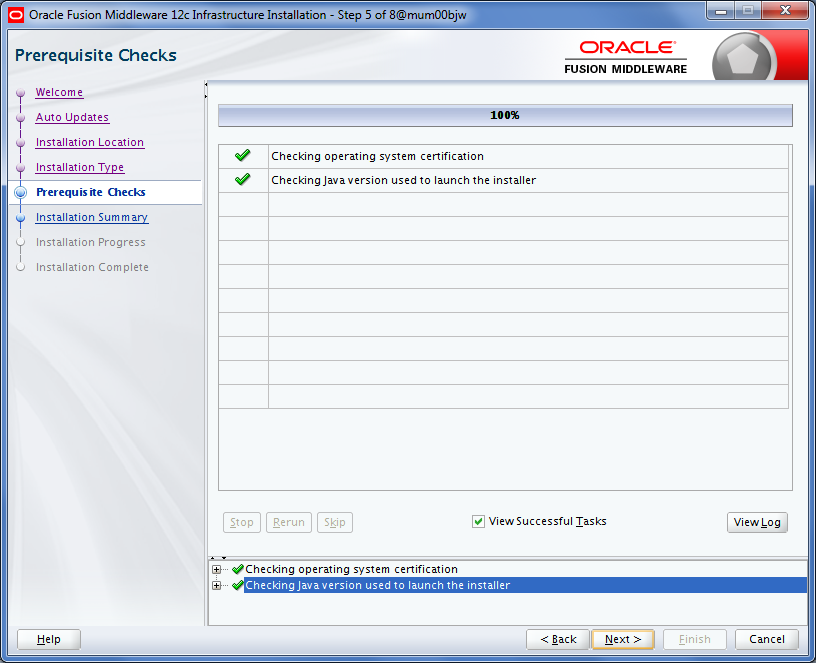
This screen shows whether the system requirements are met in order to install the software.
If there is a problem, a short error message appears in the bottom portion of the screen. Fix the error, and click Retry to try again.
If you want to ignore the error or warning messages and continue with the installation, click Continue.
To stop prerequisite checking for all components, click Abort.
Click Next to continue.
Installation Summary Screen
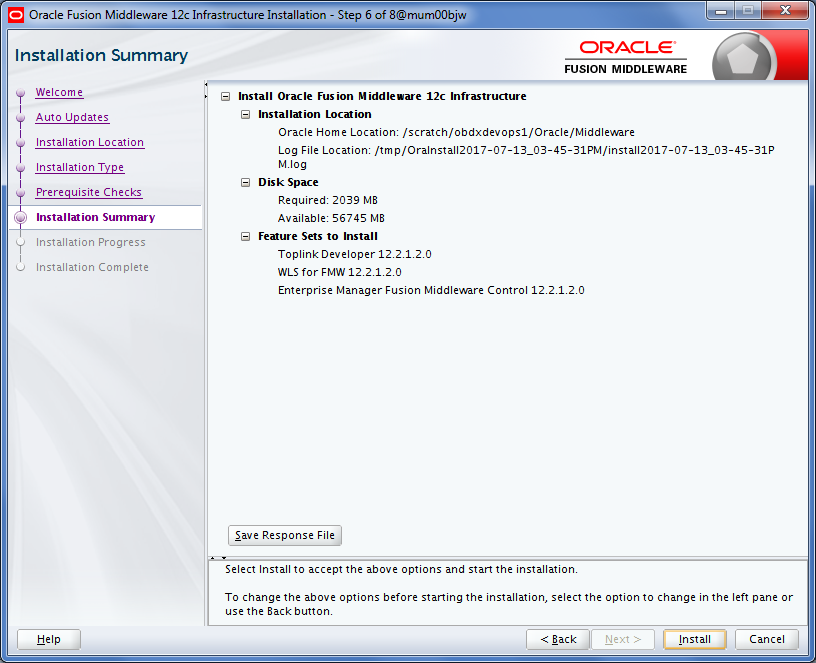
Review the information on this screen. The operations summarized on this page will be performed when you click Install.
If you want to make any changes to the configuration before starting the installation, use the navigation pane, and select the topic you want to edit.
If you want to save this configuration to a text file (called a response file), click Save. You will be prompted for the location of name of the file you want to create (for example, silent_install.rsp). This file can be used later if you choose to perform the same installation from the command line.
Click Install.
Then screen shows the progress of the installation.
Installation Progress Screen
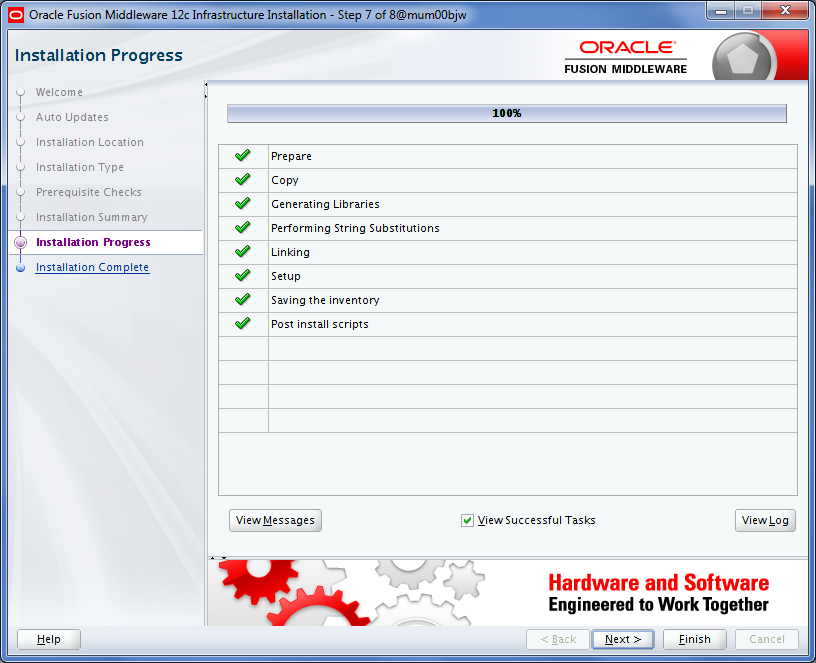
This screen shows the progress of the installation.
If you want to quit before the installation is completed, click Cancel. Doing so will result in a partial installation; the portion of the software that was installed on your system before you click Cancel will remain on your system, and you will have to remove it manually.
Installation Complete Screen
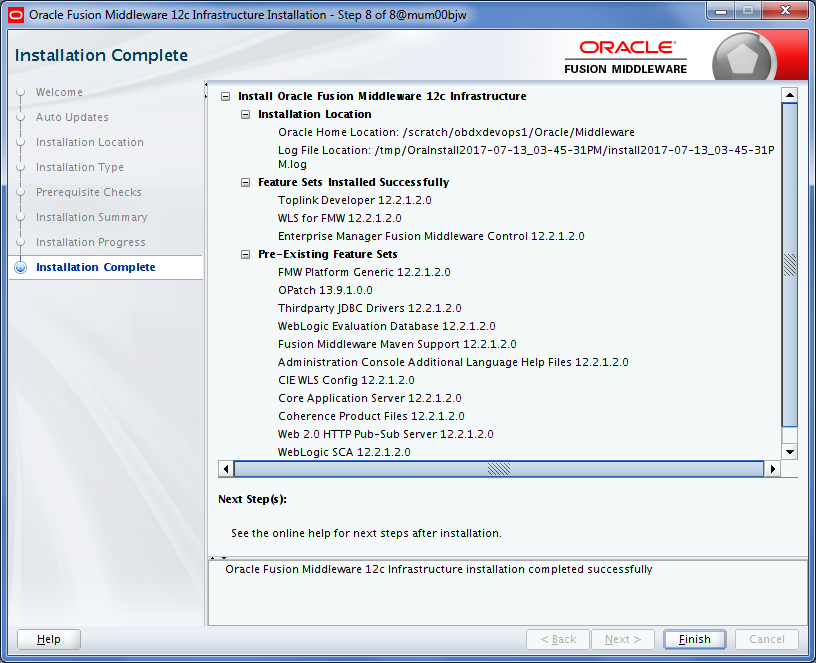
This screen summarizes the installation that was just completed.
At the end of the summary information, there is a section called Installation Location which states the Oracle Home Location & the Log File Location along with the list of features installed.
Click Finish to dismiss the screen.
Verifying the Installation
You can perform the following tasks to verify that your installation was successful:
- Verifying the Installation Logs: Check for the presence of installation log files in logs directory. The location of the file is shown at the end of installation in the Installation Complete Screen.
- Verifying the Installation Directory: Check if Oracle Home directory exists or not.